I’ve had the idea of these “Gold Medal Leggings” in my head for months now.
I’d originally envisioned myself swooping through the Paris half wearing them, making Chanel-ed sunglasses tilt down as I sped past in a blur! “Oh my! Who eez zat magnificent femme with ze gold leggings??”
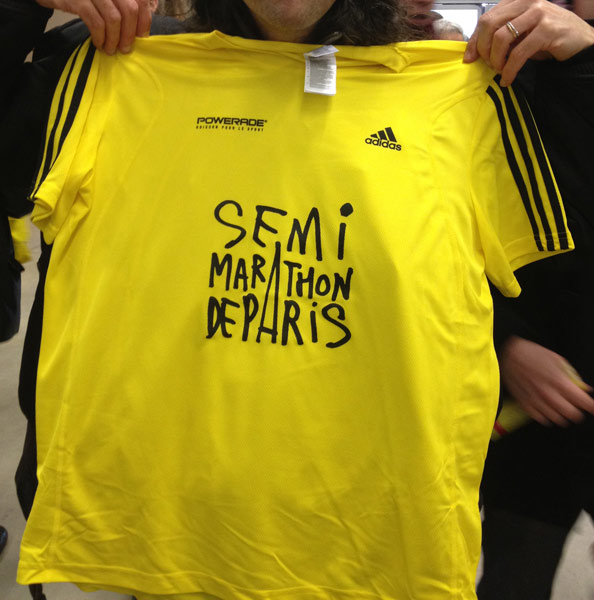
Or something like that. But then I got ridiculously sick with the shingles in January and still couldn’t run it come March, so these got their debut in the East London half on Sunday instead. Not quite as glamorous, but they did cause quite a stir.
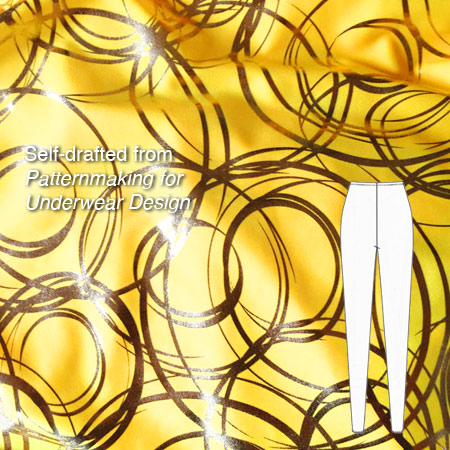
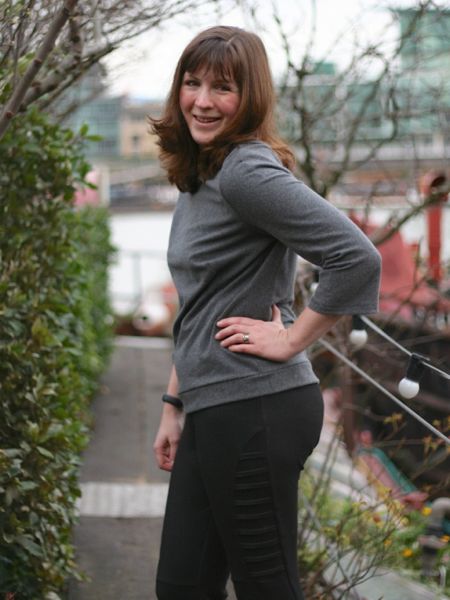
I used my leggings draft from the Kristina Shin book again, teamed with Suzie Spandex “Spirographix” lycra in yellow. This makes these sister leggings to my Liberace pair (which were in the comparatively sedate “charcoal” colourway!), which I wear ALL the time. I had Arielle buy this fabric, plus some Suziplex for me when she was in Montreal and they were hand-carried in a series of suitcases across multiple borders, so I’m very glad to make good use of it!
It also appeared that Suzie Spandex cut a very generous length because it was more like 1.4m than the 1m I ordered, woop (so there’s plenty left for accents on Jalie running skirts or tops). Believe it or not, I sewed these up on my jet lag day after our red-eye flight back from the States when I was trying to stay awake until local bedtime!
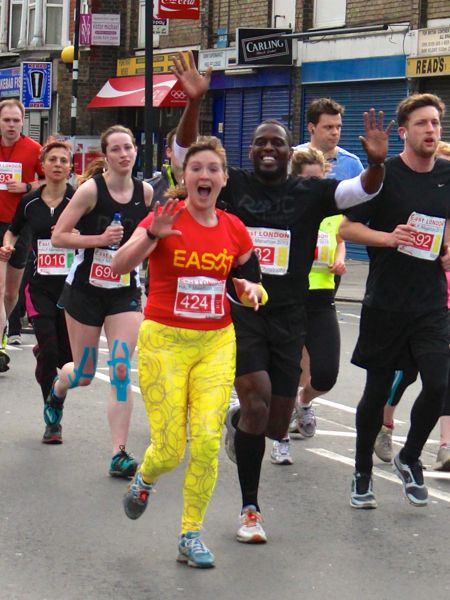
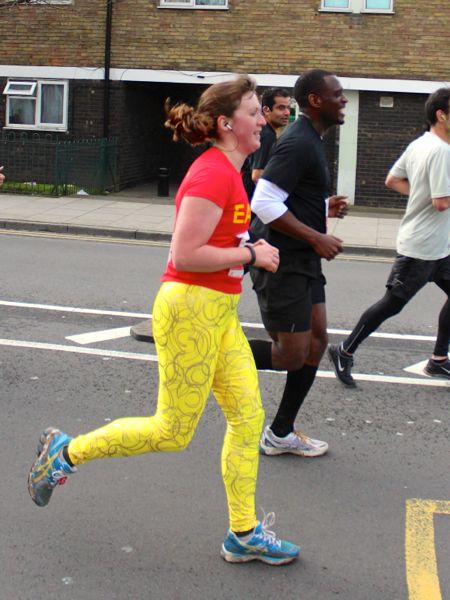
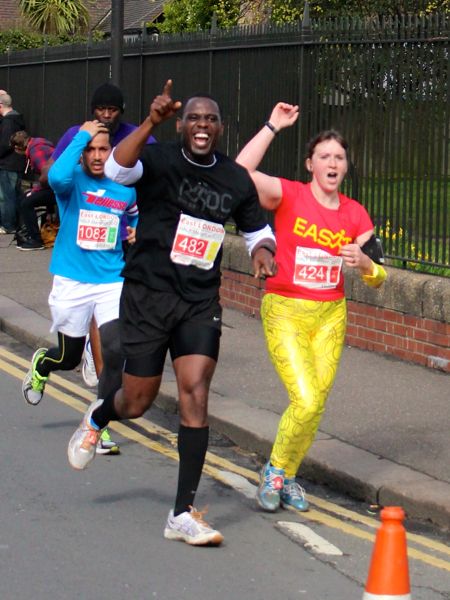
The leggings certainly got the reception I was after – I’m not exaggerating when I say that my leggings got more cheers on the route than I did, I swear!