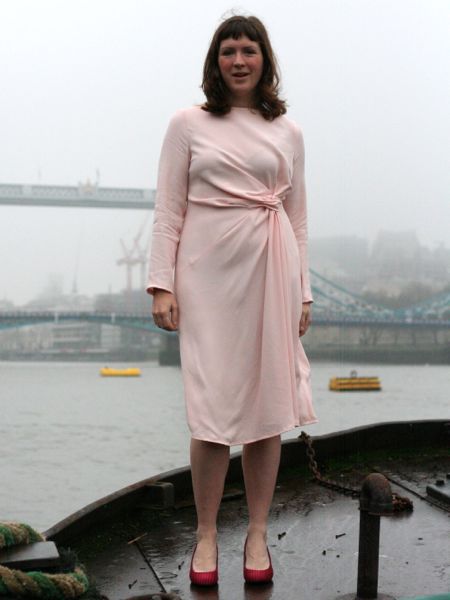
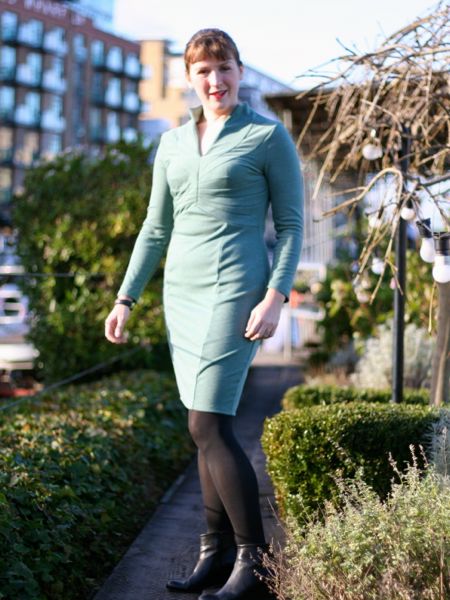
As I mentioned last week, I’ve been inspired by the Cloth Habit Bra Sew-Along to try my hand at sewing some bras again. I was fairly happy with the foam cup bra I made a while back, but I finally found some Marks & Spencer’s non-padded bras that I really like the fit of and I was encouraged by these that I could probably make my own that fit nicely, too.
In all my previous attempts I’d used KwikSew 3300 as my base pattern, but this time around, I wanted a fresh start, so I pulled out Elan 530 which I’d bought years ago and never sewn up. The seaming of the cups is different to the KwikSew and I thought that might make all the difference for me.
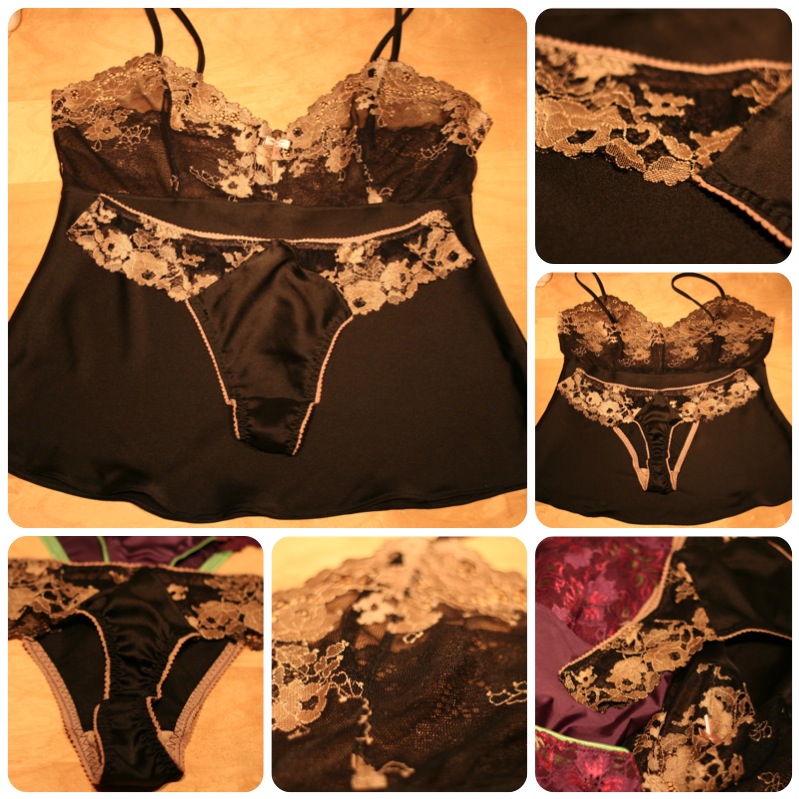
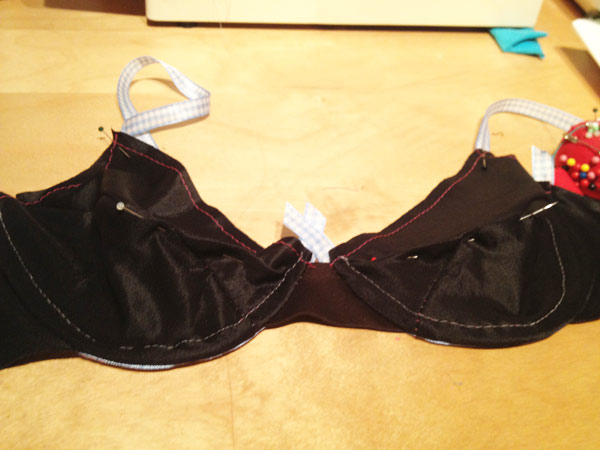
In the past, I’d been really frustrated because you can’t check the fit until you’d absolutely completed sewing the bra, wasting hours and materials if the fit was off, but the Sew-Along offered some really good advice in terms of making a muslin and exactly what was important and what could be left out. So here’s mine, with some fetching gingham ribbons for straps (and underwire channelling, ha).
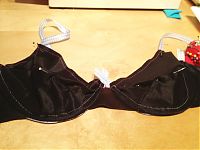
I adapted the bridge (based on excellent instructions in Orange Lingerie‘s upcoming book!!), added 1.5cm to the band as it was too tight, and pinched a little out of the cups along the seam line before unpicking it all to reuse some of the parts in the finished bra.
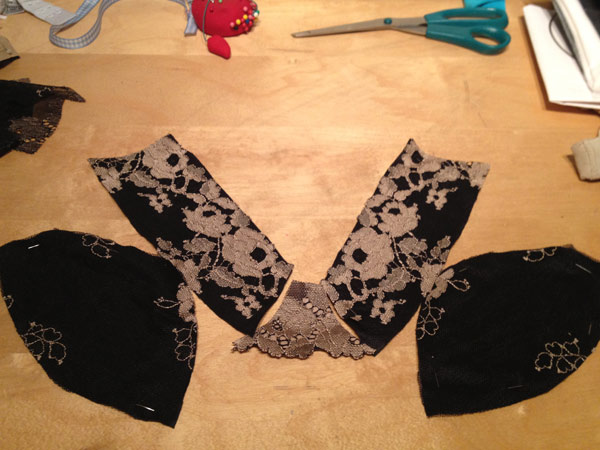
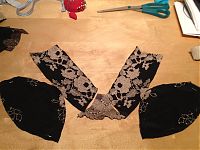
For the finished bra, I used the “Gabi” lace from eLingeria that Katherine also used to make a lingerie set! (That lace also comes as a handy bra kit or panty kit if you’d rather buy it that way). I had to look up my order details, but I’d bought this lace last May, and paid only €9 for the 2 meters, which is fantastic value if you ask me!
I learned a lot about careful lace placement from my sewing of the Ruby Slips so I always take a photo of the pieces before I assemble, as for some reason I can get a better overall picture when looking at a photo than I do in real life.
At first I didn’t overlay the bottom cups with lace, but this looked a bit weird, so I added those. Even though it’s mostly black lace on the bottoms, it makes a world of difference and cut back on the shininess.
So for the finished bra, the cups have three layers each – the lace (which is pretty flimsy, and also stretches, which you don’t want in cups), a black nylon underlining layer (with the stretch running opposite to the lace), and the same black nylon as a lining.
From my previous bra making experience, I learned a nice trick to getting everything finished and lined nicely…