Are you excited yet? I sure am, because this dress is the last in my one-Burda-per-issue challenge for 2012! I set out to sew one pattern from each issue, and I’m pleased to reported I completed it (though much more on that in a bit – I’ve got a rundown post coming).
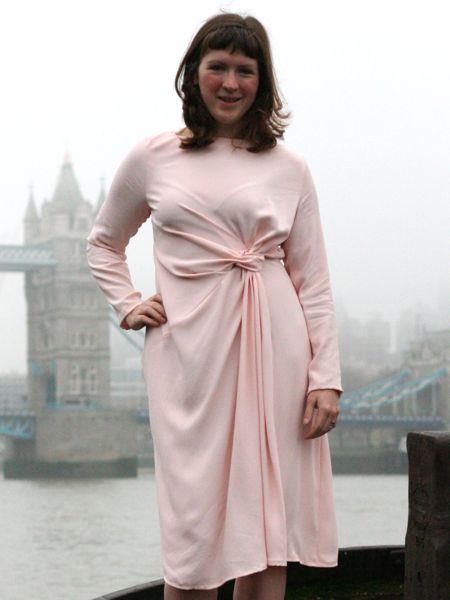
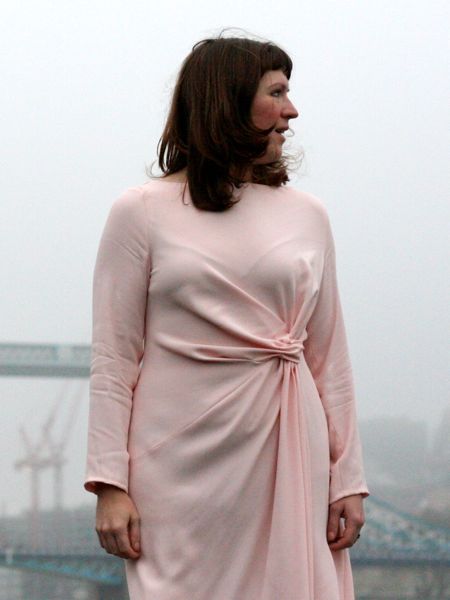
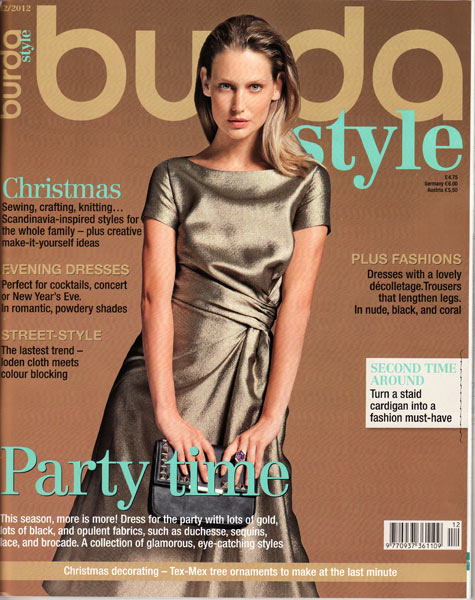
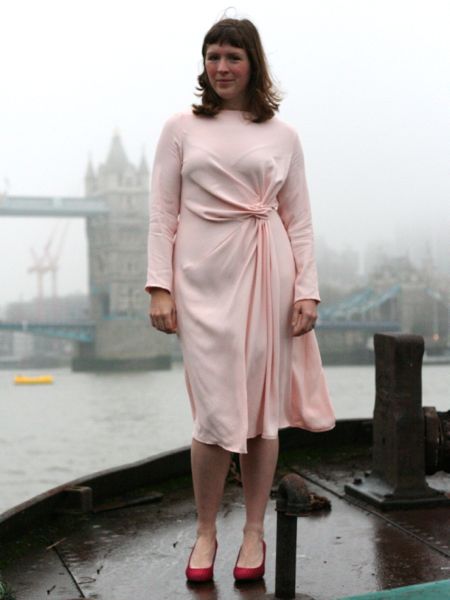
The final garment in the challenge is the Burda December cover dress (Burda Dec 2012 #112) even though I technically completed in on New Year’s Eve, I’m counting this in 2013’s tally since I’d already written up my end-of-year post by that point!
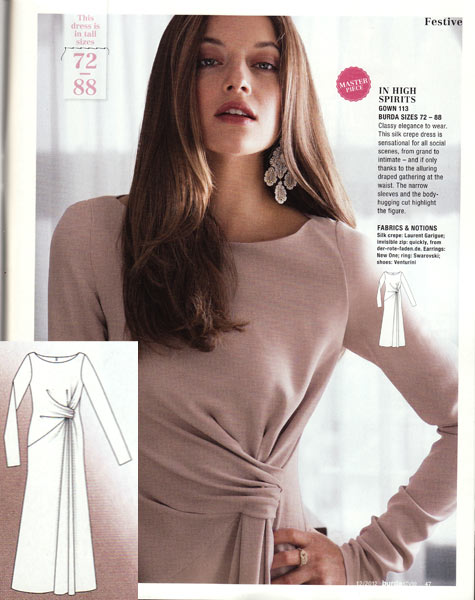

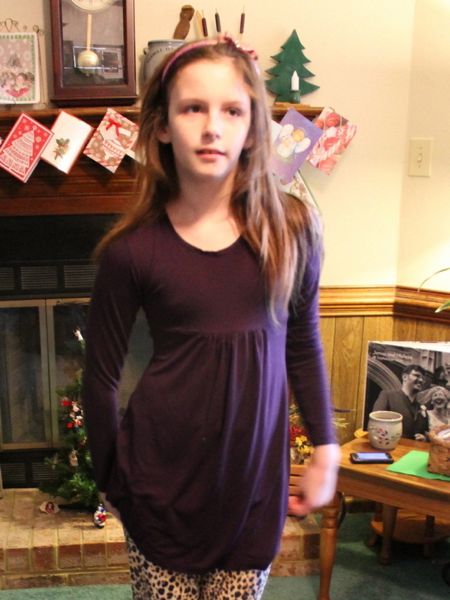
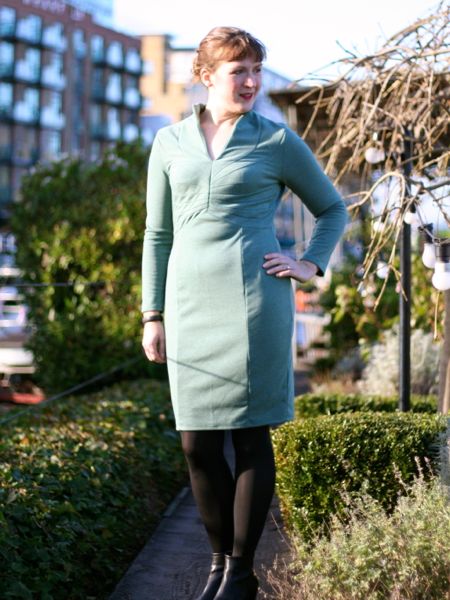
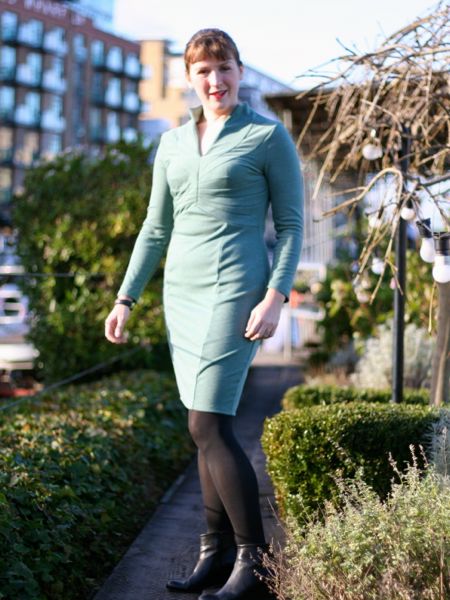
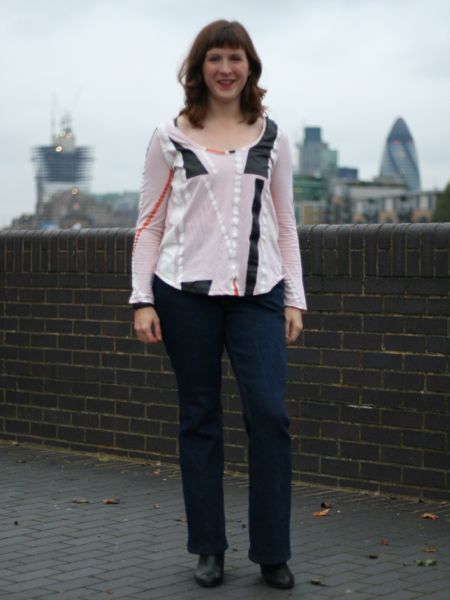
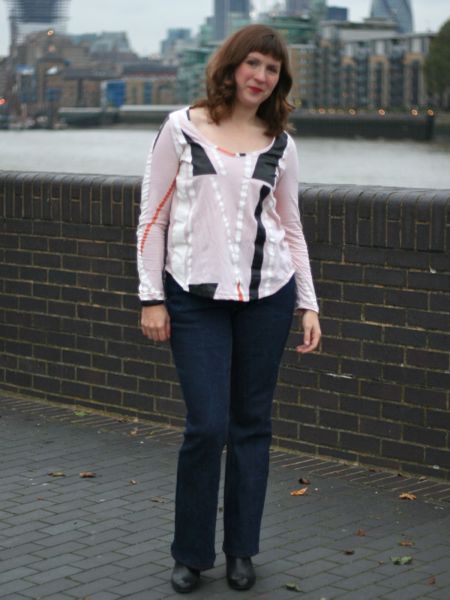
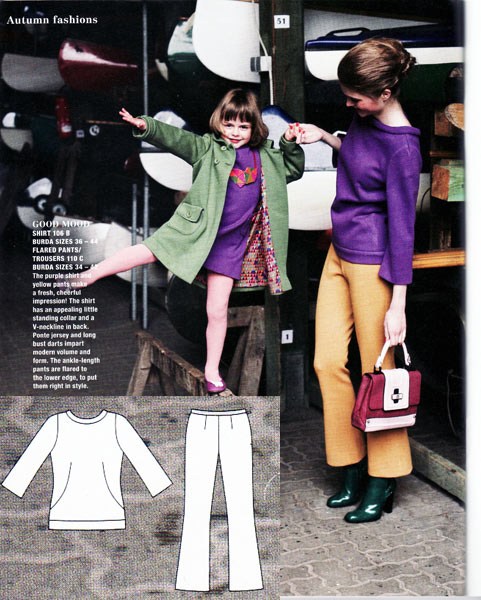
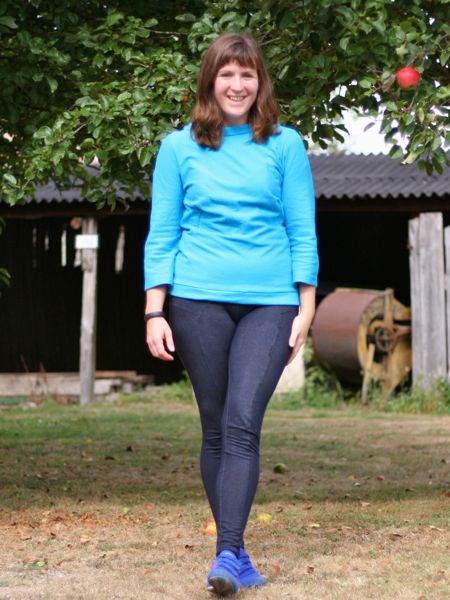
You may remember that I sewed up a muslin of this over the holidays, but I took inspiration from the long version shown in the magazine and made my final version in some pale pink viscose crepe from Stone Fabrics Super wonderful – flowing, drapey, takes a nice press (though that means it also wrinkles readily!), and has one crepe side and the other rather smoother (I used the crepe on the outside). You really can’t beat it for £6/m! It’s fairly narrow though at 137cm wide, so if you also choose to make the shorter hem length with long sleeves, note that you’ll need 3 meters of it.
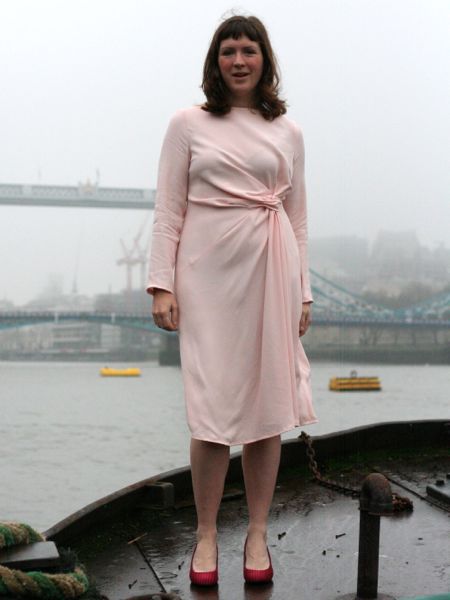
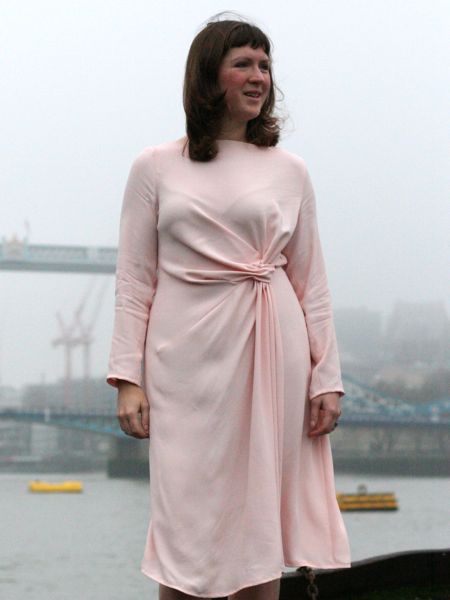
This pattern (which also has a longer hem length with long sleeves) has the illustrated instructions for this issue, and man do you need them! It reminded me of one of those Vogue designer patterns where it doesn’t actually look like a dress until the very last step. Note that if you buy the pdf pattern from the Burda Style site, you get the same full, illustrated instructions that appear in the magazine.