Wow, I’m really falling behind with my photos, it feels like so long ago that I finished all these lacy bits! But then again, I bought the brown and turquoise bra kit from eLingeria.de way back in January 2008 so I suppose a week or so isn’t much in the lifespan of this fabric!
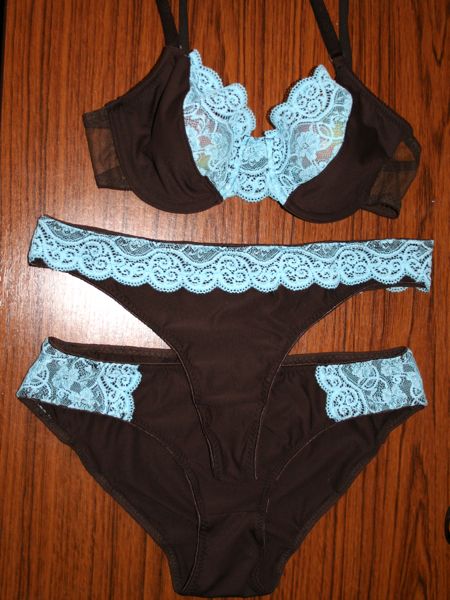
The kits from eLingeria.de give you all the bits you need to make one bra and two panties – really soft, stretchy microfibre, stretch lace, powernet, elastic, bra straps, underwire channeling, hooks, and the strap loops and findings. The only thing I needed to buy extra were the underwires, since they’re so size-specific. I really enjoyed sewing these, and having the kit meant I didn’t have to gather all the materials in matching colours on my own, so I’m definitely going this route again. €20 for a matching lingerie set is a steal, even with the current exchange rate!
The bra pattern is KwikSew 3300, which I extensively reviewed when I sewed my first bra toile a few weeks ago, only this time I used the right elastic so it fits!
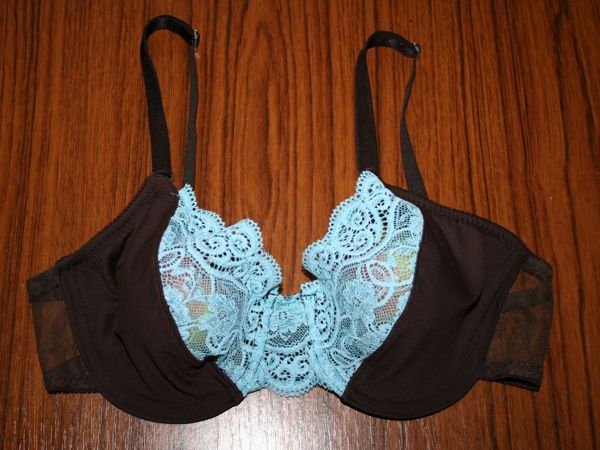
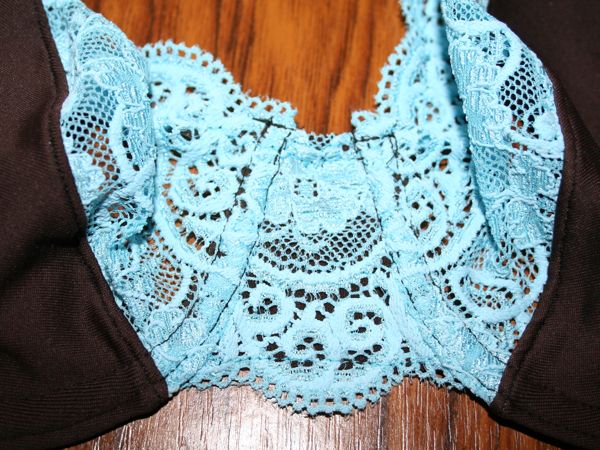
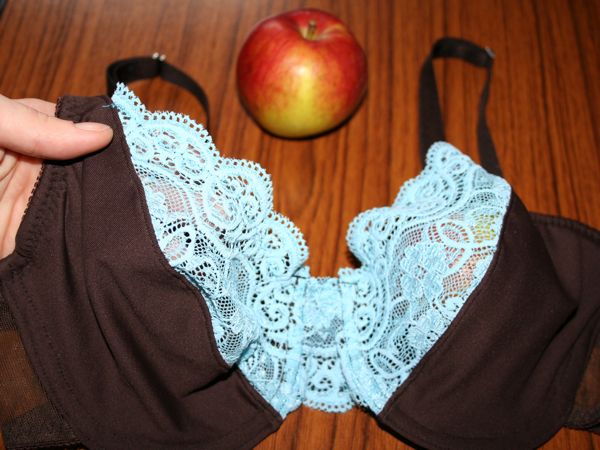

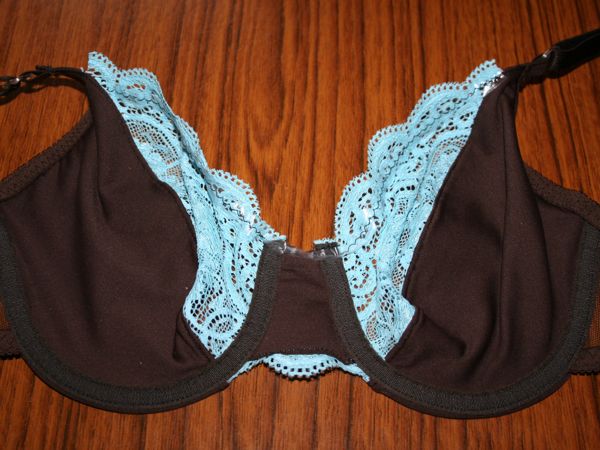
I think the only change I’ll make next time is a purely personal one – the cups go up a little high for my taste so I’ll probably shave an inch or two off the top of the cup so they’re a bit lower. I also used a bit of clear elastic here on the inside of the lace cup to stabilise it. I’m not sure if this lace actually needs it as it feels pretty robust, but the pattern called for it so I figured they know best at this point.
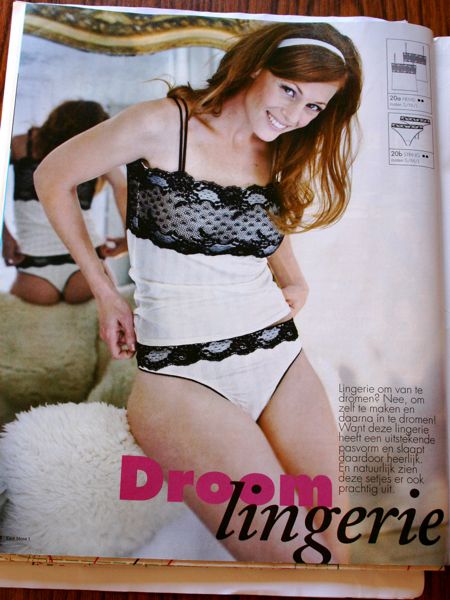
As for the pants, I had been saving the January 2008 issue of KnipMode for over a year, too, waiting for the perfect time to sew up the lingerie patterns they included! In everyday life I’m a thong girl (sorry if that’s Too Much Information) but I wanted to try both styles here just to test the fit and also to get to play with the lace placement.
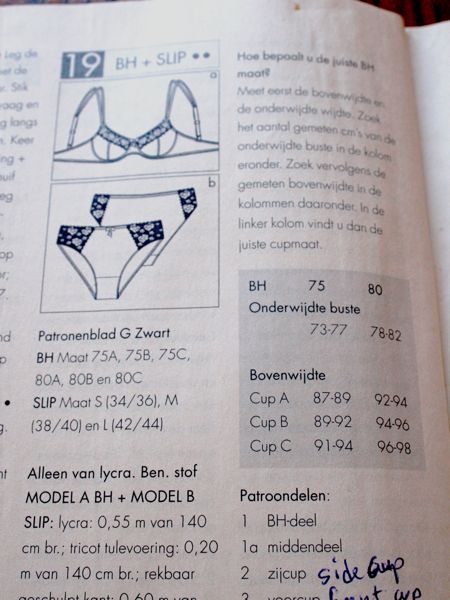
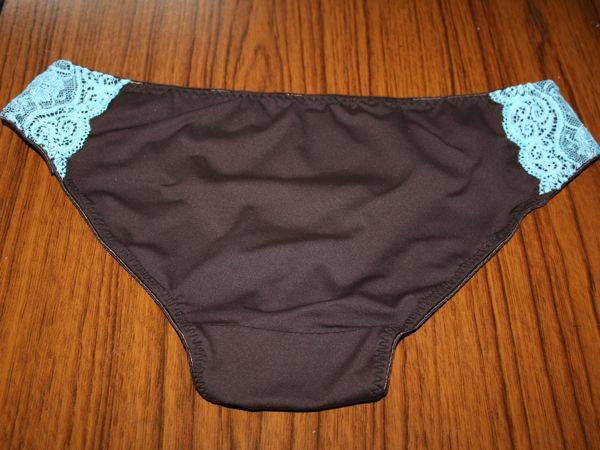
First up is KnipMode 01/08 #19, which is a bra and bikini brief pattern (clearly I just made the brief!). It’s got lace on the hips of both the front and back pattern pieces, and a self-lined crotch, too.
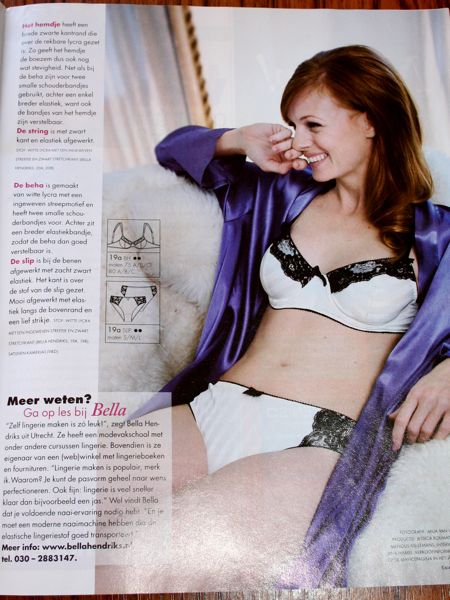
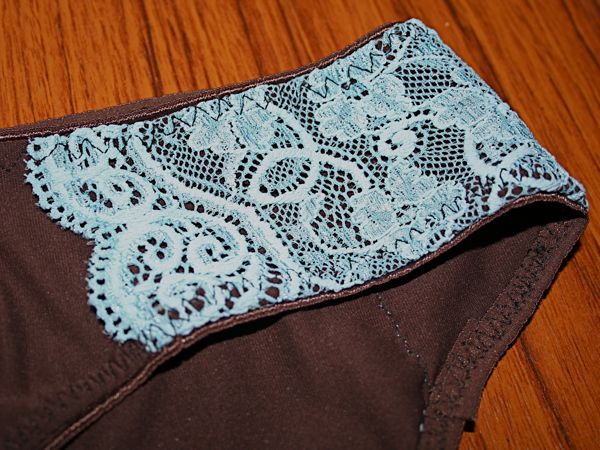
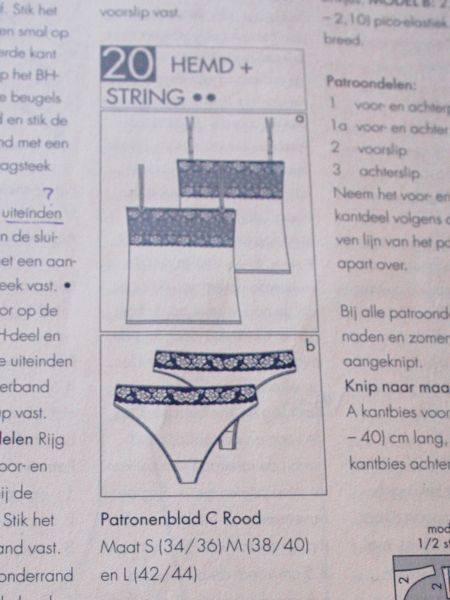
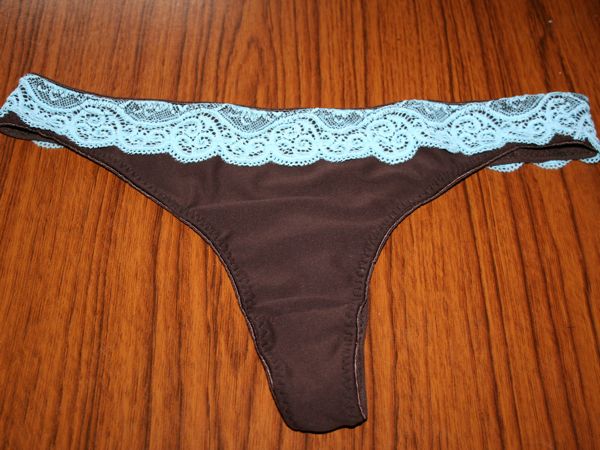
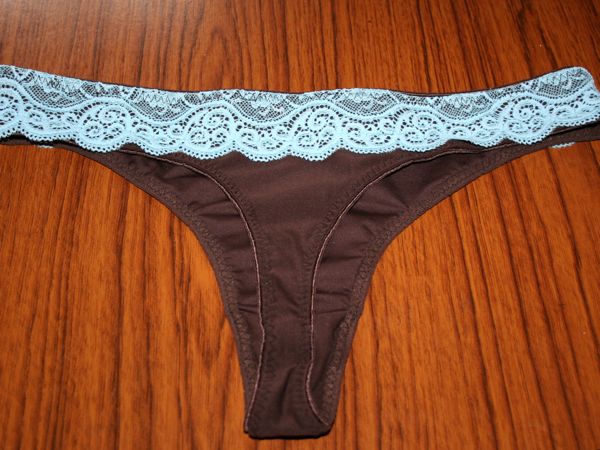
And in the same issue, there’s KnipMode 01/08 #19, which is a stretchy camisole and thong pattern (of which I just made the thong!). The lace placement for this is along the entire waistband of the thong, front and back, with the scalloped edge of the lace extending past the bottom in places. I only had just barely enough lace in my kit to make the bra and both pants – if I’d made two thongs like this, I would’ve had to modify the lace on one pair to have enough.
Both pairs of pants were super, super easy to sew, and probably the most comfortable pairs I own (I’ll never look at scrap knits and old teeshirts the same way again!). Once again, I didn’t touch my serger at all for any of these, relying instead on my sewing machine’s zigzag, and three-step zigzag stitches and a good ballpoint needle. The panty elastic in particular seemed intimidating, but couldn’t have been simpler in practice:
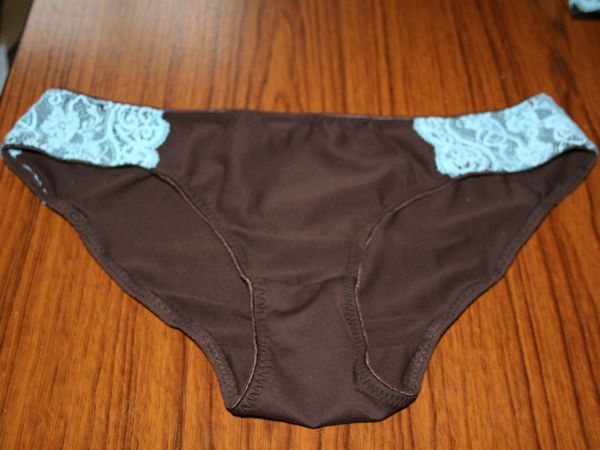
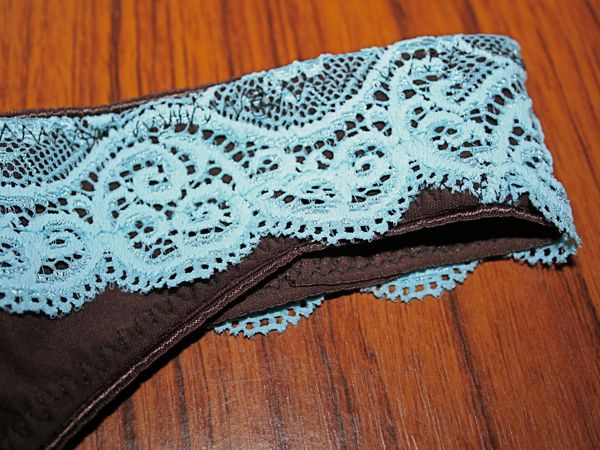
First, I pinned the elastic in place around the leg hole or waistband, onto the right side of the panty, fancy edge away from the seam and facing down. My KwikSew lingerie book says to deduct 2-3 inches from the size of the opening, but I just stretched it a bit as I went along (like I apply FOE) and it came out fine. They do point out, however, to make sure the elastic overlap is placed on the back of the opening (butt-side!) to avoid any rubbing. I then zigzaged the elastic on, going quite close to the fancy edge but not touching it. Then I turned the elastic in to the inside of the panty, pinned, and used my three-step zigzag to topstitch the elastic in place from the wrong side.
You can see it makes a pretty good finish, inside and out, in this photo:
I’ve got plenty of RTW pants that look worse, anyway!
I can easily see how lingerie making can get addictive – if I had a free day, I could’ve easily made all of these in a long afternoon (as it was, it took me a week and a half of 10 minute sewing sessions, argh), and playing with pretty laces and elastics is so much fun, even for non-embellishers like me.
I’ve got another top already made and waiting for a photoshoot, and I just found out my British citizenship ceremony is next week, so I’m trying to see if I can make something new to wear for that before I start work on my 30th(!) Birthday Dress. At least I’m guaranteed to look good underneath, no matter what’s on top!