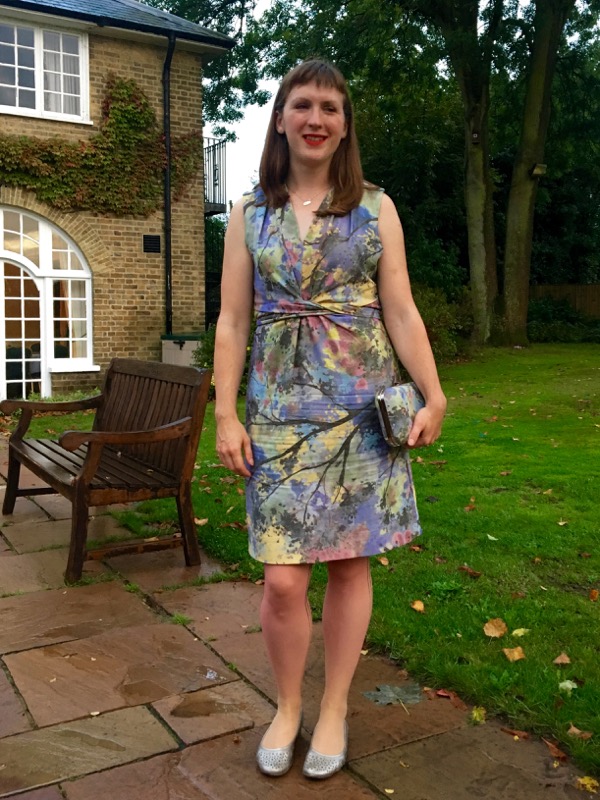
At my last shopping trip down to Ditto Fabrics in Brighton last December, I bought a great mix of spring and summer fabrics with a few cold weather ones thrown in for good measure. So far I’ve already sewn up a Fair Isle sweater (which I was too sick to blog about properly), that muted turquoise lace dress, a pair of cycling jeans (with another coming later this week).
But I’d bought a length of silk noile with a watercolour-esque muted floral print that the owner, Gill, was raving over, saying it made the most comfortable summer dress. It’s long sold out now, but Ditto have a few other silk noiles in stock. I knew I wanted to make a dress from it – preferably unlined to take advantage of the silk noile’s comfort and coolness, but I needed an occasion to actually sew it up. Luckily, two friends I’d know for years from Run dem Crew got married this weekend, so I had the perfect excuse!
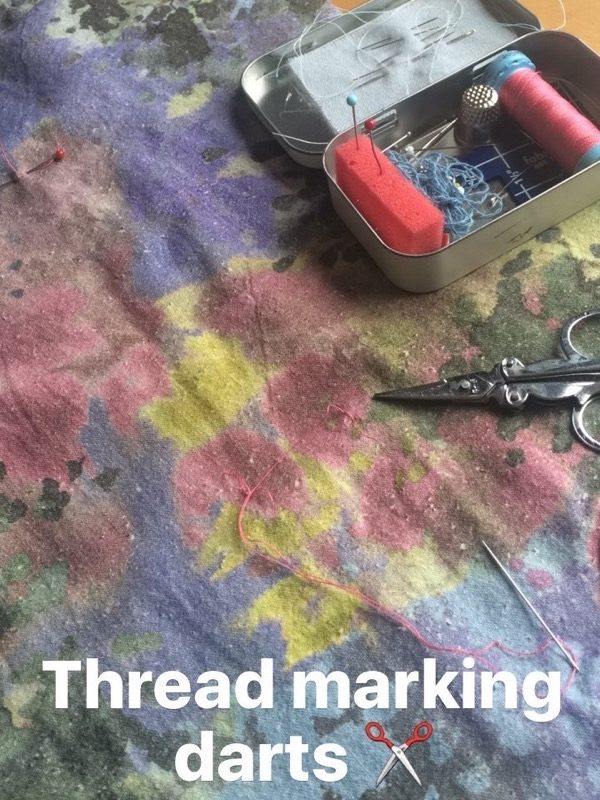
Two years ago I made the Style Arc Pamela dress and even I’ve surprised myself with the amount I’ve worn it! I don’t really wear dresses anywhere near as often as separates, but when the weather gets hot, this dress is just fantastic! So I chose to make this again for the wedding, but this time I left off the zipper (totally unecessary as I can get it on over my head) and omitted the back walking slit as it was a bit too high on my other version and again, not really necessary.
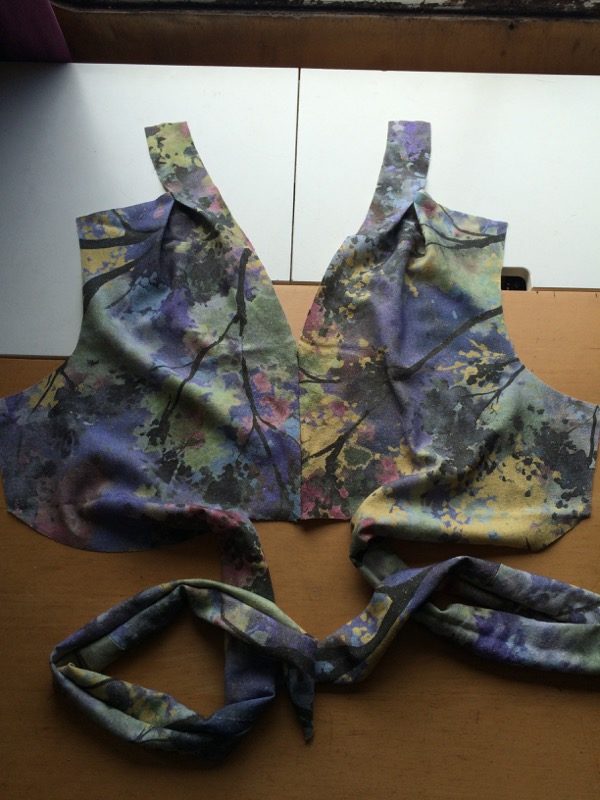
As I only had 1.5m of the silk, I had to piece the ties (as before), but the seam is completely hidden when worn. I also didn’t have enough fabric to cut the facings, so I dug through my stash and found a long, bias-cut silk satin skirt that my friend Pip gave me for refashioning after she’d lost weight. Miraculously, the muted purple matched the silk noile perfectly, so I cut the facings from interfacing first, fused these onto the skirt, then cut around them. This made cutting accurate pieces much easier to achieve than wrestling with the liquid silk!
The instructions for the tie and neck construction are perfectly fine, though I did have to change a few pieces to get a clean finish in the inside since I didn’t want to line it. The instructions for the facings on this pattern are a tad crazy, though, so I just did the more conventional technique to leave the side and centre back seams open, stitch the facings to the garment at the armholes and neckline, then pull the back pieces through the shoulders to the right side.
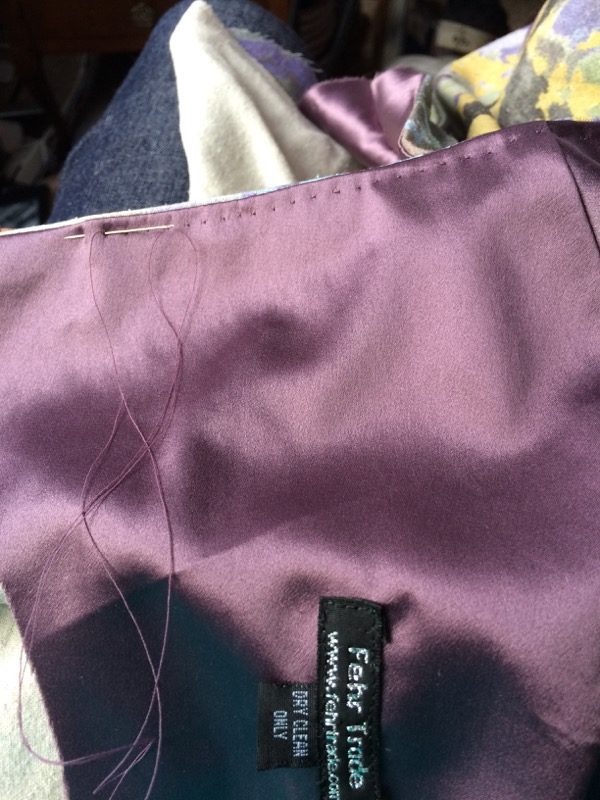
Instead of attempting to understitch, I decided to do a bit of hand prickstitching to keep the facings from rolling out to the right side. If you’re not familiar with the technique, you work from right to left (if you’re right-handed, like me), creating uneven back stitches so the visible portion is very small, almost a dot. It’s a difficult stitch because, all at the same time, you have to 1) keep the stitch length consistent & small 2) keep the distance between stitches consistent 3) keep the distance between the stitching line and the edge consistent and 4) only stitch through the facing and seam allowance layers without going through the final, exterior fabric layer. It takes time, but I love the tactile, Braille-like feel of the stitches when I wear garments with this stitching. It’s a beautiful touch that’s purely for my own enjoyment.
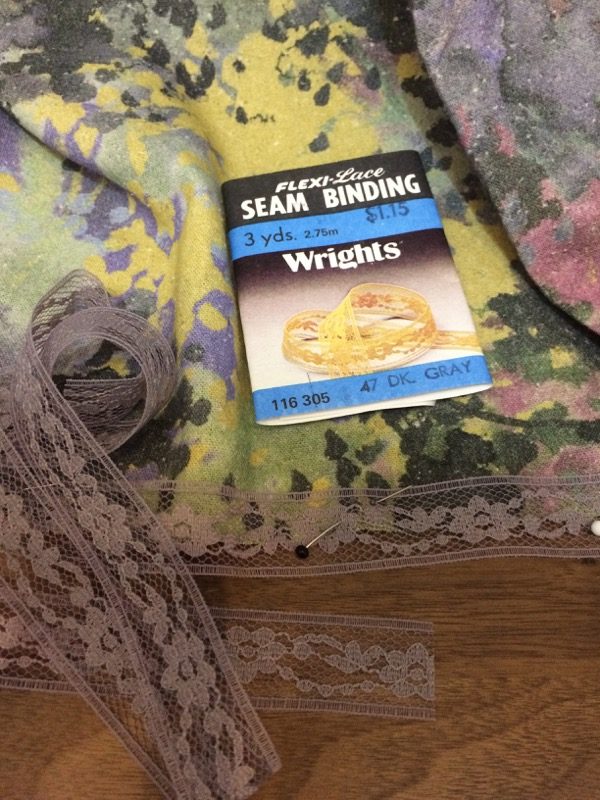
After that, I sewed the long side and centre back seams as French seams, and machine-stitched some grey lace tape over the hem edge, and then sewed the hem itself by hand. The silk skirt had some matching ribbons for hanging, so I cut those off and attached them at the shoulder seams to help keep the dress on the hanger, but to also wrap around my bra straps when worn to further anchor it to me!
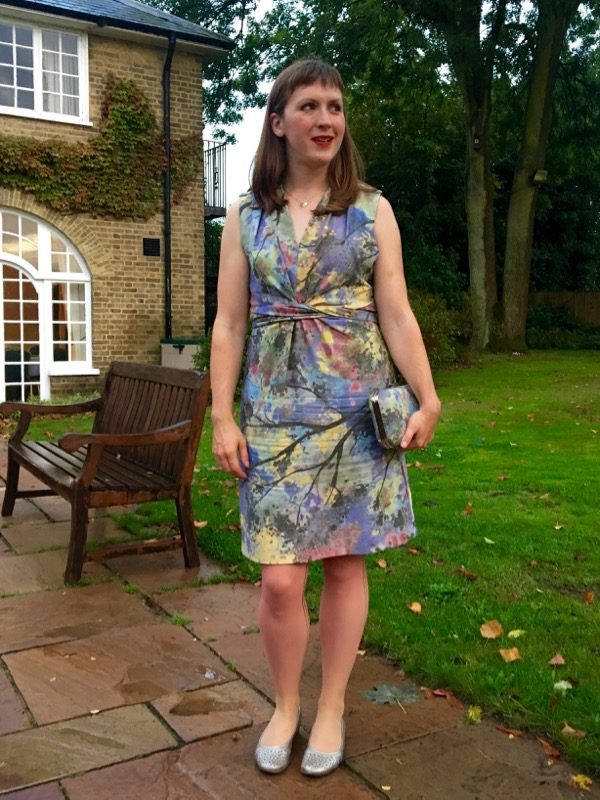
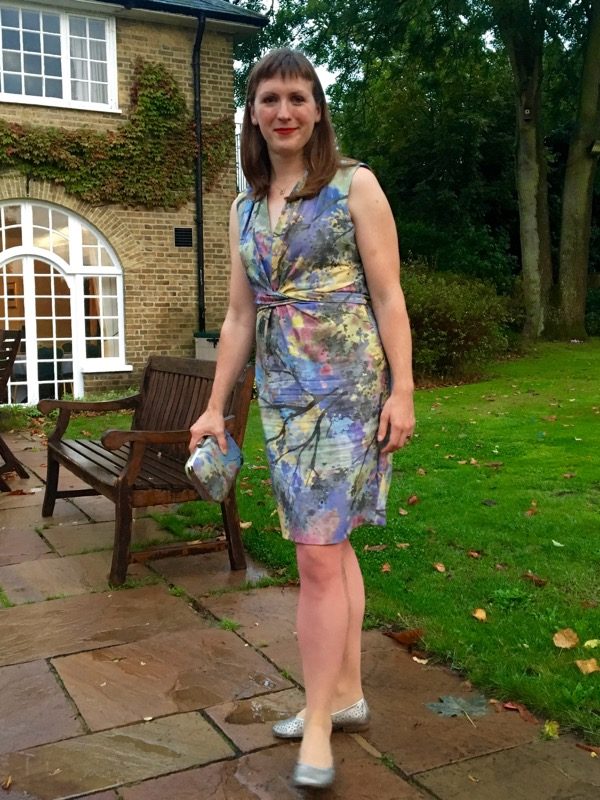
This dress was perfect for a late summer wedding, looking classy yet feeling comfortable, and the two-way ties meant I could keep the waist defined (as in these photos) for most of the day, but when thins got hot and sweaty on the dancefloor, I could tie them in front in a bow and be a bit cooler!
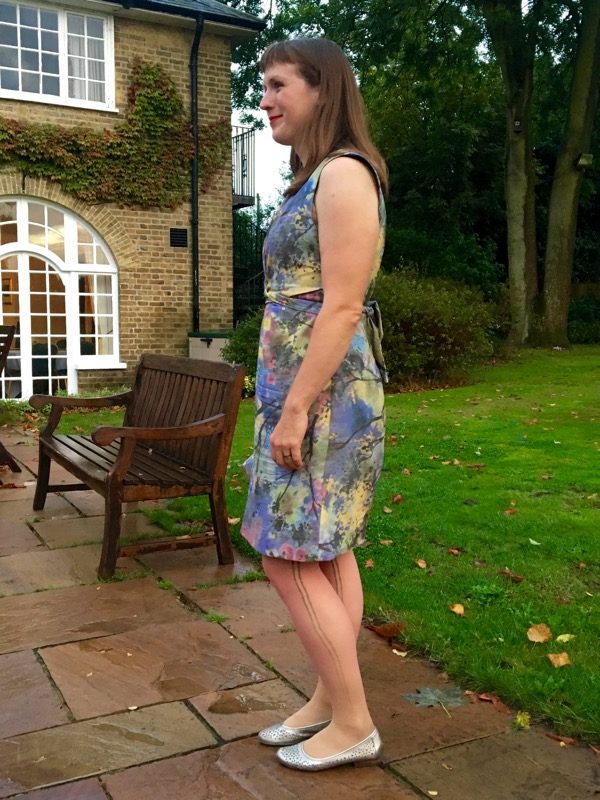
My only regret was that I didn’t have enough silk to be able to better place the print repeat on the back!
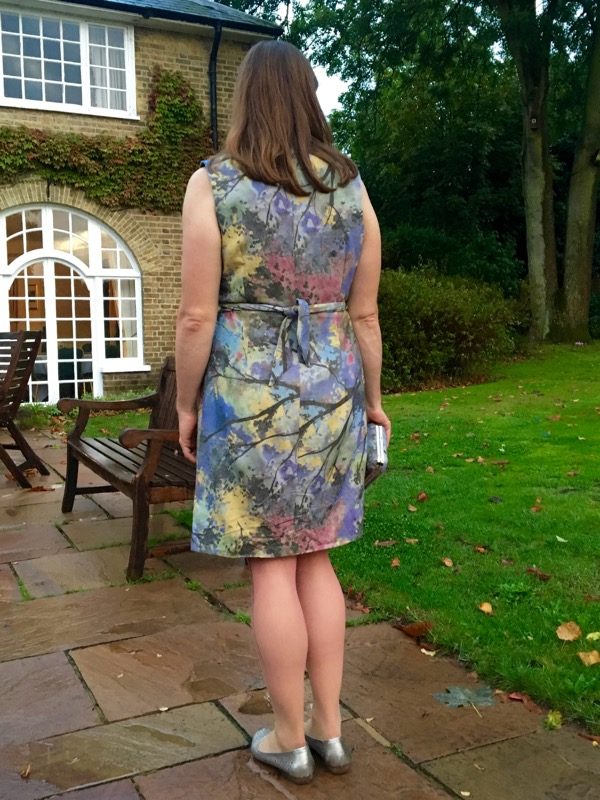
I got sooooo many compliments on this dress at the wedding, and I’m looking forward to taking it out on some nice dinners in future, too. As you can see, I also made a clutch bag to match this dress, but I’ve got lots more to tell you about that later this week!
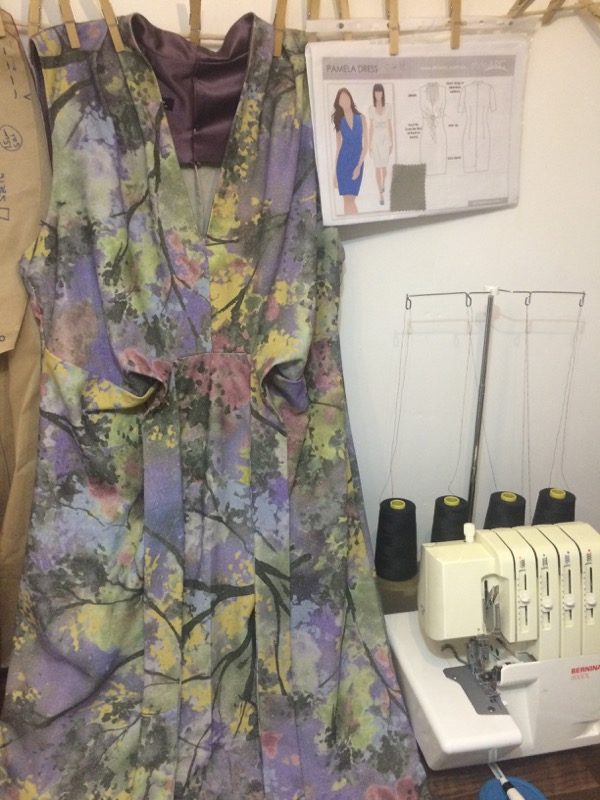
If you’d like to see another version of this dress (apart from my first one!) I saw my “style buddy” Allison C made this in a jersey last week, too!
