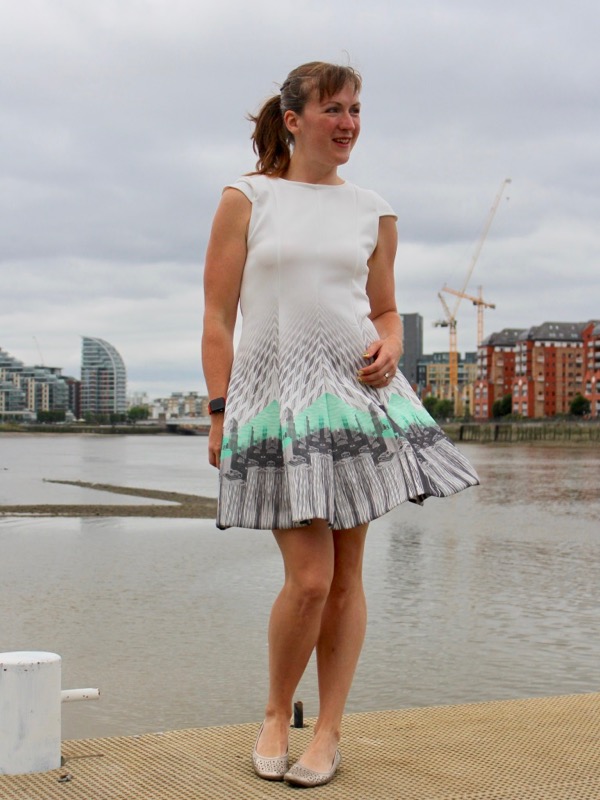
I was in need of a palate cleansing easy make after I returned from competing in Malaga and promptly came down with a cold (and made a wadder in the form of some deeply unflattering culottes that make me look 10 feet wide). Luckily, I had an invitation to attend the 25th birthday party of my local fabric store, Fabrics Galore, and while I sipped some bubbly I couldn’t help but do some shopping…
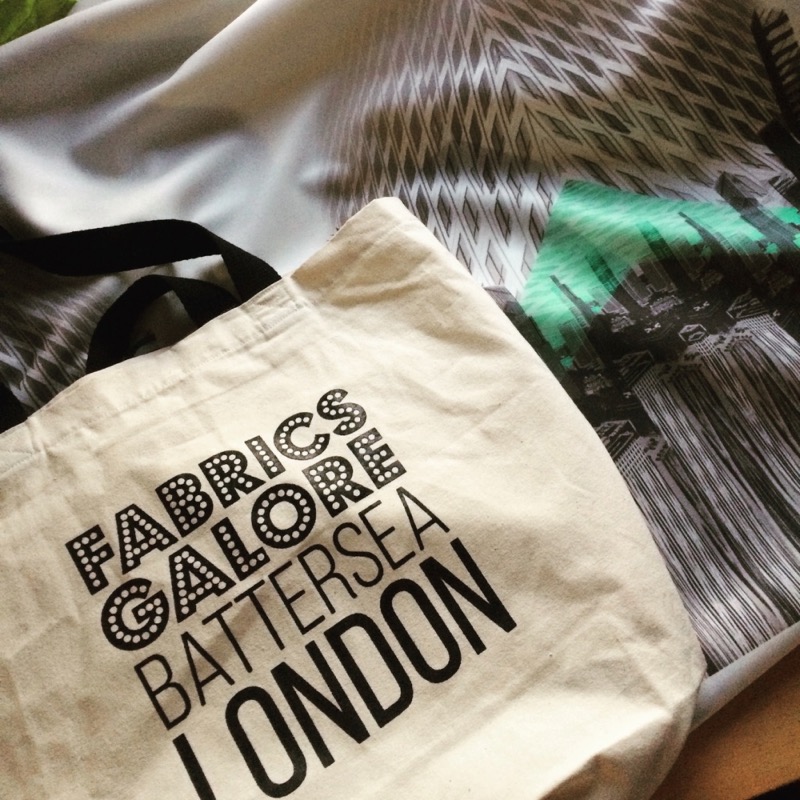
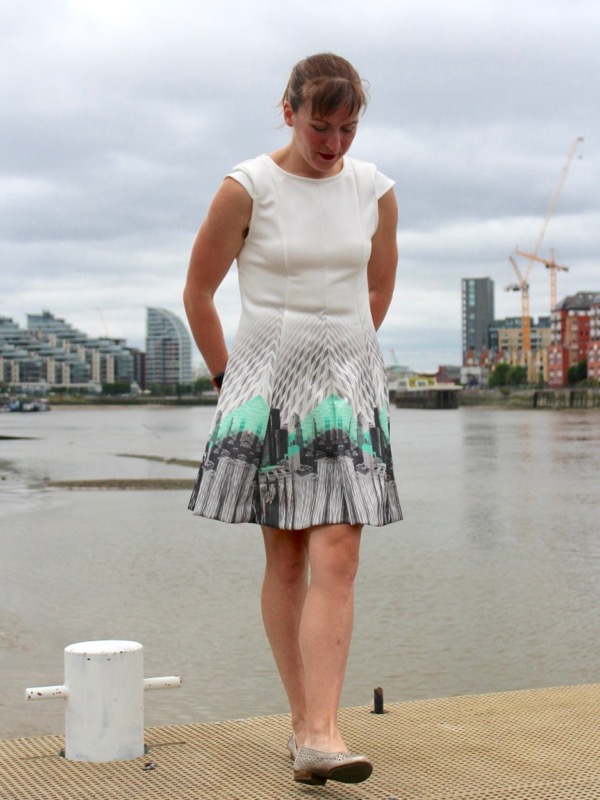
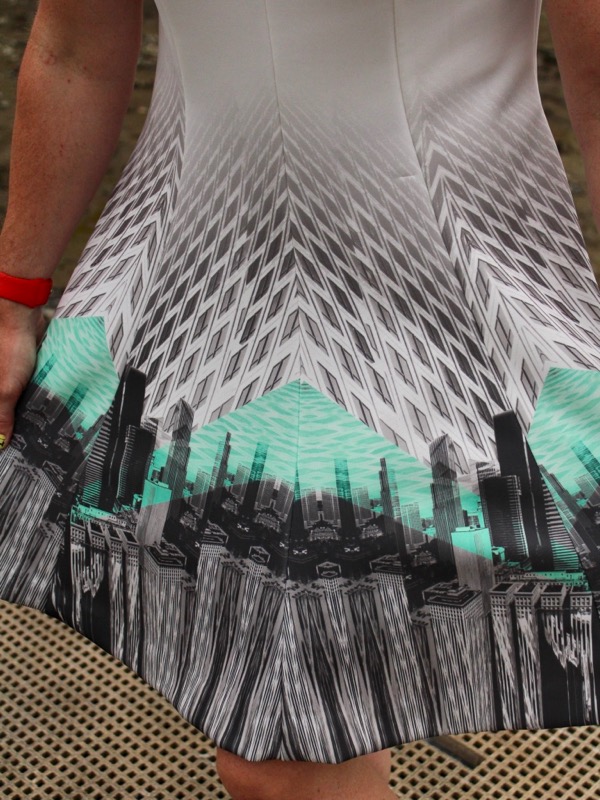
I was rather restrained but I couldn’t resist buying some of this skyline scuba jersey (also available online). It’s a digitally-printed fabric with the skyline fading to white in 0.9m repeats and some great pops of jade-green colour breaking up the otherwise monochrome print. It’s like it was designed specifically to hit all my buttons!! I was barely able to squeeze the length of the front pieces into the repeat, and in some places the print goes right up to the hem (increased to about 2in so as to hide the edge of the print), but I made it work and I love the finished effect.
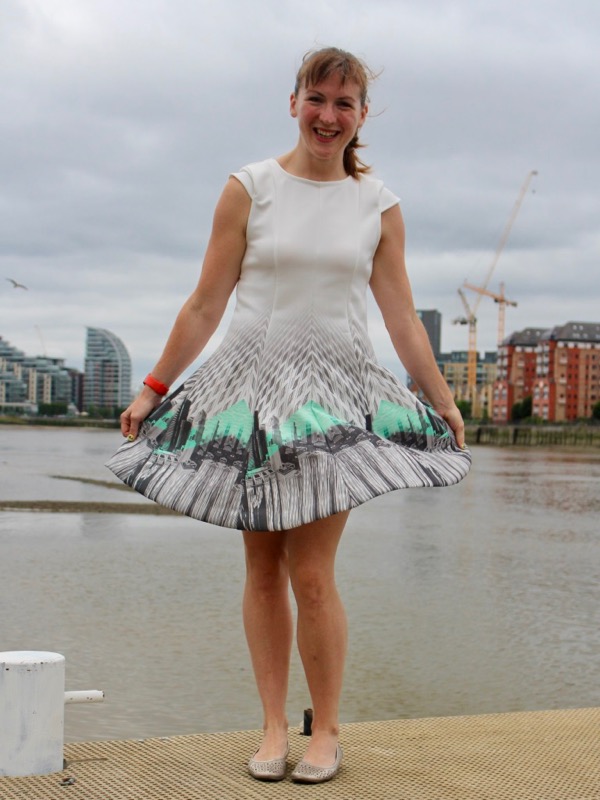
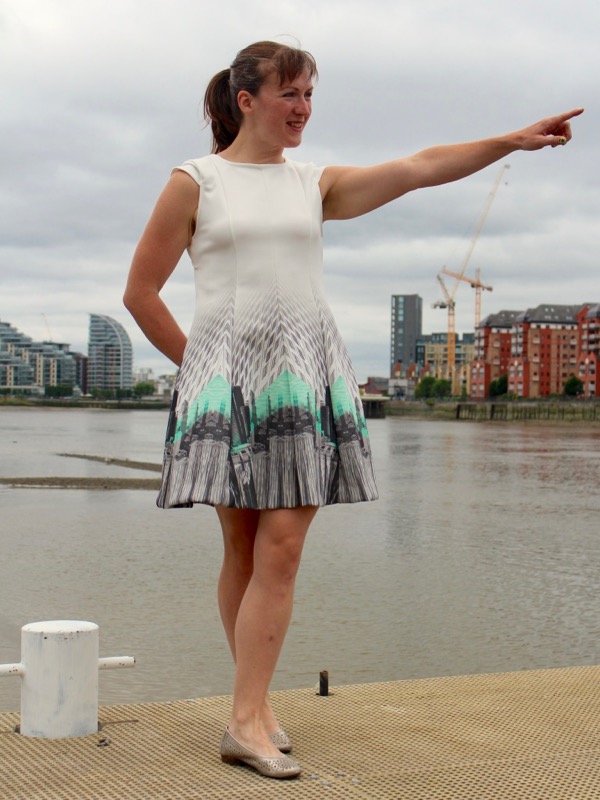
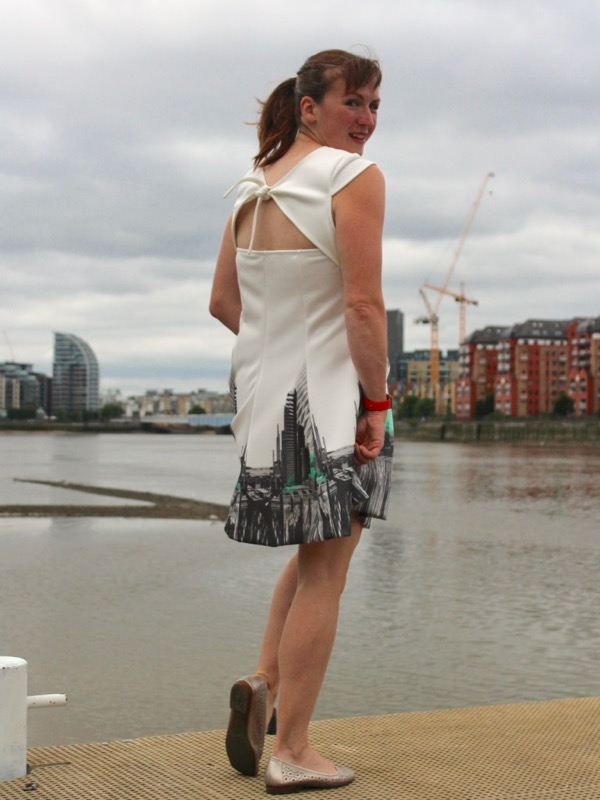
I used the Seamwork Gabrielle pattern, mostly because I absolutely love the semi-open, tied upper back! And the overall shape looked really flattering as well as being a quick one to sew up on the overlocker (serger), so it was clearly meant to be a match with my scuba!
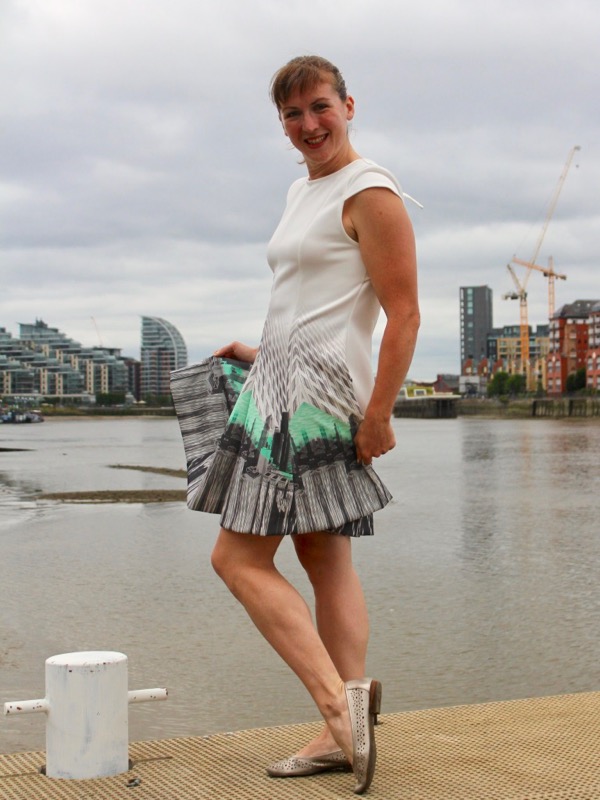
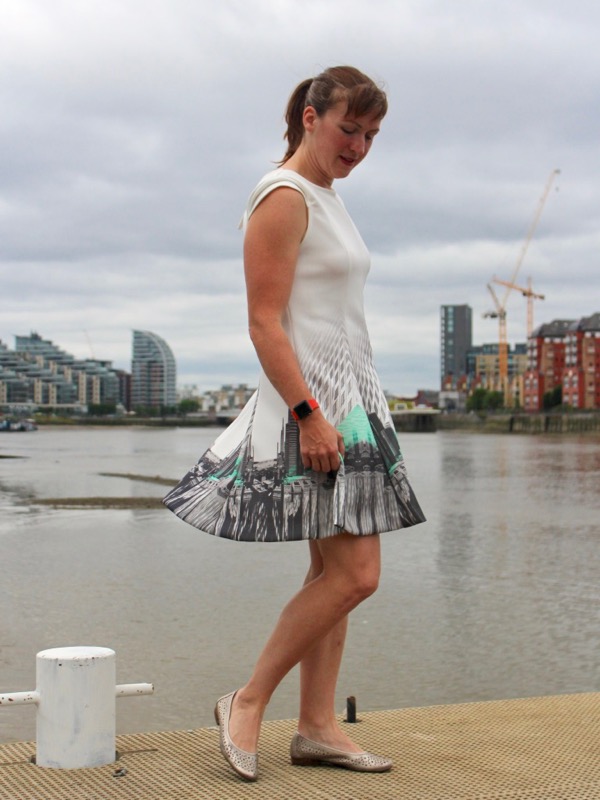
I went with size Large (12-14) even though I’m a 12 in their measurement chart, and sometimes Seamwork patterns run big, so I expected to take the seams in a tad. To be honest, the sizing and quality of Seamwork patterns has been all over the place – some I’ve utterly loved, but some have been a total trainwreck. I’m very happy to report that this one falls into the former category! The Large was actually spot-on for me, so if I was in the upper end of the size range I might even recommend sizing up a little if your fabric isn’t terribly stretchy.
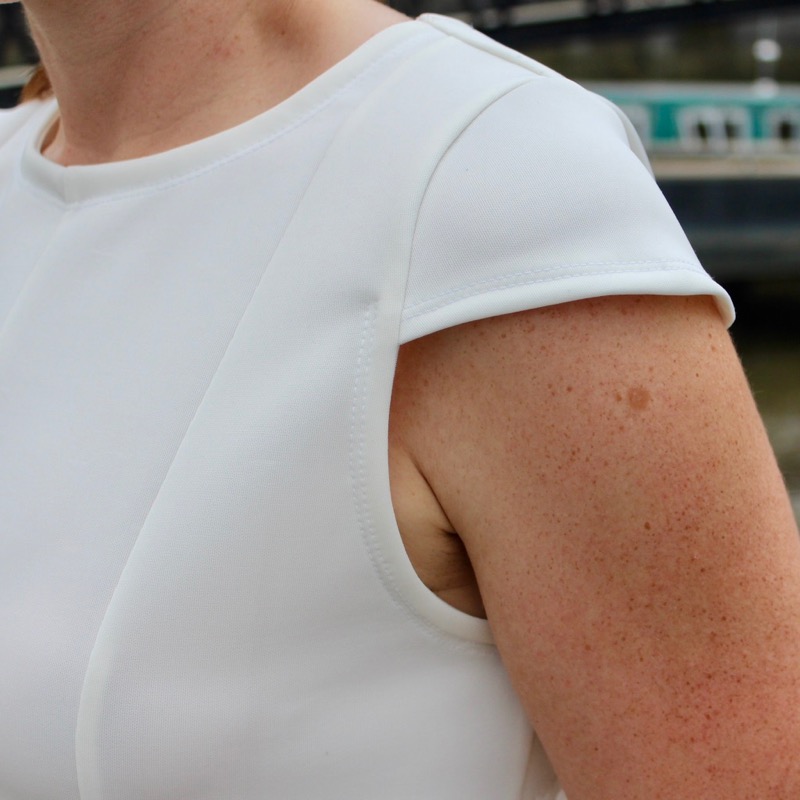
The instructions are pretty good (with decent illustrations, too), but I didn’t like the way they finished the edges here. I changed the fold-and-topstitch instructions for the neckline and armholes to use a crosswise strip of fabric as a facing instead, which I attached to the right side, flipped around, and then topstitched with my coverstitch machine. This results in a far, far neater armhole in particular as you can overlap the strip with the cap sleeve instead of having a cut and strained point where they join.
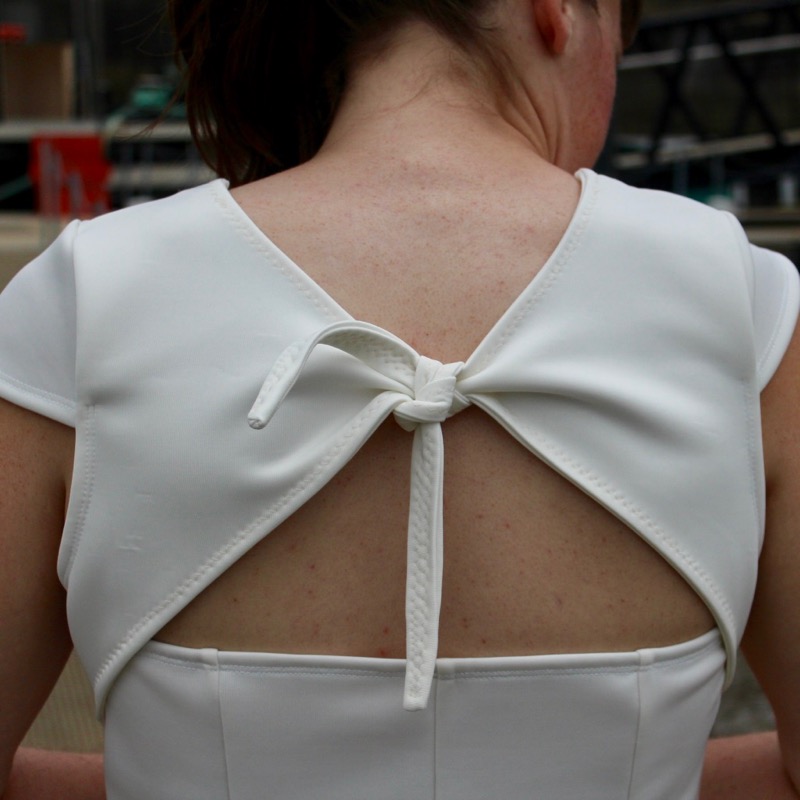
Scuba doesn’t press well (or at all), so I opted to zigzag topstitch the edges of the upper back flat. This is self-lined and therefore a bit thick, but it makes the edges sit much neater. The upper edge of the lower back pieces is edged in elastic – I couldn’t find a mention of what elastic to use, so I went with my favourite 1cm (3/8in) which I use very frequently in my activewear makes.
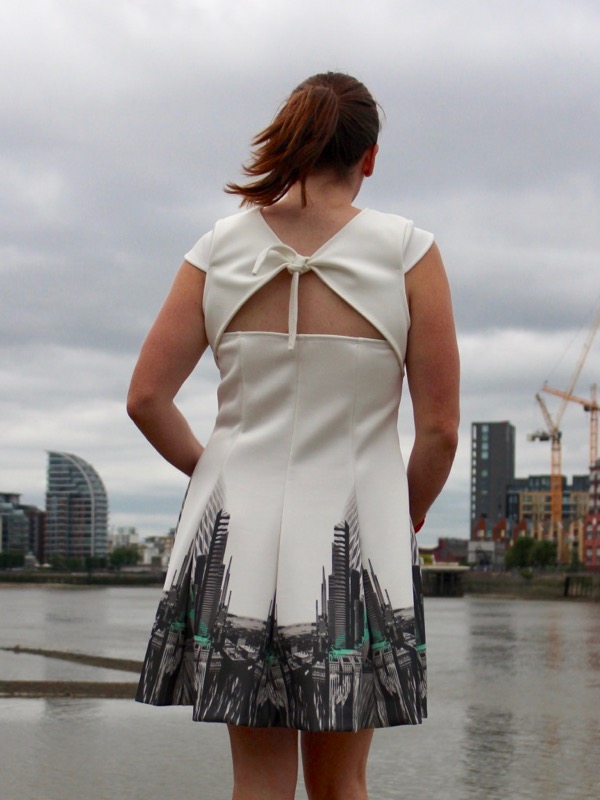
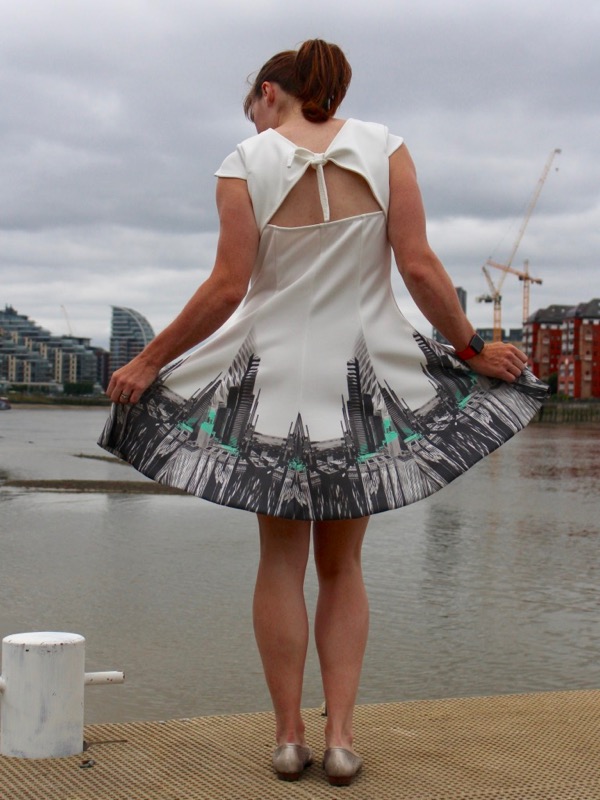
I chose this pattern expecting the back shape to be pretty bra-friendly, and it partially is – the horizontal piece is high enough to cover my bra band, but unfortunately the opening isn’t quite wide enough to hide my bra straps, which is a bummer. I’ve had to resort to my sticky silicone bra cups for this shoot, but a strapless bra would also work.
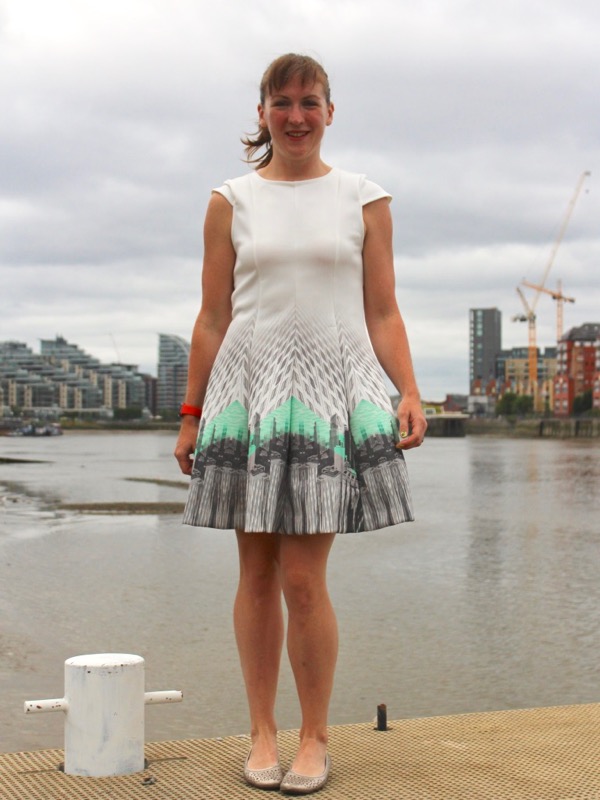
One note about construction – it’s really, REALLY easy to confuse the side seam and the shoulder seam edges of the upper back (yoke) piece, since they’re almost identical widths, and the side seam notch could easily be interpreted as a notch to align to the front princess seam. So if you’re unsure, definitely sew the shoulder seams with your sewing machine rather your overlocker to make unpicking easier (which I’m glad I did!)
If you’d like to try Seamwork, if you use my referral link here you can get the first month for half price (with no obligation to continue), so for $3 you get two patterns of your choice from their back catalogue. So you can choose to get Gabrielle and another for only $3, which is a pretty sweet deal!
