I’ll admit it – I thought jumpsuits were going to be a passing fad when I started seeing them popping up a few years ago (Brazilian pattern magazine Manequim was definitely at the forefront of this!). But it’s been several years and they don’t show any sign of stopping, and I even made myself one a few years back. I didn’t wear it much, though – not for being a jumpsuit, but for having an overly long crotch that irritated my thighs – and it’s since gone into the great charity shop bag in the sky.
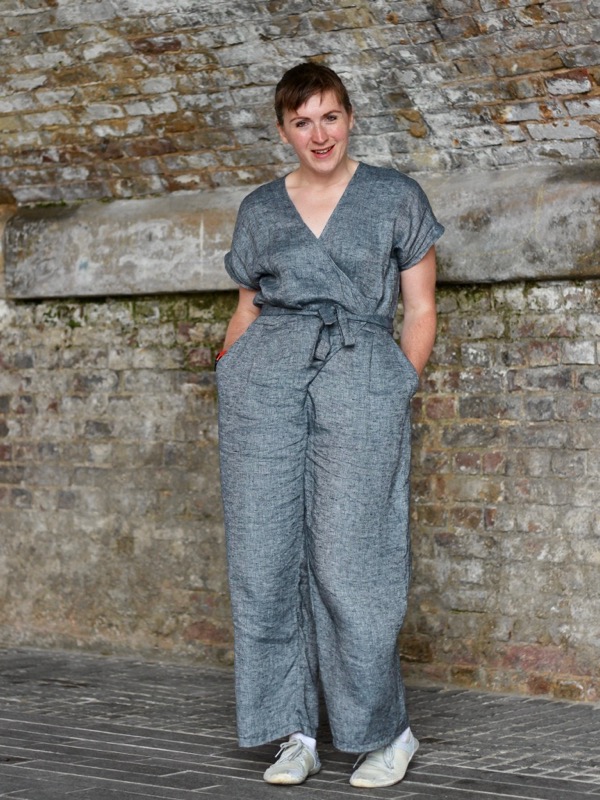
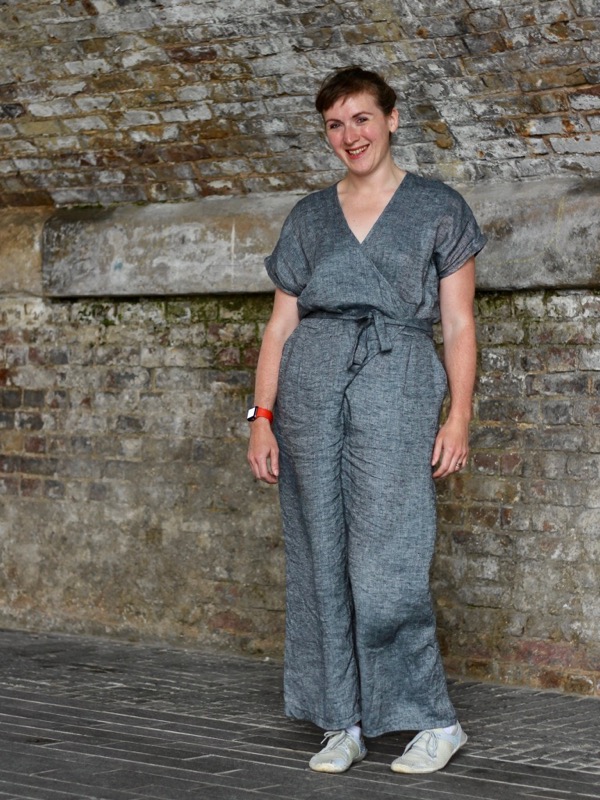
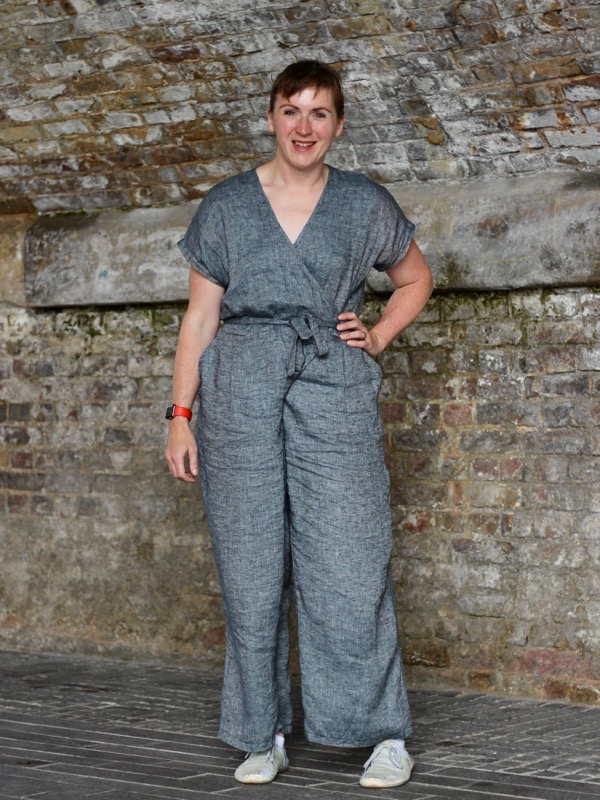
I share all this only to illustrate that I’ve got a checkered personal history when it comes to sewing jumpsuits. But when the Paper Theory Zadie Jumpsuit pattern was released, I knew I wasn’t done with jumpsuits just yet. It had all the right details – a flattering wrap-style bodice that made it easy to get in and out of, big pockets, and a casual-yet-dressy vibe that I just couldn’t shake. And that my girl Sanchia was the model for it was just the cherry on top!!
So I bought it, followed quickly by some fabric earmarked for it – this heathered rayon/viscose twill from Mood Fabrics, which I brought back in my suitcase from the States last month. In total this fabric cost me $50 (about £40), which seems reasonable considering the final garment and the wears it’s gotten already.
I even managed to fit it all into the 3 yards I bought! It’s good that I’ve got an advanced degree in Fabric Tetris, though because the included layout diagrams were no help at all, since they were all single-layer. I get that the designer was trying to be eco-conscious and get people to try and save fabric, but when you have limited space and time, there’s no sane reason to cut everything single layer if you don’t have to. Especially when you can still fit it into less yardage than the pattern suggests anyway!
I made a few pattern adjustments before I started, which is a bit unusual for me, but I didn’t want to buy (and ultimately throw away) more fabric just to sew a muslin:
- I sewed a size 16 – my body measurements put me between 14 and 16 but there is a lot of ease in this. I was slightly afraid I might be swimming in it, but I think the finished garment is nicely balanced between the loose areas and the cinched waist.
- I raised the waist seam by 2cm (my only usual alteration)
- I raised crotch by 6.5cm (the crotch is reeeeeeeeeeally low on this, as often is the case with jumpsuits. I may have gone slightly too high – I think 4.5cm would probably be perfect)
- I lengthened the leg by 14cm as I didn’t want it cropped. In the end, I actually sewed a 2cm hem instead of 4cm, which would mean a full 16cm added, and it’s still not quite a full length leg on me! In future I’d add another 2-3cm to make it even longer.
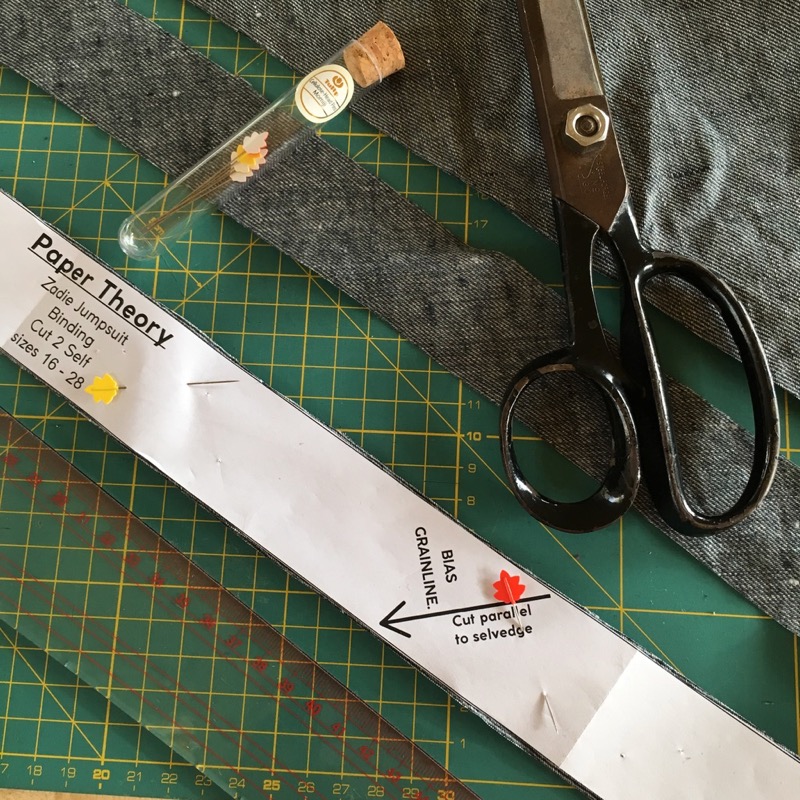
- I had to seam the belt/tie pieces to fit into my layout. No biggie, as you can’t see the seam when it’s tied anyway.
- I cut the Back bodice cut on fold (removing the CB seam allowance) as it was perfectly straight and on grain and seemed unnecessary, especially as I could make the layout work without issue.
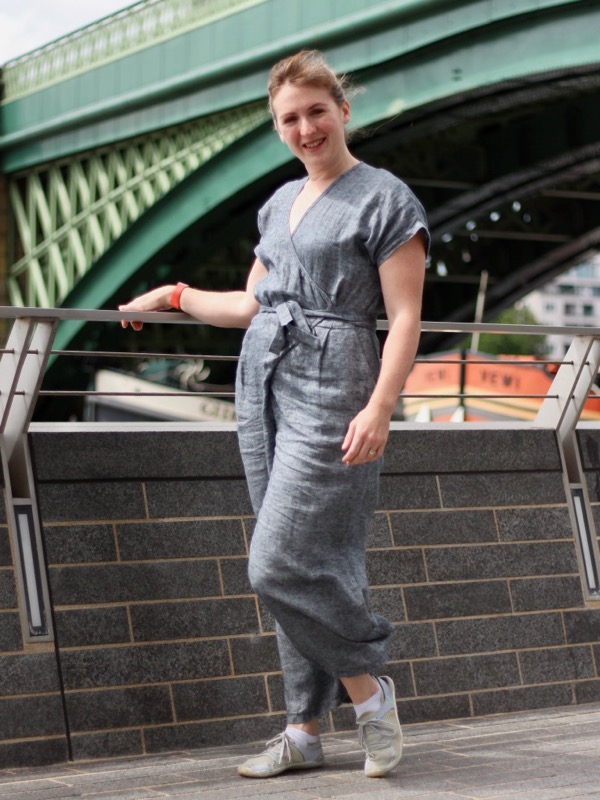
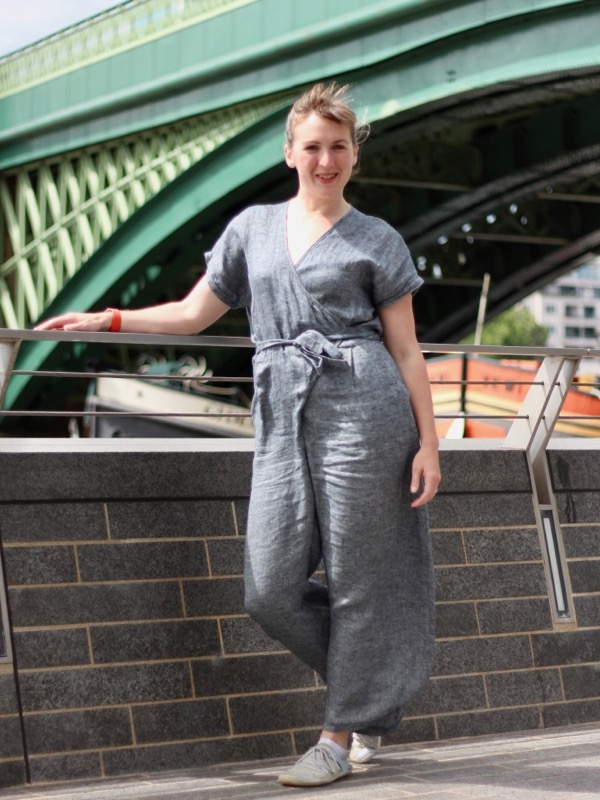
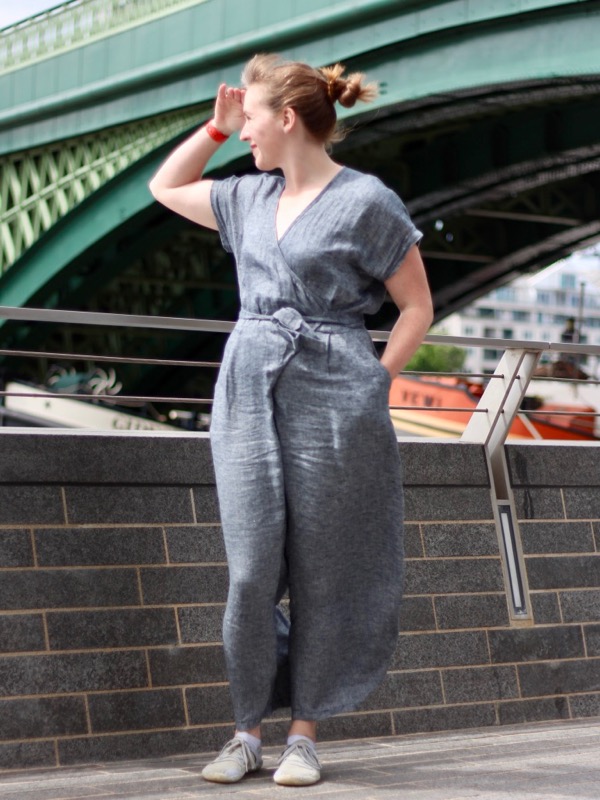
This fabric may technically be viscose, but by god does it ever feel and wrinkle like linen! We shot these photos on a particularly windy day, so you’ll just have to imagine how much the legs were moving in the wind while we tried to get the perfect shots!!
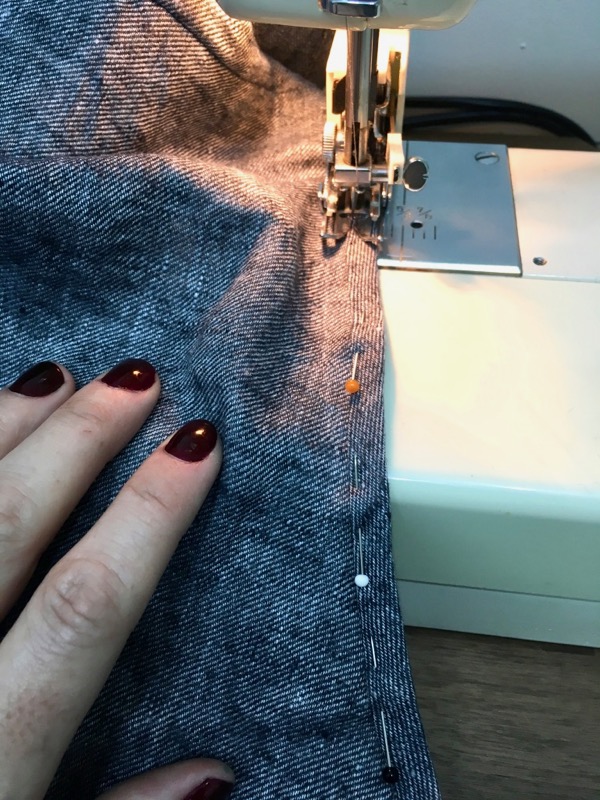
The instructions were pretty good overall, but I did make a few changes when I made mine. Particularly, in the past I’ve had pockets like this stretch out with wear, so I took the liberty of reinforcing the pocket opening edge with Vilene bias tape before sewing. My fabric isn’t particularly stable and since it was on the bias I’d rather be safe than sorry.
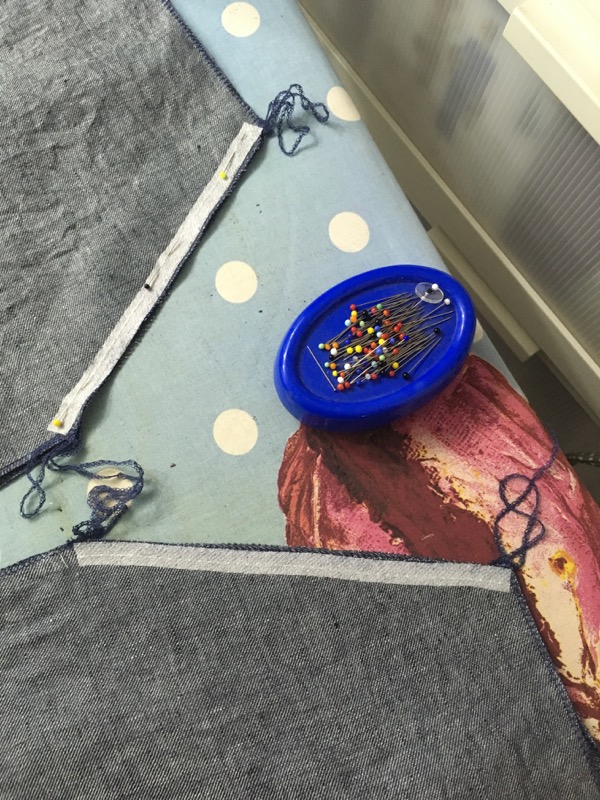
Another change I made based on experience was to staystitch the neckline edges BEFORE doing anything! The instructions have you staystitch really late in the process, after it’s had tons of time to stretch and distort, and I didn’t want to take any chances.
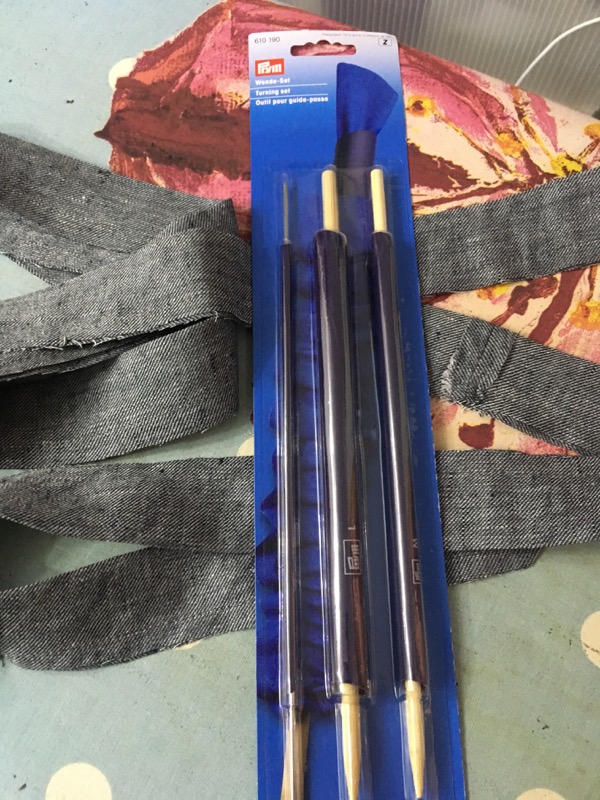
Rather than sew the long edges of the belt/tie, flip it right side out, then tuck one of the short edges inside and sew shut, I opted to sew the the long and short sides closed before flipping, and then used my handy Prym loop turner to flip it right-side out. I hadsn’t used this tool before, but it was SO slick and made it much easier to have a neat end to my ties.
When cutting out my fabric, I also added 2cm to the sleeve edge to allow for a deeper (3cm) hem. Since there’s an optional longer sleeve piece you can add on, if you go for the short sleeve option, you only have the 1cm seam allowance to use as a hem and I wanted something a little deeper. I think adding a band would also be a nice option here though!
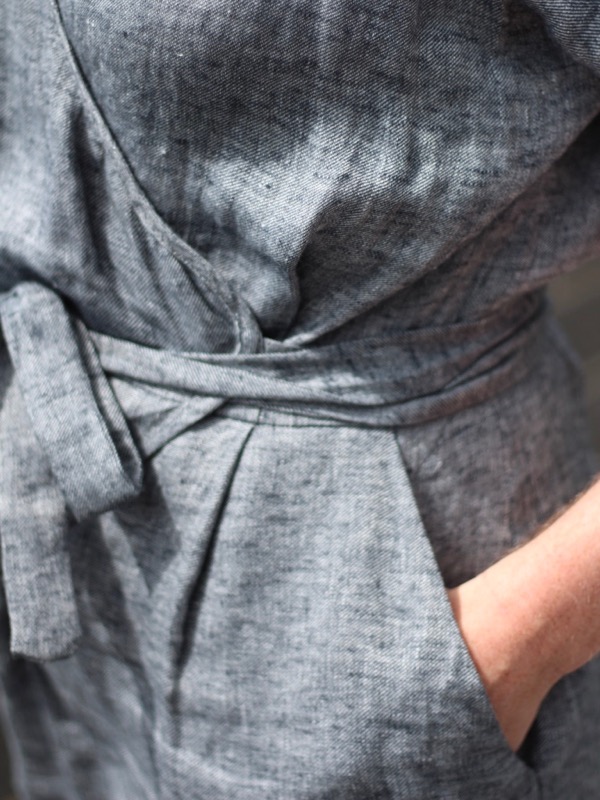
I just love the big pockets on this! But I mean, who doesn’t love big pockets?!
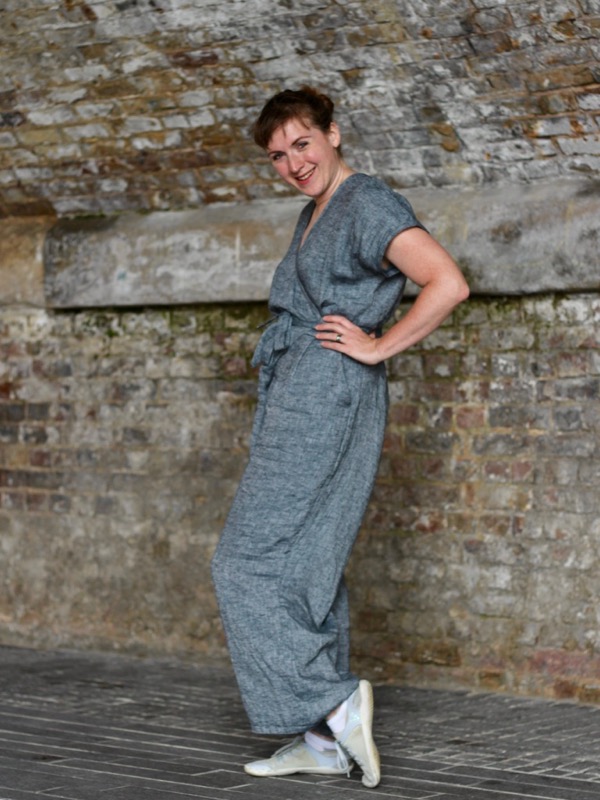
Overall, I’ve found that the nipped-in waist is very flattering, and the tie closures mean it’s fully adjustable if you are one of those women whose weight tends to fluctuate a bit.
Truth time, however – I do not wear wide legged trousers, as they always make me appear about 3 feet tall and 10 feet wide, no matter how much I have tried over the years. So I was deeply unsure about the final jumpsuit. I took some quick photos, consulted friends, and opted to hem them as is, test-wear it to work, and then decide if I wanted to narrow the legs.

During my day at the office I got no less than FOUR unsolicited compliments and one “omg this is exactly the jumpsuit I’ve been looking for, can you teach me to sew so I can make one??”
So I guess I’m keeping this exactly as it is!! For my next one I may experiment with a carrot-shape leg though.
What about you though – would you sew a jumpsuit even though it may be out of your comfort zone?