Thank you all for your comments and sympathy regarding the death of my father and my tribute vest. I’ve been sewing a LOT over the past few weeks while he’d been dying, but for obvious reasons I hadn’t felt like writing blog posts or taking photos, so I’ve got a bunch of garments to show you, completely out of order and with some photos taken recently and some from weeks ago (just don’t look at the length of my hair too closely!).
The first I wanted to show you is the Rest Vest from MadeIt patterns – a new-to-me pattern company that is also based in London! This is the pattern I used for my tribute vest, but this version today is the one I made first.
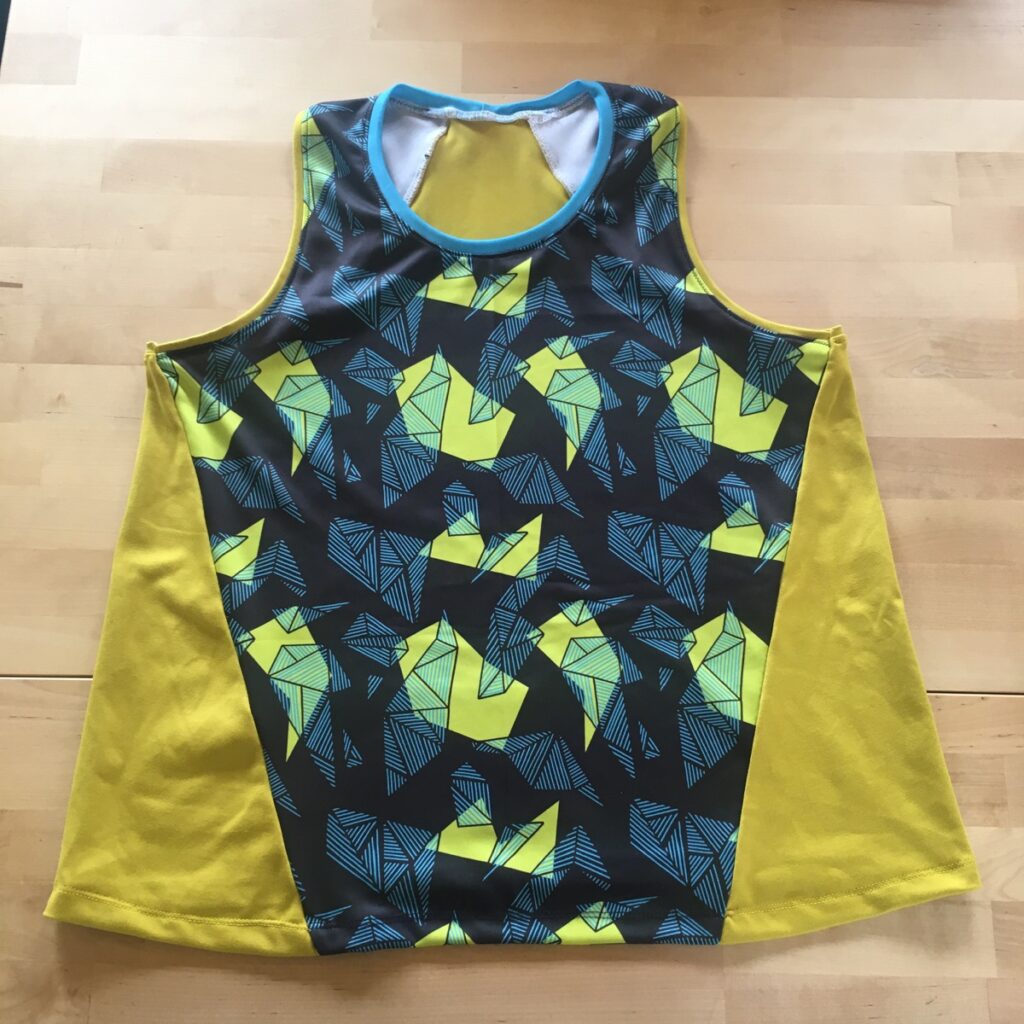
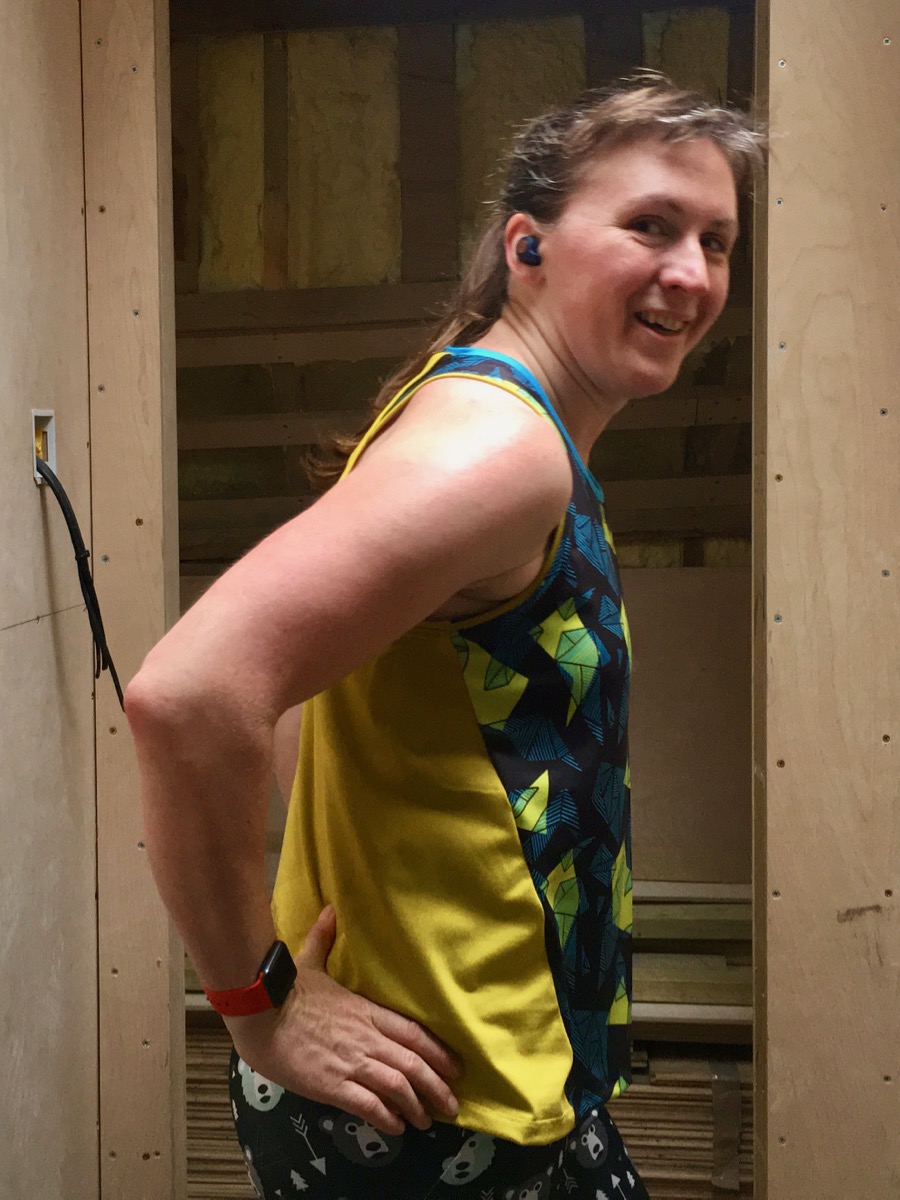
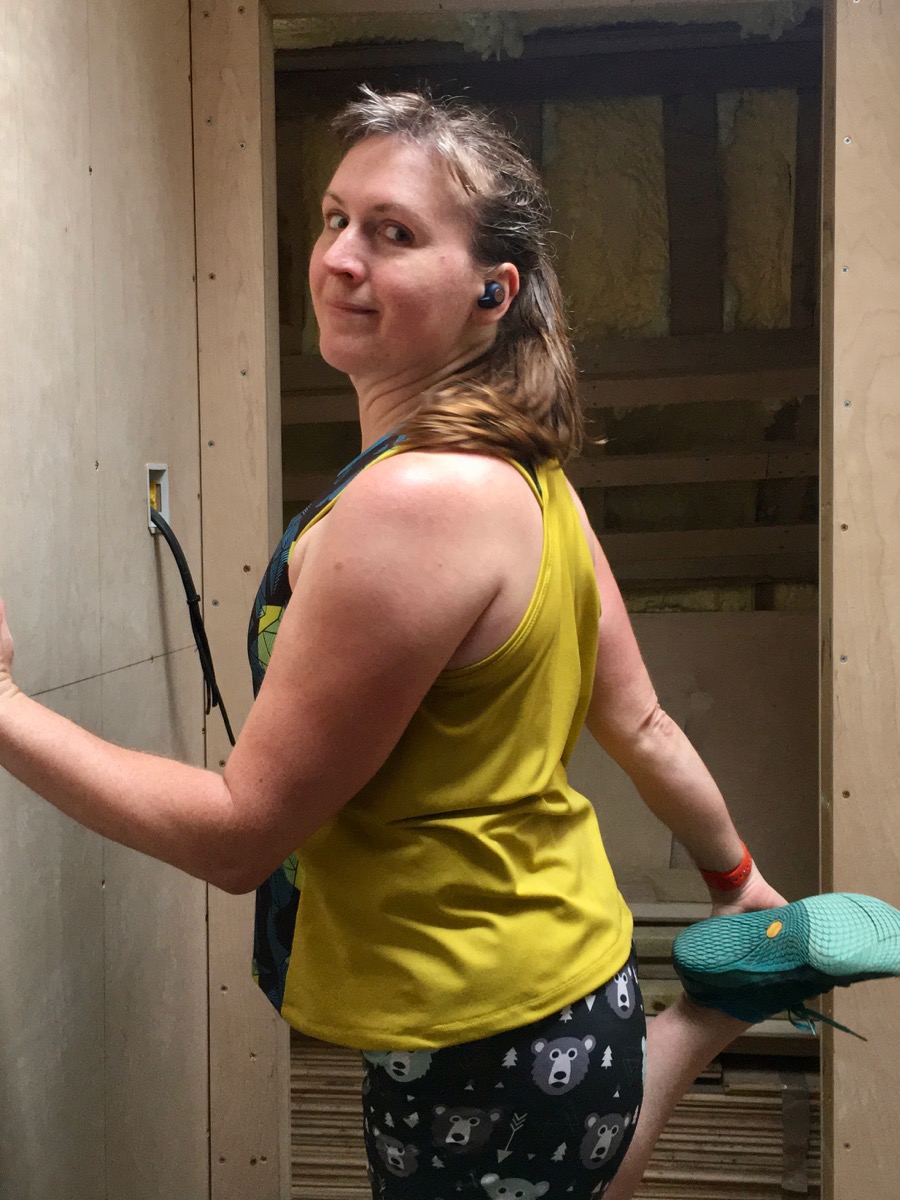
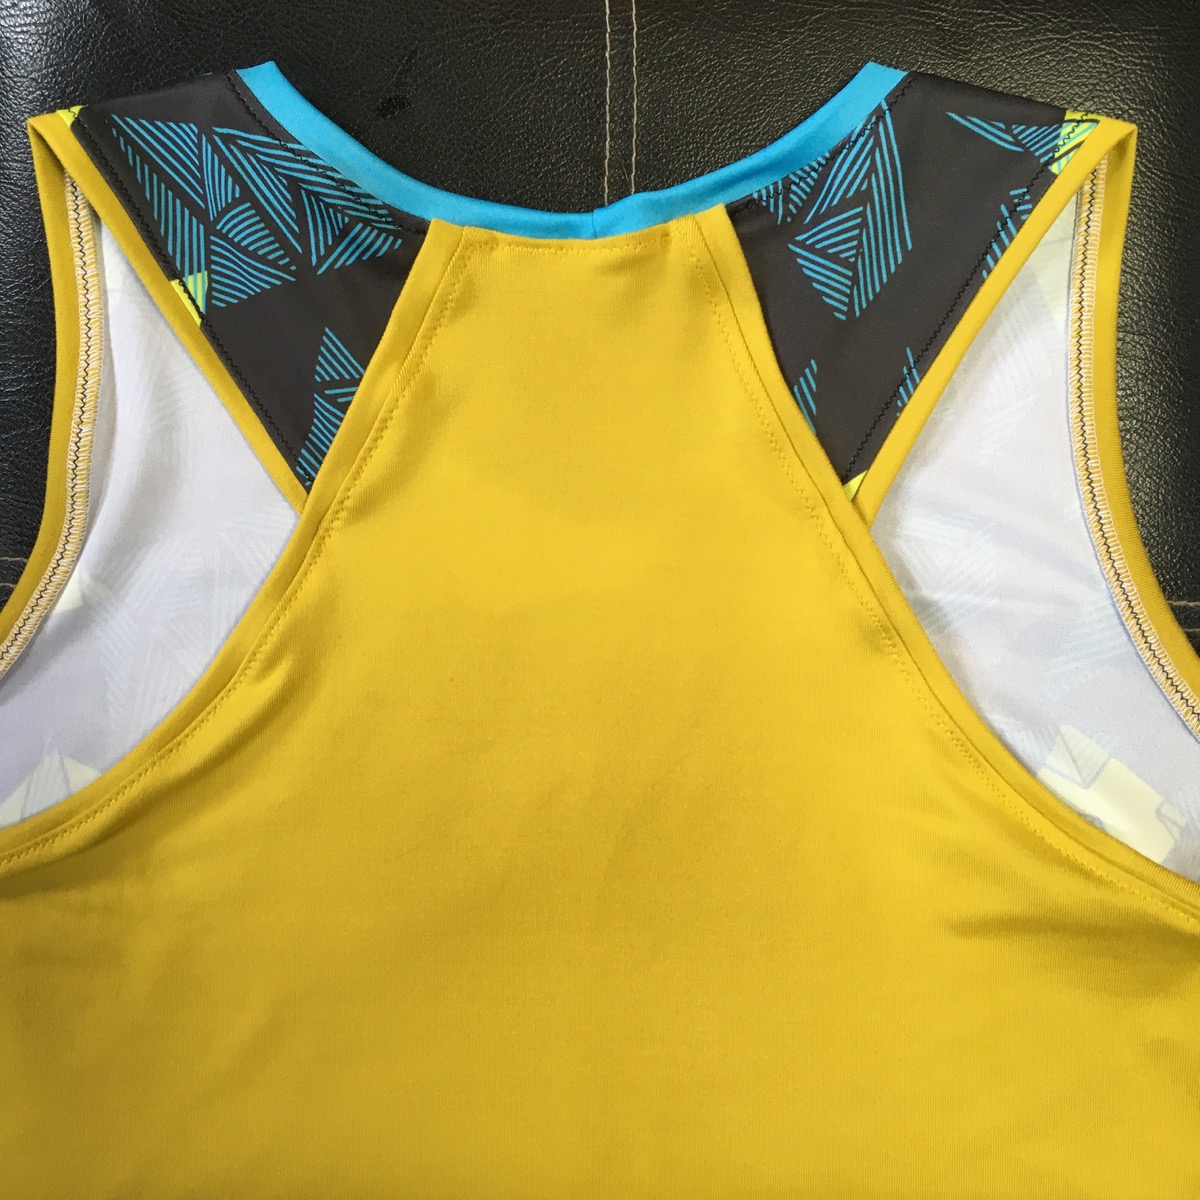
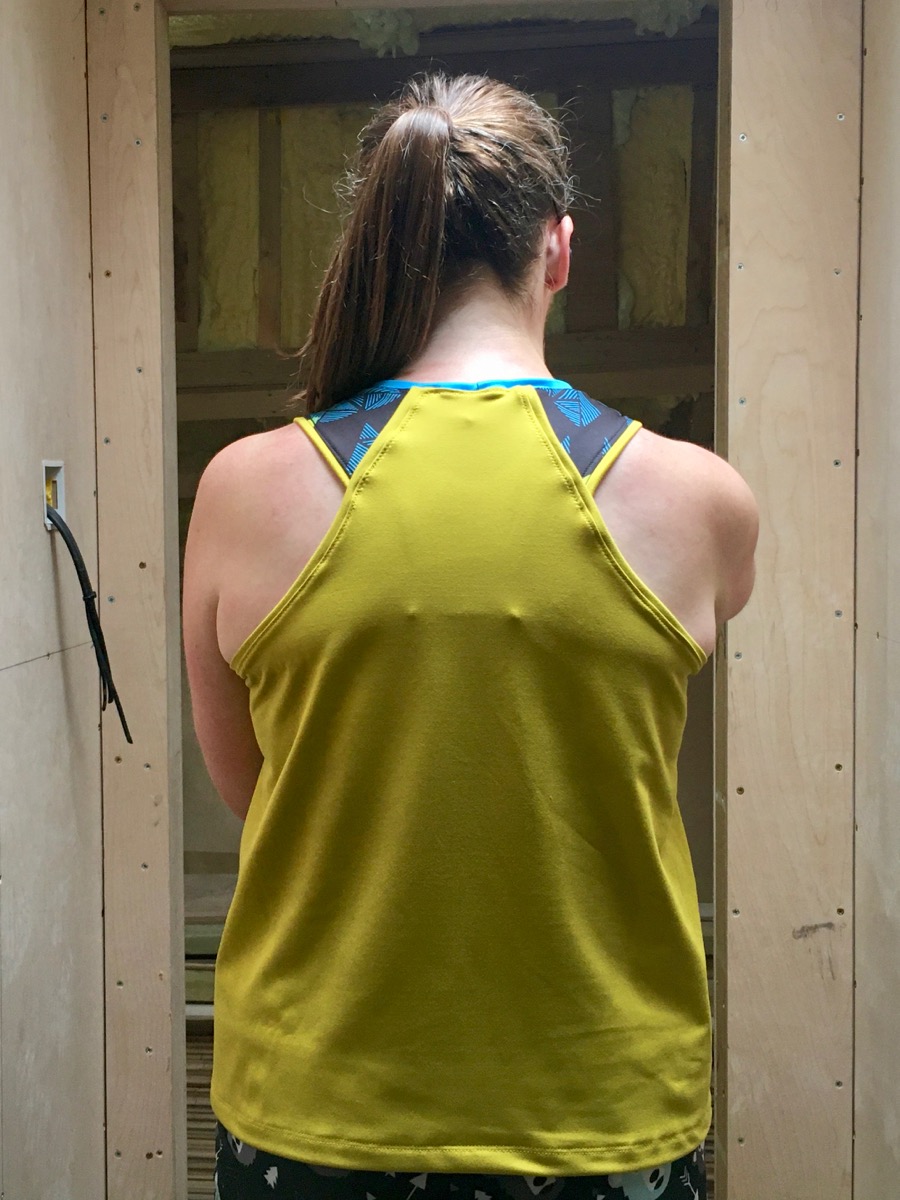
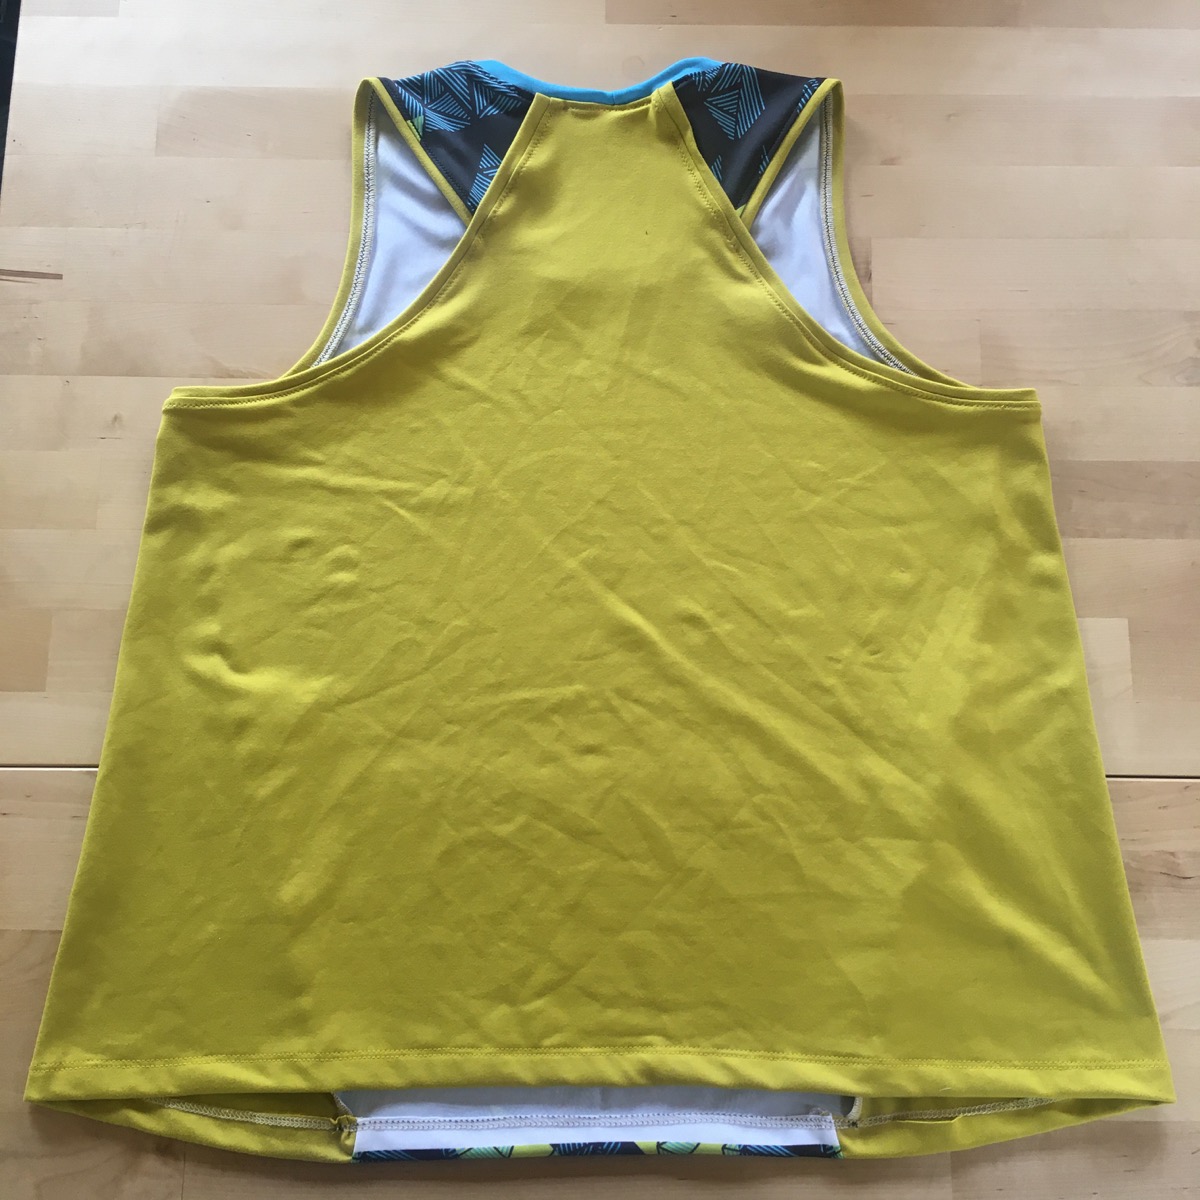
I saw the back view of this vest (British English for “tank top”, Americans!) in my Instagram feed and basically clicked buy then and there. It was still under its launch discount, too, which was just a bonus, but I love that the top wraps around at the back to create that upper back interest and the back wraps around at the body to shift the side seams forward. It feels like a design I’d draft myself, which is high praise indeed!
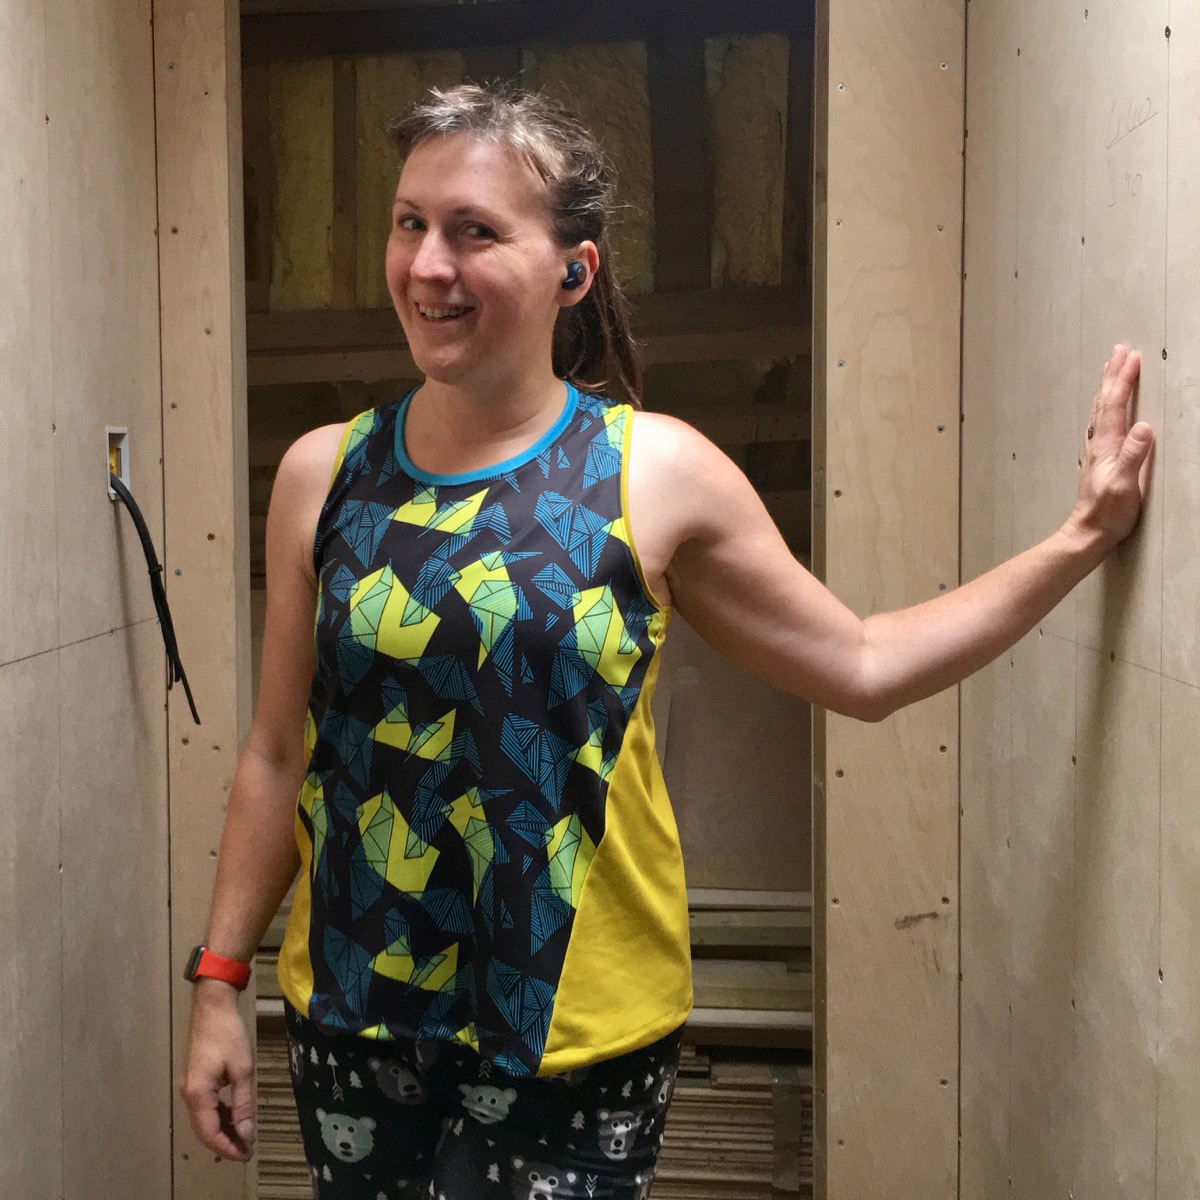
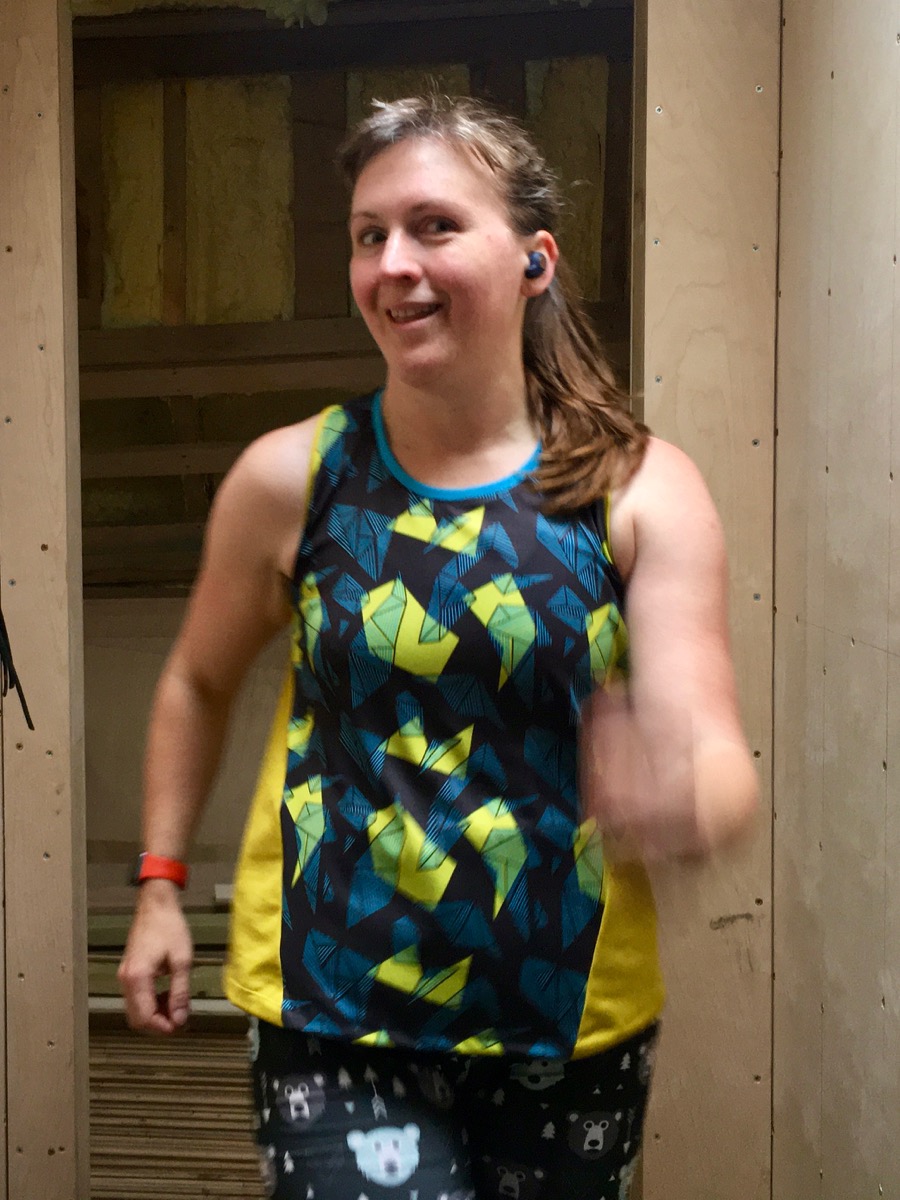
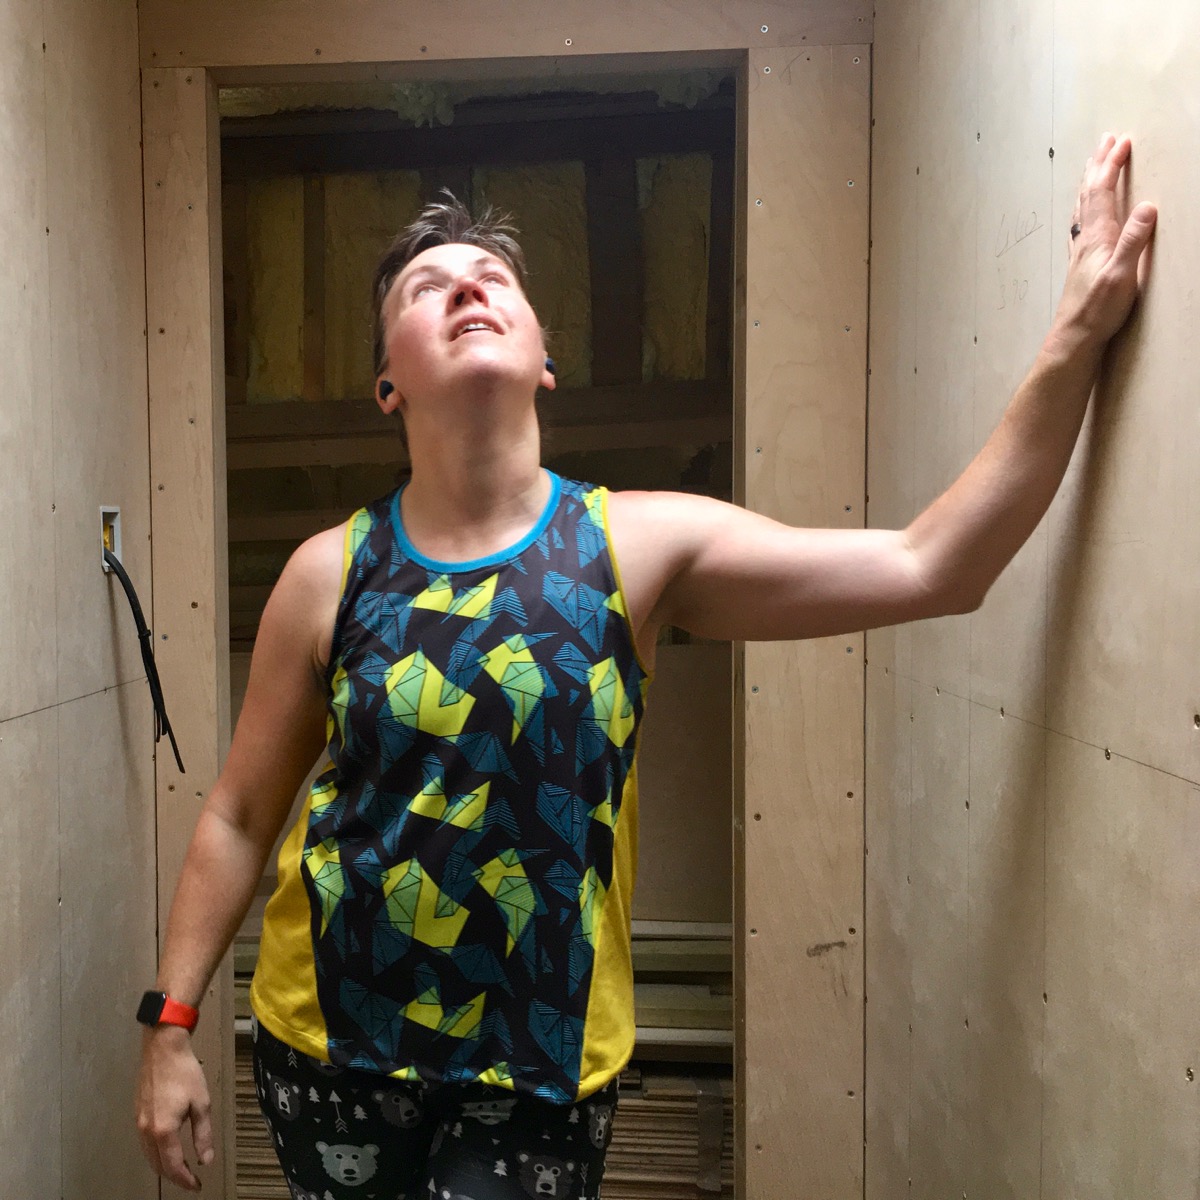
I also like that it looked great for activewear and casualwear both, so of course my first version was in activewear fabrics! It hardly takes up any fabric so I thought I’d try to use up some bigger offcuts in my stash, and I found a bit of Laurie King fabric leftover from when we did the original Print Club collaboration on Spoonflower. This was back when their only activewear base fabric was the performance piqué, which only has stretch around the body, and none lengthwise, which can cause problems in tight-fitting garments, but was absolutely fine here. Long-time readers might also recognise the citron yellow supplex from one of my favourite-ever pairs of Steeplechase Leggings!
The instructions were great and the photos were super-clear (usually I prefer illustrations but these photos were fine!). I changed the binding of the armholes to be banded and topstitched instead of bound – this uses a reverse of the same binding technique that Jalie uses (attach to the right side and fold and wrap around to the inside and topstitch). I’ve tried it a few times in the past but it’s really difficult to get a neat finish IMHO, so I try to avoid it. Instead I folded the band in half, overlocked to the edge, then topstitched the edge of the body pieces with a narrow zigzag stitch.
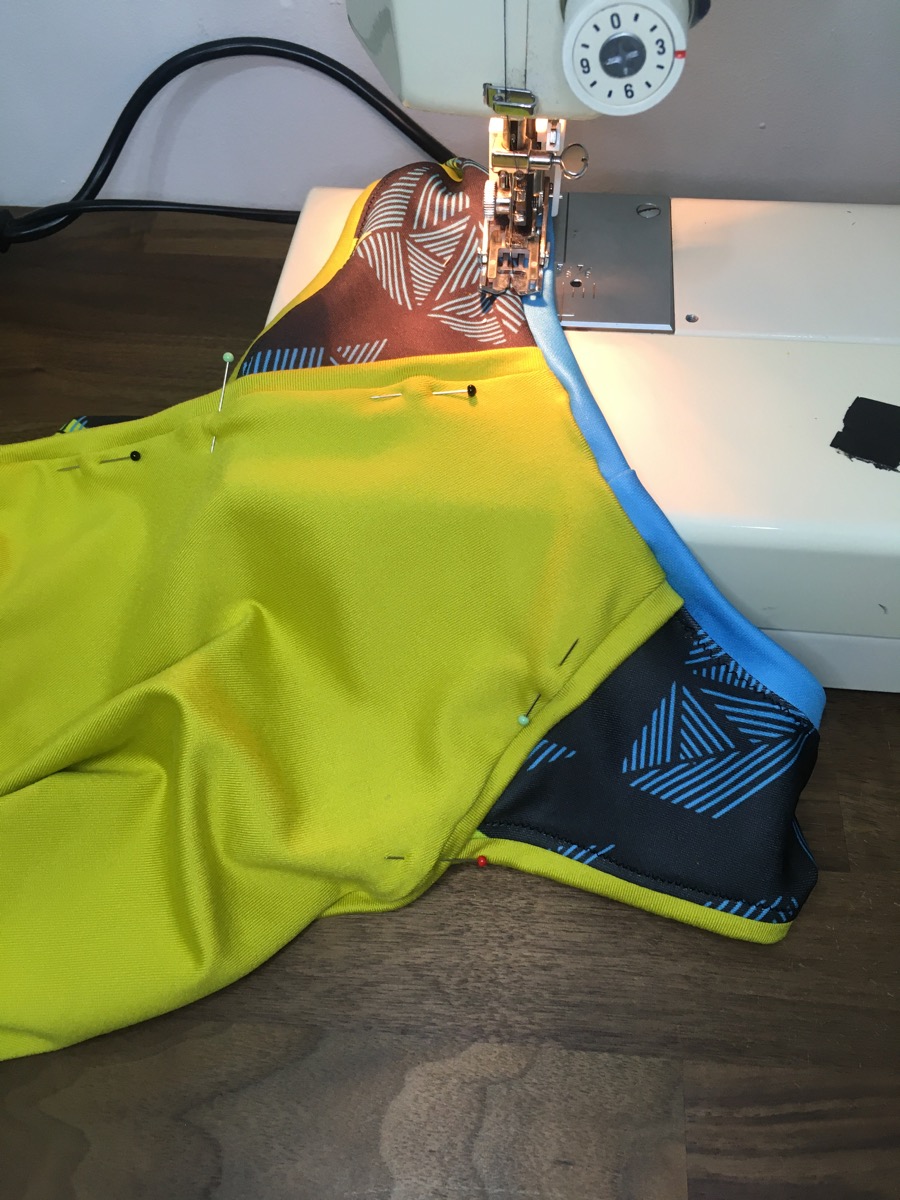

This meant I changed the construction of the attachment at the upper back slightly – I placed the folded band in between the Back and Front before overlocking the entire Back armhole in one go. I think it looks just as nice as the original and (for me!) was far easier to accomplish on the overlocker (serger). But I respect that all the instructions are based on the sewing machine and don’t assume you have an overlocker (serger), which I do in my patterns, too!
When I make this again I might even get out my coverstitch binder since the pieces are all flat (and not in the round).
The only real change I made in my second, tribute version was to pinch out two inches from the Back to make it a bit closer-fitting through the body (the designer has mentioned on Instagram that she’ll be releasing a closer-fitting variant of this pattern soon, too), though I also shortened it by about two inches, as well. I think I prefer the still-roomy-but-not-quite-as-big fit of the blue one so I’ll use the same modified back piece when I make more.
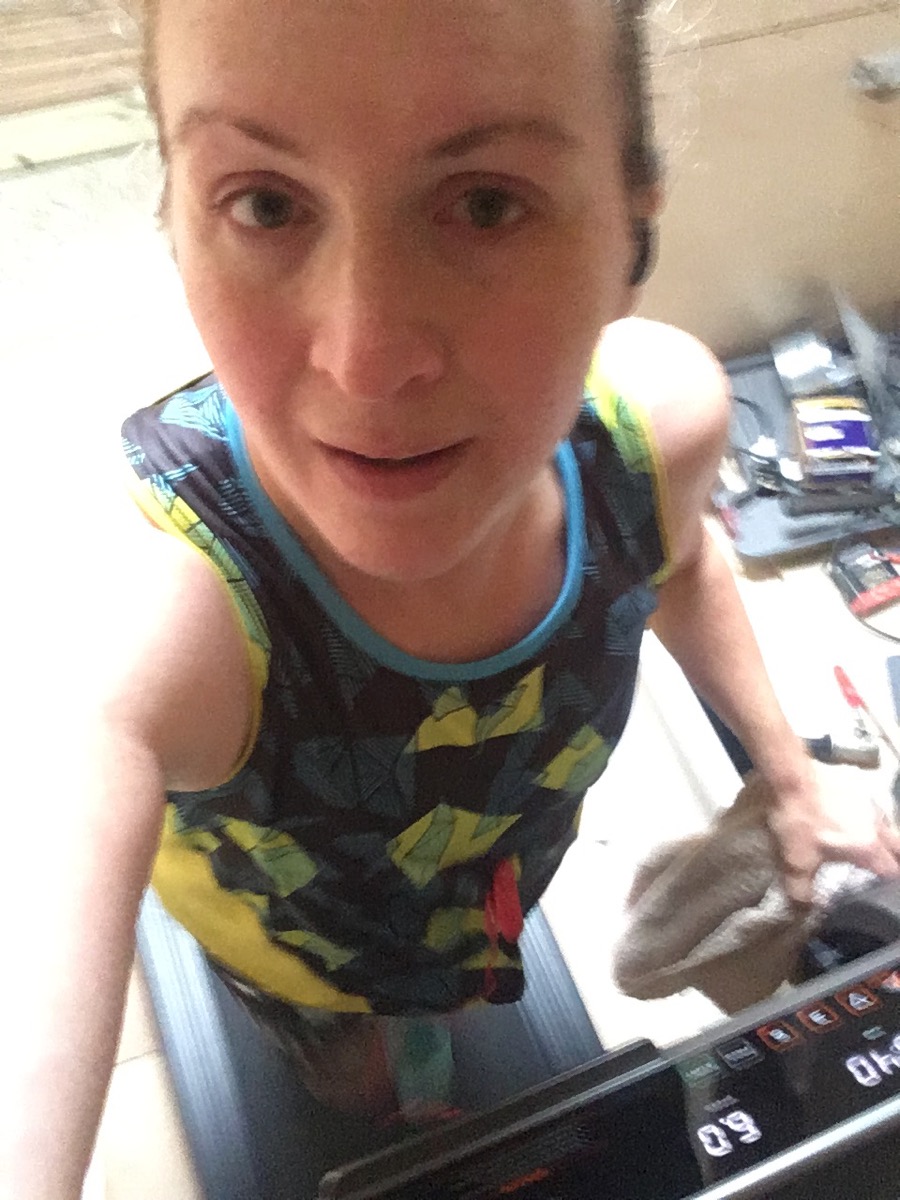
(Genuine treadmill selfie here!)
I’ll definitely be making more, too! It adds to my stash of summer running tops (see also here & here) but I have a few 1m lengths of casual knits in my stash I’d love to sew up, too!

If you’re looking to support more Black indie designers, then I’d certainly recommend MadeIt Patterns – they’ve got interesting designs that are well drafted and with clear instructions, too.