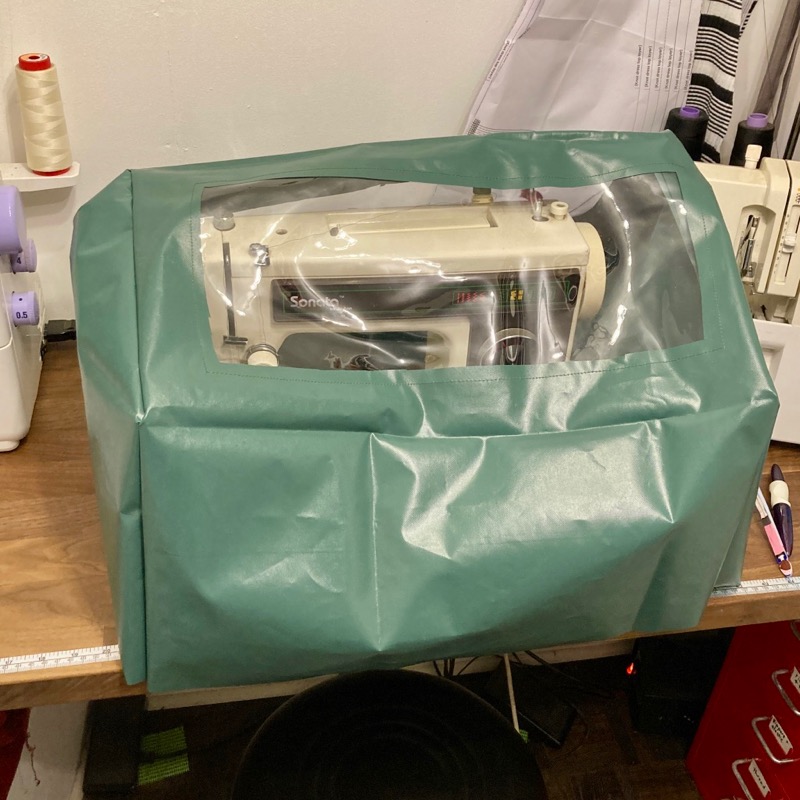
You might mistake me for someone who actually enjoys sewing home dec for the sheer amount of it I’ve been doing this year. But considering the amount of time we’ve spent at home (ie: every waking moment for the past 8 months) it’s probably not surprising that we keep seeing ways to improve things.
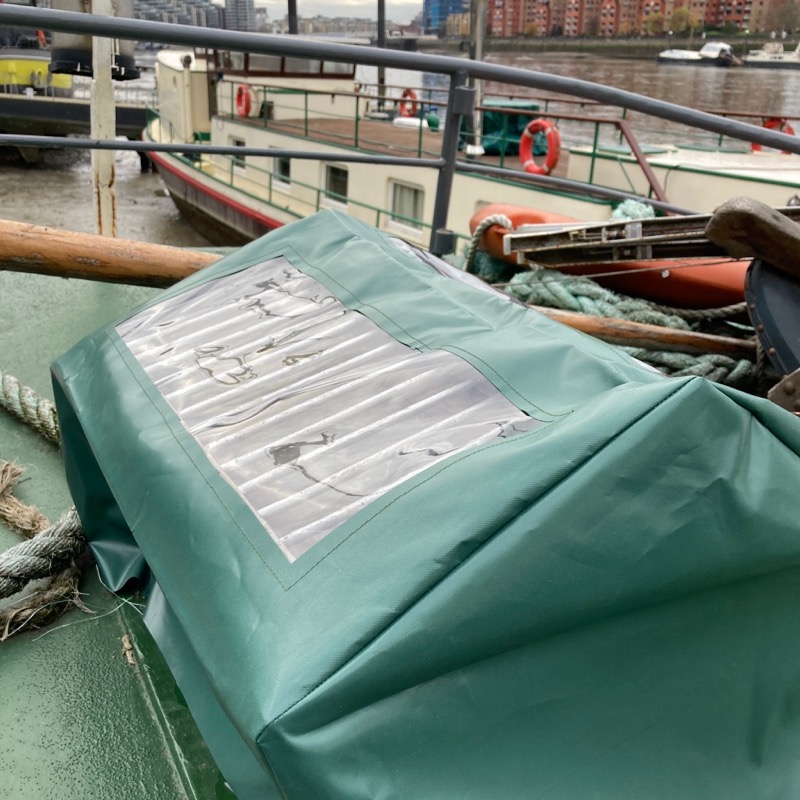
The latest in my home improvements was sewing a new cover for the smaller, bedroom skylight in the back cabin. Unlike the skylights in the main part of the boat which are flat, these older covers over the original 1930s captains cabin are peaked, triangular wooden framed skylights which need custom shaping. The last one I made for this particular skylight was made in Jan 2011 so it nearly lasted ten years! But you’ll see further down how badly it needed replacing…
All the outdoor fabrics and clear PVC were originally from Pennine Outdoor and thankfully I had enough in my stash from previous ones that I didn’t need to buy anything this time around. I love a project that reduces my stash! Thankfully I also had the measurements in the old blog post so I didn’t have to go outside and re-measure, either.
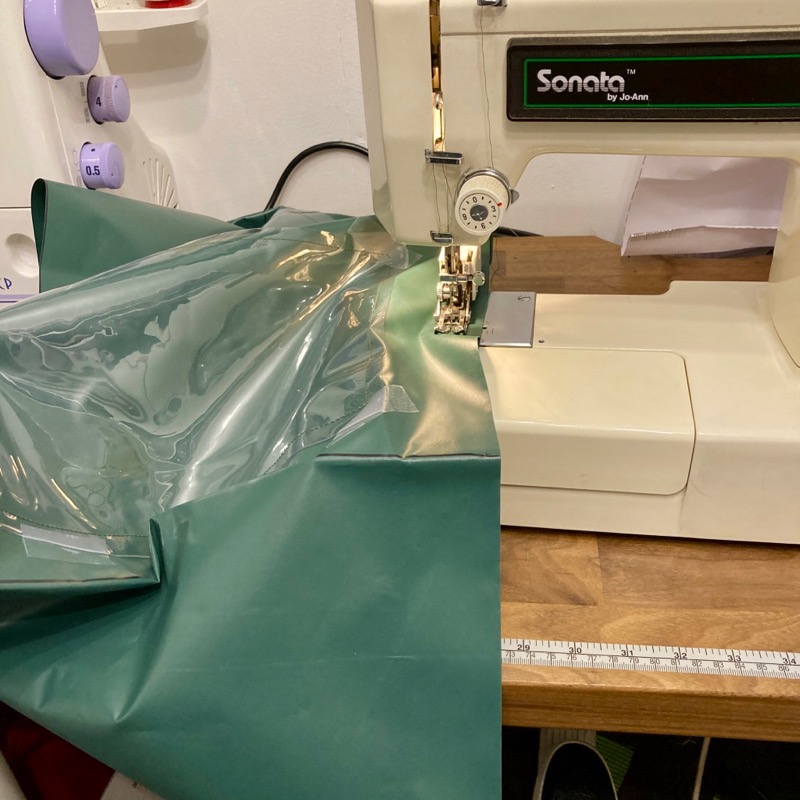
It’s hard to stress enough how absolutely awful these are to sew – you can’t use pins or backstitch (tying the thread ends together is a PITA), the fabrics are stiff and have a mind of their own and don’t yield when they hit the back wall behind my sewing machine… and this is the smaller one – the larger skylight cover is another level of pain altogether!
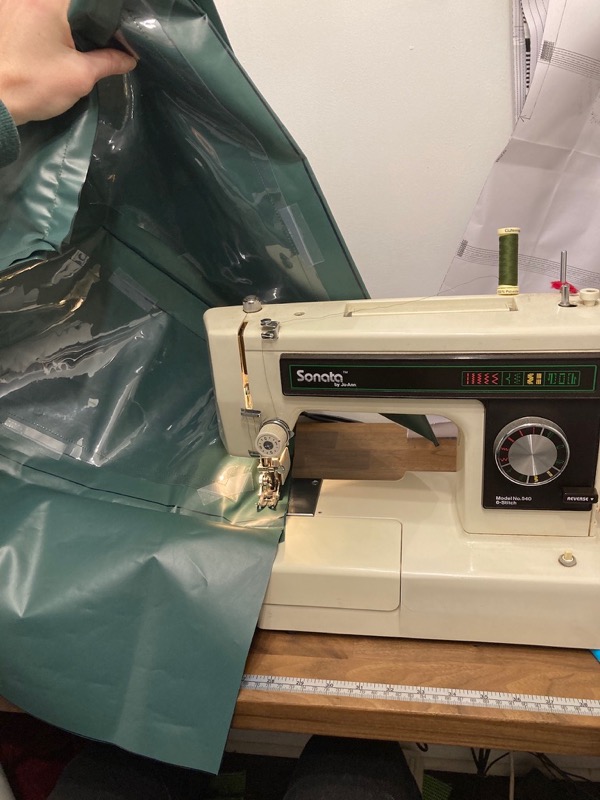
Like leather, every needle pass leaves a permanent hole that can weaken the fabric (and let rain in!) so I choose to use leather needles that do a great job of piercing the fabric. I used my walking foot, which helped keep the fabric from sticking to the machine itself, but I still had to use both hands to manhandle the rest of the cover instead of guiding it under the needle like I usually do.
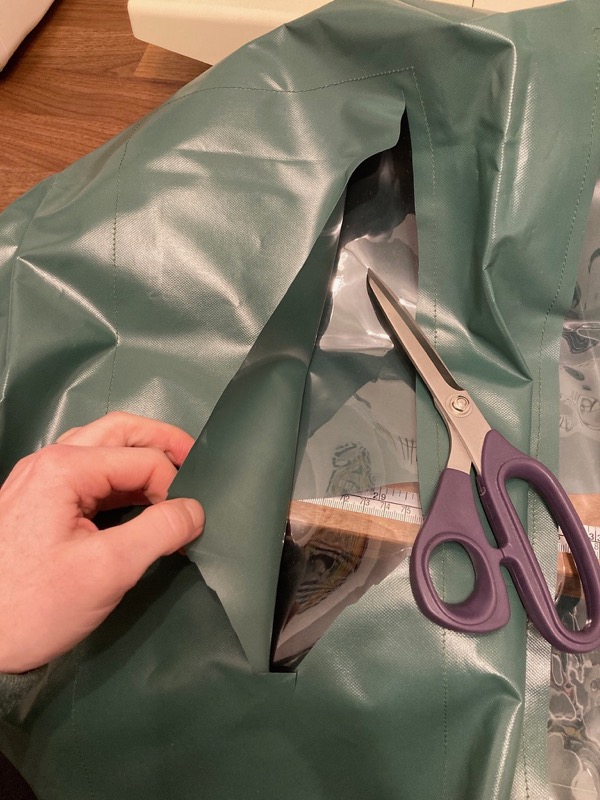
This time I was smart enough to remember to attach the clear plastic window segments first and THEN cut out the hole in the green PVC afterwards – it’s way easier to attach this way instead of cutting the hole first and then trying to stitch it to a frame that can move around as you’re sewing (remember, no pins!)
All in all, the sewing actually only took about twenty minutes, mostly because I have very low standards for this kind of stuff!
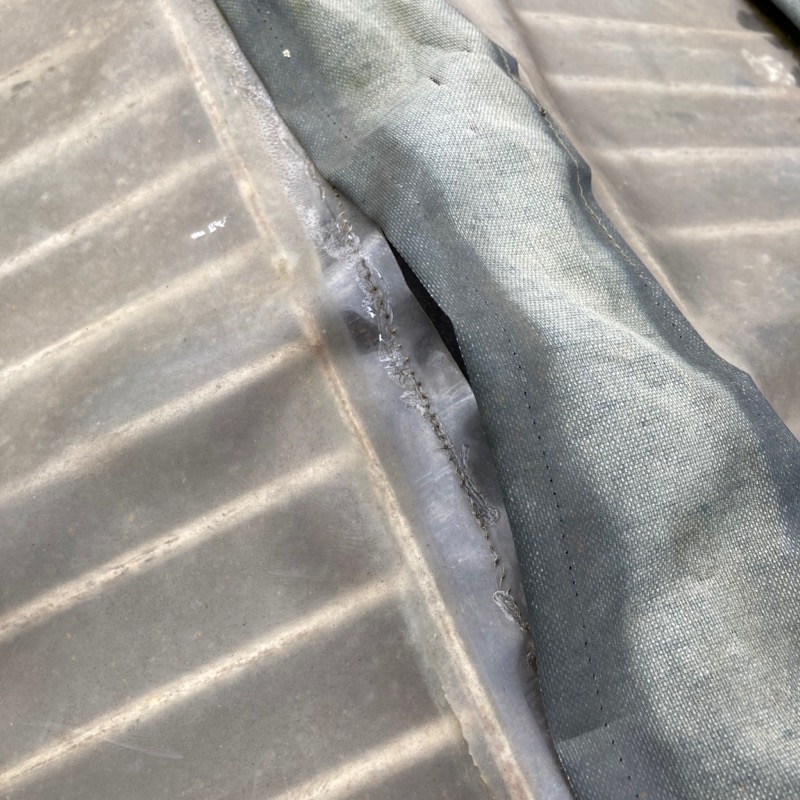
Here’s the previous cover I was replacing – the vinyl had gone brittle and stiff in the elements and ten years of UV exposure, but most importantly, the thread had completely disintegrated and my attempts to glue it a few years ago were only partially successful.
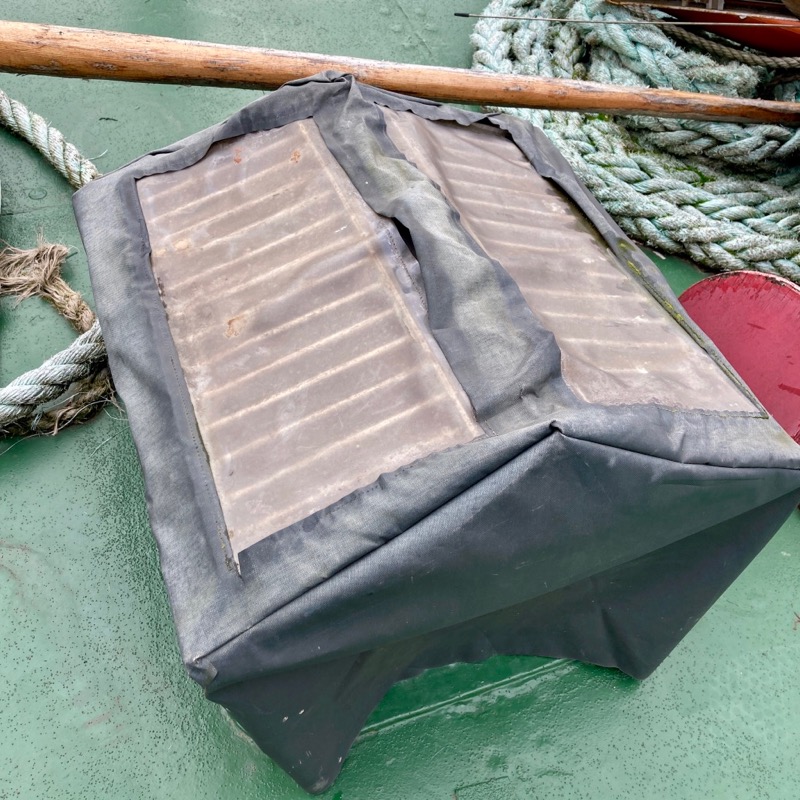
I could’ve chosen to use a different thread here (maybe upholstery weight?) but frankly, 8-10 years is a pretty good lifespan as far as I’m concerned and if I’d improve anything, it’d be to maybe add some waterproof seam tape at a later date. The goal here is to prolong the lifespan of the woodwork and window sealant underneath, not to be 100% waterproof.
And here’s my new cover in its new home. It fits, hurrah!
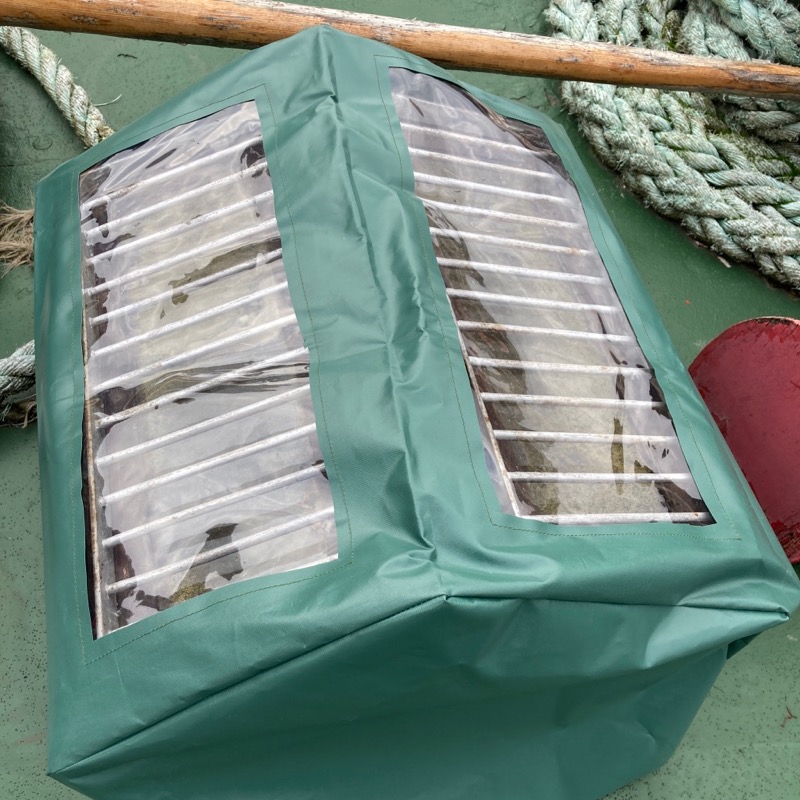

We always hold these covers in place with a few magnets on the sides to keep them from blowing off – it’s a lot easier to achieve than trying to get a super close fit or using drawstrings, and way more effective, too!
It’s not the sort of project I get excited about, but it does feel satisfying to see it in place afterwards!