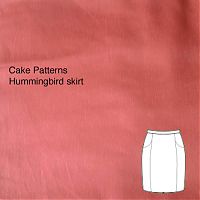
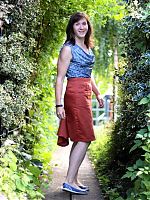
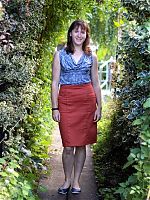
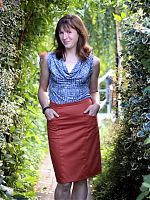
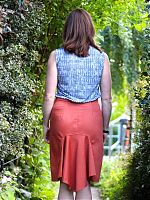
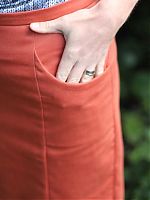
The latest in my my upcoming Mexico trip travel wardrobe is the latest Cake Patterns design – the Hummingbird skirt! There are two views included: a shorter pencil skirt with plain back, and the pink view, which has an awesome “tailfeather flounce” in the back. Of course I chose the fancy version, what else!? I’d seen that the orange view sews up quite short, and I was expecting this to be rather long, but it hits right at my knees which is perfect.
I discussed it before when I sewed up their Cabarita top, but Cake Patterns’ “draw your own size” system is pretty cool – here you pick your pattern size based on your hip measurement (my size was a 40), then choose your waist measurement (mine was a 32), and draw a line between them. The only part that got really confusing was figuring out where the darts should be drawn, as there’s numbers and dots all over the place!
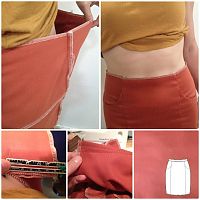
The only problem is that I’d cut out my pattern pieces a few weeks ago, and as you’ve seen, I’ve lost a significant amount of girth in the past two months, and when I went to try on the skirt mid-construction, it was hanging off me – seriously, I took six inches in total off the side seams! This isn’t anything to do with Cake’s sizing – this has got everything to do with me dropping a bunch of weight between choosing a size and sewing it up. Happily, I was able to take in the skirt at the side seams and the back darts and get a really nice fit before finally adding the waistband on.
The fabric is a terracotta cotton sateen which I picked up for free (you can’t beat free!) in the swap at the recent Goldhawk Road meetup. It’s definitely best as a bottom weight, and it sews and presses really nicely, but it does have a tendency to fray quite badly. I originally thought the Hummingbird was lined, but then when I realised it wasn’t (and that I couldn’t be arsed to draft my own lining), I decided to overlock the edges of all the pieces before sewing. This prevents fraying, and should prolong the life of the skirt, too.
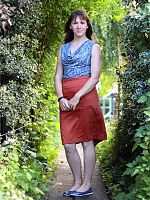
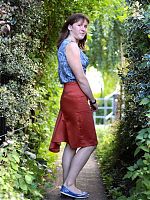
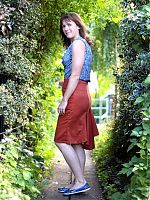
Worn here with my Prada Trompe L’oeil Sequin Top…
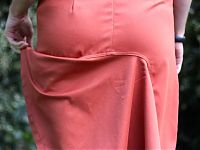
As I said earlier, the defining feature of this skirt for me is the “tailfeather flounce” in the back, and I really liked that the instructions for this have you sew it on with a vintage-style lapped seam, too. I was afraid it might be a bit fiddly with the curved section seam and the bias flounce stretching out of shape, but the staystitching plus a line of vilene bias tape did the trick and mine came together on my first attempt.
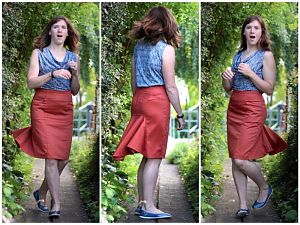
I love that it moves so nicely as I walk and twist around, and that it provides SO much walking ease for what looks to be a pencil skirt in the front. Really, a very clever piece of engineering, this!
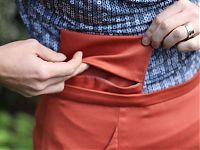
As with my other travel skirt, I added a travel pocket inside the waistband of this one, too, even though there are really nicely sized pockets integrated into the design. The front pockets will be for all my ticket stubs and the like, but the secret interior one is for my passports and emergency cash!
I’m still working on the tutorial for this travel pocket, which will be with you shortly!

