
My goal for January was to sew both of the Cos “Made By You” shirt kits, and even though it’s February now, I am pleased to report that I did indeed finish both in January. I’ve already told you all about the Women’s Shirt, so today I want to show off the Men’s Shirt.
Now, they’re labelled “women’s” and “men’s” but to my eyes they’re really fairly gender-neutral, so I bought both kits intending them for myself (hence why I bought a larger size in the women’s, assuming the men’s was drafted a bit bigger). I’ll go all in on the construction and the kit itself in a separate post later this week (like I did with the women’s), but for now, let’s just have a look at the finished shirt!
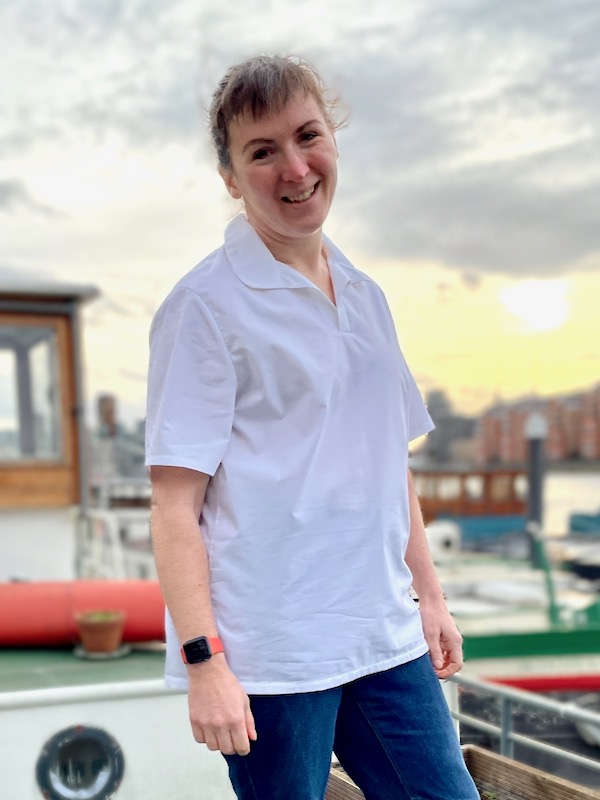

Obviously I’m modelling it in these photos, but I also had James try it on (mostly to assess whether he’d like me to sew him some in a different fabric now that I’ve got the pattern) and the fit throughout the body looks better on him, if I’m perfectly honest. It’s a very straight-up-and-down cut throughout the chest, waist, and hips, which works less well on women’s curves, even though I’m not a particularly curvy lady.
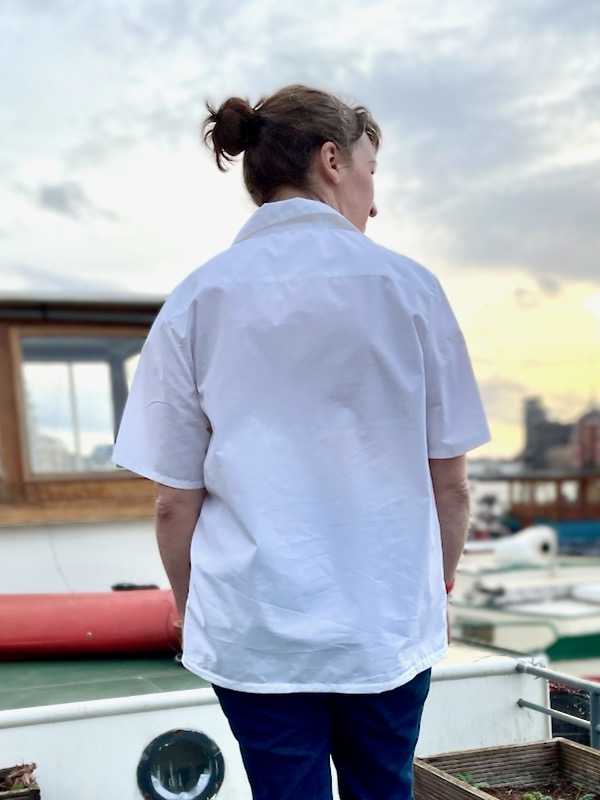
Which brings me to the first thing I’d change if I were making this for me again – I’d definitely split the side seams at the hips for a few inches to give more wearing ease at the hips. As it is, it fits over my hips, but not as loosely as the chest and waist, which gives the overall effect of it being a little tighter there.
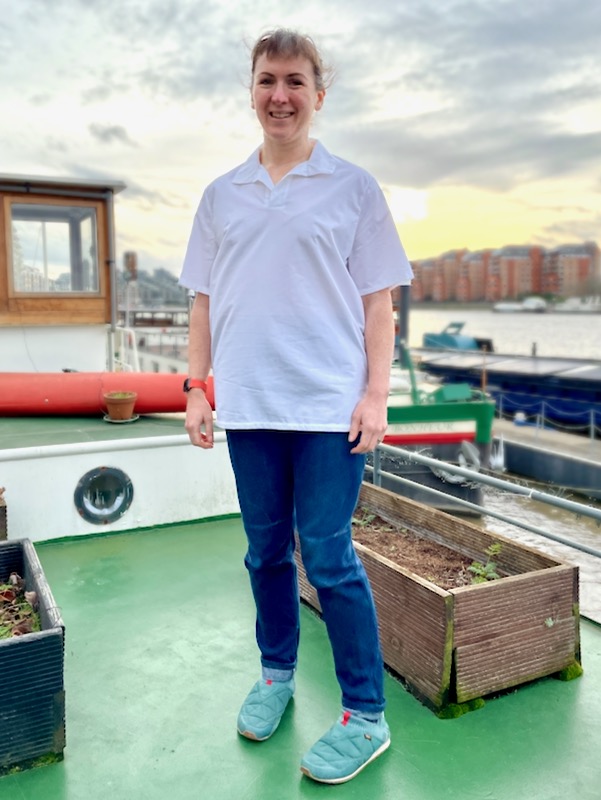
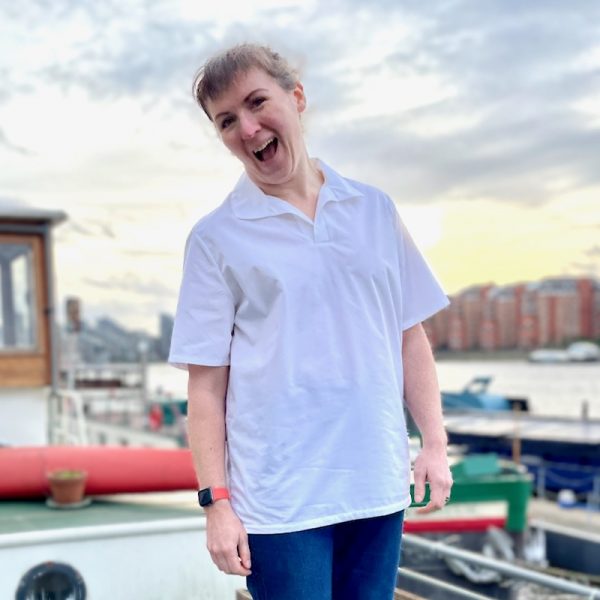
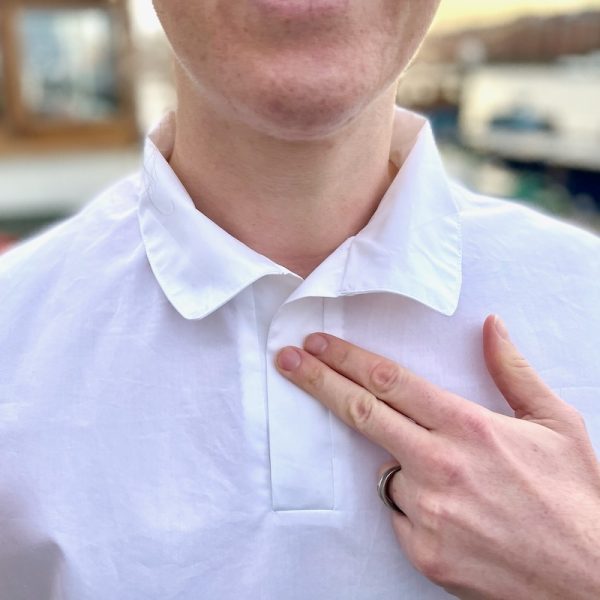
The other main thing that James and I are in agreement over is the collar/neckline. We just don’t think it works as-is (despite Cos saying this is one of their best-selling garment designs?). Either the placket needs some closure (buttons or snaps), to bring the collar tighter against the neck and fold over itself, halving the width – or – the width of that collar should be much narrower. It’s just visually out of balance as-is, and it gives the impression of being super wide, in both a 1970s and feminine way.
Overall, it’s fine, though James doesn’t like the semi-sheer fabric and would prefer maybe a coloured linen or cotton blend. I’ll probably bite the bullet and unpick the overlocking on the side seams (ugh) to split the side seams at the hem as suggested above to make myself more likely to wear it. And since the collar is already done and I don’t fancy taking it apart entirely to change the width, I’ll likely add some snaps (I think I have some rose gold ring snaps in my stash?) to the placket to narrow the collar a bit but still be able to pull it on over my head.

Don’t get me wrong – this is a nice shirt that’s beautifully drafted supplied with a high quality fabric – I just think there are some design decisions made here that we’re not fans of. Which is fine, because you know what? We can change that! 😉