Thank you all so much for your enthusiasm for our Tenacity Leggings and eBook launch last week! I’ve got so much more to say about both because omg, they were both so much work! but today I wanted to talk a little bit about the development of the Tenacity Leggings pattern.
Throughout 2020 and my 14 months of shielding, I had zero creativity. But then I suddenly got hit with an explosion of it in spring and threw myself into a crazy complicated, advanced pattern. I went through about 4 test muslins but it still wasn’t quite right, and I felt like it wasn’t the right time to focus on it when so many people felt like they couldn’t even get started sewing activewear. So I parked that pattern (hopefully I’ll release it next year!) and started work on a leggings pattern that would be beginner-friendly, but with enough options to keep myself and other intermediate- or advanced-activewear sewists interested, too.
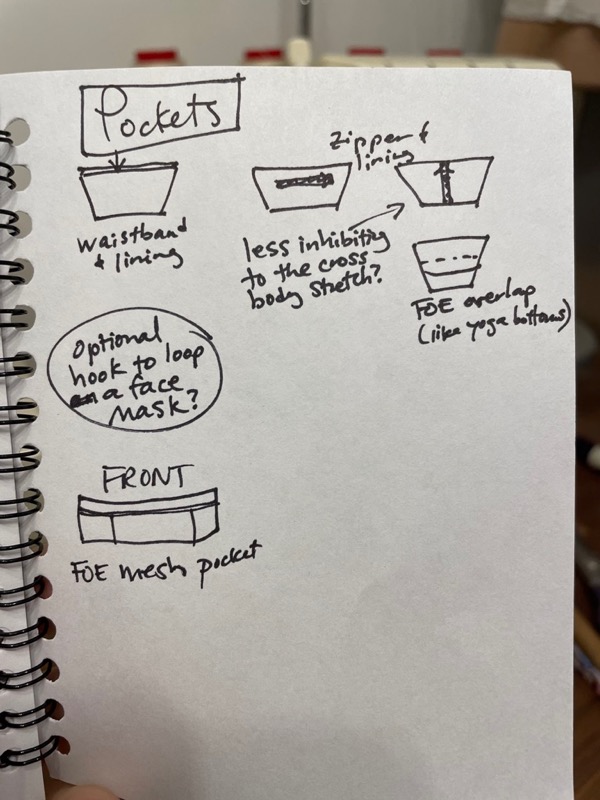
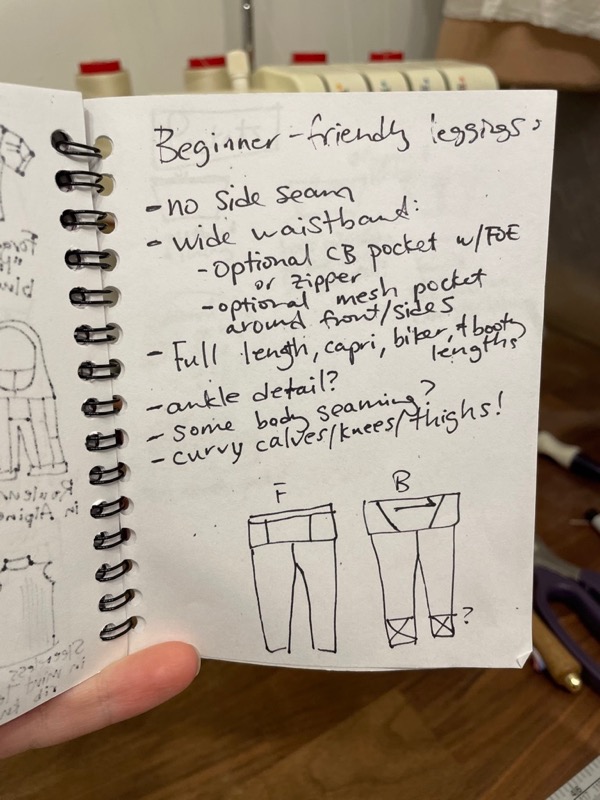
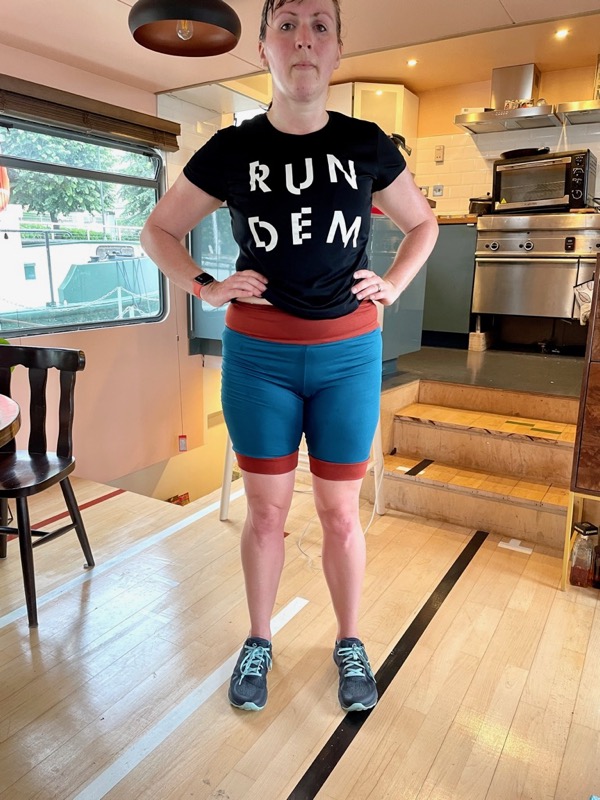
From the start, I knew I wanted a legging with no side seam, and a wide waistband, but beyond that, I started playing with ideas, particularly in the waistband pocket areas. Since it was summertime, I mostly tested shorts versions out on the road, with all the expected pitfalls.
This early test version was far too short and wanted to ride up while I ran, though the mesh pocket was great and stayed in the design!
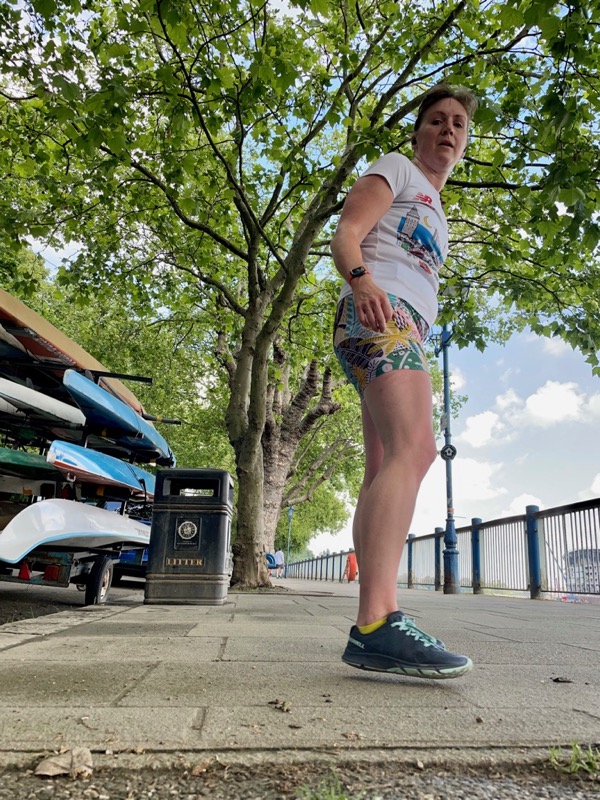
Evidence that I actually levitate when running!
At first, I thought I’d have one pocket option be for a zippered pocket, which is easy enough for an intermediate activewear sewist to accomplish with the right tips. However, when I tried it out in practice, it was a No Go – any horizontal zipper long enough to make a useful pocket impeded the stretch of the fabric so much that I’d either have to draft the entire waistband looser (err, no!), or make the zipper so small that it’d be a rather small pocket (nope!).
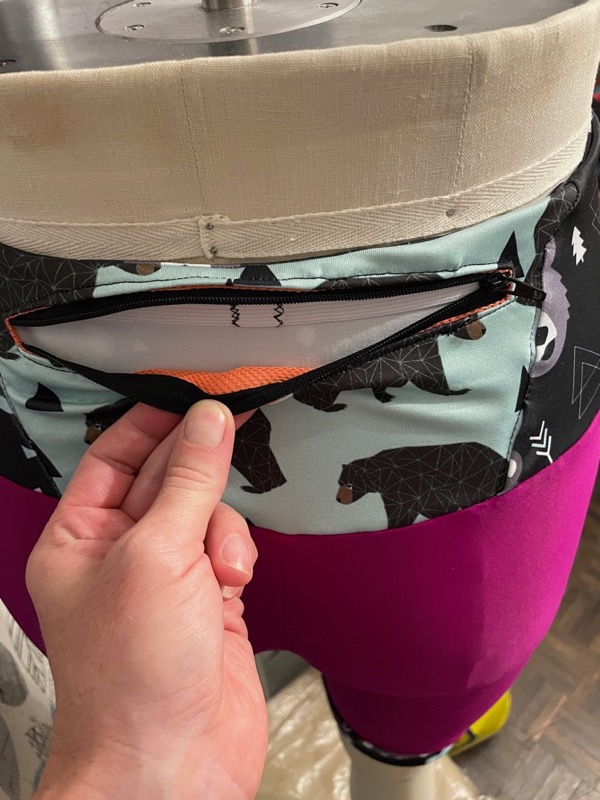
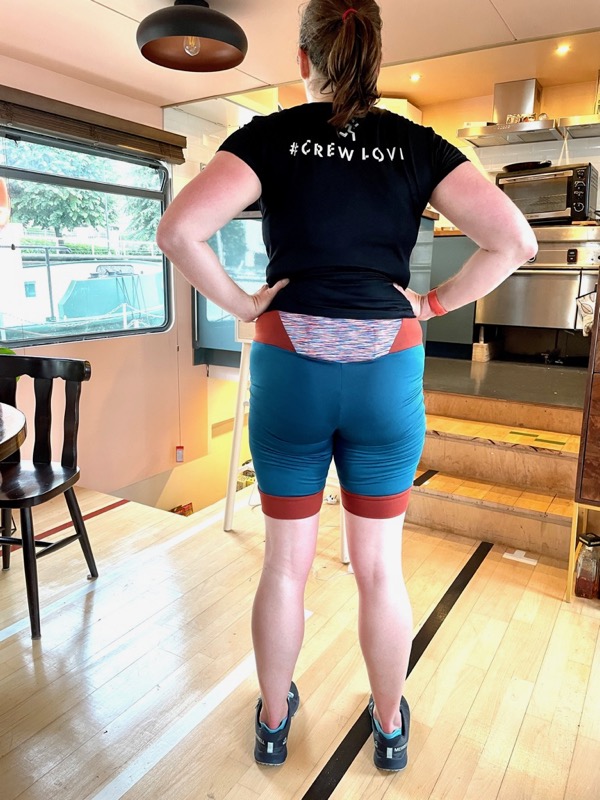
So I ditched the zipper pocket option and kept it to just(!) two pockets – the enormous, wraparound mesh pocket, and the hidden, mesh-lined back pocket.
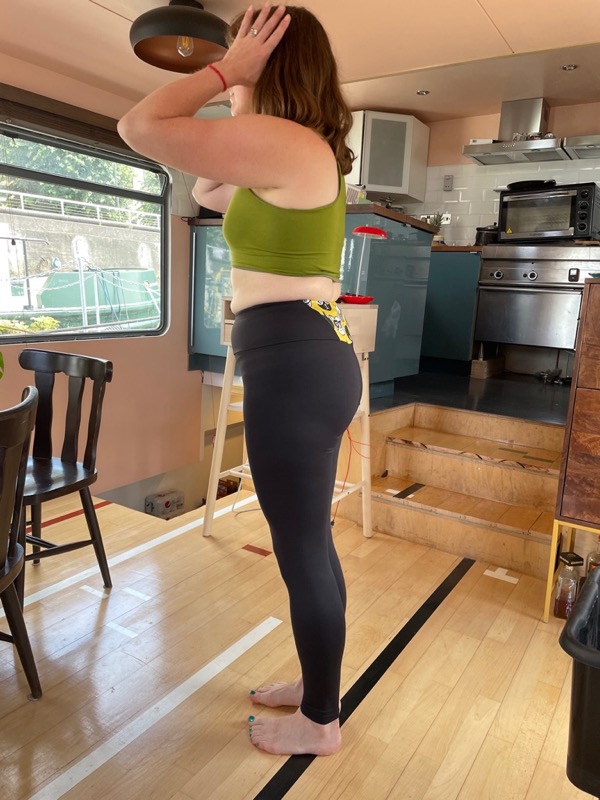
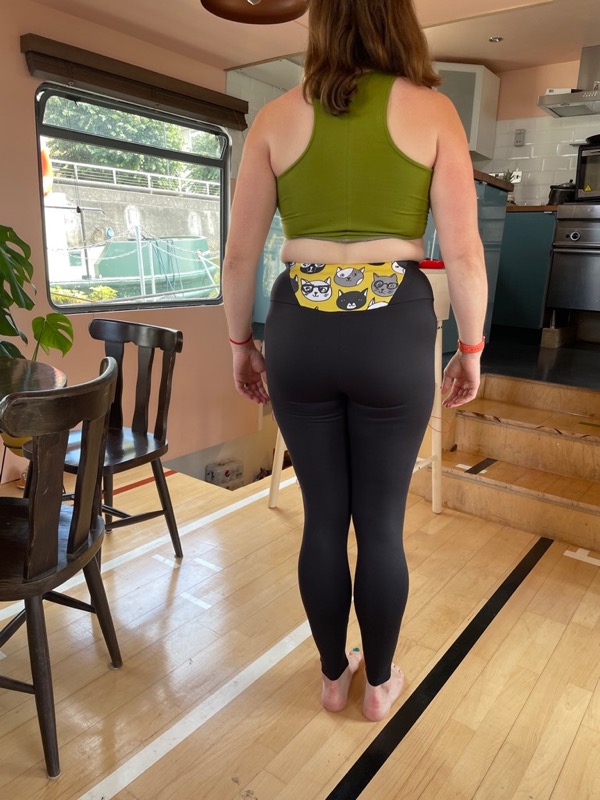
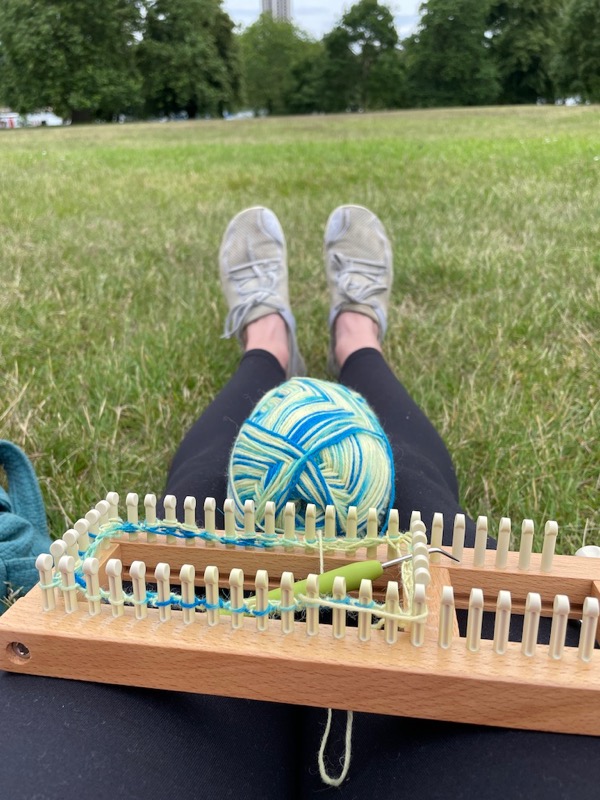
Around this time I also sewed myself a full-length pair in black supplex to double-check the fit throughout the rest of the leg, and they ended up being a firm favourite! They’ve become my go-to legging when I need to cycle somewhere but still want to look “civilian” rather than lycra when I get to my destination (in this case, to knit in the park over the summer).
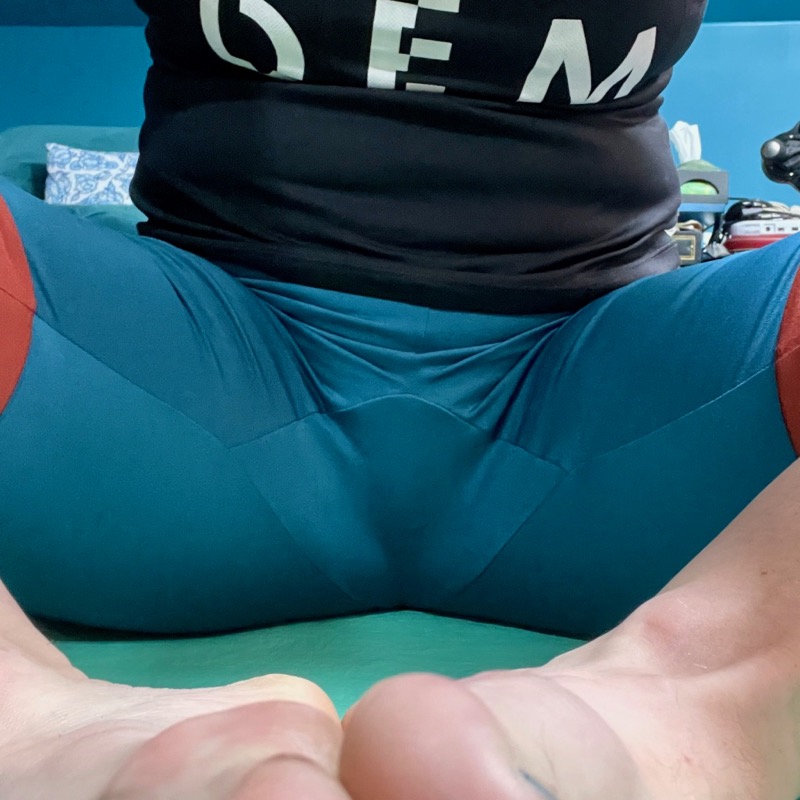
On top of the optional pockets, I knew I also wanted to provide the option for a crotch gusset, but retain the original crotch seaming so that folks could choose to sew the leggings with or without the gusset. This is a teachable moment – I go into it much further in the “Activewear Sewing for Beginners” eBook, but a gusset is primarily there to add range of motion, and if you don’t need it, you’ll have an easier time getting a good fit before adding the gusset into the mix. Much more in this blog post from a few years ago, too!
So, having perfected the fit and function of the leggings (phew!) it was then just (just! ha!) a matter of getting it graded in new size range (hello XXL!), walking all the seams in my “spreadsheet of Doom”, adding seam allowances, notches, labels, seam allowances, etc, then creating print and projector layouts, and finally, writing and illustrating all the instructions. Phew!
At this point I realised there was no way I’d be able to coherently cram in all the beginner tips I wanted to share, so I finished the Tenacity Leggings pattern enough to send off to my testers, while I worked at finishing the eBook, but that’s a post for another day!
If you’ve got any questions about the Tenacity Leggings or the process of developing these, feel free to ask in the comments below!
Remember, you can still save 20% on all sewing patterns (including the Tenacity Leggings) plus the new eBook by using code BEGINNERFUN at shop.fehrtrade.com til 14 November.