Earlier this week I showed you my finished version of the Cos “Made By You” women’s shirt kit with the promise of giving far, far more details on the kit itself and some construction instructions so strap on in! This is a HEFTY brain dump intended to help others who’ve bought this thinking they were getting a full sewing pattern, or who bought it and no longer have Cos’s video online to help. Or frankly, if you’re just intrigued about what a high street shop thinks a home sewing product should be!

See more finished garment photos in this post!
What’s in the kit?
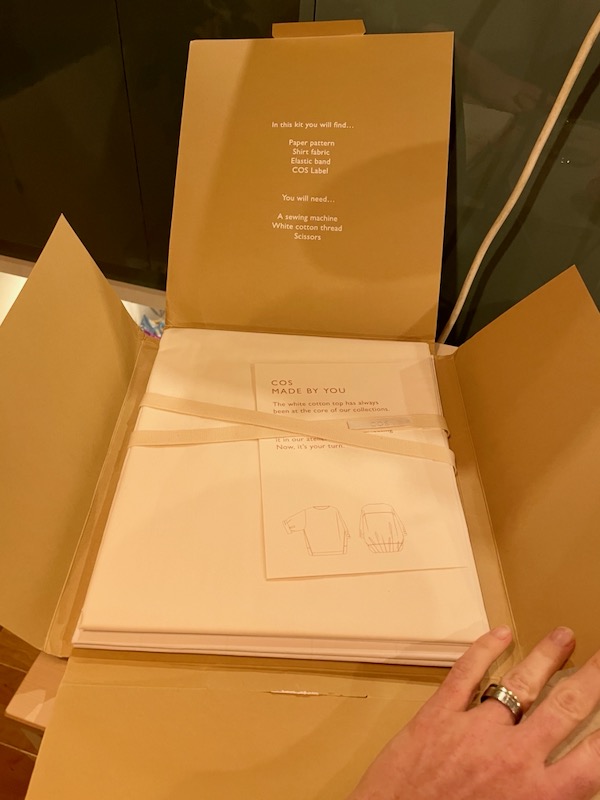
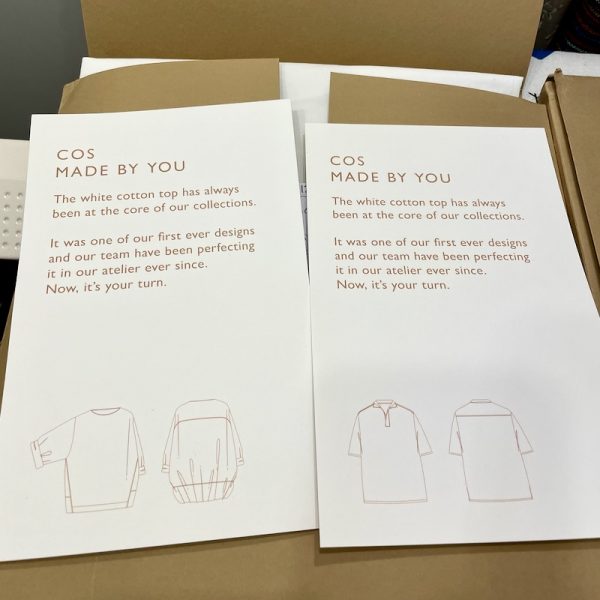
The kit arrives in a nice cardboard box/envelope tied up with cotton tape (the only bit unused in the shirt itself). There’s one small sheet of card with a tech drawing, a few words, and a QR code to a web link. For size M/L, you also get 1.5m of 146cm wide 100% cotton lightweight shirting, which to my hand feels high quality, and something like a poplin, lawn, or batiste. It is somewhat sheer, so you can definitely see seam allowances and any dark underwear(!) through it. I would recommend using a Microtex/Sharp needle in size 60 or 70 (a universal needle was creating rather large holes, I found). You also get 58cm of 5mm elastic for the back hem. I would highly recommend overlocking the cut edges of the yardage and pre-washing the fabric before cutting out your pattern pieces.
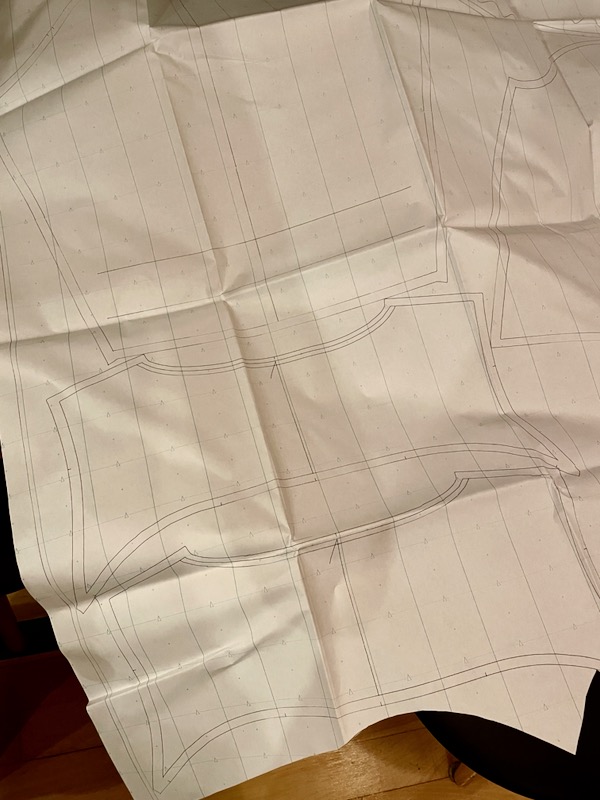
The pattern pieces are on one large piece of dot & cross paper, with the seam allowances, stitching lines, and grain lines plotted in biro (ballpoint pen), presumably from a plotting machine. Now, this is where things started to point to this being an industry pattern released by someone with zero knowledge of the home sewing market, because the pieces are all flat (ie: not a half pattern piece to be cut on the fold) and where two of a piece is needed, there are actually two on the pattern paper (like two identical back yoke pieces). Furthermore, all the grainlines are aligned (right down to the bias neck strip) without any regard for the amount of paper or cutting required. Oh, and did I mention that none of the pattern pieces have ANY labels on them?
The included instructions
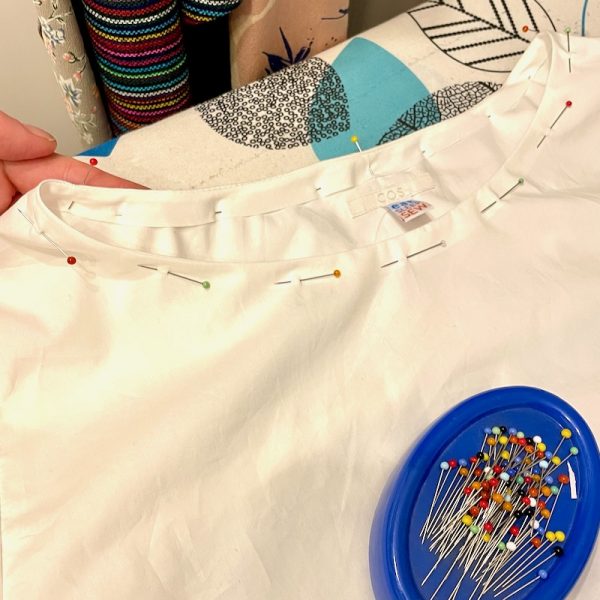
Which brings me to that QR code… which points to the Cos “Made By You” page, which hosts a video of a machinist constructing the shirt extremely quickly, and with one sentence (if you’re lucky) descriptions of the task printed on screen, like “Topstitch” or “Iron”. This is the entirety of the instructions! Oh, and at the very start the video shows the pattern pieces and says to label them. Hope you’re taking notes!
![]()
Seeing as how I’ve been burnt before by pattern companies removing support for old patterns, I immediately assumed that these videos will be taken offline the second Cos stop selling the kits. So if you’re reading this several months or years after buying yours, googling for how the F to put this together… read on! And you’re welcome.
Cutting out
Once your fabric is pre-washed, you’ve got some choices. What I did was to cut out my paper pattern pieces, attempt to fit them in using a folded layout, realised there was NO where near enough fabric to do so, and then attempted to recreate the layout used in the paper. I’m not sure if my fabric shrunk in the pre-wash or if I got the layout slightly wrong, but I could not get the pieces to fit as they were laid on the paper, and instead I altered it slightly:
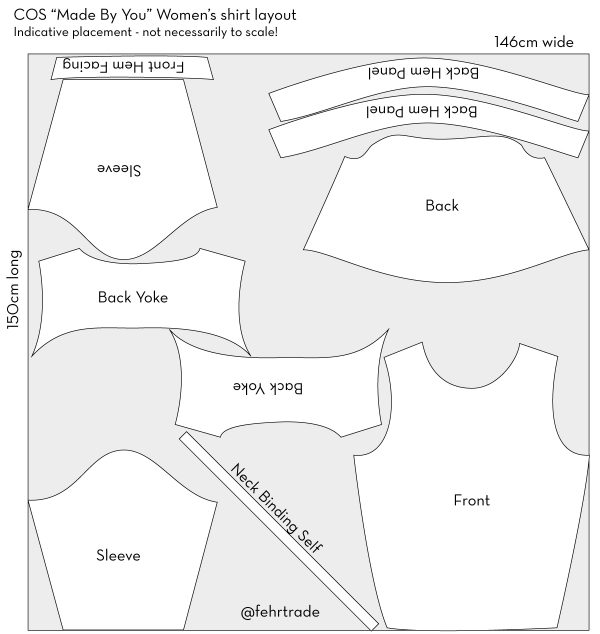
Let me tell you, they did not provide a single extra inch of fabric, and no matter what layout you end up using, it will be TIGHT. God help you if you need any pattern alterations, because I seriously doubt anything apart from shortening is going to fit in the meagre amount of fabric supplied. Speaking of pattern alterations, as you’ve kinda got to guess at the sizing, I measured the finished Bust of the M/L to be 122cm (48 1/8in), and the waist and hips are roughly the same as it’s a fairly boxy top and the half-elastic hem is really forgiving.
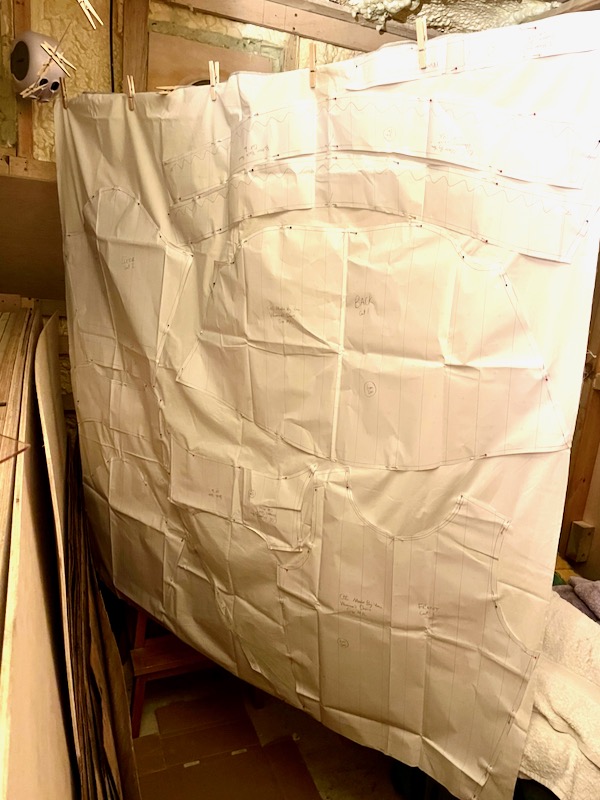
Now, another approach could be to actually not cut out the paper initially, and pin the entire sheet to your fabric within each pattern piece, and either cut the fabric and paper as one (which makes my fabric scissors wince!) or carefully cut the paper with it all pinned together, then cut the fabric.
Again, this incredibly tight, single-layer layout points to this being a straight-from-the-factory pattern, where the layout would be used to cut directly into the fabric (several layers at once), and arranged to minimise wastage over hundreds of garments – not to make it quicker for one person to cut out one garment with a tiny folding table in a corridor, like I’m doing.
While you’re cutting out, take note that there are 1cm (3/8in) seam allowances included, and actually really helpful notches. I really appreciated the quantity and placement of the notches, which all lined up perfectly and were not excessive (I’m looking at you, Vogue Patterns!). In fact, the entire pattern was perfectly drafted, from the minimal sleeve cap ease right down to the neckline bias being precisely the right length. So the drafting gets two thumbs up from me!
My instructions
As I mentioned, the only “instructions” provided are in the form of a very terse, very fast moving video without much details, so I took notes and what follows is a mixture of what Cos said in the video, and what I found helpful in sewing it for myself.
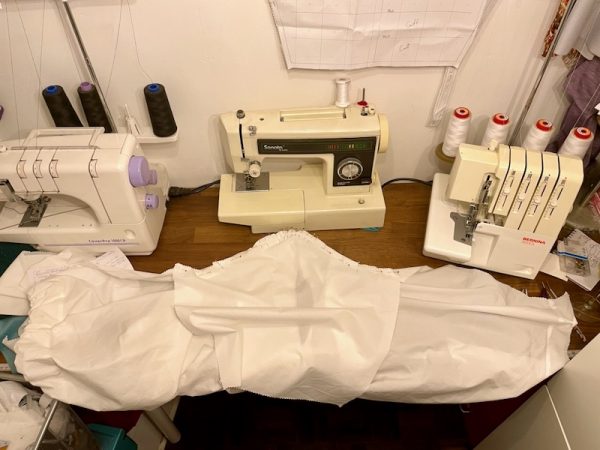
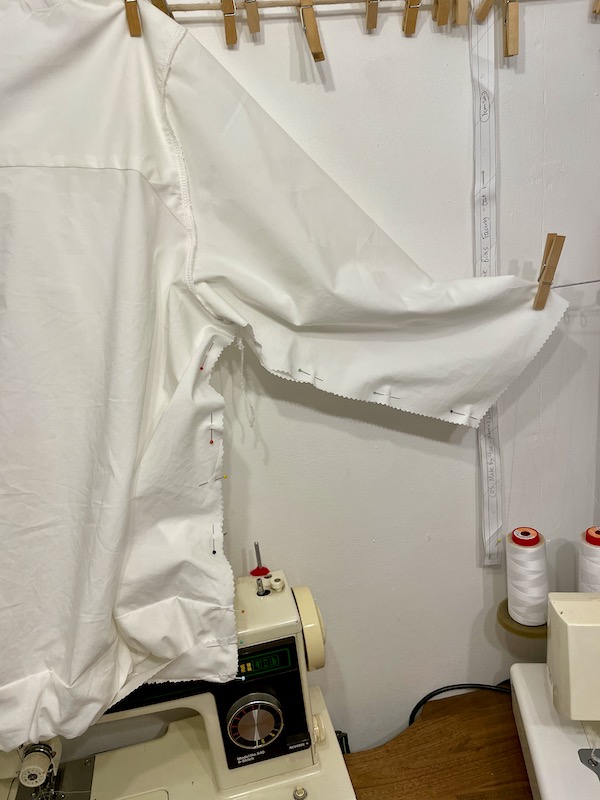
I apologise that the photos taken in my sewing room are not the best quality, and that white stitching on white fabric (where the right and wrong sides are identical) is not super clear. I don’t have a huge studio setup to take clear photos, which is why I choose to illustrate all of my own pattern instructions. But sorry, I’m not creating 20+ illustrations for someone else’s pattern for absolutely no financial benefit!
1. Staystitch the Front and Back Yoke necklines along the seamline (1cm or 3/8in), sewing from shoulder to CF/CB, then flipping over and sewing again from shoulder to CF/CB. Cos don’t mention this but it is crucial for not distorting the neckline and getting a smooth finish later on.
2. With right sides together, place one Back Yoke onto the Back along the shorter curved edge. Then, place the other Back Yoke underneath, with the right side facing the wrong side of the Back along the same curved edge. Pin and stitch all three layers together. Press flat, then press the Back Yokes away from the Back.
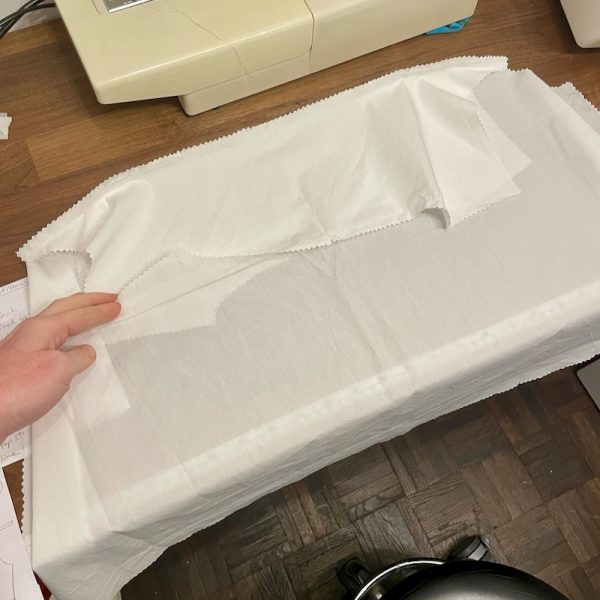
3. With right sides together, place one Back Hem Panel onto the Back along the other curved edge. Then, place the other Back Hem Panel underneath, with the right side facing the wrong side of the Back along the same curved edge. Pin and stitch all three layers together. Press flat, then press the Back Hem Panels away from the Back. (This step is very similar as with the Back Yokes above).
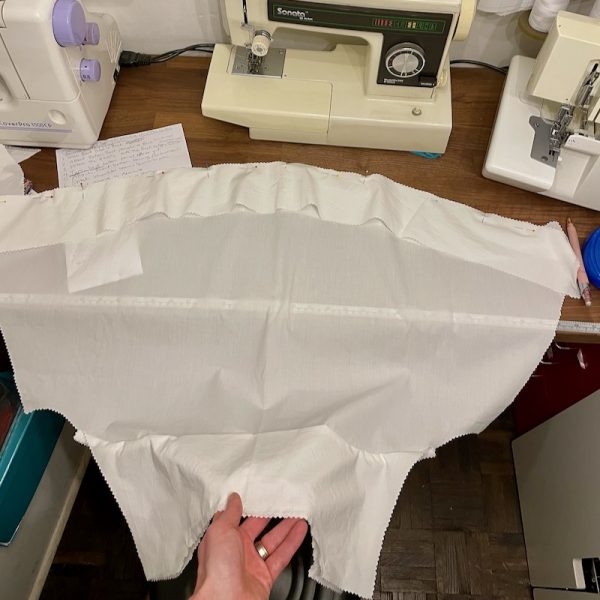
4. Starting at the shoulders of the Back Yokes, roll up the entirely of the Back Yokes and Back into a tube so that you can wrap the Back Hem Panels around the tube and pin their long edges together with right sides together (burrito method). Stitch the Back Hem Panels together along the bottom edge, taking care NOT to catch the other rolled up layers inside.
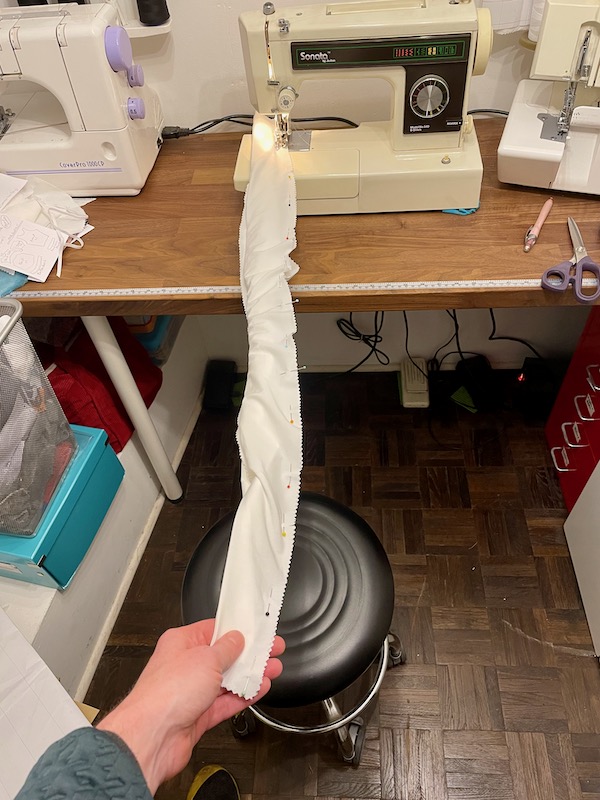
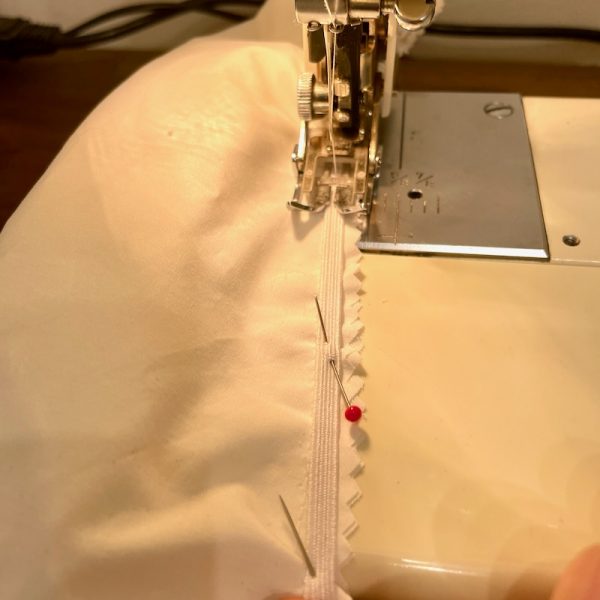
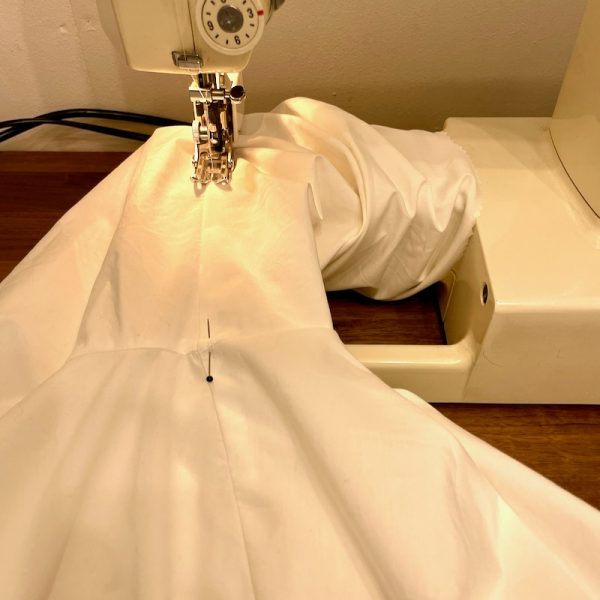
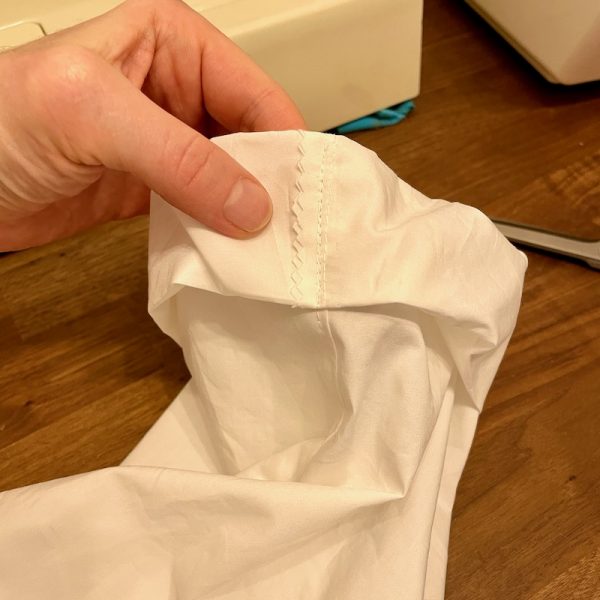
5. Take the provided elastic (58cm of 5mm braided elastic), and mark the halfway point. Pin the halfway point to the CB mark, and the ends to the edges. Now pin the reminder of the elastic to just inside the seam allowances of your previous stitching line, making sure the fullness is evenly distributed. (Your long roll should now look curved, like a C, as the elastic is approx 50% of the hem length.) Using a narrow zigzag stitch, sew the elastic to the seam allowance just inside the previous stitching line, stretching the elastic as you sew.
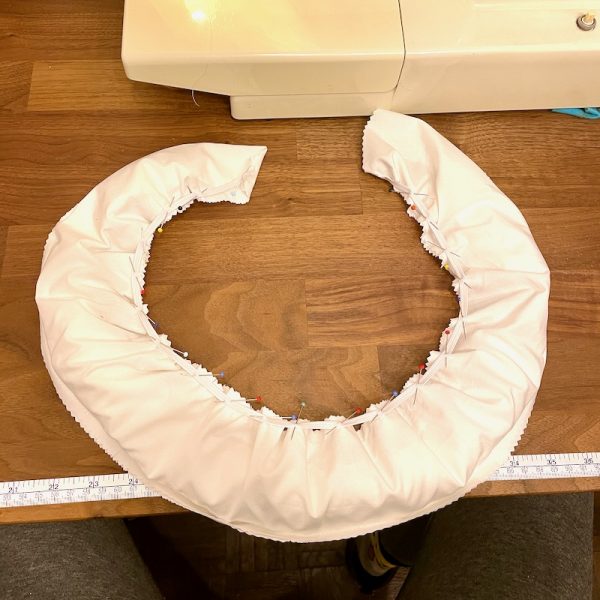
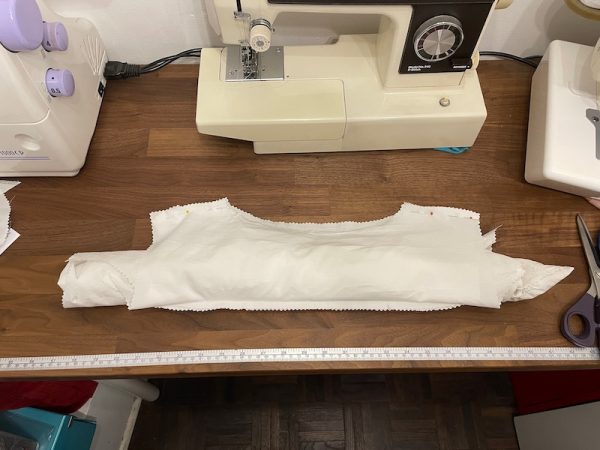
6. Starting from the short ends, turn the entire back right-side out. Press well, because this fabric wrinkles if you even just stare at it long enough, let alone roll it up like a sausage.
7. With right sides together, sew the Front Hem Facing to the bottom edge of the Front. Press flat, then press the Front Hem Facing away from the Front. Understitch the Front Hem Facing to the seam allowances.
8. With right sides together, pin the Front to one Back Yoke along the shoulder seams. Starting at the hems, roll up the back and front pieces until you can wrap the other Back Yoke around the roll to reach the shoulder seams, with the right side of the Back Yoke against the wrong side of the Front (burrito method). Stitch the shoulder seams through all three layers, press flat, and turn the garment right-side out. Press the shoulder seams again.
9. (Optional) Baste the Back Yoke edges just inside the stitching line along the neckline and curved armscye. This will make it easier to attach the Sleeves and the Neck Binding.
10. Place the garment flat and right side up with the neckline as a circle in the middle. Place one Sleeve along the armscye, taking care to match notches (if they don’t match, either flip it over if your fabric is the same on both sides like the kit fabric, or grab the other sleeve). You may have to pin the sleeve cap area well to ease in the fabric, but you shouldn’t need easing stitches. Stitch the Sleeve to the Front, Back Yoke, and Back along the armscye. Repeat for the other Sleeve.
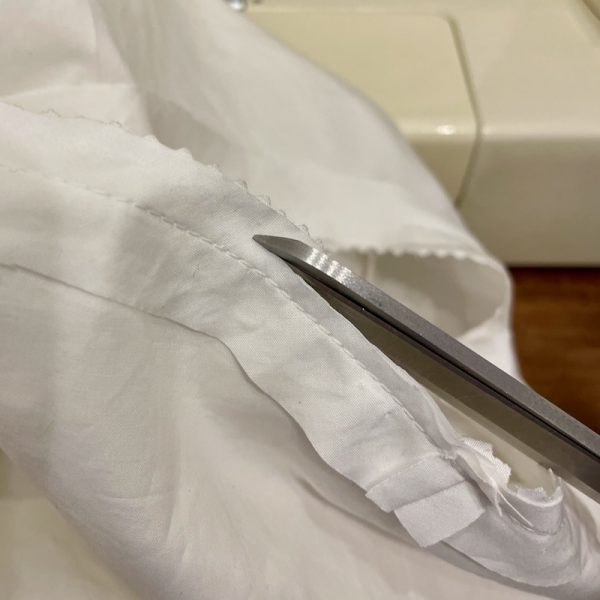
11. (Optional) Cos say to overlock the armhole seam allowance now, but I found this to be a bit silly since there are other seam allowances left raw inside (namely the side seams), so if you didn’t cut your fabric with pinking shears like I did, you may as well overlock the other seams, too. If you don’t own an overlocker, just finish your seams however you choose for a fraying fabric.
12. Press the sleeve seams flat, then press the seam allowances toward the Sleeve.
13. Fold the garment in half at the shoulders with right sides together so that the Sleeve hems, underarm, and side seams meet, joining notches. The bottom edge of the Back Hem Panel should align with the joining seam of the Front and Front Hem Facing. Pin the entire seam from sleeve hem to garment hem with notches matching, then fold the Front Hem Facing around the bottom back edge so that the Front Hem Facing is against the Back Hem Panel. Sew the arm and side seam in one go, through all layers. Press flat, then unfold the Front Hem Facing and press the seam allowances towards the Front. Repeat for the other sleeve and side seam.
Now, this is where Cos’s video is really vague – they say to “Topstitch the Front facing and side seams”, but it isn’t clear in the text or video whether this includes the underarm Sleeve seam or not. I opted to topstitch this, too, but it is a bit tricky as you’ve got to guide the sleeve onto the free-arm of your machine very carefully as you sew and it’s easy to get layers caught underneath. So if you’re not feeling up to it, just skip the sleeve seam and start at the underarm.
14. Starting at either the Sleeve hem or underarm (see above), topstitch 2-3mm (1/8in) away from the side seam through the Sleeve or Front and seam allowances. Press well. Repeat for the other side of the garment.
Here’s another part where the video is vague, and I admit that I don’t sew roll-cuffed shirts often enough to rely on past experience here, so I’m not entirely certain that what I’ve done is the best way. Cos say “Double turn the cuff and topstitch.” The video doesn’t really show what to topstitch, so my interpretation is below.
15. Press the 1cm (3/8in) seam allowance on the Sleeve hem to the right side. Then, press another 5cm (2in) to the right side again, then press another 5cm (2in) again. The folded portion will now be smaller than the rest of the Sleeve. Align the underarm sleeve seams and stitch in the ditch for the length of the folded cuff to secure. Repeat for the other Sleeve cuff.
16. Sew the short ends of the Neck Binding with right sides together. Press flat, then press the seam allowances open.
17. Placing the Neck Binding seam right side down against the CB neckline, pin the Neck Binding along the neckline of the Front and Back Yoke. Sew, then trim the seam allowances down to 2-3mm (1/8in). Press the Neck Binding away from the body of the garment, and then turn inside and press against the wrong side of the garment. Pin, and topstitch in place from the right side, ensuring the Neck Binding is caught in the stitches. Press well.
And you’re done!
I actually didn’t find the construction itself to be super difficult, but if you’re used to relying on pattern instructions (rather than writing them like I do!) I can definitely see how this could quickly spiral into a nightmare project. I do think it’s quite disappointing that Cos have effectively scuppered their own chances of success with this kit – with a small amount of research into the home sewing market and improvements to the pattern pieces, amount of fabric included, and some illustrated instructions (even as a pdf to download!), this could’ve been a massive hit with sewists of all abilities. I really want these kits to be a success so that Cos produce more, but as it stands, it just feels like a bit of self-performative greenwashing so they can say they tried home sewing kits but they were a failure…
But I’ve still got the men’s shirt to do, and the construction appears to be a bit more straightforward than this one, thankfully. I’ll report back here with my own instructions once that one’s done, too.