Blog

KnipMode April 2011

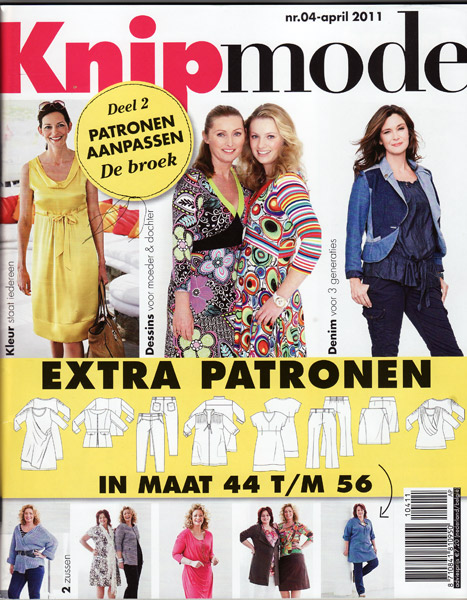
Hurrah, my latest issue of my KnipMode subscription has arrived, and Plus-sized ladies, you have got to seek this one out because there’s an expanded Plus section with 12(!) patterns! OMG! And KnipMode actually understand Plus bodies and what flatters them. And they use actual Plus-sized models!

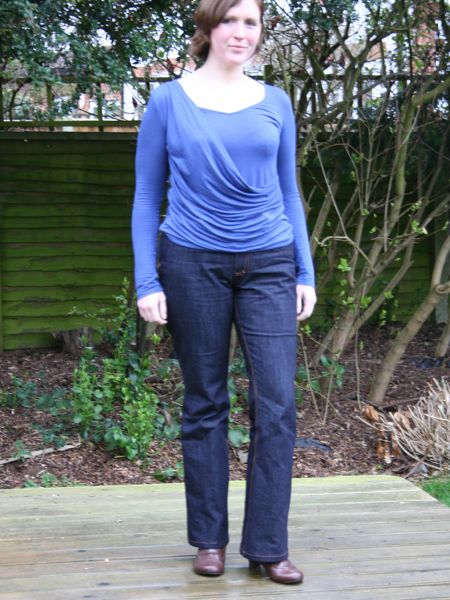
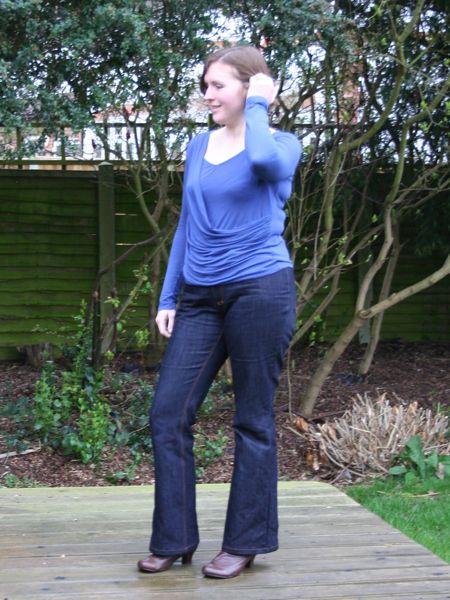
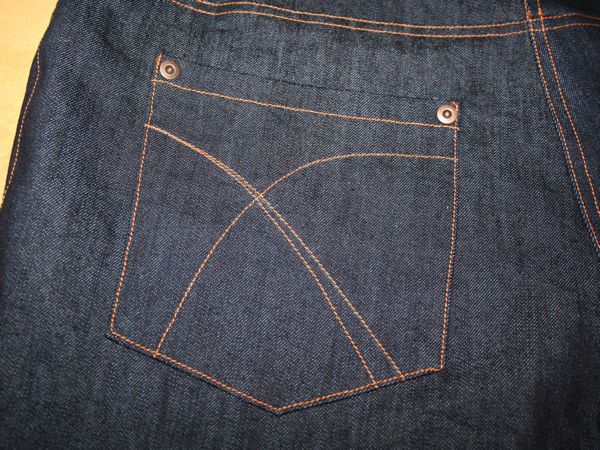
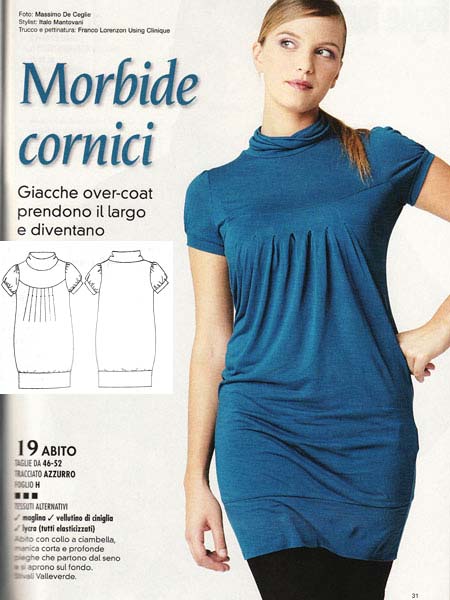
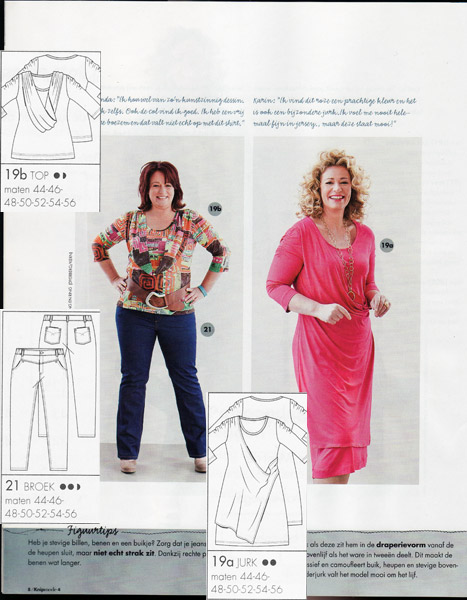
I think these Plus jeans are just fantastic, with that great seaming I’ve come to love from Knip’s trousers patterns. The knit top with the drape is also making me pretty jealous, and the dress variation of the same pattern just looks so flattering and easy to wear:

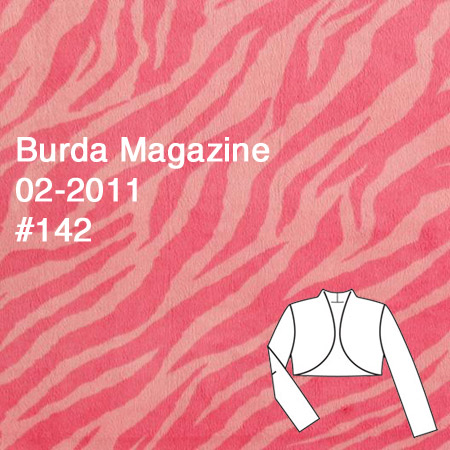
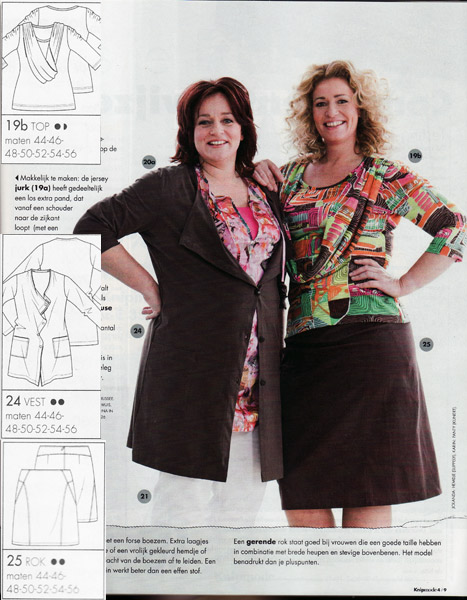
Also from the Plus feature there’s a cardie (that I think looks better on her than in the tech drawing), the same knit top as above, and a really excellent curved seam skirt (with no side seams):

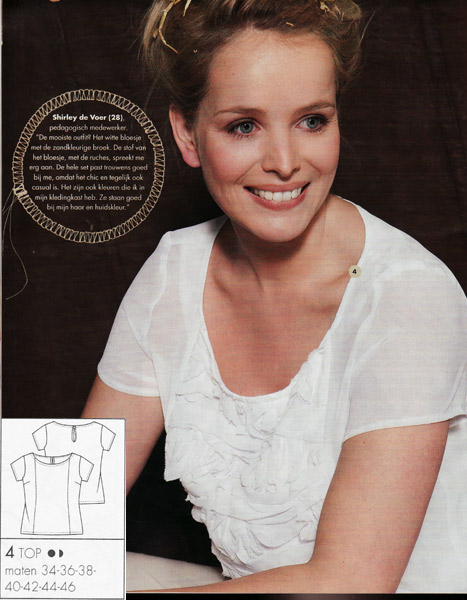
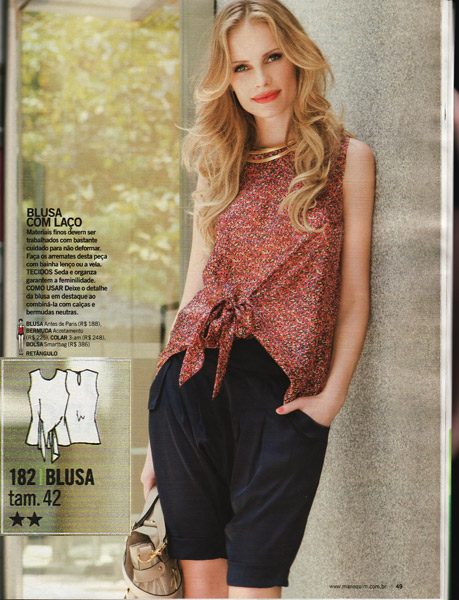
In the regular sized rest of the magazine, I think this panel blouse would be a great way to showcase some really special, expensive fabrics. How lovely in a silk voile?

The NY-Lon jeans

Why “NY-Lon” jeans? Well, it’s certainly not because they’re made of nylon fabric!! (ewww) I’m calling these that because I bought this denim at Mood in NYC on our honeymoon, and the lining pieces are London streetsigns fabric, bought as an eco reusable wrapping paper! So they’re New York and London together!

Once again, these are made using the Jalie 2908 jeans pattern. The first Jalie jeans taught me that, overall, the fit was great, but the waistband was an utter horror.

So I made two small but significant improvements to these, and I am SUPER happy with the result!

  1. I ditched Jalie’s awful straight, bias, uninterfaced waistband and used the curved waistband from my favourite Burda August 2006 trousers/jeans, which I also interfaced. I used the London street sign cotton as the inner waistband (as well as the fly underlap and the pocket linings).
  2. I extended my pocket linings to the centre front so they got caught in the fly front stitching and reinforced the front over my gut (you do NOT want stretch denim stretching out there when you sit – it’s not pretty!)

Manequim March 2011

Woop, it’s nearly Fall in Brazil and the latest issue of my Manequim subscription has arrived (just in time for me to finally start making that silk blouse from the last issue!).

There are quite a few nice surplice, pleated jersey dresses in this issue, and I quite like this one, though it’s not really close enough to my size to bother with grading it up (especially when there are others that are in my size!)

I’ve seen a lot of designs for tie shirts (I’ve even made one!) but I’ve not seen one where the tie is this low, and I really like the curve it gives to the hemline:

How to use jeans rivets

I’ve sewed a bunch of jeans over the past few years, and with every single one, I’ve been disappointed by the quality of the rivets available to buy as a home sewers. I’ve tried the ones available in stores, like Prym, Hemline, etc and every single time they let me down. Even when they’re properly hammered into place, they move around and “jangle” a bit, they’ve been snagging my coat linings, and I’ve had several fall out under normal wear of the jeans. For my last few pairs, I haven’t even bothered using rivets at all. I’d rather not use any than ones that look and behave badly!

I’ve been keeping an eye out for quality rivets for a while now, and I’ve heard word that a man named Junior in Louisiana does excellent ones and will sell them in small quantities. So I took the plunge and bought a few of his high quality rivets
(and a handful of all-metal buttons while I was at it), even though it meant importing them from the States.

Seriously, these rivets are fantastic – they look just like RTW, are easier to install than the crappy ones, and once they’re in, they’re in!

Here’s the finished back pockets up my upcoming jeans:

I can never go back to crappy rivets again – for real, I’m tossing the others in the bin. So as part of my grand education scheme, I’m going to show you all how easy these are to install. Just say NO to crappy rivets!

How to install jeans rivets

You’ll need an awl (an ice pick may work in a pinch though), some pliers with a wire cutter, and a big ol’ hammer.

Here are the Rivets pieces. On the left is the nail, which goes on the underside of your jeans. On the right is the cap, with the right side shown at the top, and the wrong side (which connects to the nail) underneath:

Silver silk jersey tunic

Cast your mind back a year ago, when I totally raved over a certain Plus-sized La Mia Boutique tunic pattern (La Mia Boutique 12-2009 #19)…

This pattern was SO in the style of my sister-in-law, Aileen, that I proposed it to her right away, and even made the muslin for her almost exactly a year ago! Thankfully I made all the changes to the pattern as soon as I got home from the fitting session, and I even bought the silver silk jersey she wanted from Classic Textiles on Goldhawk Road… But then I totally lost momentum and the altered pattern pieces have been hanging on my pattern rack making me feel guilty ever since!

So about 3 weeks ago, I finally sucked it up and made this for her (rather belated) birthday gift. All in all, it only took an afternoon from fabric cutting to completion – why didn’t I just do this months ago! We finally visited Aileen yesterday to give this to her, so I can now post about it. I didn’t get to see her in it since she had her hands full with her 6 year old’s birthday party, but she texted later last night to say it fits well and she loves it, so hopefully I’ll get to see it at some later family gathering!

Until then, you’ll have to make do with Susan modelling:

Sewing pending photoshoots

You wouldn’t know it from the lack of sewing photos, but I’ve actually been fairly productive over the past two weeks.

I was a terrible auntie this year and failed to make anything nice for my niece and nephew this Christmas, and my sister-in-law said I should just send them something when I get around to it, seeing as how they’re both so overwhelmed at Christmas anyhow. So before I got started on my March Mini Wardrobe stuff, I took an afternoon to make these, which are currently in transit:

I made a fluffy pink zebra minkee bolero for my 7 year old niece, and an adapted (ie: no hood) monsters and red jersey tee for my 8 year old nephew. You’ll see more about these when they try them on, with any luck…

And while I was clearing the sewing guilt decks, I finally also made the silver silk jersey dress I’d promised (and muslined) for James’s sister over a year ago!

Patrones 299, 300, 301, and Costura Facil

I ordered these from a new-to-me Spanish magazine shop, No Pares de Leer. The prices (and shipping) were about the same as Hos Hanne, but the shipping was tracked by default so I could see exactly how slowly it was making its way to me…

Patrones 299

This is the last of the winter issues (sob!), but at least it’s full of what Patrones do best – coats!! I even like the coat on the cover, though I like it better without the enormous bow.

In the first coats feature (on that “Patrones beach” we’ve seen in pretty much every issue), I rather like this big, asymmetrical collar coat, but it does remind me of the Vogue Armani-knockoff pattern so many people have made (and I’ve loved, too).

This topstitched, seamed jacket just oozes cool. The detailing is just fantastic on this, too – they even added a little pouch to the belt!

Free kitty kicker pattern and tutorial

Do you have a cat? Does he sometimes scratch where he’s not supposed to?

Ours may look angelic, but Bosco’s certainly got a naughty streak!

Cats need to scratch with their hind legs or bad things happen. But we don’t really want them “bunny kicking” our arms to shreds, either! That’s where the Kitty Kicker comes in – your cat will nuzzle the felty, catnippy wonder to his face and kick at the body with his hind legs! And the offset end seams means it rolls really easily, giving kitty something to chase as you throw it around the room.

Download the pdf here!

Like with all downloadable patterns, make sure to print it at 100%! Unless your cat is very small, or utterly enormaincoon, in which case feel free to scale up or down. Also feel free to change around the felt piece – make it long and fringed, or spiked, or even replace it entirely with ribbons or yarn if you’d rather.

You will need:

1. Small piece of tough fabric like denim, twill, canvas, or home dec fabric (IKEA do great heavyweight fabrics for cheap!)
2. Small scraps of felt (optional)
3. Fiberfill, or scrap fabric for stuffing
4. Catnip!
5. Hand needle and thread

Instructions:

Save Goldhwak Road!

On Friday I received an alert from FehrTrade reader Catriona that there are plans afoot to demolish part of Goldhawk Road, the best concentration of high quality, low price fabric shops in London (and, arguably, most of Europe)!

Hammersmith and Fulham Council are proposing to demolish 30-52 Goldhawk Road in order to build high-rise flats. Included in this row of shops are my beloved Classic Textiles and A One Fabrics (IMHO, the two best fabric shops in the whole of London!) as well as a fantastic little caff which I’ve stopped in every time I’ve been shopping, and a pie & mash shop that’s been around since 1899. Every single one of these shops is an independent business which will be completely ruined by this demolition.

Other cities around the world are losing their fabric shops as they go out of business due to lack of sales, but Goldhawk Road is thriving and prospering, and I can barely make my way through the crowds most Saturdays!

So I beg of you, fellow sewers – if you’re a Londoner who shops at Goldhawk Road, or you’ve travelled to London to shop here on your holidays, or even if you’d just like the chance in the future to buy fabric at these shops you’ve heard me go on about, then PLEASE make your objections heard now!

Please register your objections by email at SBMarket@lbhf.gov.uk or call Jackie Simkins in the council’s planning department on 020 8753 3460.

March Mini Wardrobe

I’ve finished my post-coat winter sewing plans apart from the La Mia Boutique draped skirt which I’m feeling now is better suited for spring or summer, so I thought I’d dip my toes into the Pattern Review Mini Wardrobe contest that’s running throughout the month of March.

This is a pared-down version of their usual, sprawling wardrobe/SWAP contest, so this time around you need to create a five piece wardrobe in four weeks, using one item you already own (sewn or RTW) and be able to create at least six different outfits from this. I’m actually going one better and aiming to sew five pieces rather than four, but that may fall by the wayside depending on how the month goes.

Here’s what I’ve got in mind: