Happy 2015! (My year in review)
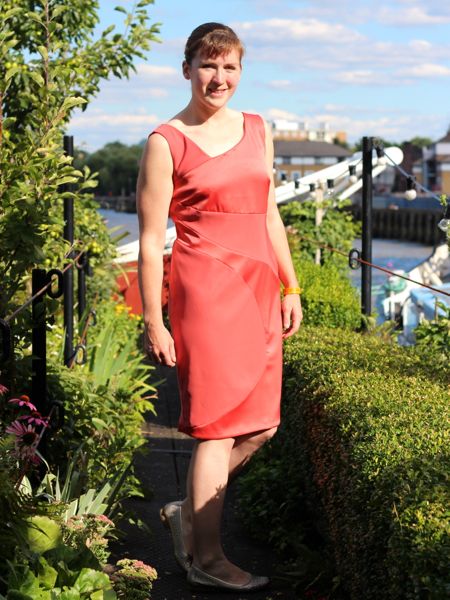
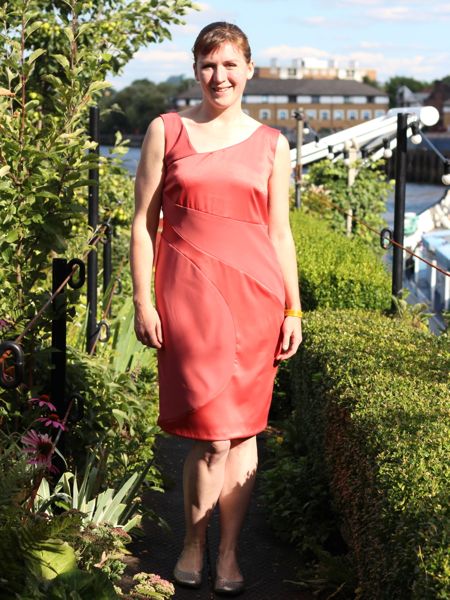
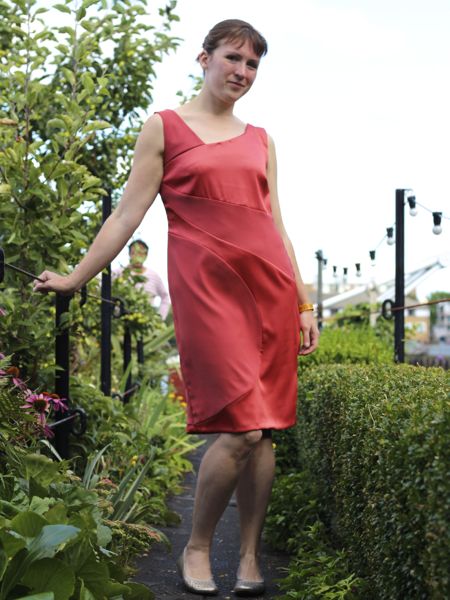
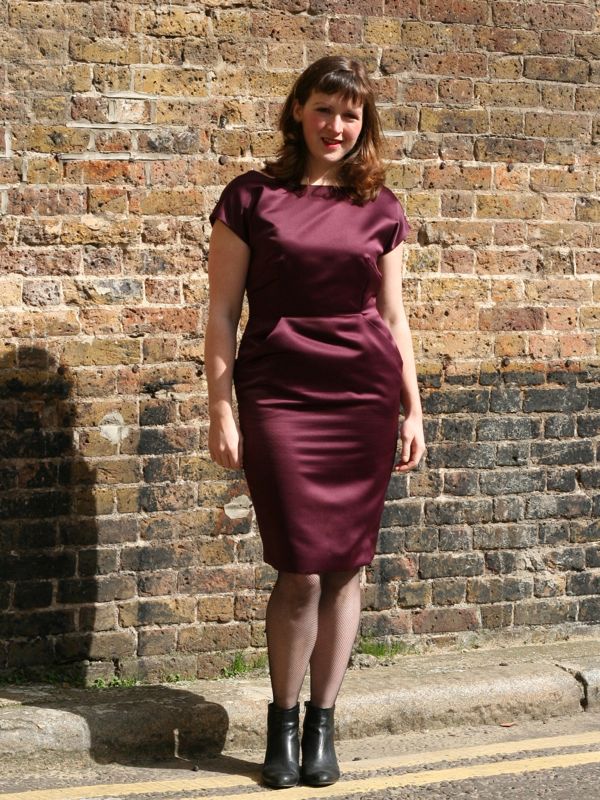
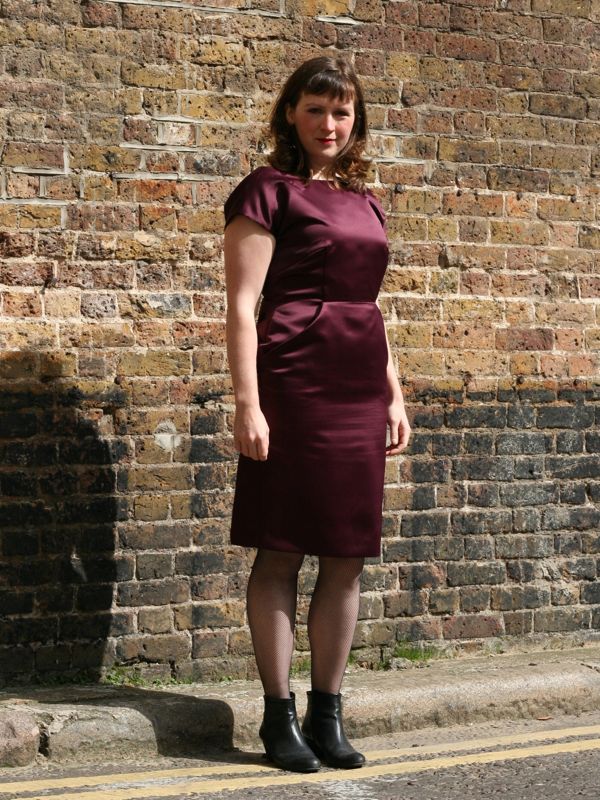
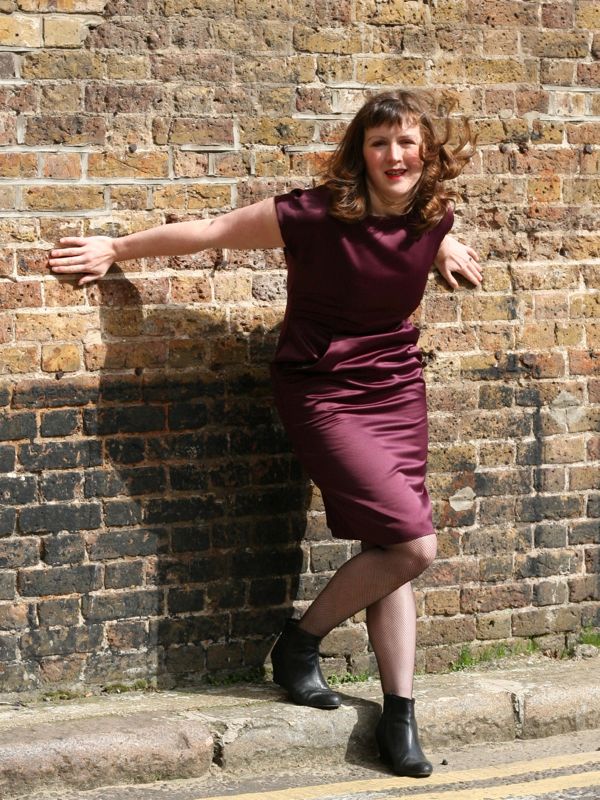
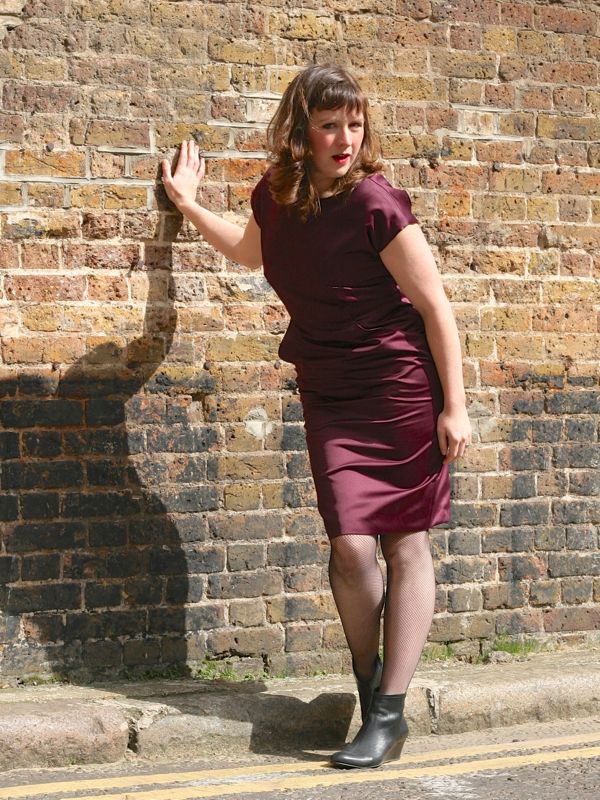
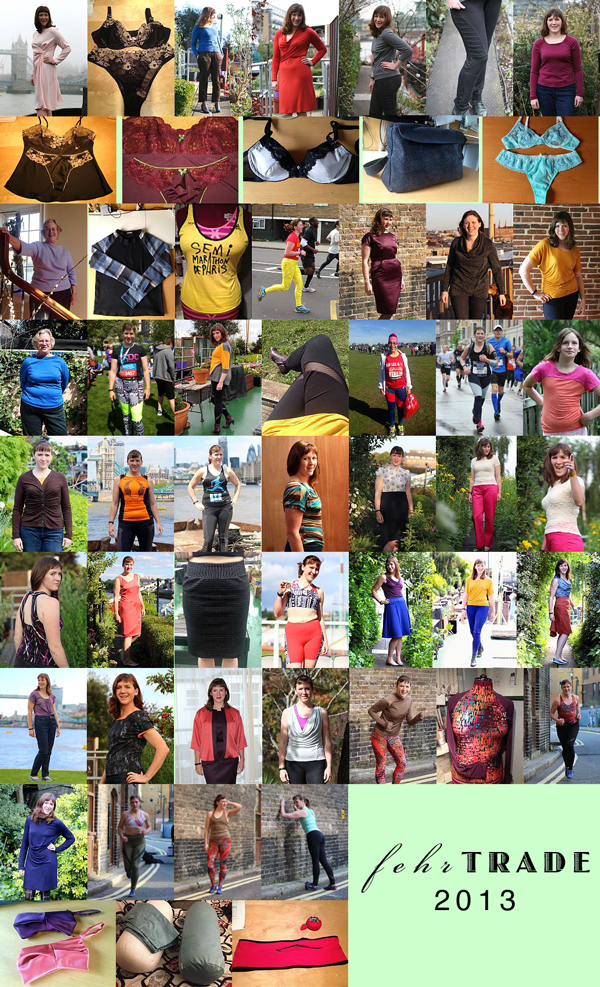
As I do every year, I like to spend the first of a new year to take the opportunity to look back on what I’ve sewn in the previous year. So without further ado, here’s a visual reminder of 2014!
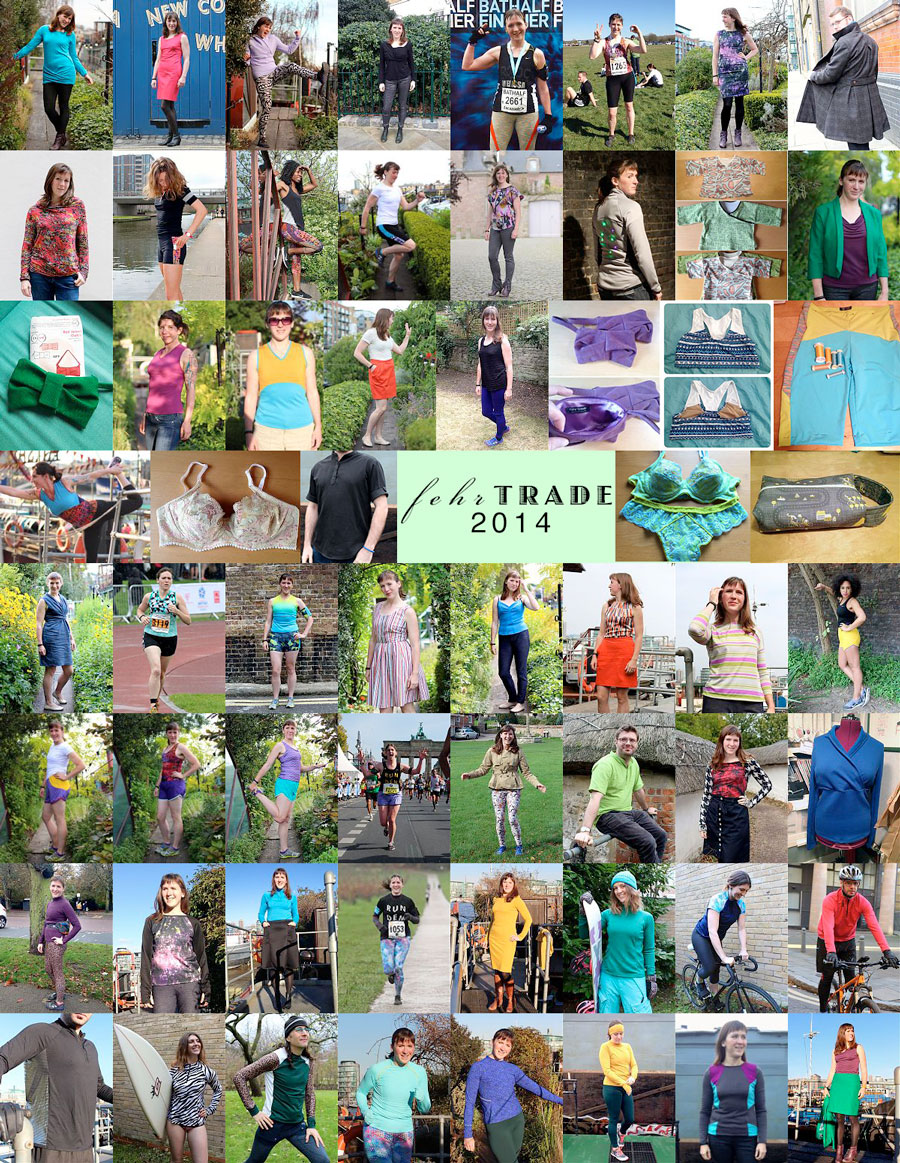
Click the image to see it better, or right-click here to see it in a new tab to get a better look!
Tip: If you’d like to skim back through the posts for the above projects, you can click Gallery in the upper left menu, which will only show you finished projects, without all the magazine reviews and in-progress reports getting in the way!
The Year in Stats
In terms of pattern companies used this year, I made:
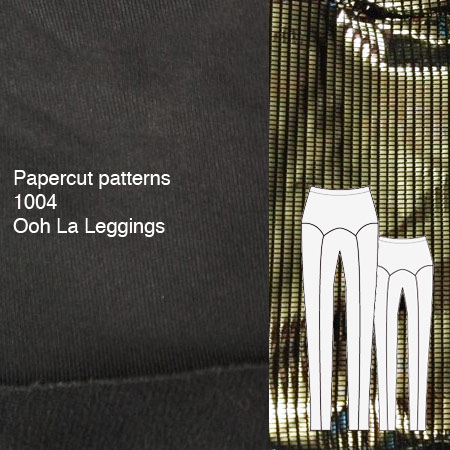
- 29 FehrTrade patterns (no surprise, really!),
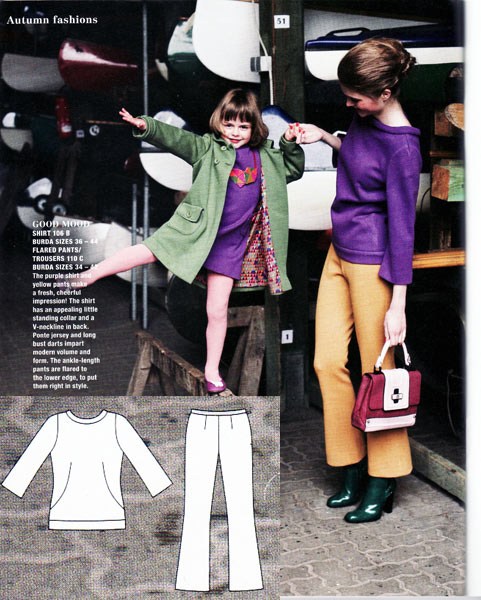
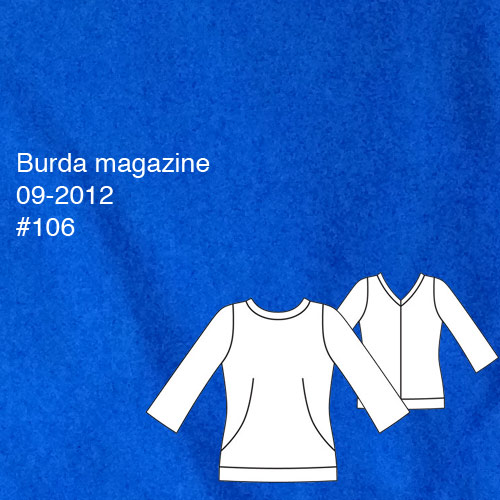
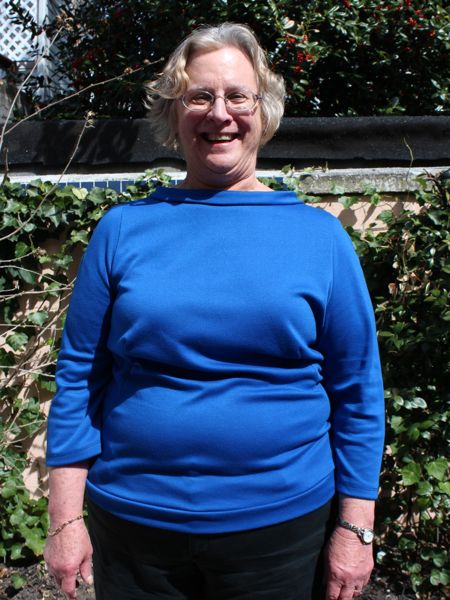
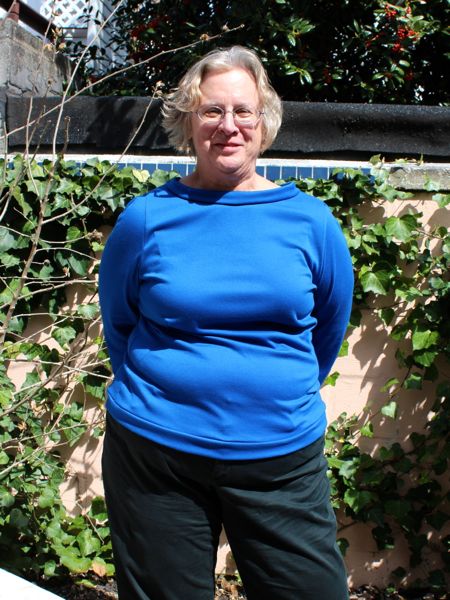
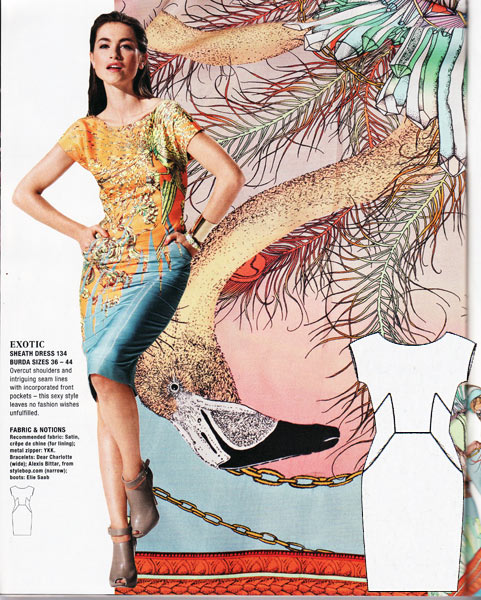
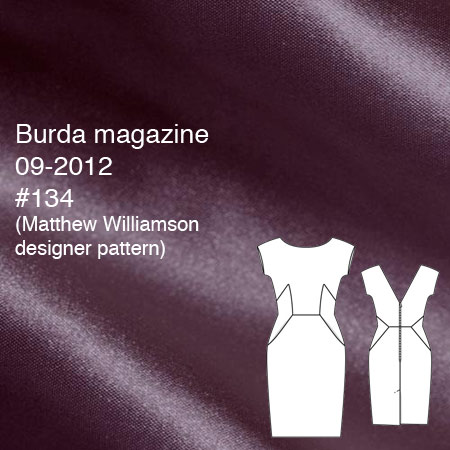
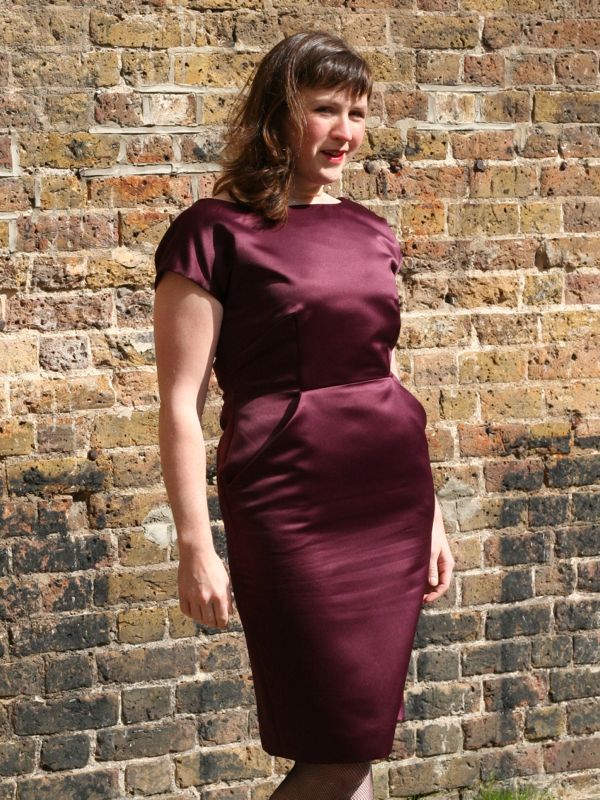
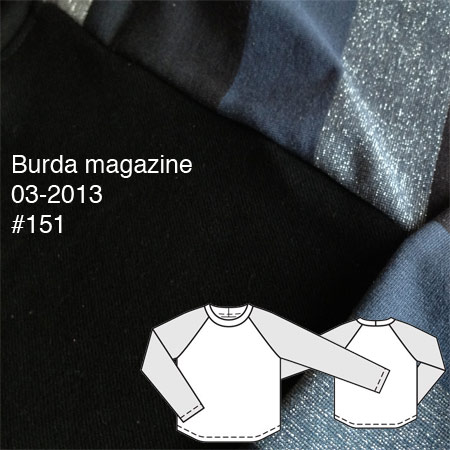
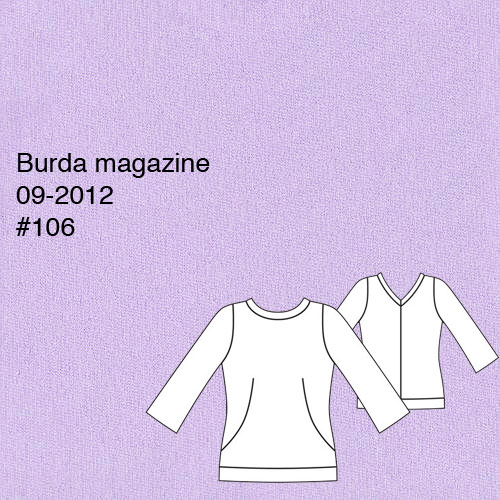
- 7 Burda magazine (aka Burda Style),
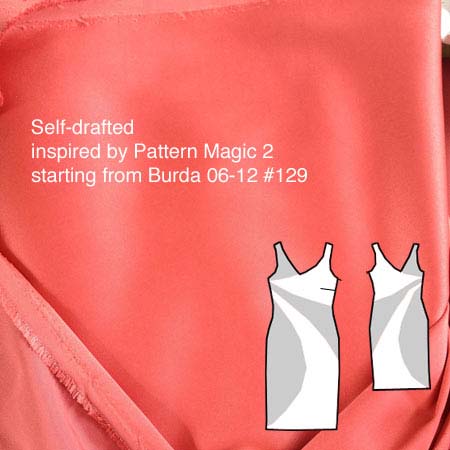
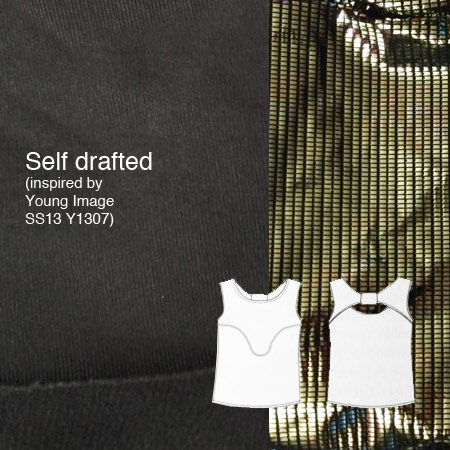
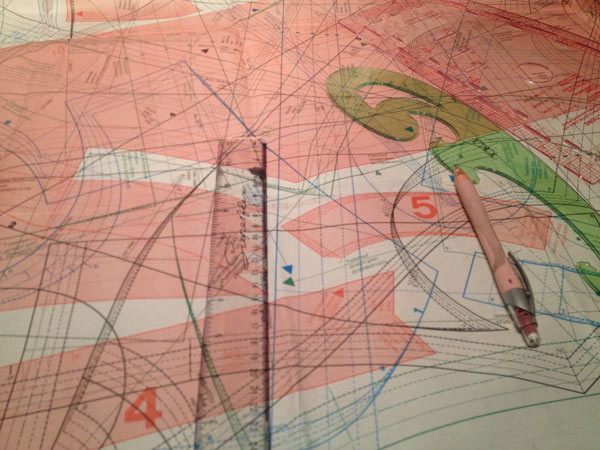
- 5 Self-drafted (including traced from RTW),
- 4 KwikSew (well, the same one pattern four times!),
- 3 Manequim magazine,
- 3 Cake Patterns,
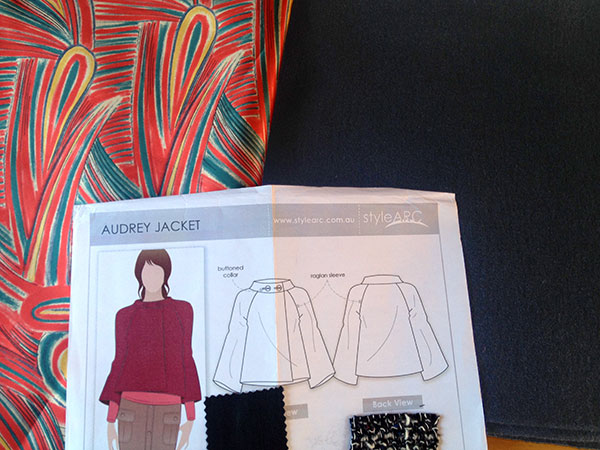
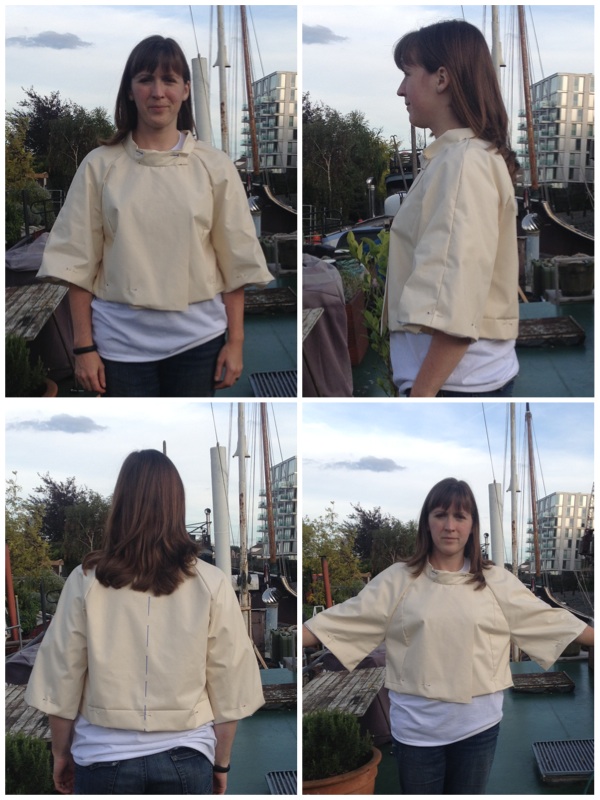
- 2 Style Arc,
- 2 Vogue,
- 2 Orange Lingerie,
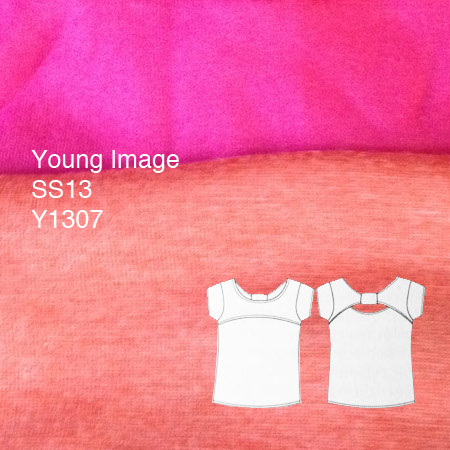
- and 1 each from Simplicity, McCalls, ThriftyStitcher, Christine Jonson, Seamster, Named, Sinbad & Sailor, Drape Drape, House of Pinhiero, and Jalie.
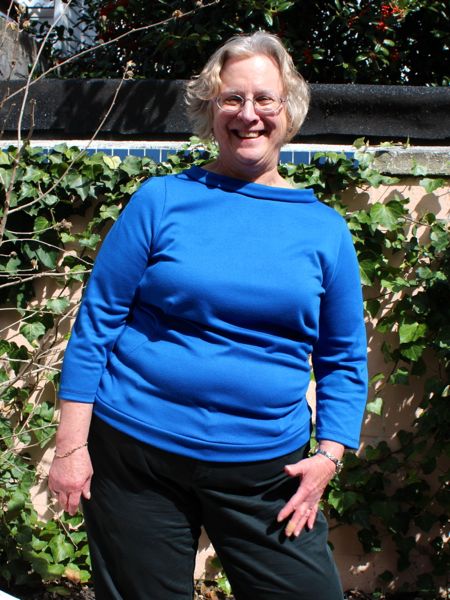
By my count, I made: 31 tops, 19 trousers (including leggings & shorts),
5 dresses, 4 pieces of lingerie (bras, panties, slips, etc), 3 skirts, 3 jackets/coats/cardigans, and 4 bags. James also did well this year, being made a winter coat, 2 shirts, 2 cycling tops, and a dop-kit bag.
And I realise I’ve been sewing a lot of running gear but the total number even surprised me – 34 of the above were for running (though not all for me)!
The above may sound like a lot of sewing, but even this is only a fraction of what I’ve actually sewn – I couldn’t really include all the garments sewn for the Great British Sewing Bee, for example, or those made for custom clients (of which there’s been a LOT!), or for the book I’ve been working on, either. In all honesty, I think you could probably double the amount shown above and it’d be closer to the total output!

