Birthday dress – just a peek!
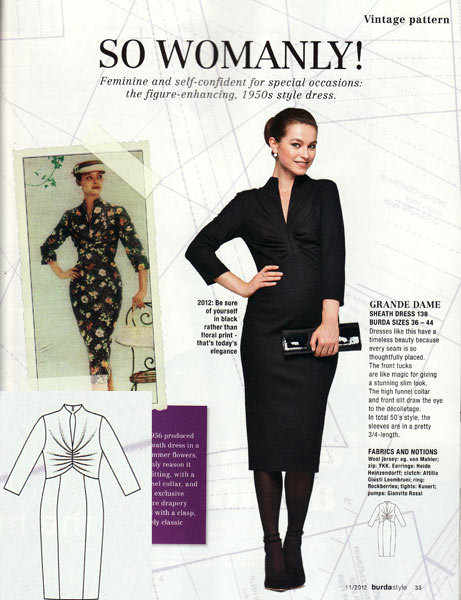
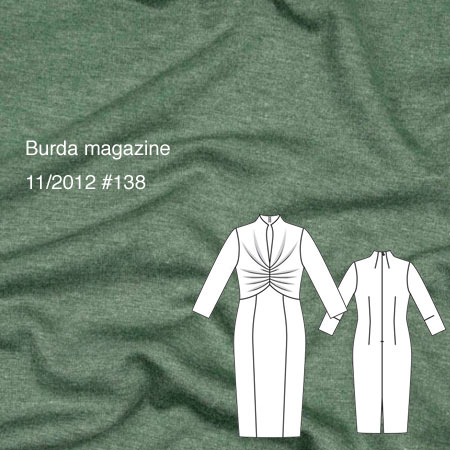
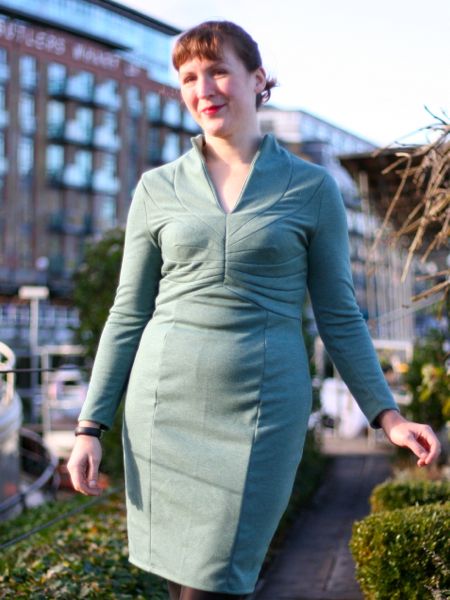
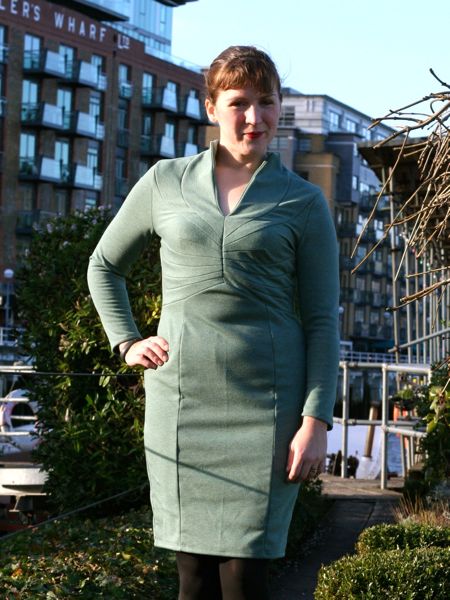
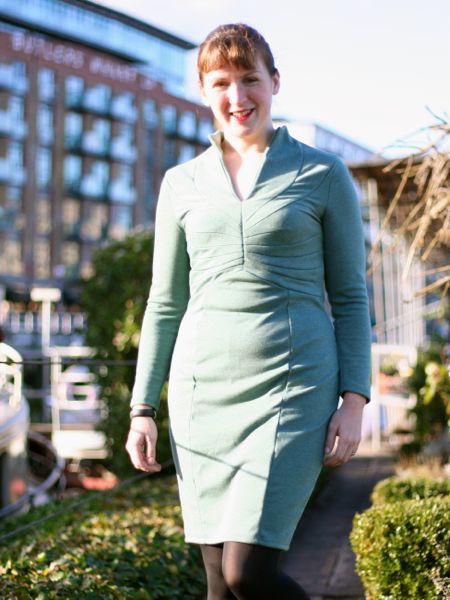
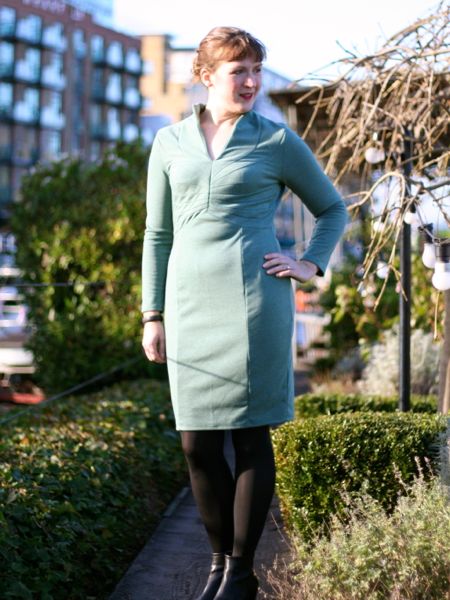
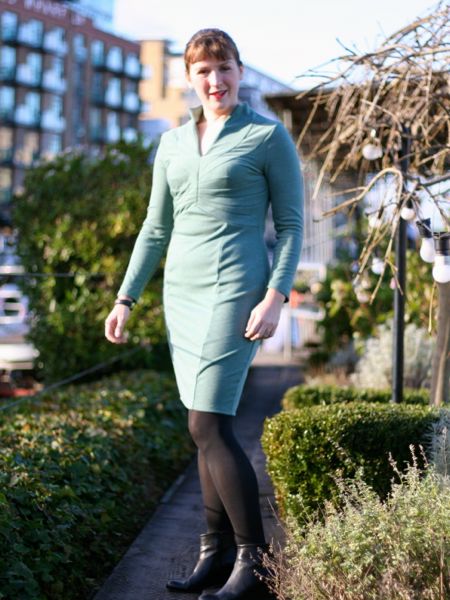
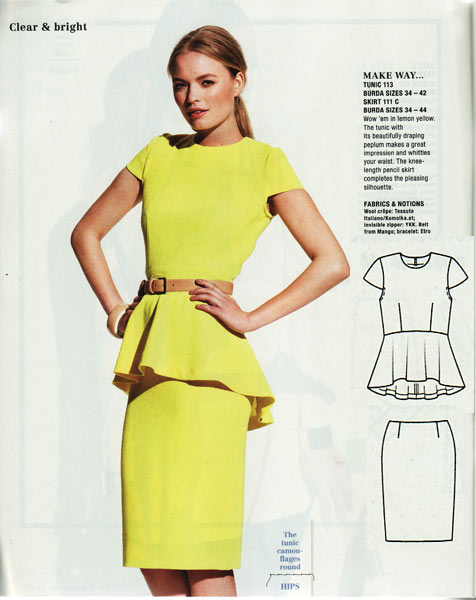
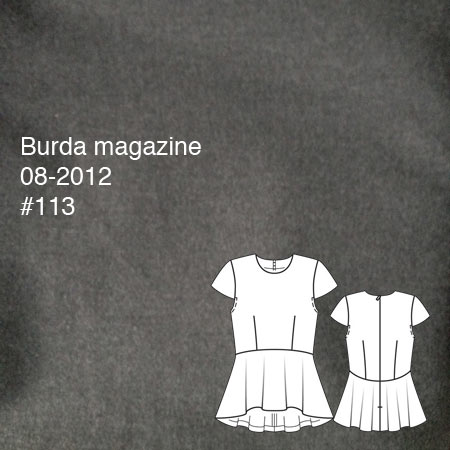
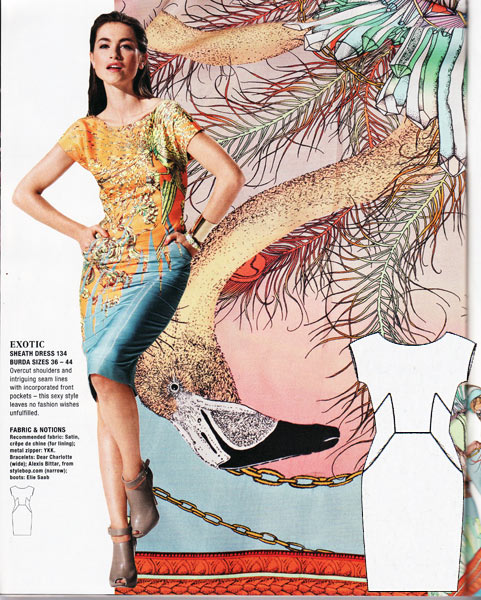
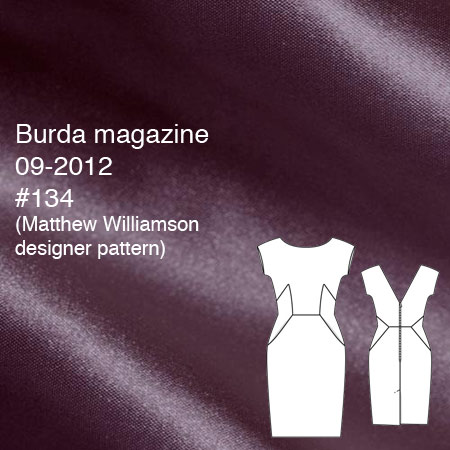
Happy birthday to me! I’m 34 today, and to celebrate, I’ve been making myself a special sheath dress designed by none other than Matthew Williamson from the September 2012 issue of Burda magazine!
If you’ve been following along, then you know I’ve been super busy for the past few weeks and it was a bit touch & go whether I’d finish this dress in time to wear to my special Mystery Birthday Dinner tonight. I’m proud to say that I did finish it in time, thanks in no small part to the snow cancelling our Saturday afternoon plans and giving me time to huddle down and sew! (It did not cancel my run though – we still ran 19 miles in the snow & fierce winds)!
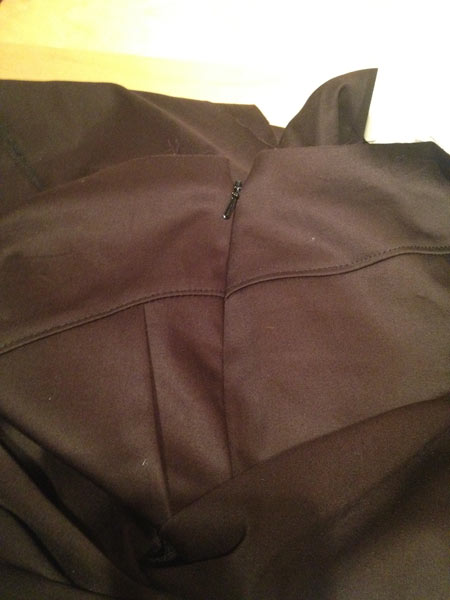
Unfortunately I didn’t finish in enough time to take daylight photos last night (plus it was snowing sideways & not exactly ideal photoshoot weather!), so I can only offer you some dressform photos right now, but hopefully we’ll be able to get a few shots of me dressed up before dinner tonight.
But — while everything’s fresh in my mind, I thought I’d tell you about the construction of the dress, and how I handled some of the trickier aspects of it.
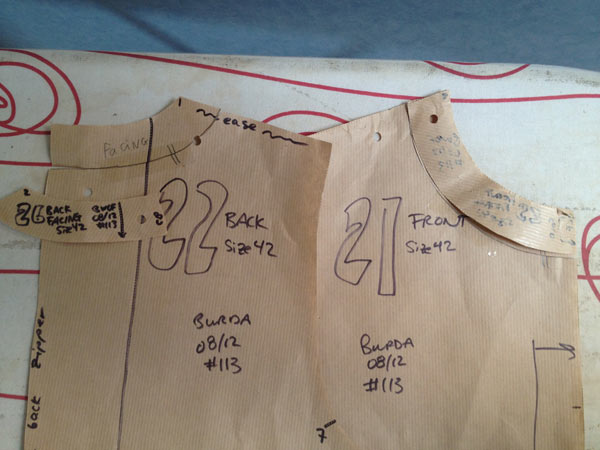
I decided I didn’t want to fiddle about with a muslin for this dress, so I did the next best thing and sewed up the lining first, just to double check that my sole alteration of raising the waist 1”/2cm was right, and everything was okay.
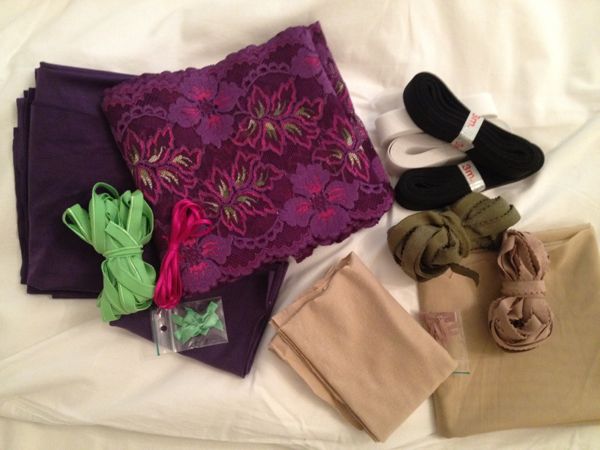
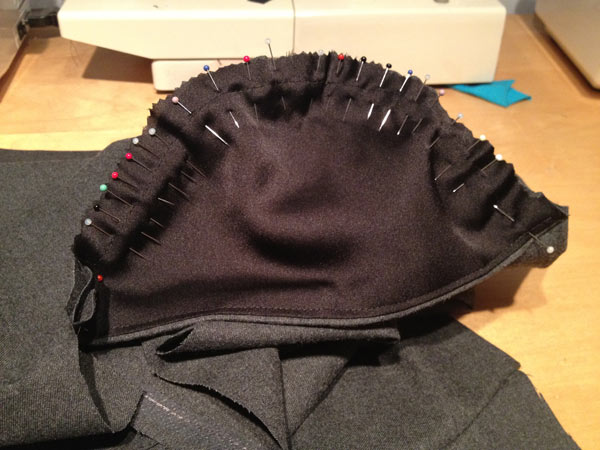
After that I cut out the shell and facings from the purple duchesse satin, and the next hurdle was to attach the curved facings to the curved neckline and sleeves of the lining. The neckline wasn’t too bad, but the sleeves were a total bear! For this reason (and a bit that became apparant later, too), I’d recommend sewing the side seams dead last, after the lining and shell are joined at the neckline and sleeve edges, and then sewing the side seams. This means you can attach the facings flat, for starters…