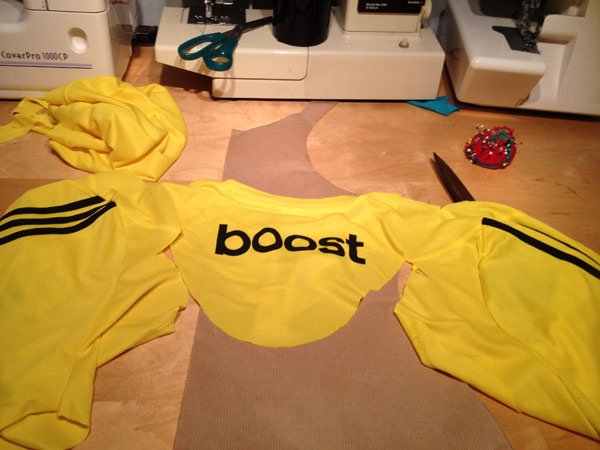
Thanks very much for all your birthday wishes! I had a brilliant day, and the dress fared very well indeed at my mystery dinner – the waitress complimented it the second I sat down!
With the dark colour of the dress, I really need daylight for a photoshoot, though, so the first opportunity is tomorrow (Friday). I’ll try to get the post up later that day as I know you’re all waiting patiently to see it on me!
My thoughts are definitely drifting towards the upcoming long Easter Weekend, and what I’d like to sew during it. As usual, I’ve got mental plans for way more than I can possibly get completed in four days, but here’s what I’m hoping to make…
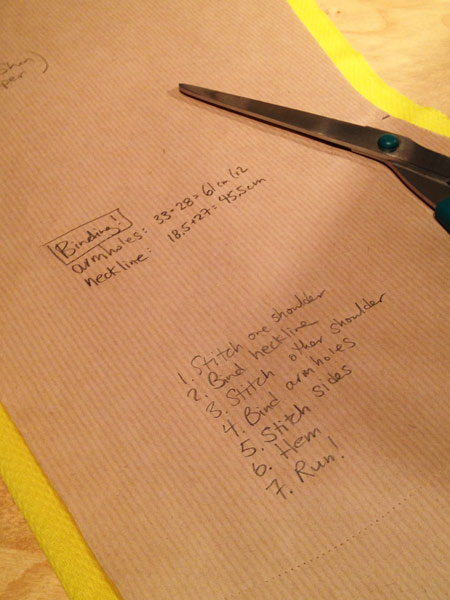
Leggings
I need to draft up leggings for two friends from my running crew, and sew samples/muslins for each from some cheap lycra I’ve got on hand for the purpose. One of them is popping over late in the weekend so I’ve really got to get hers ready by then!
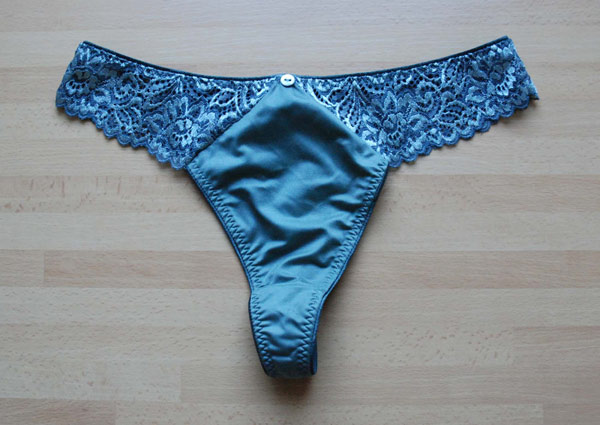
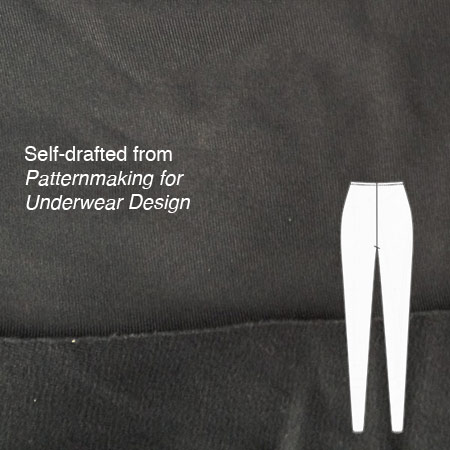
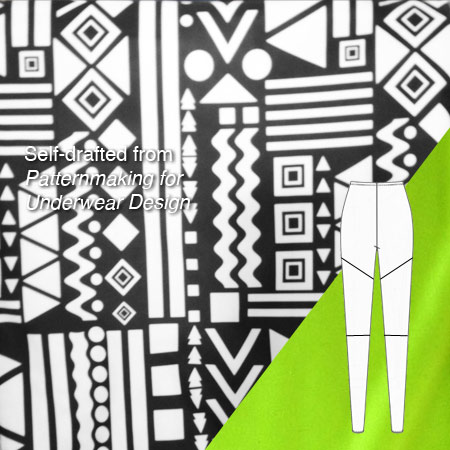
I’d also really like to sew up two pairs for me based on my own draft, one in black supplex (with the aim of using that fishnet trim on them afterwards), and one in the tribal print from Funki Fabrics.
Once a pattern is set and ready, I can churn out a pair of leggings in a few minutes, though, so I’m not too concerned about fitting these in, it’s the drafting that will take the time (and desk space!).
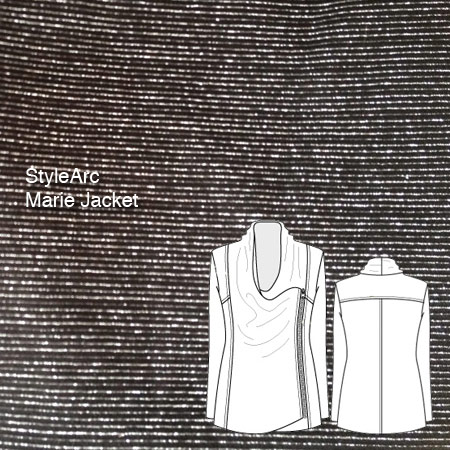
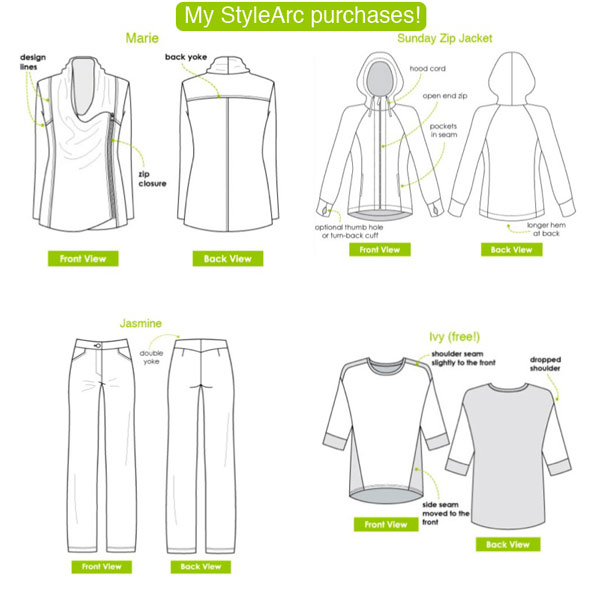
Style Arc’s Marie Jacket
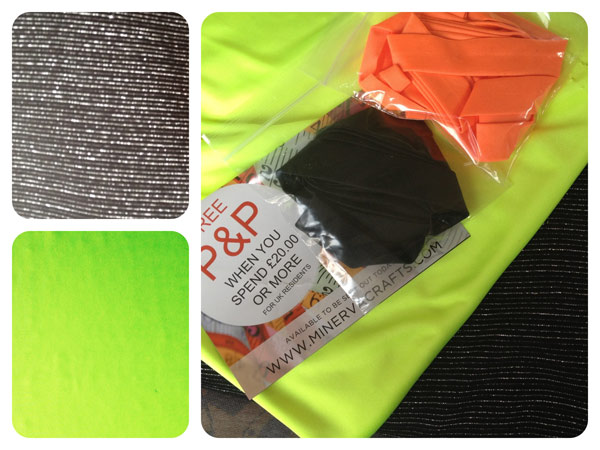
My main task for the weekend, though, is to make Stye Arc’s new Marie jacket, especially since I’ve gathered all the necessary supplies over the past week or so – some fabulous black and silver heavy jersey from Minerva and a big separating zipper from Our Patterned Hand