Oh KnipMode. What happened? You were so awesome in 2010, but then these last six months or so have just been so… blah.
If it carries on like this, there’s no way I’m renewing next year, especially as this is by far the most pricey of my three pattern magazine subscriptions (thanks to the exchange rate, it’s almost twice the price of Manequim or Burda).

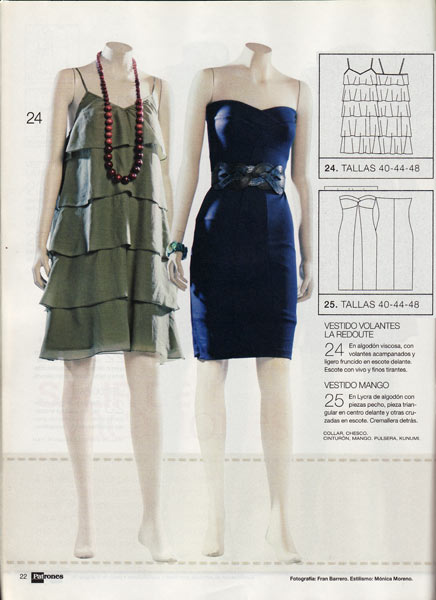
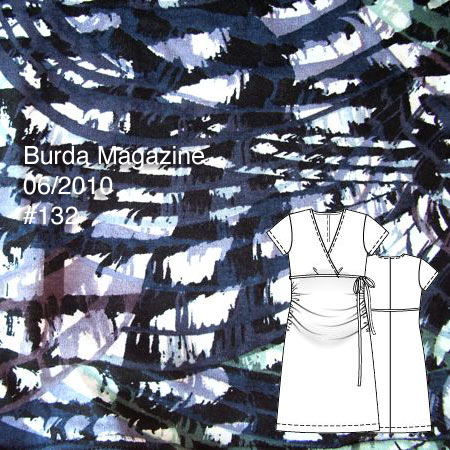
There was a feature on winter white that had nothing to inspire me, so let’s move on to the pretty party dress feature. Surely there will be something there for me… and yes! This dress with criss-crossed chiffon is lovely, especially in these colours.

This dress, however, is a whole heap of hot mess. The fabric is terrible for this pattern, the princess seams are lumpy, and the colour just looks cheap and nasty on this model’s colouring. Eugh.

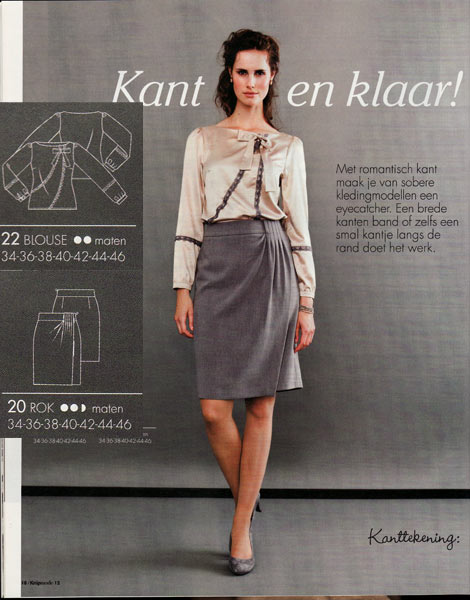
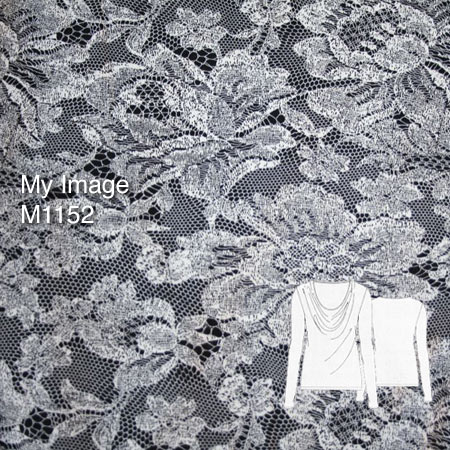
You know how much I love lace, right? Well it should tell you something that, in an entire feature on lace, the only thing I liked was this totally non-lace asymmetrical pleated skirt.