We had a long weekend here in the UK this weekend, and I’m pleased to report that I made the most of it! On Saturday, James and I made an impromptu trip down to Brighton, and we stopped off at Lewes on the way down. Our main objective in Lewes is always the Harveys Brewery shop, but I also discovered The Stitchery just across the road upstairs in the Riverside Centre, which stocks a wide variety of fabrics, embroidery floss, yarn, and haberdashery. I checked my handy “sewing shopping list” on my phone, and bought black waistband elastic and trouser hooks, both of which I needed. Very sensible of me, I know.
But the real temptation was walking right past Ditto in the North Laines in Brighton, and I told myself I was only allowed to buy ONE fabric there, so it’d better be a good one! In the end, this gorgeous butter yellow floral silk charmeuse won out over a similar yellow coloured, textured, ex-Blumarine crepe.
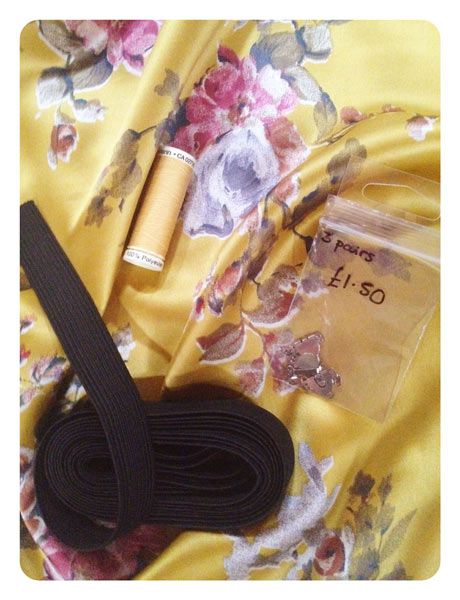
Florals really aren’t my usual fabric choice (and I would’ve never bought it from the terrible photo on Ditto’s site), but in real life, I was just captivated by it, and I’m thinking I’ll need to pair it with some edgier like jeans or my leather skirt to diffuse the twee-ness.
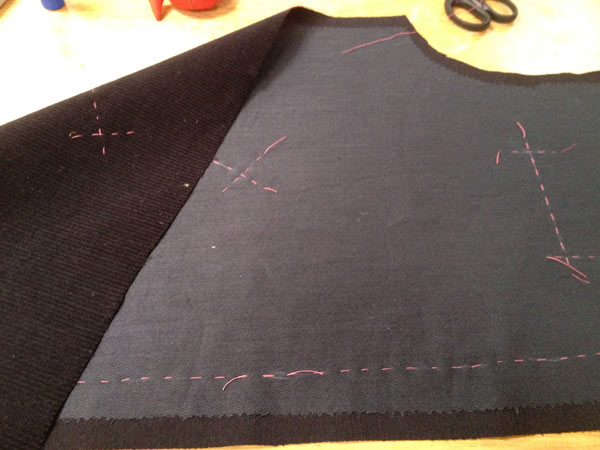
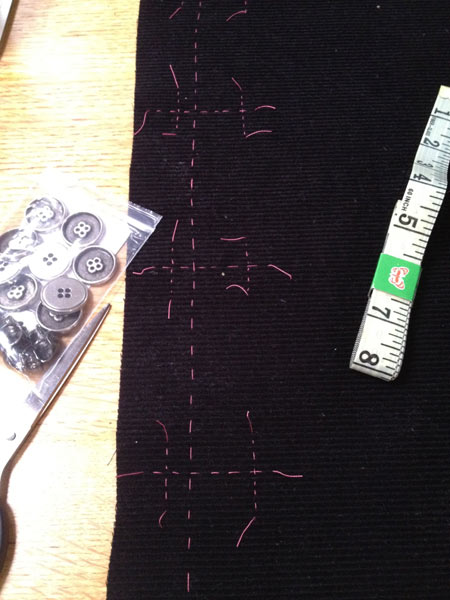
After our big day on Saturday, on Sunday we didn’t leave the boat at all! I spent most of the day doing sewing stuff, starting off with fusing all the interfacing onto James’s reversible smoking jacket pieces. I find fusing interfacing to be really boring at the best of times, but it’s beyond teeeeedious with a mini ironing board and mini iron! Once that was all fused, I then moved on to hand basting all the pocket placements (it’s a fantasy jacket, so there are five pockets!) and then basted the bound buttonhole placements, too.