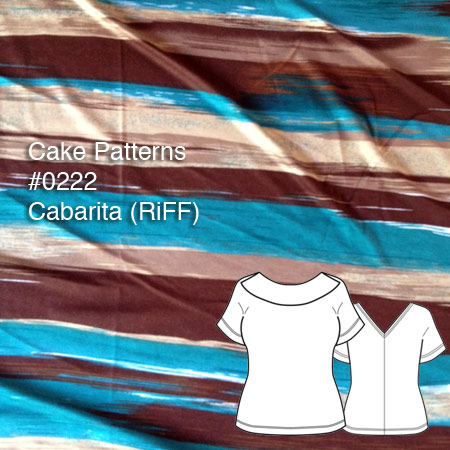
It’s not quite a “Quick Knit Top” in my eyes, but I wanted to try out one of the running top patterns I selected in my Spring/Summer 2013 Sewing Ideas before I jumped headfirst into sewing another pair of jeans. I pulled out KwikSew 3672, which my mom bought for me a while back in one of the pattern sales you all get in the US. Otherwise KwikSew tend to be pretty expensive over here and I’d probably never got around to trying it!
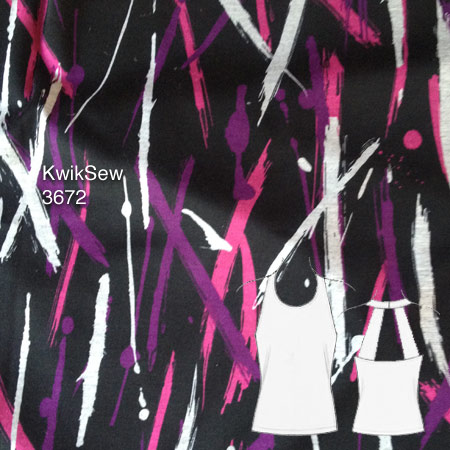
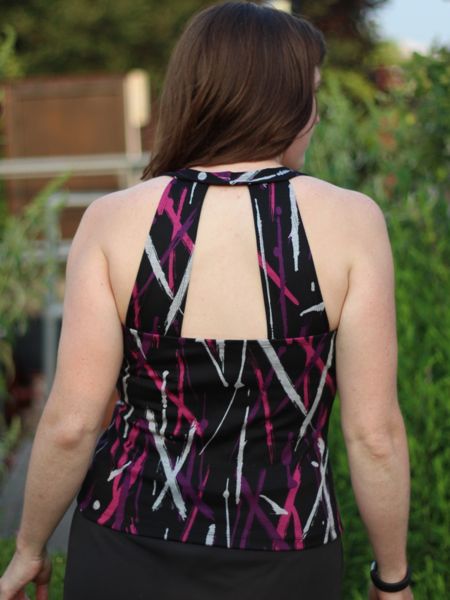
Despite being a fairly recent pattern, it’s already OOP so act fat if you like the design lines! I’ve only made the top this time, but I think the skirt could be perfect for travelling if made in a hefty jersey. The splatter-print jersey I used here is from Minerva – it’s a bit 80s but I thought it’d do nicely as a test-top as its soft and has a nice weight. For the shelf bra lining I used a lingerie nylon(?) but in future I’d suggest something more supportive yet breathable like power net. Obviously for heavy-duty running I’d use a wicking supplex for the exterior, but for several reasons I’ll go into below, this pattern isn’t suited for running anyway.


I never trust Big 4 sizing any more so even though my measurements matched up perfectly with size Large, I still laid my jersey sloper over the nested pattern and ultimately decided Large was probably the best bet anyway.
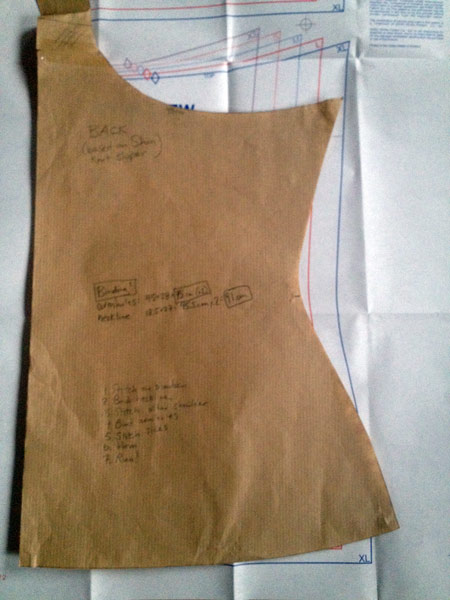
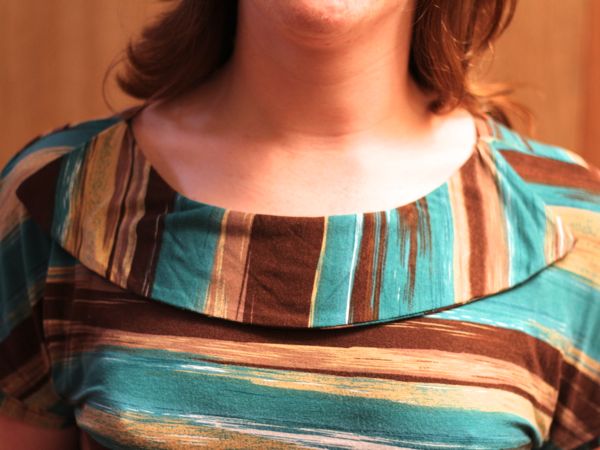
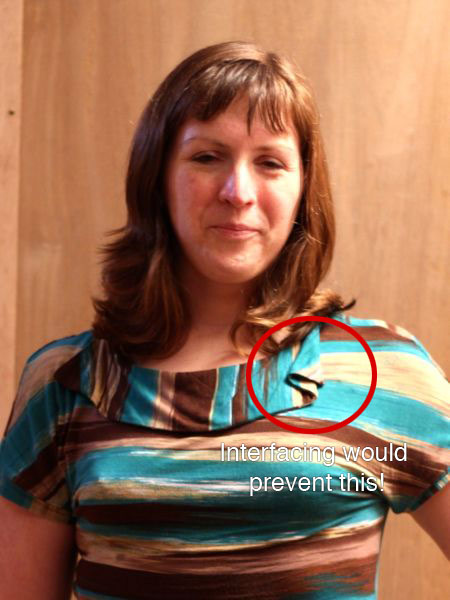
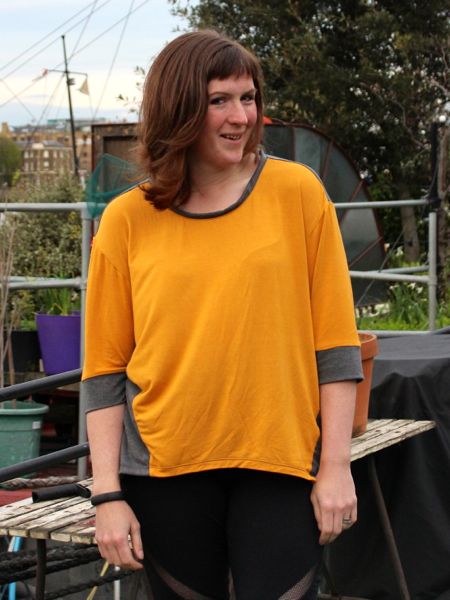
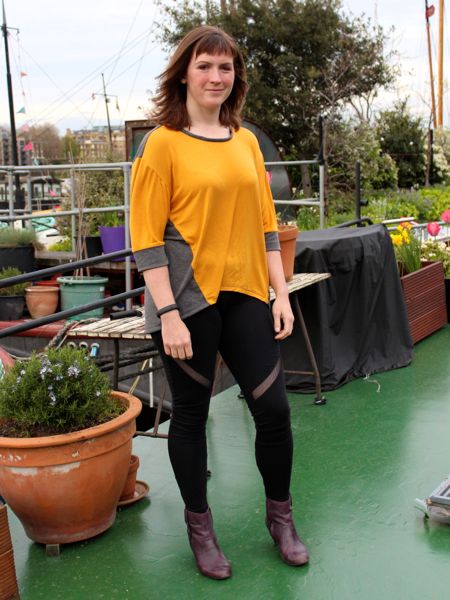
Even though my fabric isn’t anywhere near as stretchy as the guide on the pattern envelope (who actually uses those, anyway??), the fit is still very nice, and as far as I can tell, very true to size considering I was smack-dab in the Large measurement range! I’d definitely describe this as close-fitting though, and the length feels just about perfect to me, too. The only fitting issue that surprised me is how high the neckline is in front! This feel seriously matronly to me – I’d normally have this at least 3 or 4 inches lower in a running top!

This pattern has an shelf bra, which contains the bulk of my problems with the pattern: the finishing of the under-bust elastic leaves exposed elastic against the skin (what?), an unfinished (albeit small) top edge inside, and unflattering and bad gathers that neither support nor make for clean finishing.