I’ve got a little something different for you all today, compliments of fellow reader and runner Elaine Klein, who emailed me to show off a fantastic modification she did to add side pockets to her Steeplechase shorts.
The Steeplechase Leggings pattern includes a hidden back waistband pockets, but, if like Elaine, you too prefer to keep your keys or lip balm on your leg instead, then read on and see how she added these. Thanks so much, Elaine! -melissa
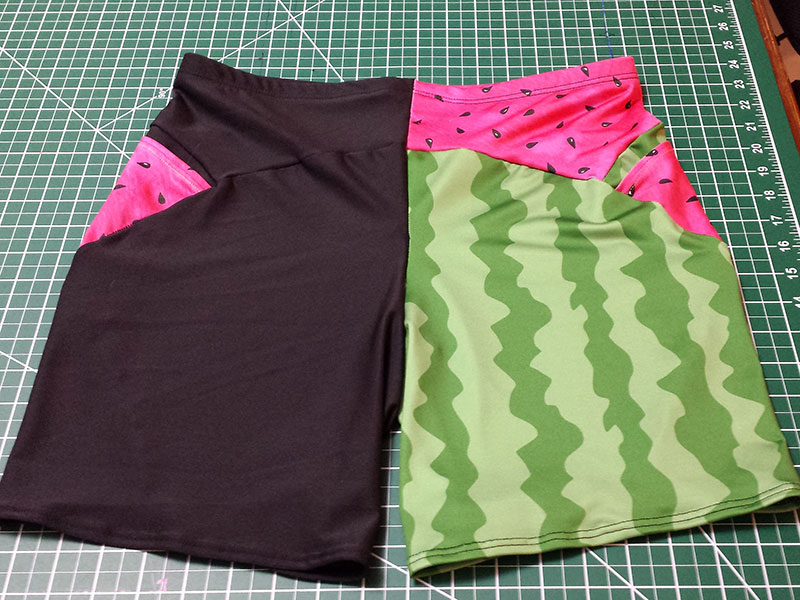
When my running buddy suggested that we celebrate our favorite trail run by wearing watermelon patterned shorts, your patterns helped us realize that kinda silly dream. Our matching melony shorts were quite a hit! Thank you.
More remarkably, as I dialed in the steeplechase pattern to suit me perfectly (having learned from your blogs and community that this is possible and preferable to wearing ill fitting running shorts) I grew confident enough to tinker a little, so I added pockets to my shorts. I tried the pouch pocket, but I prefer side pockets – I usually tuck an ID or gel or tissue or lip balm in these, but they are large enough to hold my smartphone (though not secure enough to do so comfortably for a long run). They’re also a fun decorative accent.
The pocket is wedge-shaped, with the top of the wedge turned and hemmed. The shape at the top follows the arc of the rear part of the front point of the yoke; the front edge of the wedge is sandwiched in the leg seam; and the rear edge of the wedge is appliqued to the rear of the leg.
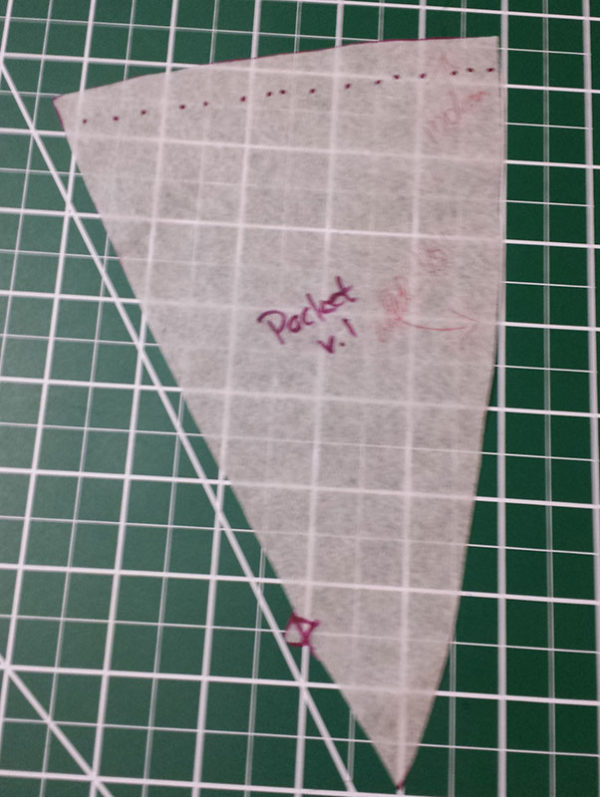
To do this, cut two pattern pieces (left and right). I use the diamond on the leg pattern to help with placement, and curve the rear edge of the wedge slightly (because my rear curves a lot!). The top of the pocket needs to sit below the seam where the yoke will attach, or the pocket won’t open!
Hem the top edge – I just turn a narrow hem and stitch with a double needle. A double turn and zigzag stitch also works.
Place the pocket wrong side of pocket to right side of leg, matching the diamonds at the edge along the seamline. Baste in place along the leg seam within the seam allowance. (This is what I call the front edge of the pocket.)
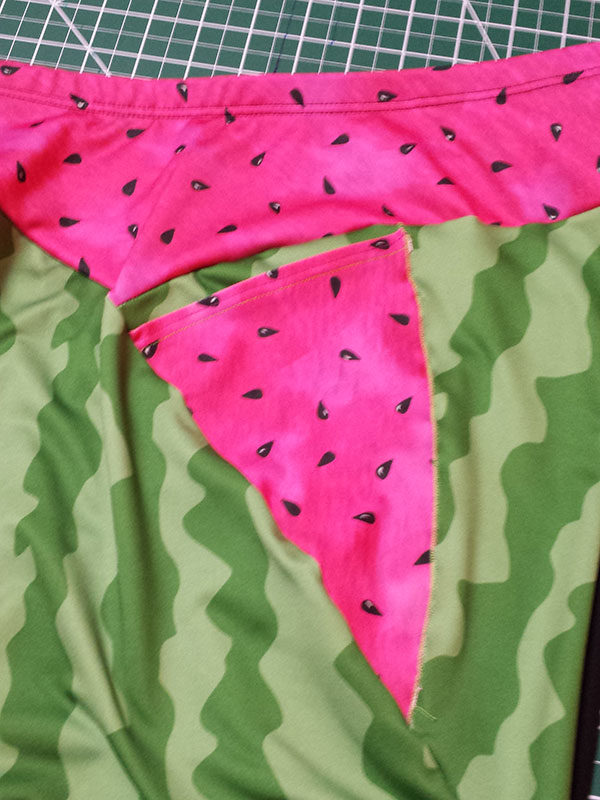
Pin the rear edge of the pocket to the leg and use a tight zigzag stitch to applique the raw edge of the pocket to the leg. If the stitch is tight enough, there is no need to turn the edge.
Now that the pocket and leg are one unit, proceed with assembling the shorts or leggings – take care not to catch the top of the pocket in the yoke assembly, and be sure the basted edge is fully encased in the leg seam. Voila, pockets!

I’ve fiddled with this a lot, and the fiddliest part was getting the rear edge of the pocket affixed to the leg. I tried turning the edge and using a regular stitch, but I find that too lumpy. I also tried a flatlock technique with my serger, sandwiching the fabric in the leg piece, serging it with loose tension, and opening the resulting serged seam flat. I’m not good enough (yet) with the serger to be sure that the whole pocket edge gets caught in the stitching, and I found that because this bunches up the leg fabric and reduces the size of the leg overall, the leg doesn’t assemble right…there may be a better way, but I haven’t sorted that out yet. Applique is easiest, and I think it looks okay. I think I’d also tend to go for either a tight zigzag and applique, as you’ve done here, or also possibly folding the edge under and using either a narrow zigzag or a triple zigzag stitch. Or if you’ve got a coverstitch machine, stitch from the wrong side to get a mock flatlock effect on the right side. Lots of options here!
Thank you so much for sharing, Elaine, and I just love that the pockets look like little watermelon slices, too!! -melissa
[shopify embed_type=”product” shop=”fehr-trade.myshopify.com” product_handle=”steeplechase-leggings” show=”all”]