This post is part three of my “making of” series of posts for my 18th c outfit for a friend’s Halloween wedding. If you missed the others, you can read part one, about sewing the 18th c frock coat, and part two, about sewing the 18th c breeches before reading this.
Unlike the other two garments, I actually didn’t use a pattern for this shirt, instead using the (slightly) modernised drafting and sewing instructions here which took the original historical documents as the base. (Though it’s only now as I’m writing up this post that I see Black Snail Patterns have a very similar shirt pattern on their full site which I did NOT see on their Etsy shop?! Honestly, using their pattern would’ve saved me so much stress!! If you’re reading this planning your own outfit, definitely go for the pattern rather than what I did here!)
These instructions give dimensions for all the various rectangles that make up the shirt, only a few of which actually depend on your own body measurements. I used the various rectangles to work out in Adobe Illustrator exactly how much fabric I’d need for a few common widths. So when I went to Fabrics Galore and bought a viscose/linen/elastase mix that was 135cm wide, I knew confidently I could buy 2m and have very little leftover.
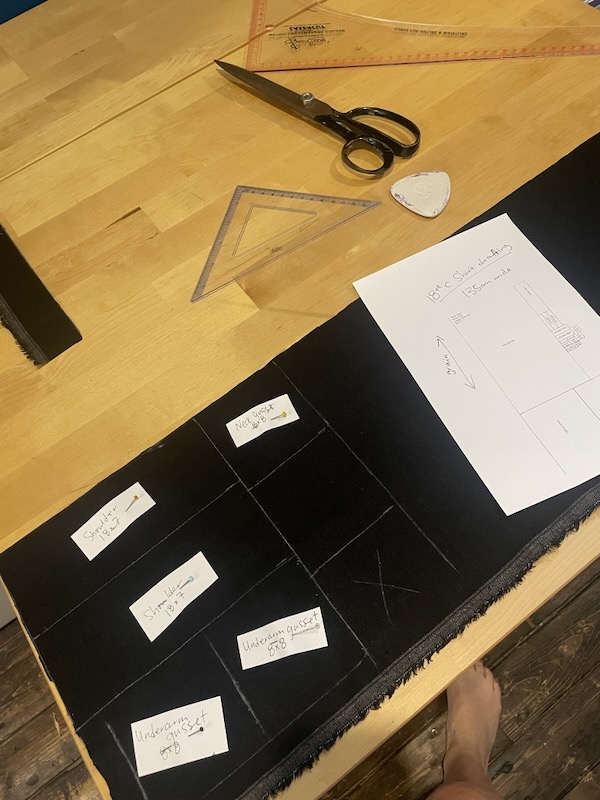
As drafted, the shirt is REALLY long – I know 18th c men essentially wore these shirts as crotch underwear as well as undershirts so they’re meant to be tucked into breeches, but as originally drafted the shirt would’ve been past my knees. Since the body piece is one long rectangle from back hem over the shoulder to the front hem, I just measured from my shoulder to the length I wanted and doubled it. My body piece was 80cm wide by 1.3m long, which I think was about right. However, when marking the shoulder it has you deliberately make the back 8cm longer than the front, and I’d personally lessen this next time to maybe 4cm instead as the back was a tad too long and the front a tad too short to be perfect.
The drafting of this wasn’t too hard – just measuring rectangles and cutting them out, but the sewing was a total “flying by the seat of my pants” exercise, even with the modern notes. There’s a LOT of sewing square gussets into slits and seams, so you’ve got to really like sewing inset corners.
Like the frock coat and breeches, the instructions assume you want to sew this with historically accurate methods, and frankly, F That. Any 18th c tailor would absolutely use a sewing machine or overlocker if it was available to them, so I feel zero guilt whatsoever in using mine.
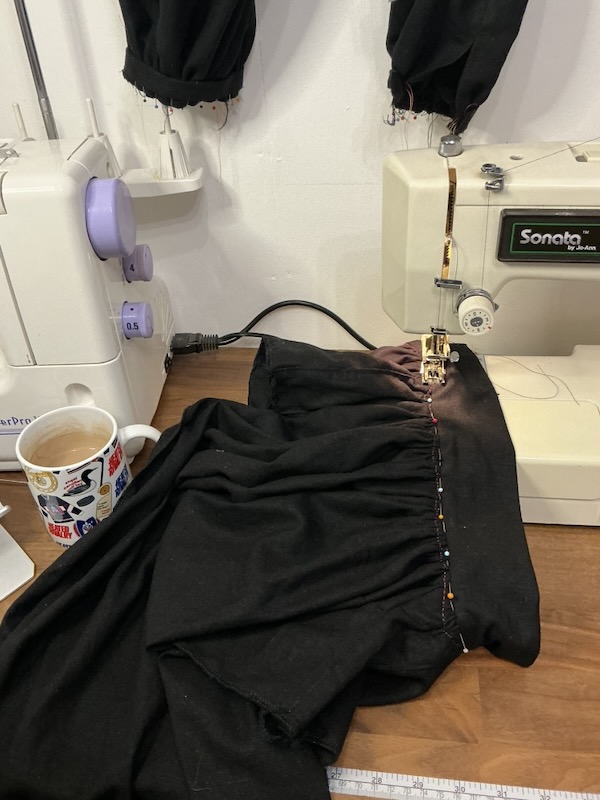
The first step was assembling the sleeves with a gusset at the underarm, then splitting the shoulder piece and inserting a gusset into THAT too. Since it’ll be mostly under a jacket, sewn in black fabric, and worn as a costume, I wasn’t bothered by a few tucks in the gussets to be honest. And frankly, after having attached the collar over the folded gusset and bulky layers of shoulder + body + seam allowances, there has got to be a better way to give space to the wearer’s neck! This method only gave a few centimeters of space but lots of bulk…
Overall, the instructions really could’ve benefitted from an illustration or two – even just something scrawled in pen would’ve helped, especially since the modern sewist author isn’t a native English speaker. Nearly every step required me to read it at least three times, and even then half the time I didn’t understand precisely what they wanted me to do. Don’t get me wrong, I’m glad they translated it into centimeters because the original would’ve been completely unusable, but this is very much an Advanced Project.
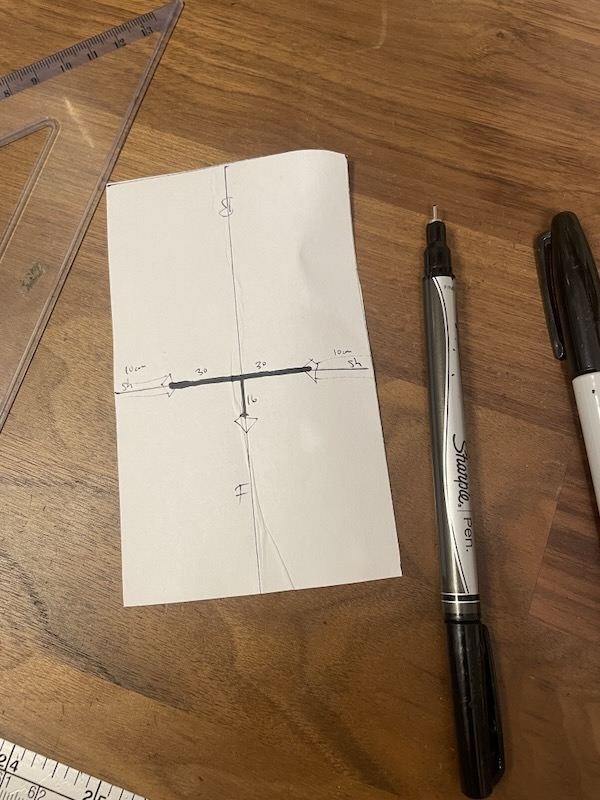
The instructions to cut the shoulder and CF neckline slits were particularly confusing – I had to create a paper model for the first time in years! And then I attached one of the shoulder gussets to the CF slit by mistake, which could’ve been wholly preventable had the instructions told you to cut and finish the CF slit after the shoulders were done!
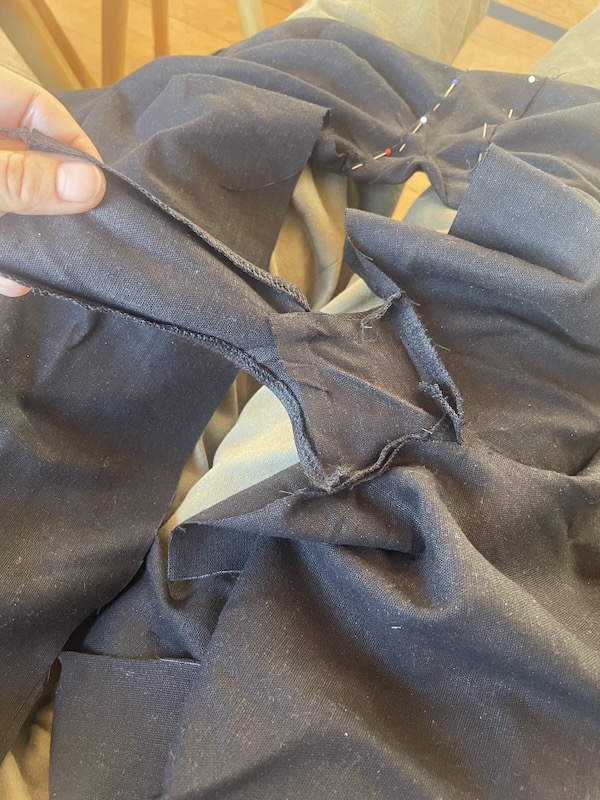
The “chest heart” piece is cute, but my fabric was way too thick to fold the square into a triangle and then press all the seam allowances under, so I had to cut mine into a triangle anyway. It also seems so wrong to not use interfacing anywhere – not even on cuffs or collars, let alone on all the inset corners of gussets where they can easily rip and fray…
Also, I was not expecting the sleeve cuff to be so narrow! There’s zero photos of it in the instructions that I could find, but mine ended up being about 1.5cm (5/8in) wide!! The sleeves themselves required the absolute maximum gathering to fit into the cuffs, but actually weren’t too bad to sew (and neither was the collar, which I sewed in exactly the same way as the cuffs).
Instead of machine sewing the buttonholes like I did on the breeches and (most of) the frock coat, for this shirt I opted to hand sew button loops for the collar and chest slit since they’re the most visible, and I left the machine buttonholes for just the sleeve bands/cuffs, since they’ll not be seen under the frock coat sleeves much anyway.
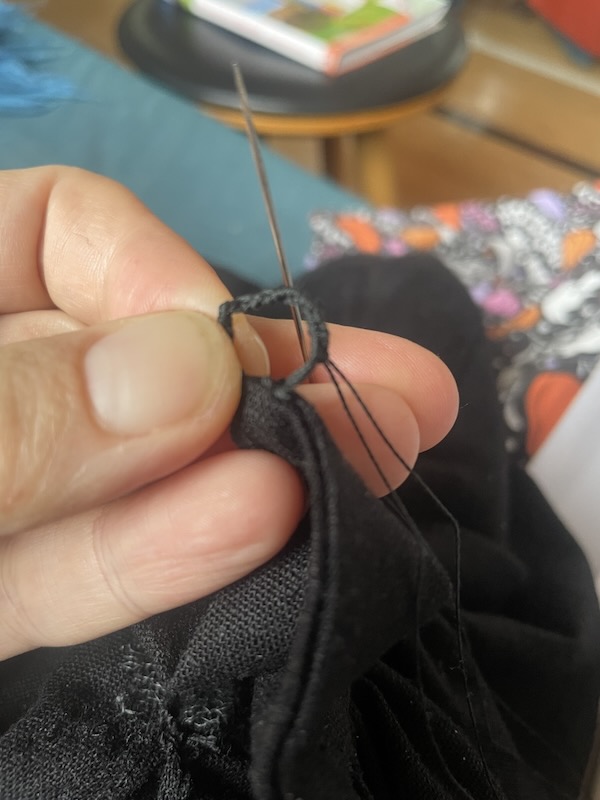
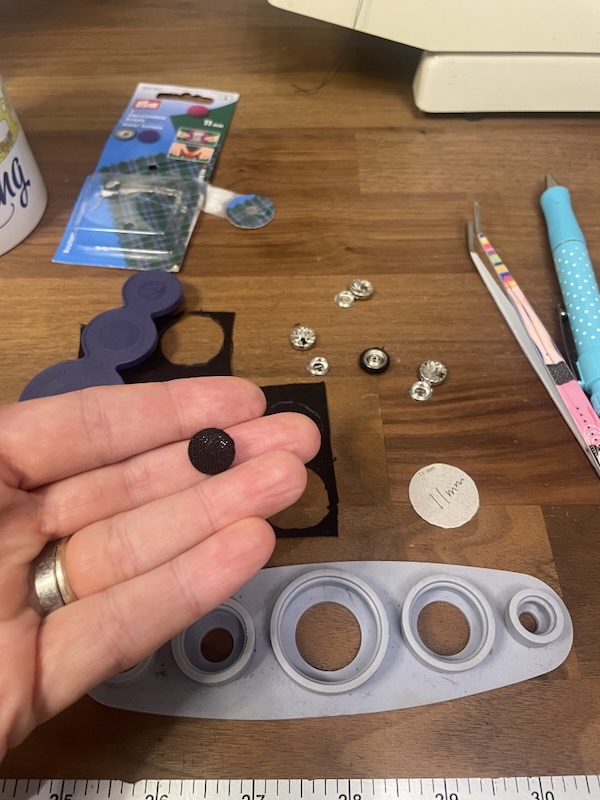
In short, I really should’ve sewn a muslin of this, even if it was half sized, before sewing the final shirt because I could’ve gotten a much neater finish with a lot less bulk, unpicking, fray check, and overlocking. But I’m lucky it’s in a black fabric (which hides a multitude of sins!), it’s for Halloween, and the handmade look is kinda appropriate given the garment era.
The drafting instructions assume very narrow historical fabrics and would’ve been nearly zero-waste back then, but for my modern fabric width (135cm), I ended up with a long strip by the selvedge – perfect for a rough and ready cravat! Which in my case was just a long rectangle sewn right sides together then turned out and pressed well.
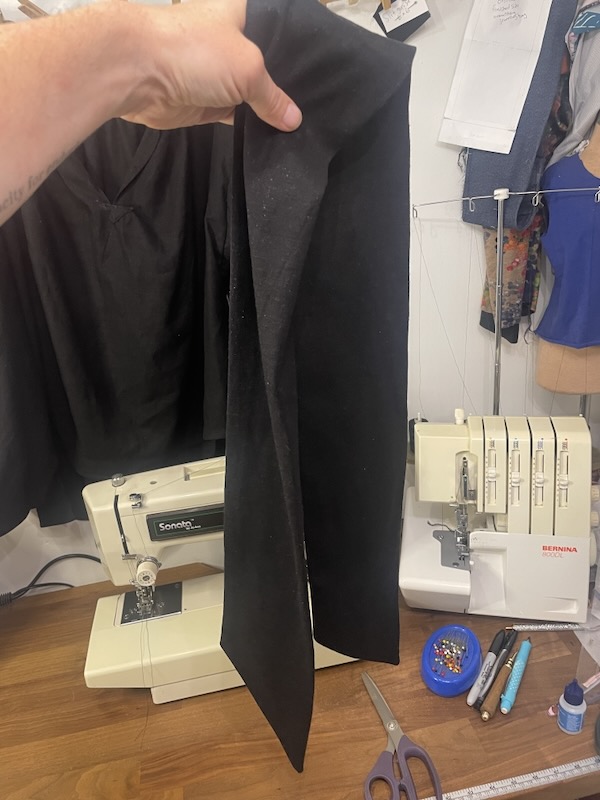
But again, I have to sress that you’ve got to reeeeeally love sewing gussets and gathers to make this shirt!
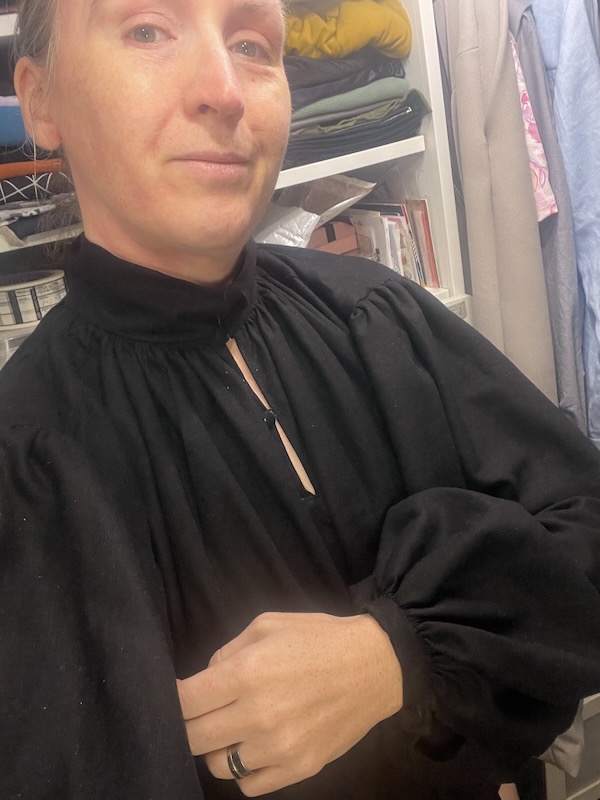
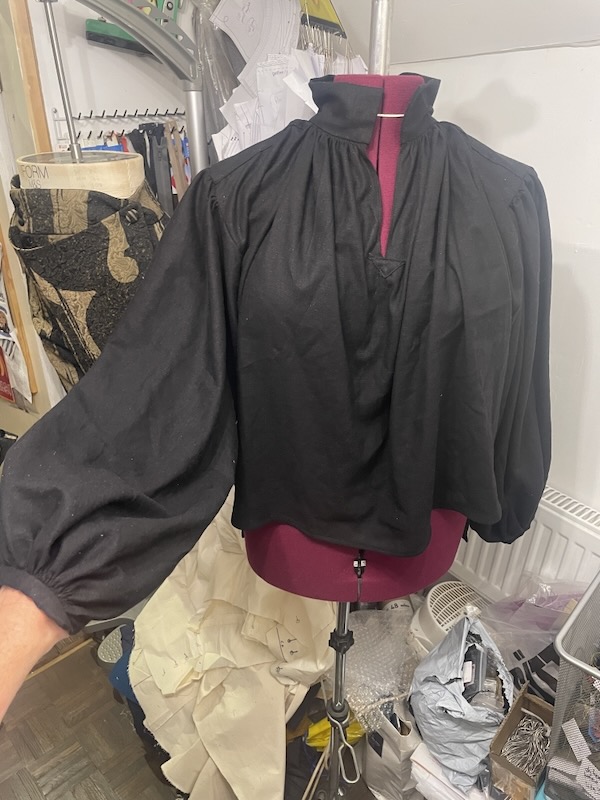
It’s giving me Dread Pirate Roberts from The Princess Bride, which I absolutely am here for! And the big gathered sleeves are so much fun to swan around in…
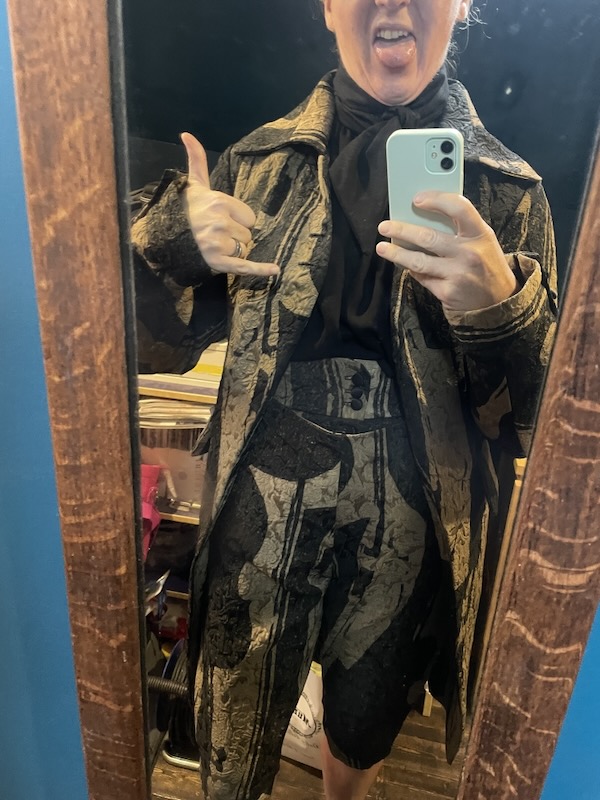
This concludes my “making of” series of posts for this outfit, so you’ll have to wait a few weeks to see the finished photoshoot from after we get back from the wedding!