
This post is a continuation of the “making of” the three garments in my 18th century costume for a friend’s Halloween wedding, so be sure to read the post on sewing the 18th c frock coat to get all the context!
As I mentioned with the frock coat, the options for men’s patterns of this era are just a sea of awful pirate costumes, so I was thankful to find Black Snail Patterns’ “Late 18th c men’s breeches” pattern as it’s got the right historical details and is drafted to be an actual garment rather than just a “silly halloween costume” (my experiences with Big Four Halloween costume patterns have been they’re extremely poor quality). Since it’s a men’s pattern, I chose size 42 for me based on my hip measurement (I’m 40 in the waist but these breeches have eyelets to cinch in anyway).
There were, however, some interesting drafting choices in this pattern, which, while historically accurate, were not the look I was going for!
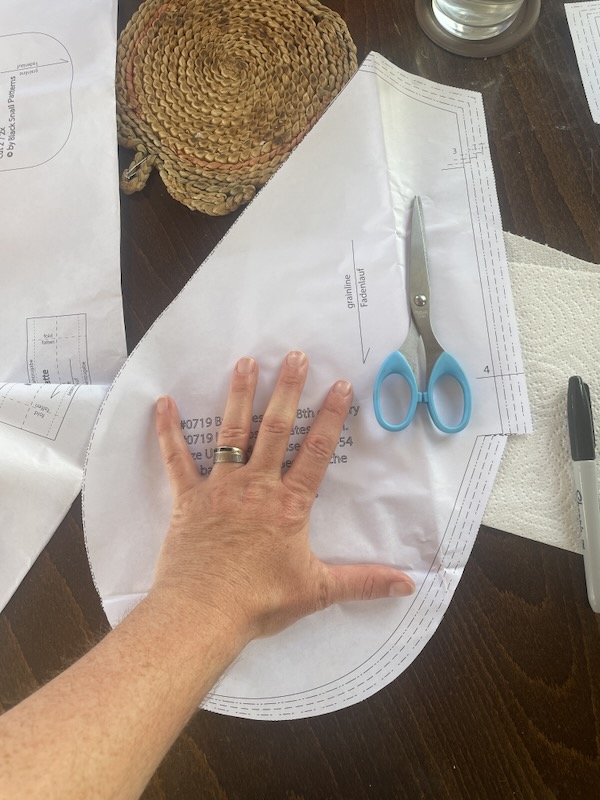
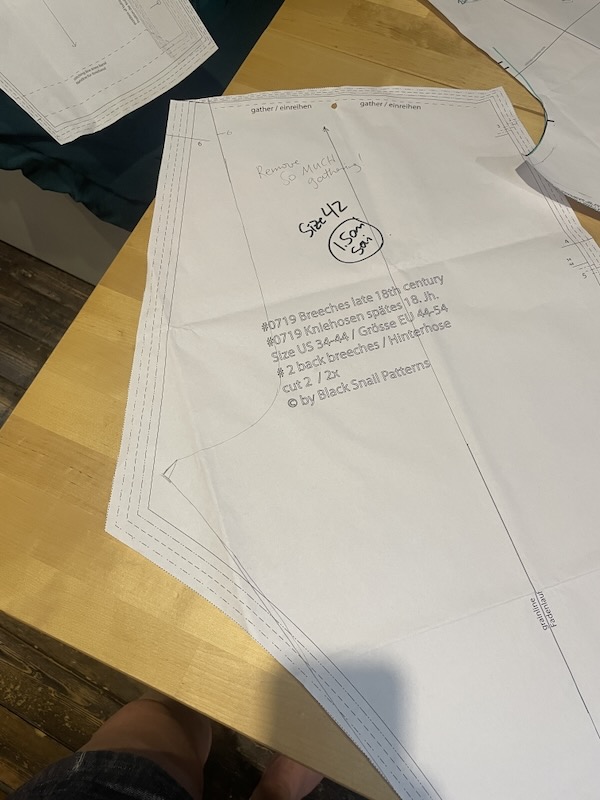
Alterations after first muslin:
- Removed 2cm at CF on Front only (it was gaping compared to the Underfall)
- Completely redrafted the back crotch because the straight (no curve!?!) crotch plus so much gathering gave a ridiculously huge bubble butt – Seriously, Kim K had nothing on this booty!
- Removed 10cm length above knee so that buttons are over the knee itself
- Removed length below knee so it’s just seam allowance for at attached button band (which I drafted rather than using the pattern’s buckle band)
- Added a placket to the lower leg buttons and buttonholes since I’m not lining these
- The side seam pockets are GIGANTIC?! Why?? I used a more regular sized pocket shape and they’re still plenty big enough to go halfway down my thigh
- Omitted the watch pocket in the waistband
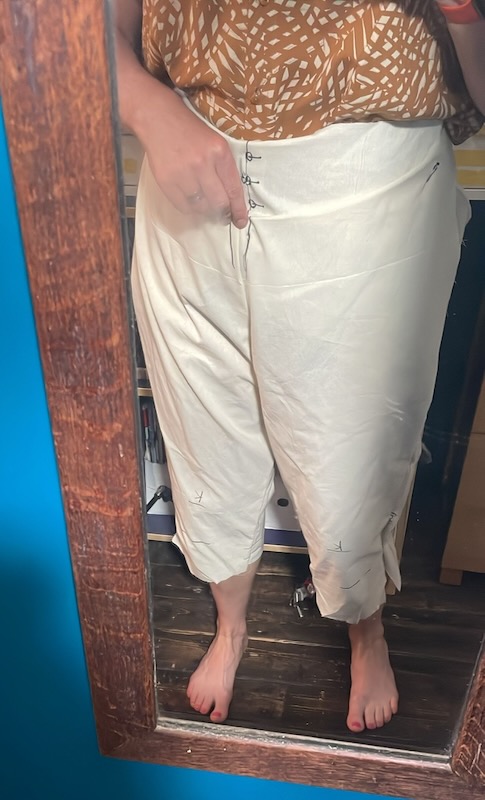
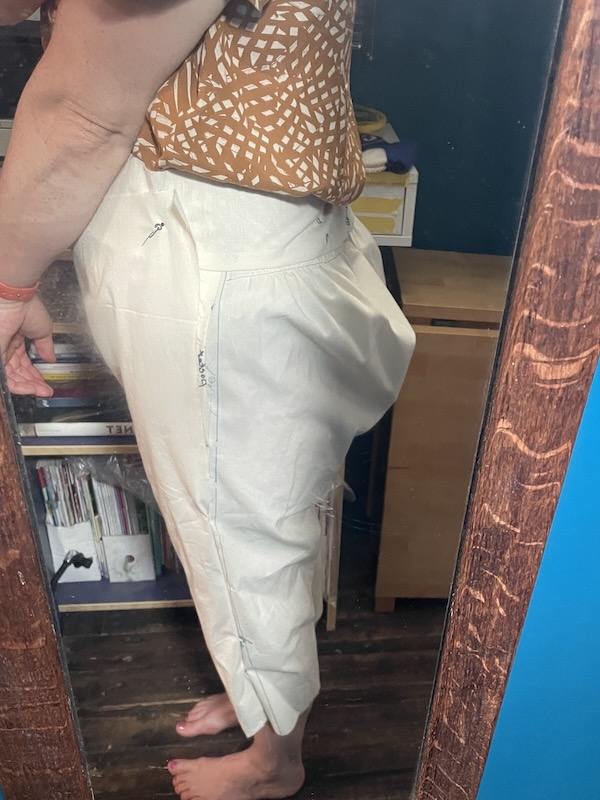
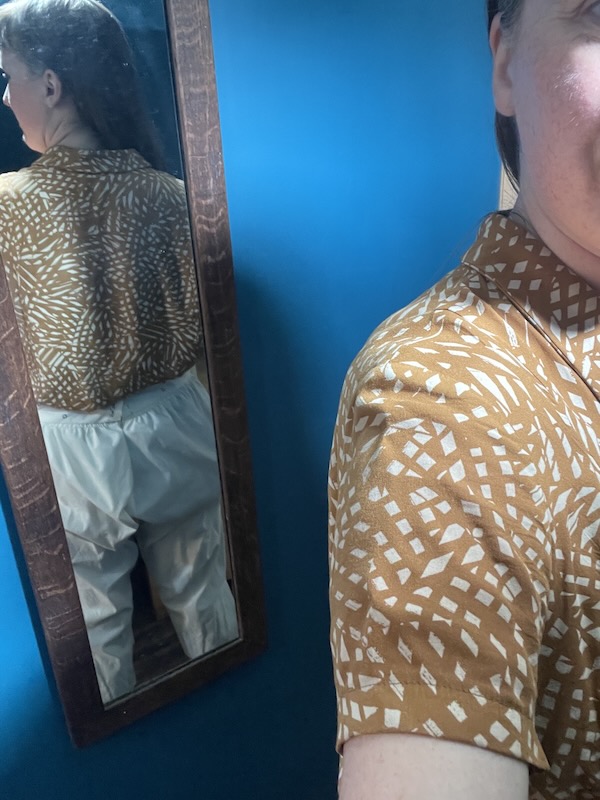
Alterations after the second muslin:
- Raise back crotch so that the inseams match (oops! I introduced this error, not the pattern!)
- Remove 6cm wedge from of upper bum/lower back
Like the frock coat, the pattern instructions assumed that you wanted to sew this historically accurately – by hand, and fully lined. I respect folks who sew everything by hand, but that is not for me, and so I needed to completely change the order of construction so that I could best sew this by machine.
Order of construction for modern methods:
- Interface the button and buttonhole & eyelet areas, and hem bands
- Line the underflaps (leave top edge & side seams free), flip right side out & treat as one
- Sew the CF crotch seam
- Face the Fronts, understitch, flip right side out & treat as one
- Sew the CB crotch seam up to mark 6
- Attach pocket bags to underflaps and backs
- With right sides together, sew the underflaps to the Backs & pocket bags
- Fold the underflaps out of the way and, with right side together, sew the Fronts onto the Backs up to Mark 5
- Sew the inseams
- Gather the top of the Backs
- Press under the long edge of the waistband facing then join the waistband and facing along top & CB edge. Understitch.
- Attach waistbands to underflaps and Back
- Stitch in the ditch to catch the waistband facing
- Press the lower leg button facings to the inside and topstitch around edge
- Press centre edge of hem bands then press allowance to inside of inner half
- Attach outer half of hem band to the lower leg, then stitch in the ditch to catch the inner hem band
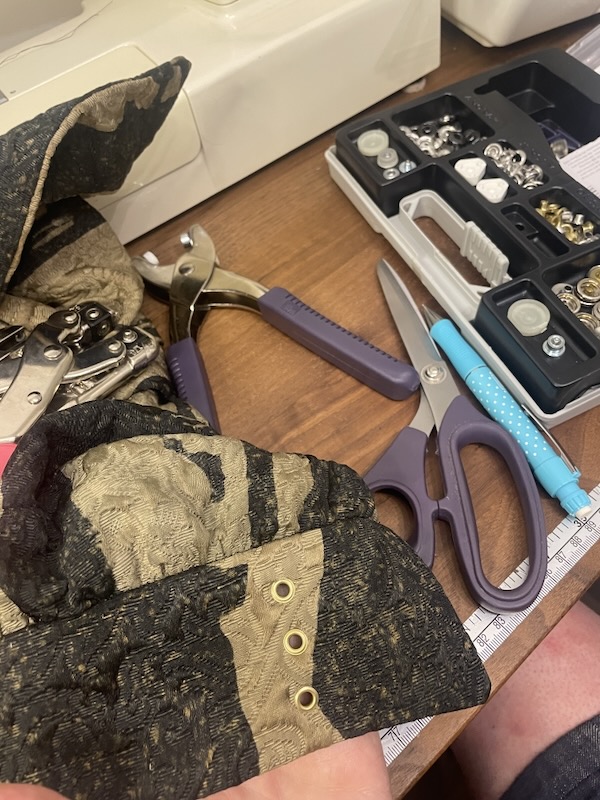
- Apply eyelets to back waistband and add lacing
- Sew buttons and buttonholes to Front, underflaps, waistband, and knees (inc band)
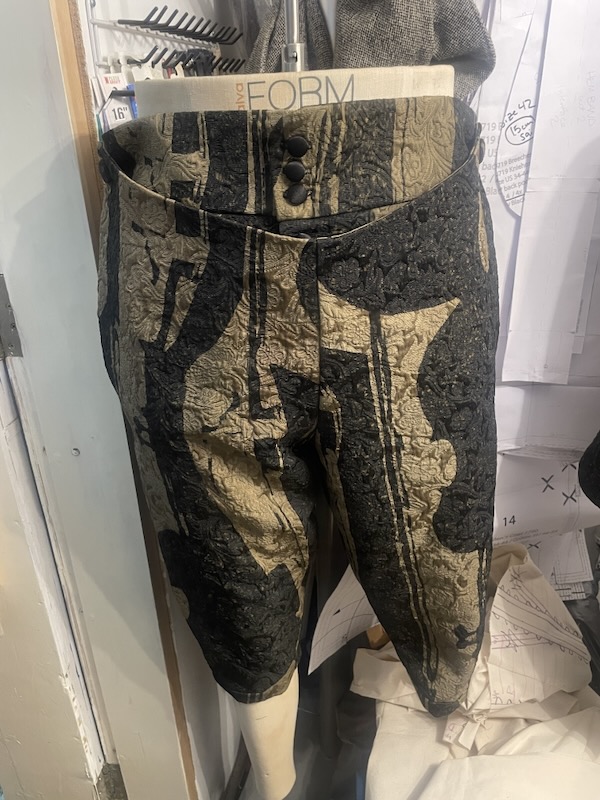
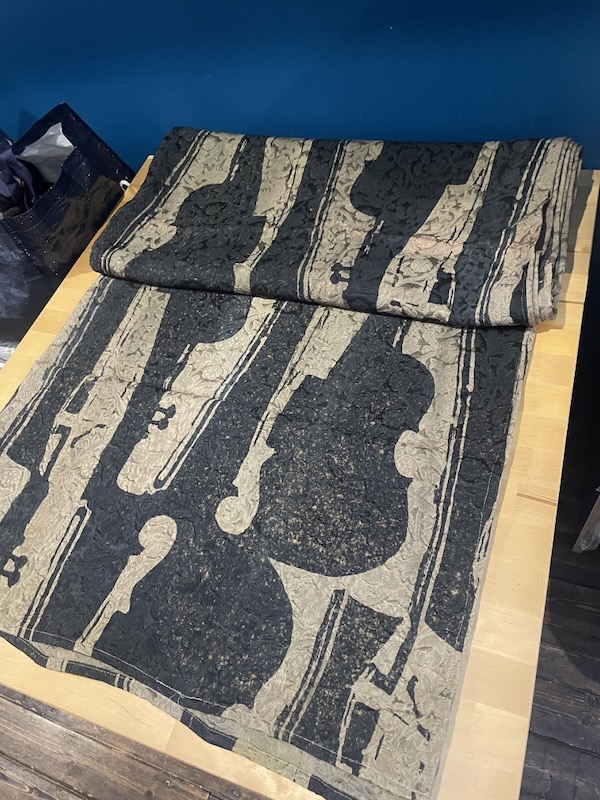
Again, for the fabric I used the abstract violin brocade from the IWTV props auction, plus some of the black satin lining, and custom Lestat blood splatter print satin I’d had printed from Maake a few years ago. I love that it’s something only I get to see!
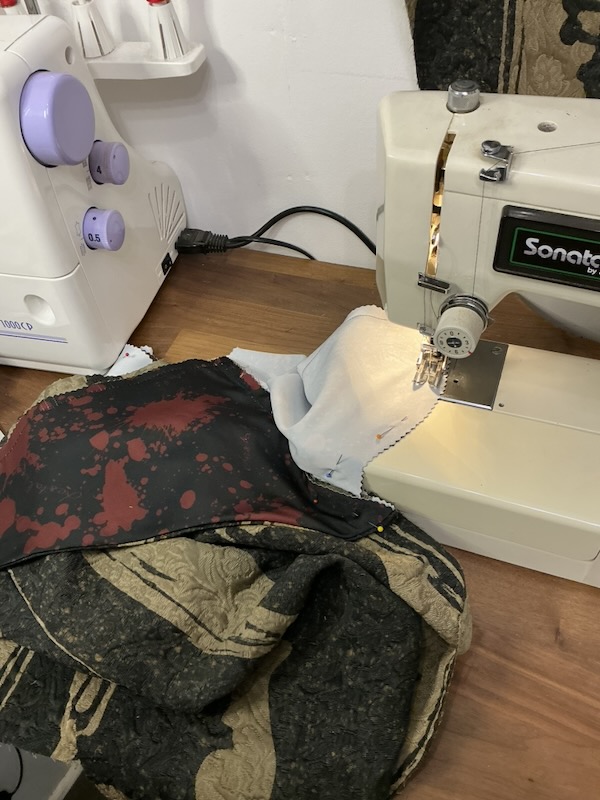
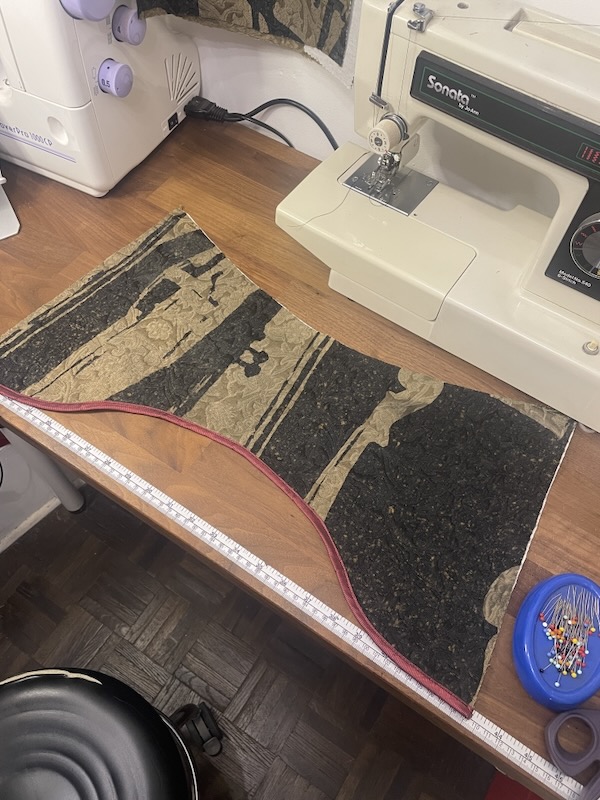
The actual sewing went really smoothly thanks to my order of construction from the second muslin. But I did have to hastily draft a facing for the Front flap since I opened to not line the entire breeches as the instructions intended. I even found some dark red bias binding in my deep stash I’d made years ago to finish the bottom edge of the facing so it looks nice.
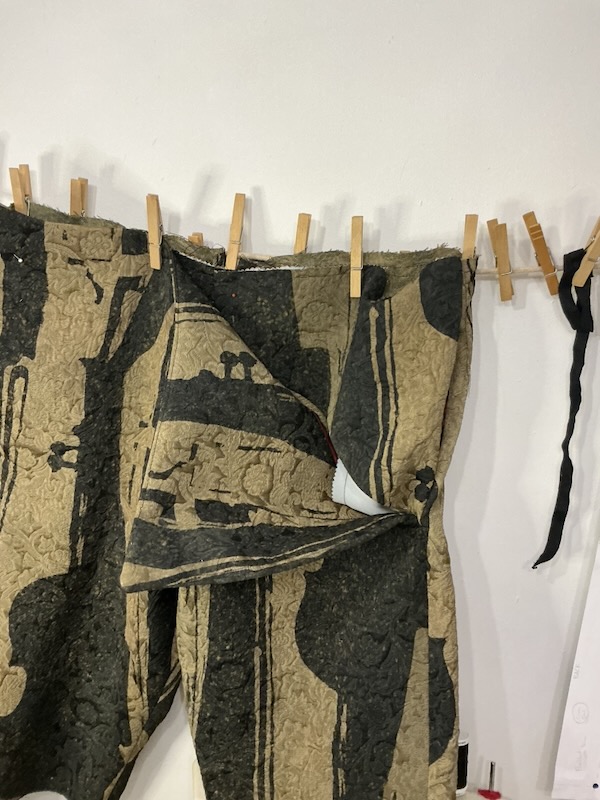
I realised when I’d drafted the hem band that I’d forgotten to include an overlap for the plackets, but I’d also ended up making the tab a bit too long so I was able to fudge it without too much unpicking.
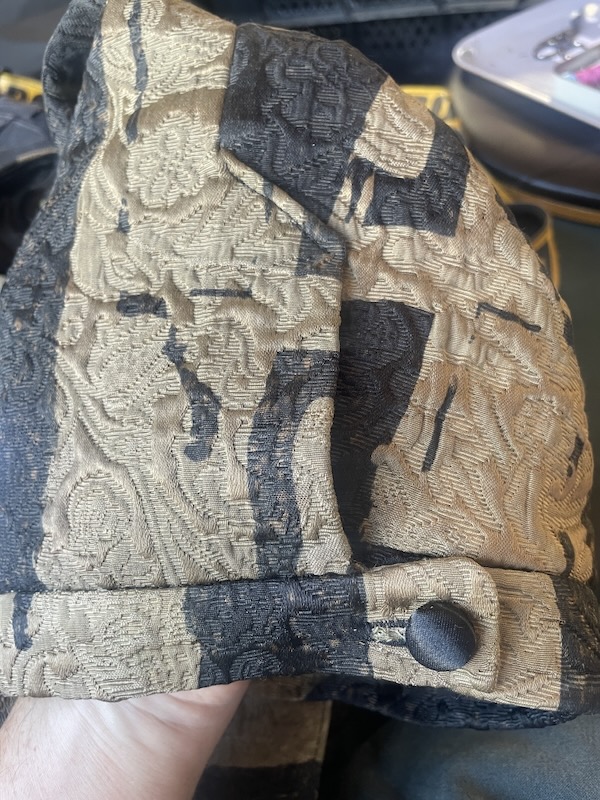
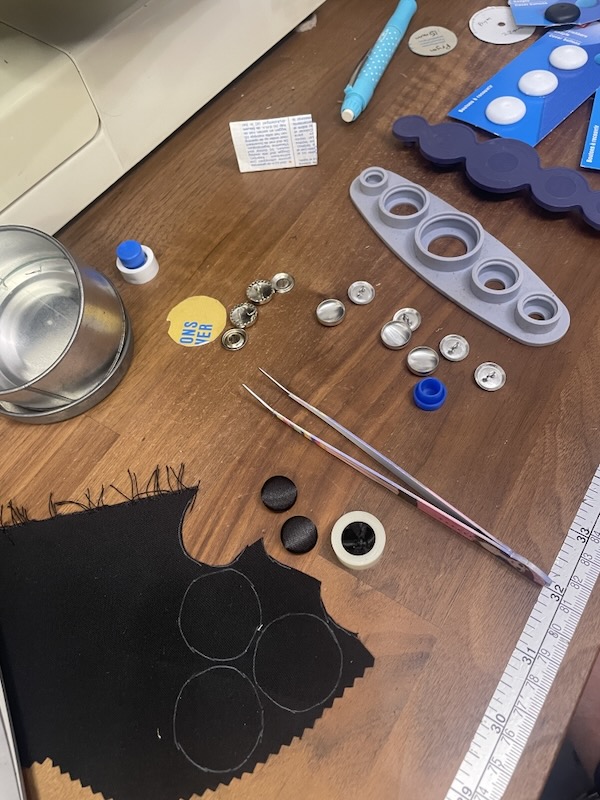
I ended up covering 9 buttons – 5x15mm for the front waistband and underlap, 2x15mm for the hem bands (all in black satin), and then 2x22mm for the corners of the front flap, which I covered with the brocade. After faffing about with the two prominent hand sewn buttonholes on the jacket lapel, I opted to do all the breeches buttonholes by machine as I figured no one would be looking very close. I could’ve added a few buttons to the lower leg placket above the hem band, as is usually seen on breeches of this era, but I’d already used up all my covered button blanks of that size can’t I couldn’t be arsed to order even more.
The back waistband is split into two pieces with a gap, and six eyelets inserted so that the waist can be easily adjusted. Why don’t we have this on modern trousers?? Genius. I found some black cotton twill tape in my stash that was the perfect length to lace through and tie in a bow.
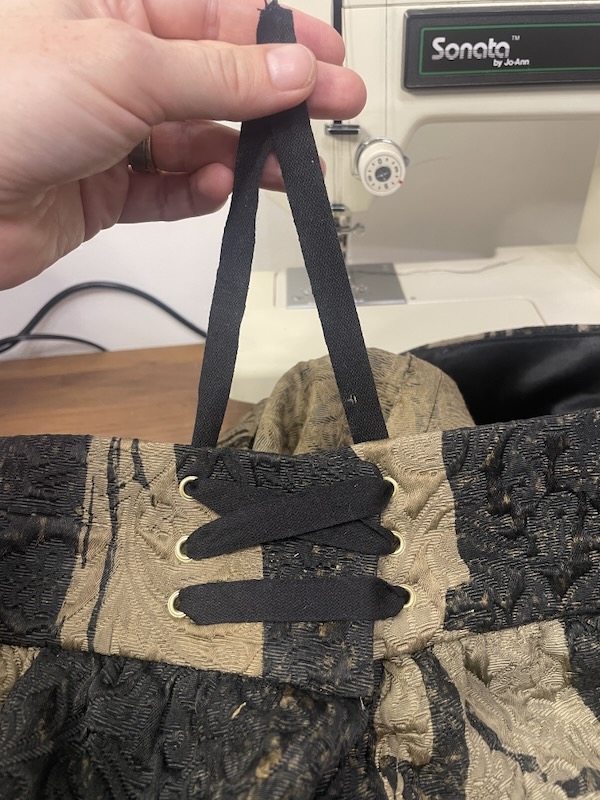
I absolutely love the high waisted fit in the waist of these, though I probably could’ve gone a little tighter in the hem bands tbh. I’ll likely wear black tights rather than knee highs to avoid them falling down as I move and dance, so it’s not like I need the breeches to help hold my stockings in place either.
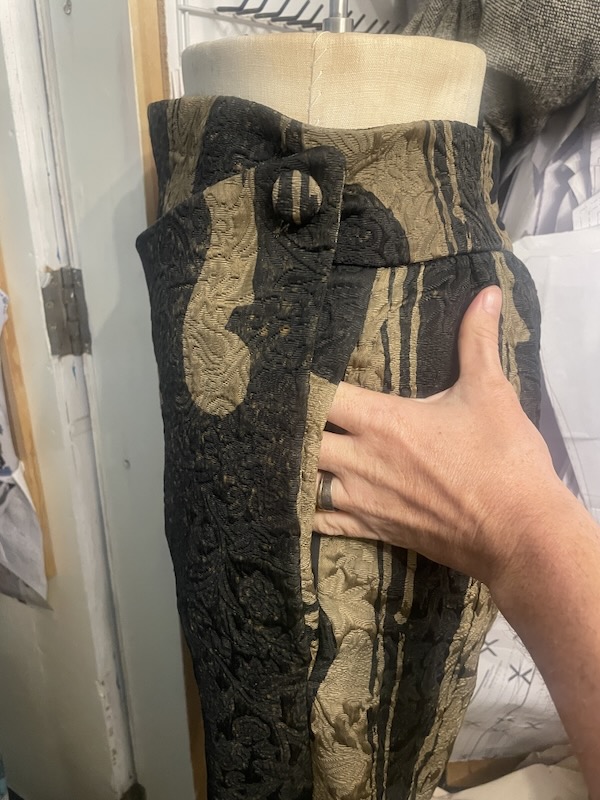
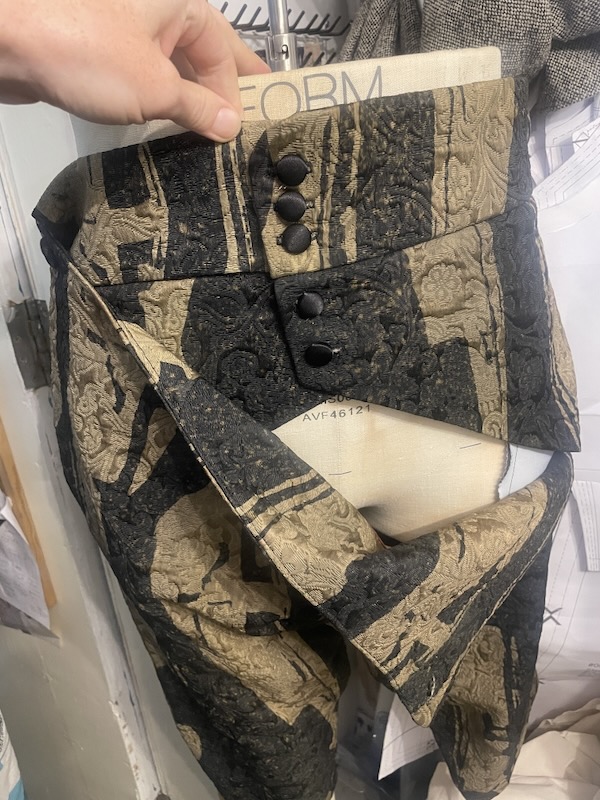
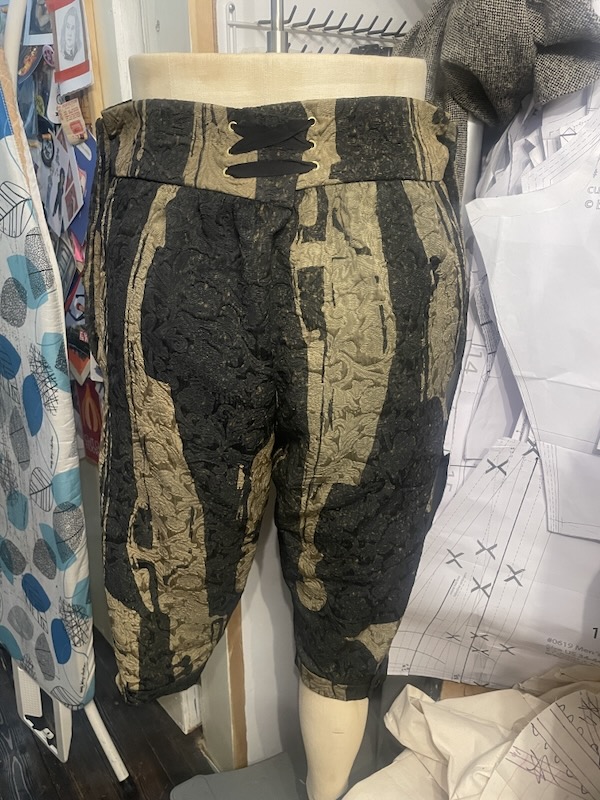
I’m so glad I took all the time to do TWO muslins because the fit of the whole butt area is soooooo much better in the final breeches! There’s still a little bit of gathering but not a ridiculous bubble butt -this butt will not be encountering a saddle any time soon!
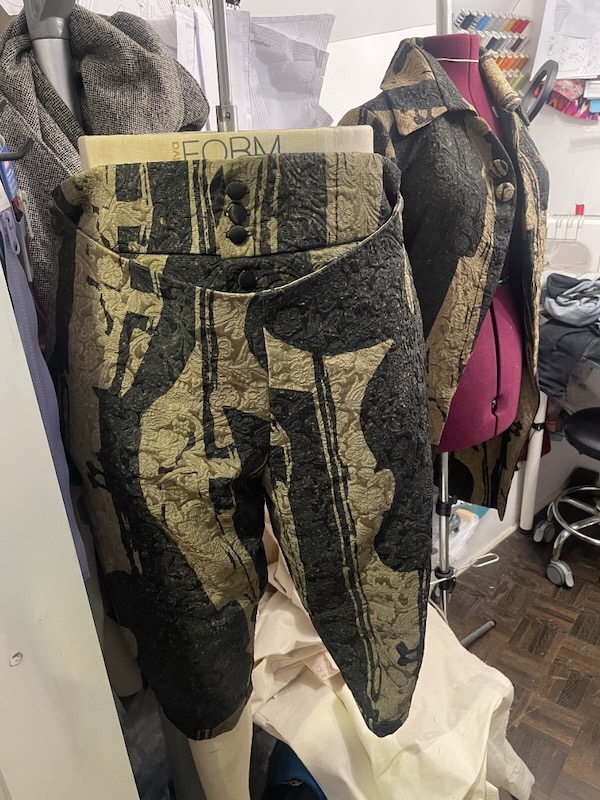
This was part two of my “making of” series of posts for this outfit, and up next is the 18th c shirt!