Thanks to your input, I’m posting about this complicated, several-months-long, three garment 18th century outfit a little differently than usual. In the past, I’d take notes as I sewed, but then wait until everything was completed before posting the final outfit photoshoot, then sharing all the “making of” details afterwards. But as this is all for a friend’s wedding in Ireland on Halloween, I wouldn’t be able to even start sharing everything until mid-November, and you told me you didn’t want to wait that long to hear all about the sewing! So I’m posting the details of the muslins and sewing of each garment now, and I’ll share the final photoshoot of the full outfit when we’re back from the wedding.
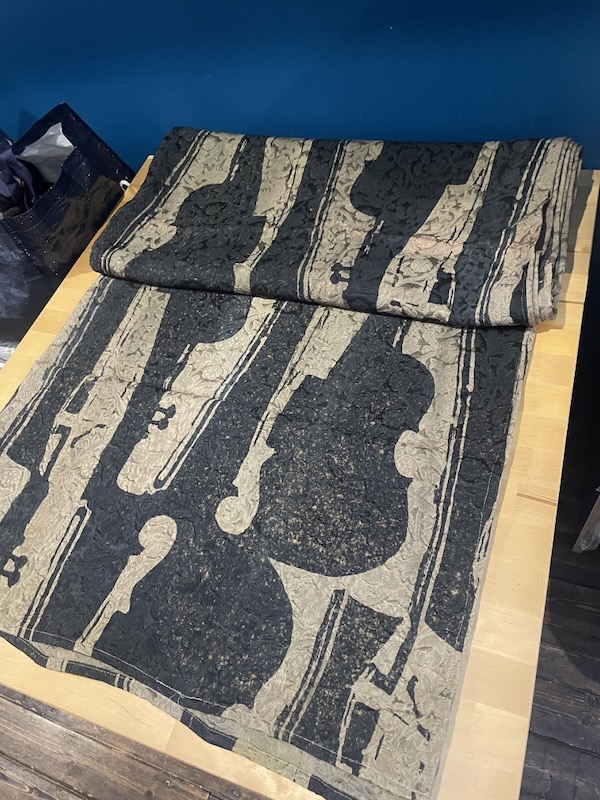
The impetus for the idea to make a full late 18th c men’s costume for myself came partly because our friend’s are getting married on Halloween and encouraging fancy dress (costumes), but also because I won 7 huge abstract violin brocade panels from the IWTV props auction in Feb/March. And this seemed like the most perfect use for the fabric!
The pattern options out there for late 18th c men’s jackets are: pirate costume, pirate costume, or more pirate costume, so finding one that’s historically detailed, well drafted, and easily obtainable (pdf! Hurrah!) felt like an accomplishment in itself. Long term readers may recall that I sewed Mr Melissa a velvet pirate coat 20 years ago, and I still have that pattern(!), but I was going for more of a “genteel frock coat” here rather than “comedy yarrrrrrr”.
So thank god for the Black Snail Patterns’ “Men’s Coat 1790s” which I found on Etsy and actually ticked all the right boxes in what I was looking for!
As a men’s jacket, the pattern is obviously sized for men, so I made size 50 based on my measurements. The fit of the muslin was pretty good – I just needed to shorten the sleeves a bit and adjust the sleeve cap ease a touch but it was nowhere near as bad as the first muslin for the breeches.
But hallelujah! they included a modern amount of upper back ease! My main reason for making a muslin here was because I’m still traumatised by the Hamilton Spencer Jacket having the “pigeon poulter” extremely narrow back I had to completely re-engineer.
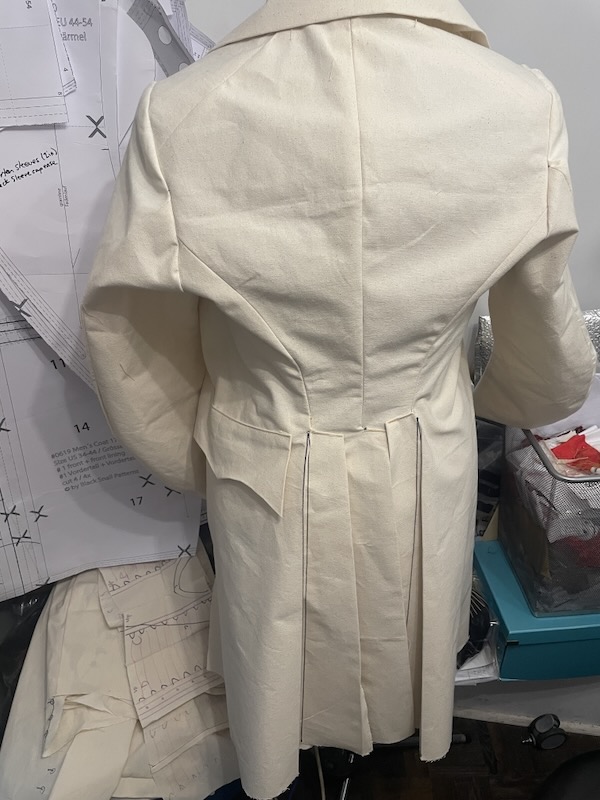
And hurrah! Only one muslin was required, and way fewer adjustments than I was anticipating!
Looking back at my photos, I made the muslin in late August, and sewed the final jacket starting in mid-September.
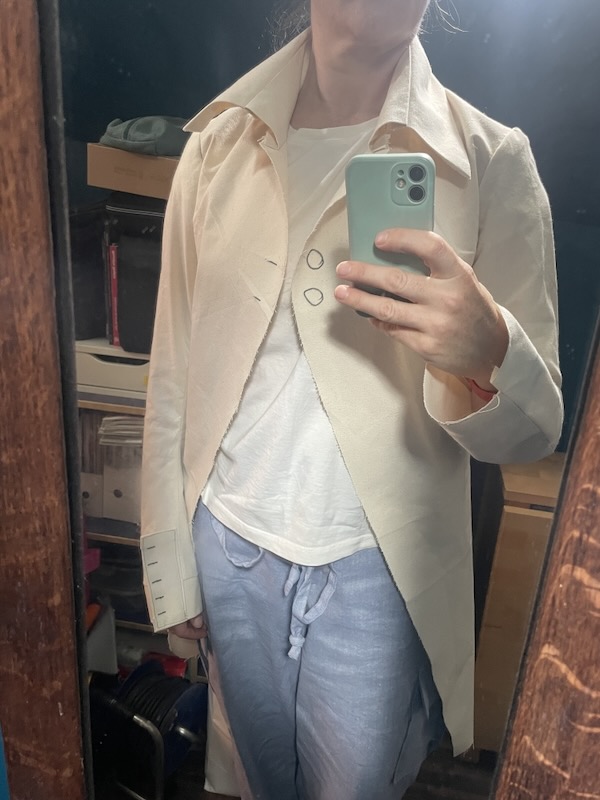
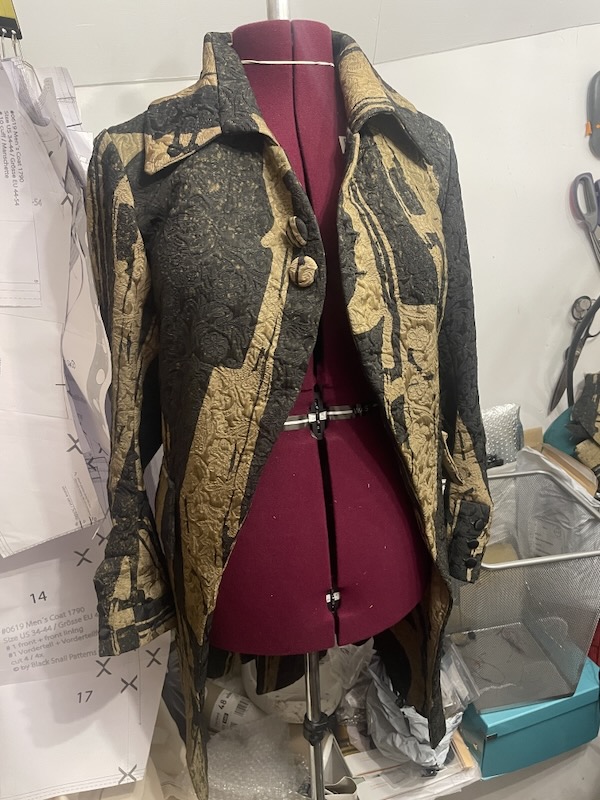
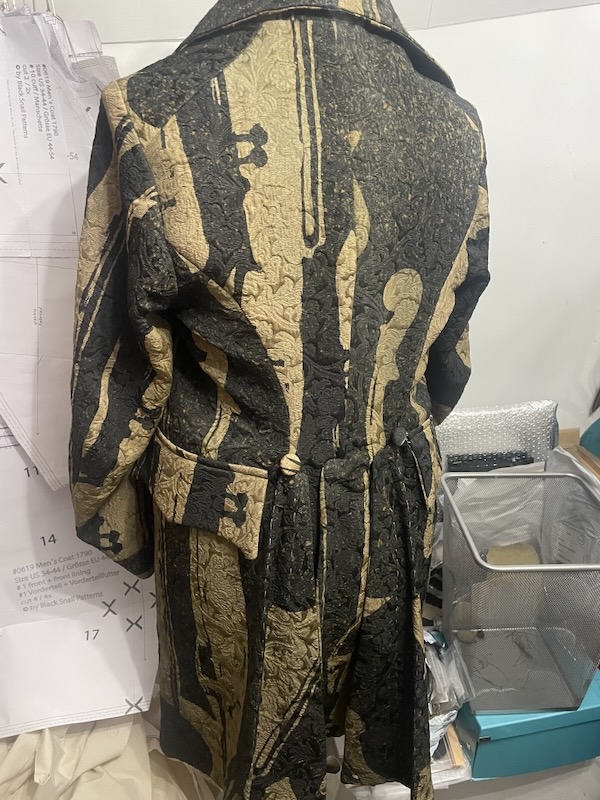
The instructions here were (like the breeches) very detailed and written as though you’d sew them historically accurately (ie: entirely by hand), but the order of construction was pretty sane. The jacket is designed to only briefly close over the chest and hang open in the waist and hips. In reality, I made the buttons functional, but it looks better just hanging completely open. The lower sides and back are split into three tails with a lot of pleating that I can tell are going to be so much fun to swish around in!
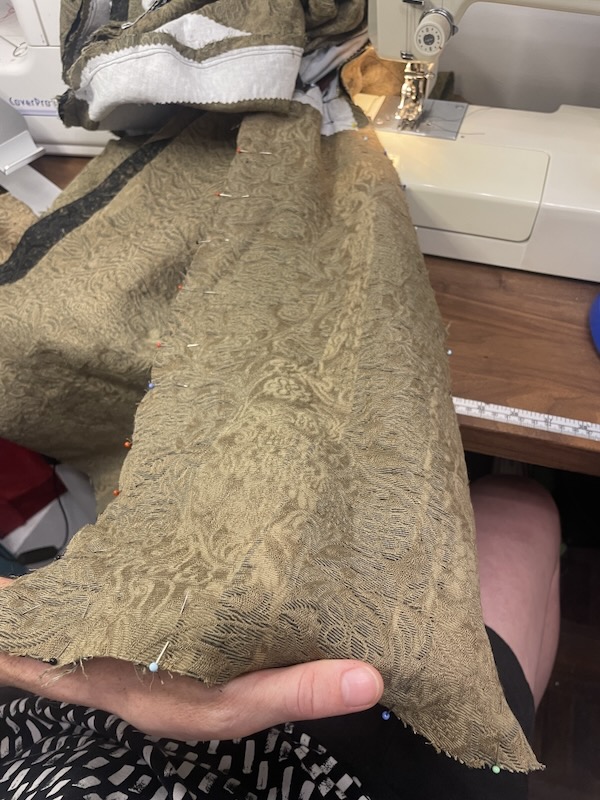
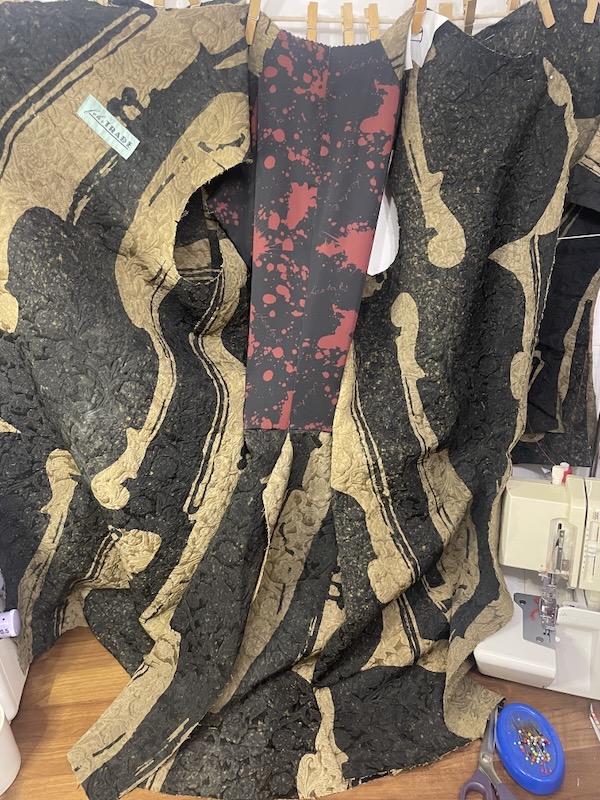
I’d already given away three of the violin brocade panels, but I ended up using two of them for this frock coat and breeches combined. The front piece of this coat was so enormous, and I needed to cut four of them! So just the fronts alone used up almost a full panel – they’re long but only 135cm wide. The brocade itself is a beige/golden base with a lot of texture, and the violin print is painted onto the fronts only. It wasn’t too bad at fraying, except for the places where there was a lot of satin stitch in the brocade itself.
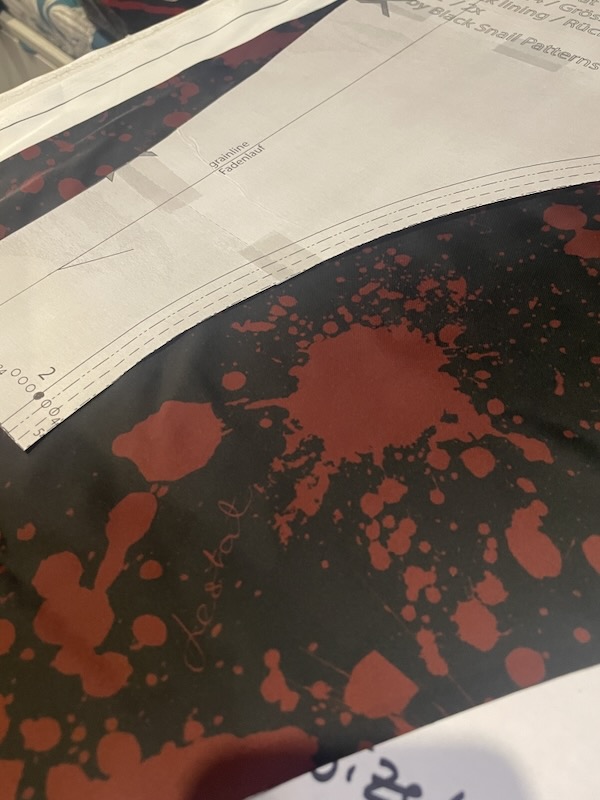
For the lining I used a black satin from my stash (used previously to line the Claudia cape as well as several trouser pockets) for the sleeves and the breeches’ waistband but then I didn’t have enough for the rest of the lining pieces. I had some custom Maake-printed blood splatter Lestat fabric on their “Raleigh satin” base which I then used for the upper back lining and pocket bags (as well as the flap lining & breeches pocket bags). I really like the mix of lining fabrics, and that this ties it back into the show, since the brocade itself isn’t recognisable itself (even as a rabid fan I have NO idea where this was used in the show, if it was used at all?).
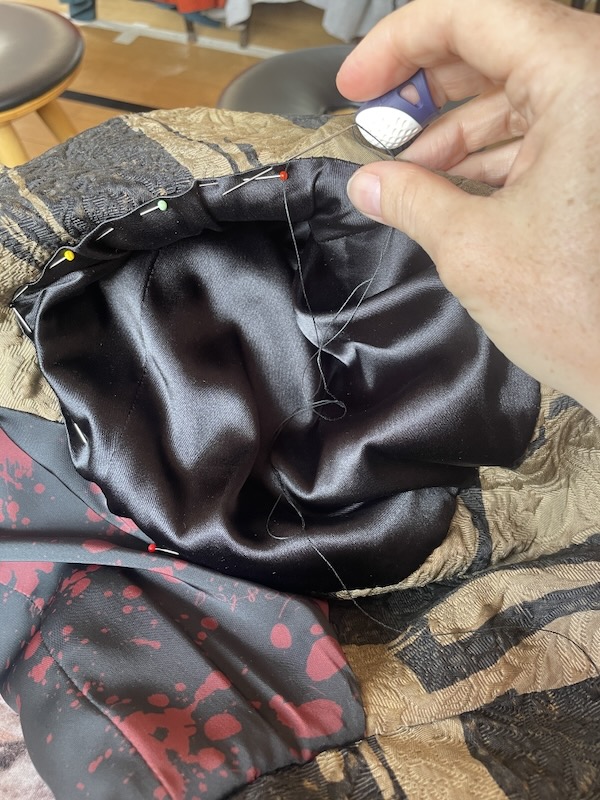
Because of the sleeve slit I had to construct these lined sleeves a little creatively to use my machine – I constructed the exterior & lining sleeves separately, sewed & flipped at the slit, and then basted together to add the cuff on before sewing the exterior sleeve to the body. I then hand stitched the lining sleeve inside. I try to avoid hand sewing, but this wasn’t too bad, plus it anchored the sleeve lining to the rest of the jacket at underarm/shoulder so it doesn’t slip around.
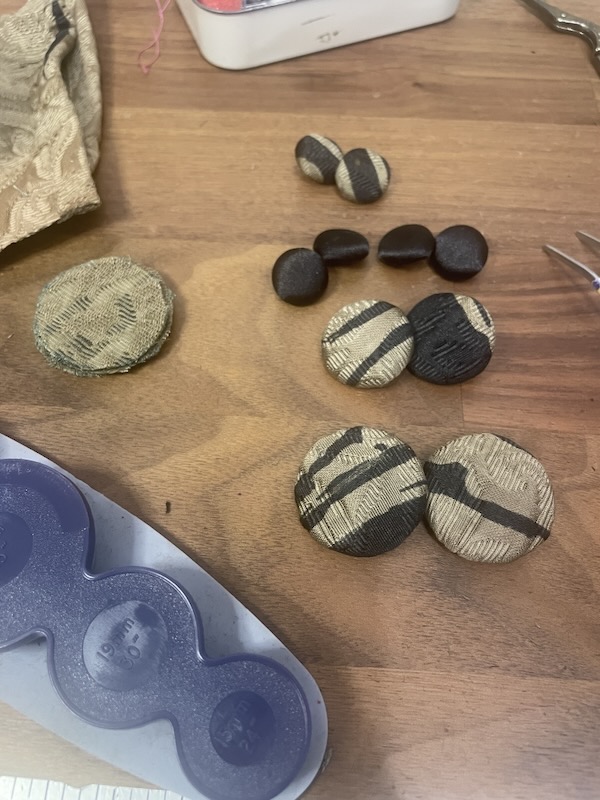
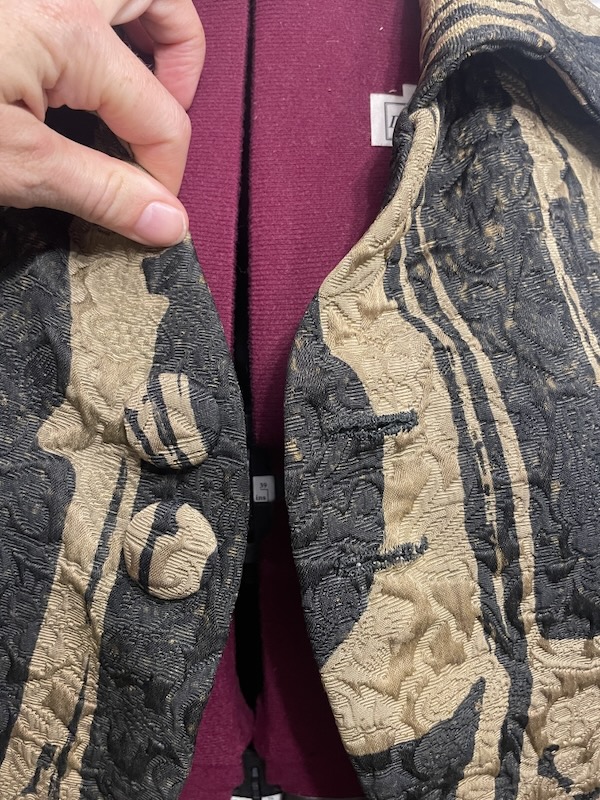
This coat uses a deceptive amount of covered buttons! I used 15mm for the sleeve cuffs, 22mm for the back waist, and 29mm for the front lapels. After much swearing and tears, I realised that the brocade is too thick to cover the small buttons (yes, even with the Prym tool) but fine for the bigger ones. So I had to cover the smaller sleeve buttons with black satin instead, which ended up looking pretty good. I just wish I’d known that from the start, before I destroyed about three button blanks in the process…
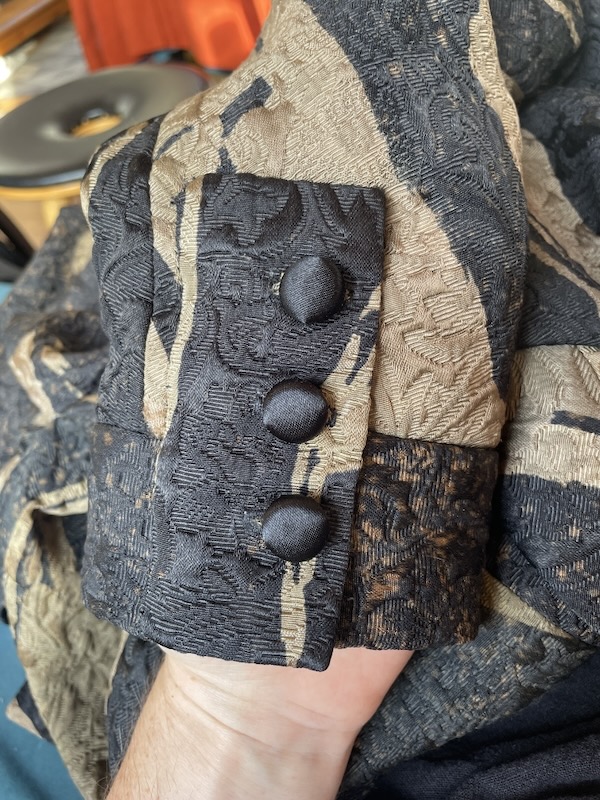
I actually ended up attaching the sleeve plackets by hand because it was too thick to go under my machine properly, but I’d already sewn the sleeve buttonholes by machine by that point, thankfully. I decided to save my hand sewing efforts for the two prominent lapel buttonholes. I’ve never hand sewn buttonholes before so I’m glad I practiced before doing the real ones! They’re not perfect but they’re fine, and look authentically historic.
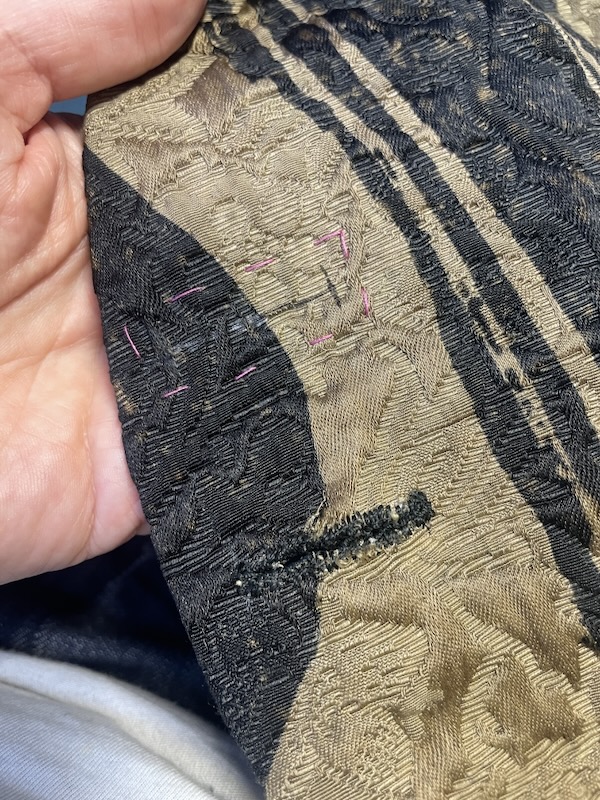
The final part was to hand baste the pleat lines into the back skirt pieces so the pleats could be pressed and affixed in place. Despite tons of steam, the pleats only kinda stay in place… I left the basting in to try and decide if I care about knife-sharp pleats (in which case I’ll topstitch them) or if I don’t (in which case I’ll give it a final press before Halloween then remove the basting guidelines).
Next up… making the breeches!