When summer weather comes to England, it’s always something of a surprise. Those in other countries may not be aware, but just because the calendar says June, July, or August, does not mean it’ll be either hot or sunny. Sometimes “summer” comes one weekend in March, or in a few days in September. Or in the case of 2012, not at all.
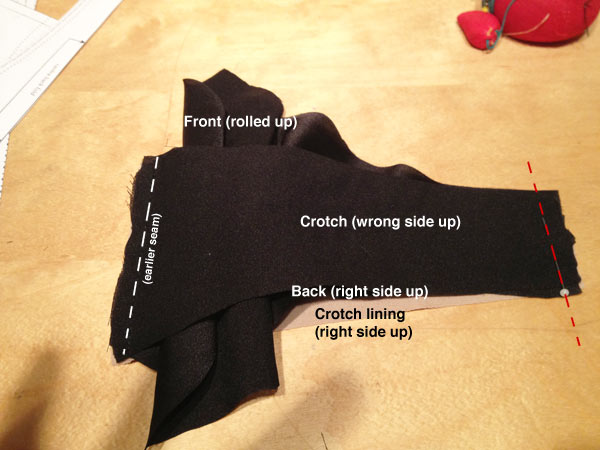
In any case, summer has arrived, and for the past week, it’s felt hot here. I think the heat may be getting to my brain somewhat, because I’m 99% finished sewing up a summer outfit:

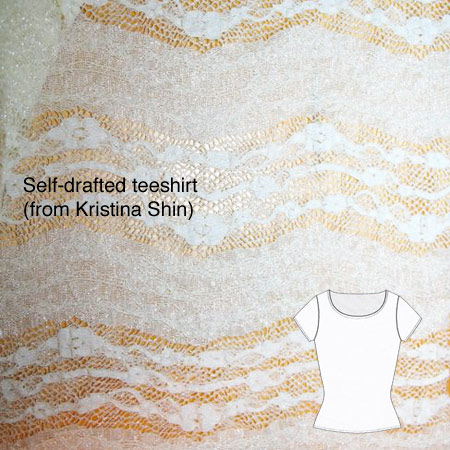
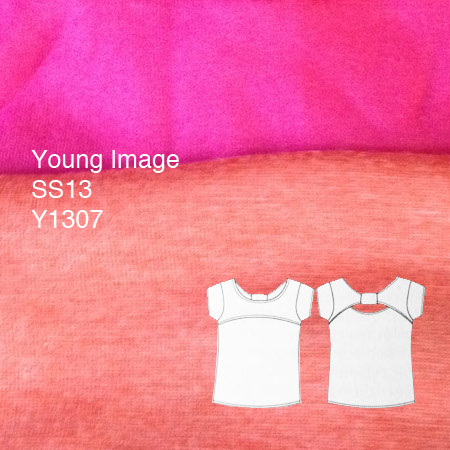
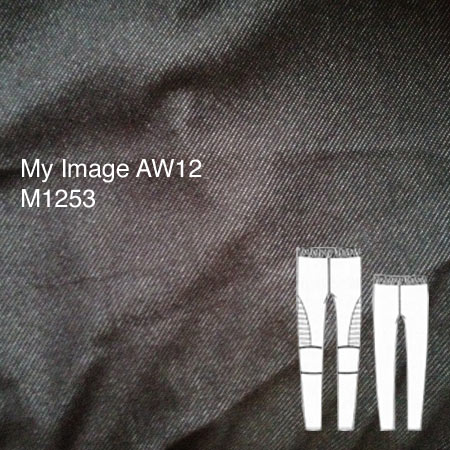
Yes, that would be shocking pink trousers and a cream stretch lace teeshirt, dear readers. I both hope look as good in the photos as they do in my head!
The other development of note is one of a more digital nature – for a while now some of you have been asking if it’s possible to get my new posts delivered my email (instead of RSS or just popping by when you remember to!), and I’ve finally got round to setting this up!
If you pop your email address into the box on your left (or, repeated below), then you’ll get a summary of all the week’s posts emailed to you every Saturday! My test version from last week looked like this: