Blog

Creating the disco running top

How much do I love the disco fabric?? It really is the fabric that keeps on giving. This time, I paired the Beta Brand disconium fabric with some black Supplex from Tissu (which is BACK IN STOCK right now! This stuff sells out in days, people!) to make a sweet disco running top to match the disco running leggings I made in December

For this top I did something different and started with the teeshirt sloper from the Patternmaking for Underwear Design book, which I love (thanks for the surprise gift, Mom!!). It’s drafted with 10% negative ease and fits exactly the way I want my running gear to fit. And because knit slopers have no darts, they’re surprisingly quick to whip up, too.

I was super inspired by this kid’s top in the most recent Young Image magazine, so after making one for my niece, I altered my sloper to have a similar back, which was surprisingly easy to do.
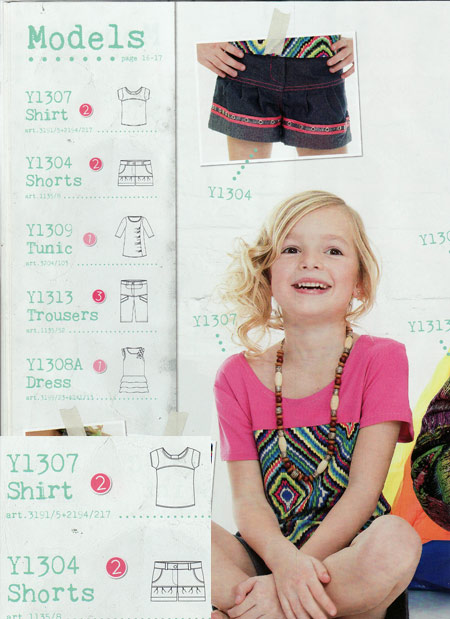
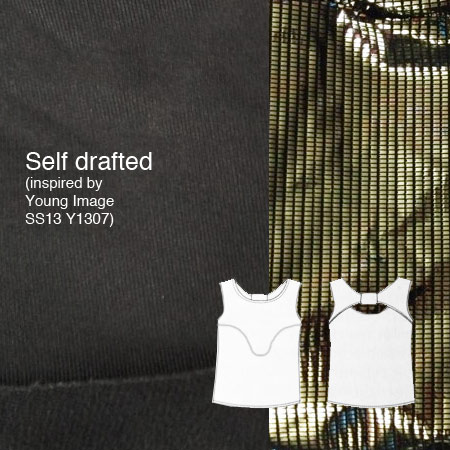
Essentially, I just drew two curves so there was a hole in the centre back, traced along one set of curves for the upper back piece (red in the diagram below), and traced along the other for the lower back (blue). At the shoulders, I didn’t want the lower back to peek through, so I made its strap 1cm narrower at the neckline. The back pieces are connected at the shoulders, armscye, and (just barely!) at the side seams, but the rest is free-hanging.
Catching up…

A month on, and I’m still ravaged by the shingles attack that hit me in mid-January. Absolutely everyone who saw my torso said it was the worst case they’ve ever seen (doctors included), and lucky, lucky me, the little bugger caused nerve damage, which means the pain in my side could continue on for months or possibly a year (again, lucky, lucky me). I’m on four different prescription painkillers until the neural-specific one hopefully starts working soon, so I’ve been stuck at home Resting (I hate resting.). The good news is that the doctor says I can now go do the odd half day at work and very easy run here and there as it’s driving me crazy not to, but I’m not to overdo things. But even that’s better than being chained to a couch!

Anyway, I’ve done as much resting as it’s humanly possible for Melissa to do, which means I’ve been lying flat on my back and sleeping for most of the days, but I managed to squeeze in some sewing, almost entirely in 5 minute segments, followed by 20 minutes of rest. Rinse & repeat… These will have photoshoots and proper posts coming hopefully next week!

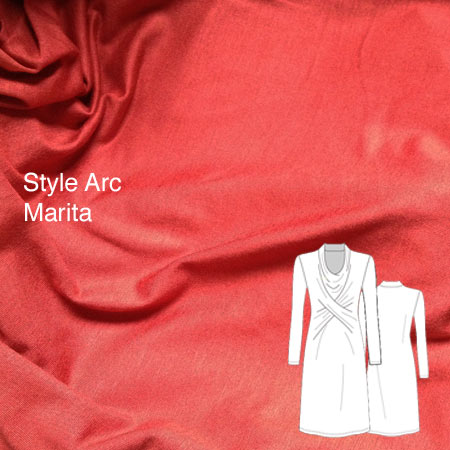
The amazingly simple-to-sew Style Arc Marita dress:

A grey wool “chic sweatshirt”:

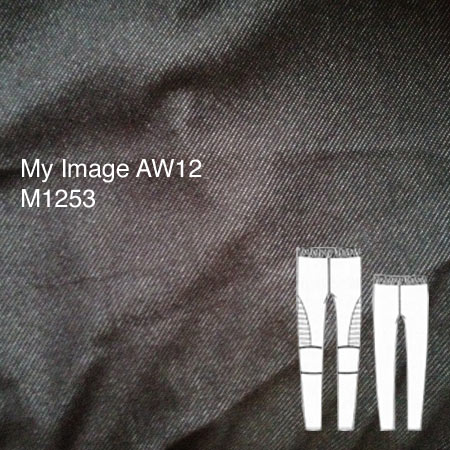
A pair of pleated, My Image denim-look leggings:

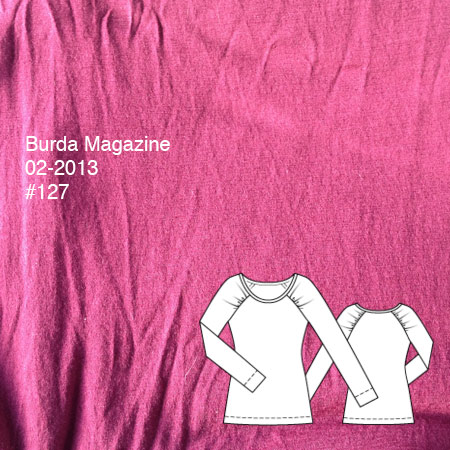
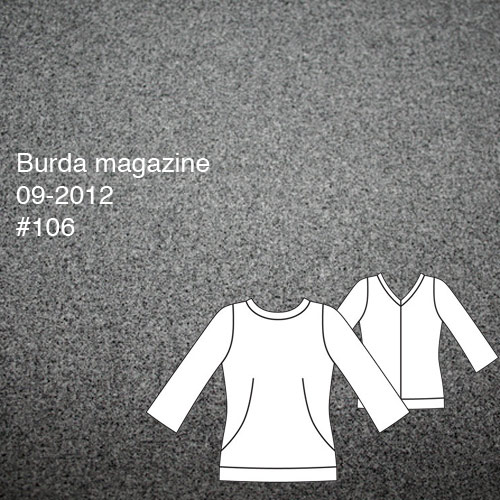
A quick, gathered raglan merino wool sweater from the February BurdaStyle magazine:

Lacey Thong panty – construction tips & photos

Continuing on with Lingerie Week, I wanted to give you some extra construction tips on my Lacey Thong pattern that wouldn’t quite fit in the pattern itself (if you start adding in large photos, the Pdf filesize goes up really quickly!).

First of all, I wanted to start with two areas I’ve had some questions on:

“The 4cm ruler isn’t 4cm when I print it”. If the ruler on page 3 isn’t measuring exactly 4cm when you print it, then the print software you’re using is scaling the pattern! I use Preview on OSX, and I know it’s got its quirks – on this particular programme, if you enter in 100% and just click Print, it’ll still print at whatever the settings were before you changed them. You need to enter 100%, tap elsewhere in the print preview to watch the thumbnail resize, and then click Print. I’m sure other programmes have their quirks, too, but the bottom line is, if your ruler doesn’t measure 4cm, the pattern is not at the proper scale!

“Which size should I choose?” Sizing if difficult from a pattern creator’s perspective, because so many bodies wear a full range of sizes. I’m most confident of the Burda sizes recommended (much less so for the Big Four), so if you know your Burda size, go with that. The finished half-hip measurement is probably less helpful, but it’ll save some of you measuring it yourself.

If you’re unsure of your size, another approach to take it to “try on” the elastic before you start. Measure the waist elastic for the different sizes (pin or mark it, don’t cut!) and try it out by checking the feel around your half hip area (these panties sit over your hip bones, well below your belly button). The elastic should be snug and partially stretched, but not tight or loose.

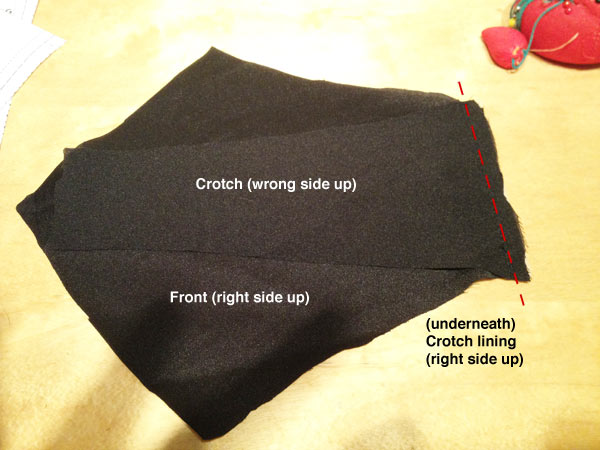
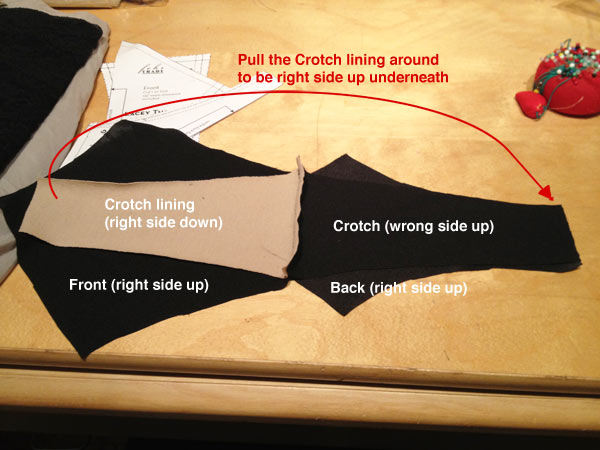
During the construction of my black pair I took some photos of the trickier construction tips so those of you who prefer photos to diagrams can have a better look (though perhaps choosing a black fabric with similar-looking right and wrong sides wasn’t the best idea, sorry!).

I’ll use the numbers from the steps in the Pdf pattern’s Sewing Instructions below so you can easily refer back. As usual, click any of these to view the larger versions.

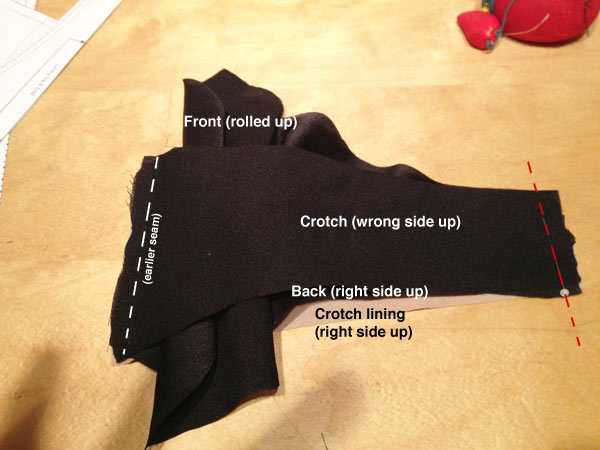
1. Join the Crotch to the Front

2. Join the Crotch to the Back

Too cold for photos – just sewing instead!

As I write this, London is in the midst of the second snowfall of the year (if you count Monday’s over-hyped yet under-delivered snow, that is) and I’m bundled up in a full-body thin layer of silk (long johns), plus my wool foldover trousers, my bamboo turtleneck, two pairs of socks, and my Russian greatcoat for my 35min walk into work today. It’s nothing on the Pennsylvania winters I grew up with, but at least I feel prepared!*

The good news is that, while it’s freezing outside, my sewing cave is one of the warmest spots on the boat, so I’ve been busy!

Papercut Peter & the Wolf Trousers

The new trouser pattern from Papercut Patterns was burning a hole in my To Sew list, so I just had to try them out! I finished these before last weekend, but Saturday I was covered in mud (another cross country race) and Sunday it was freezing and I didn’t fancy a photshoot.

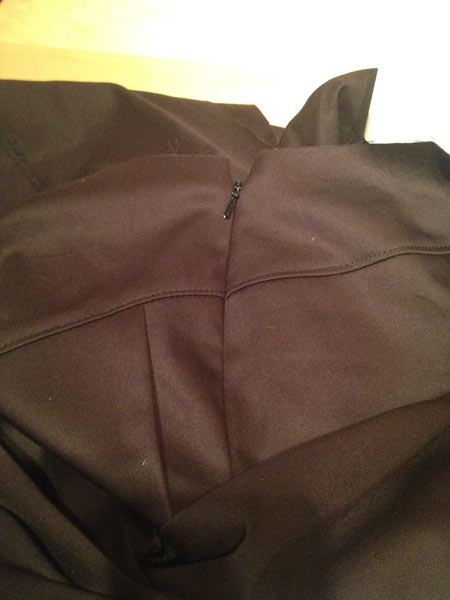
I did an awesome job lining up the seams on the side invisible side zipper, if I do say so myself!

I really like that they have you topstitch all the mid-leg vertical seams as well as all the yoke seams – that topstitching really makes the seaming stand out nicely. It also meant I actually finished a huge 1000m spool of black Gutermann thread! I thought those things were infinite!

I’ve not yet worn these to work (the tulip hems mean my long johns are visible in front, the horror!) but I can tell already they’ve got a nice fit throughout – I especially like the trouser hems and the hip yokes, though they do mean the pockets are placed further down the leg than I’m used to…

I’ll try to get some photos this weekend, even though the details will be lost in the dark brown stretch twill (hey, it was in the stash alright!?) I’d bought in Paris last Spring. I didn’t have any particular attachment to it and it was a stretch woven as per the pattern requirements, so I made these as a trial version (or wearable muslin if you prefer). I might fancy making these again in some stretch wool suiting in my stash from last winter…

Another Chic Sweatshirt

When my parents were visiting in October, my mom looked through all my recent makes and decided she’d like a chic sweatshirt for her belated Christmas gift, and she picked out a lovely lavender sweatshirting for it while she was here. Remember how lovely she looks in lavender? I think it was a great choice. For my gift, she re-taught herself to crochet and made me a wonderful hat in mustard wool I picked out. Hooray for our little skills exchange!

Holiday sewing update

Some (rather racy) panties

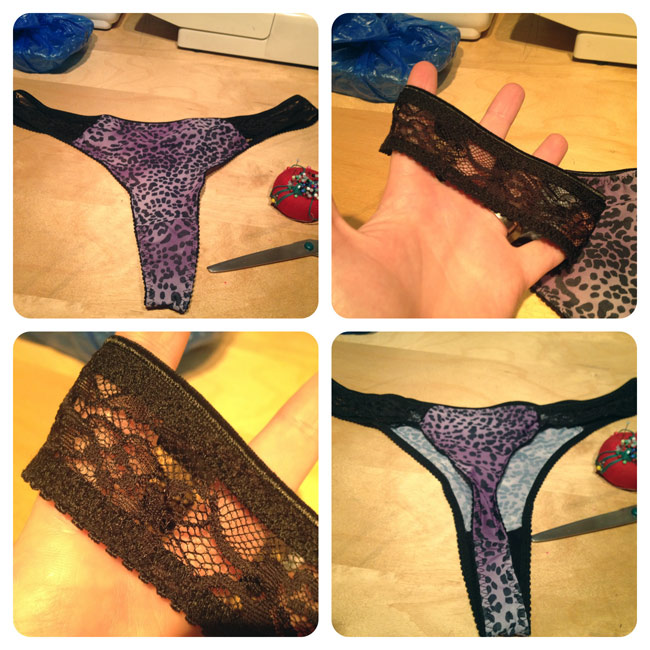
Remember how I had flu for 3 weeks earlier this month? Well lucky freakin me, because I got ill again on the first day of my holidays. I’ve essentially felt like crap since two days before Thanksgiving, arrrrgh. So on Christmas Day, I did a little bit of comfort sewing, in the form of some crazy, racy, leopard print and black lace panties.

Avert your eyes now if you’re of a gentle disposition!

I’d never buy leopard print of my own free will, but I’d bought a lingerie grab bag for a pound a while back, and this came from there, and I added some scrap black stretch lace to the sides. Nobody need know what my tastefully dressed exterior conceals…

Burda December cover dress muslin

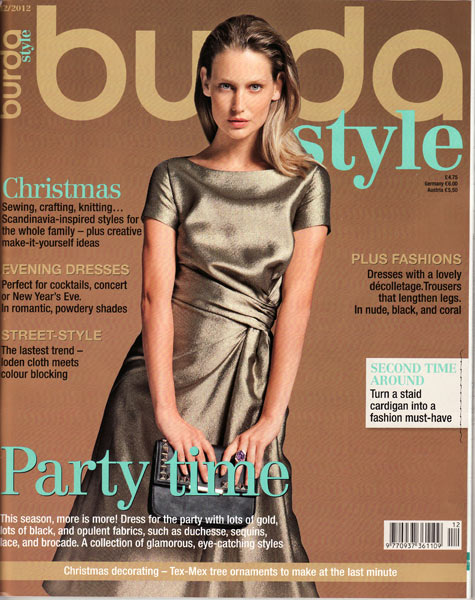
The big project I wanted to tackle over the holidays is the Burda December cover dress (Burda Dec 2012 #112).

Vintage wiggle dress – pattern notes

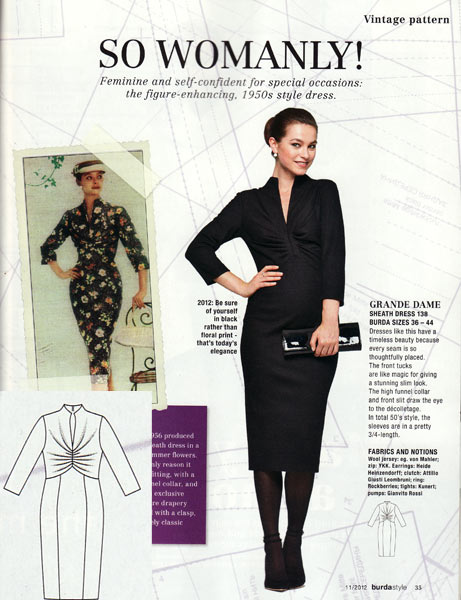
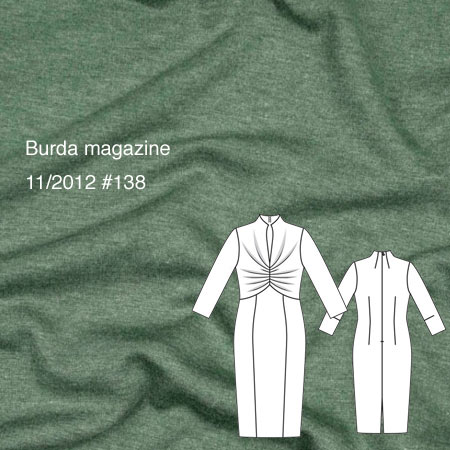
My latest project is this vintage sheath dress from the November Burda magazine (which you can purchase as a pdf here if you missed the magazine)!

It’s a reprint of an original pattern Burda printed in 1956, and one of my favourite running features that Burda magazine have been doing this year. Since the company’s had a very long history, it makes sense that they should look into their archives, dust off a few gems, grade up the sizing to their usual modern range, and translate the instructions!

Contrary to popular belief, this particular one is not a maternity dress, despite the fact that the model clearly looks like she’s “showing”. I can assure you that I do not look pregnant in it one bit, so let’s move on with the catty remarks…

In any case, I finished this one on Sunday night, but considering that it gets dark at 4pm here now, I won’t be able to do a photoshoot until this weekend, meaning you won’t see it on me until next week. By which time I’ll have probably forgotten all the construction details, boo!

So by way of a reminder, I thought I’d type up my thoughts now, then you’ll see the finished design next week. So the “Tell”, then the “Show”!

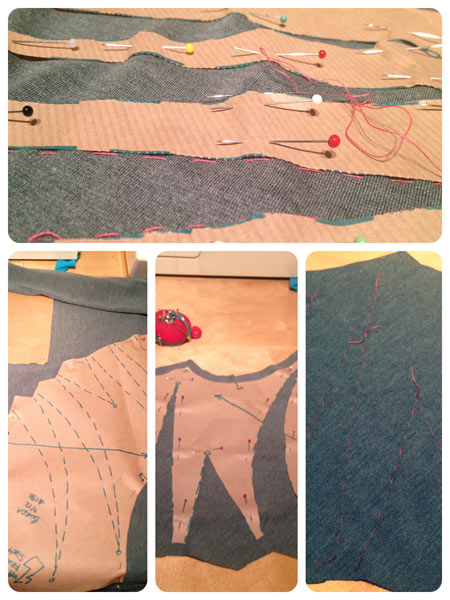
1. The bodice has seven monster, curved darts, all of which needed to be accurately marked onto the fabric. If you have carbon paper, I suggest you make good use of it, but for me, I remove the inside of the darts with scissors, then thread trace each dart with silk basting thread so I can see it on both sides. Then repeat for the other bodice piece. This took a few evenings, but it was important to get them right, as it’s the focus of the entire dress!

KnipMode November 2012

In my opinion, the Dutch pattern magazine KnipMode went way downhill with the appointment of the new(ish) editor and I stopped my subscription shortly after. But I couldn’t resist buying an issue at Schiphoil Airport when I found my flight home cancelled recently. I remember the subscription was more expensive than either Burda or Manequim, but I nearly choked when this rang up as €8 at the till!!

So let’s see if it’s worth it…

I’m a sucker for a designer collaboration, even if I haven’t heard of the design (who is Mart Visser, anyway?). The dress’s design lines are certainly interesting, and the coat isn’t bad, but I was definitely more excited by Burda’s recently Matthew Williamson pattern that’s for sure.

Some great skirts here! I particularly like the ruffled one, and the pencil skirt with the wrap-around back yoke. I’d forgotten how good KnipMode are at those sort of subtle seaming touches.

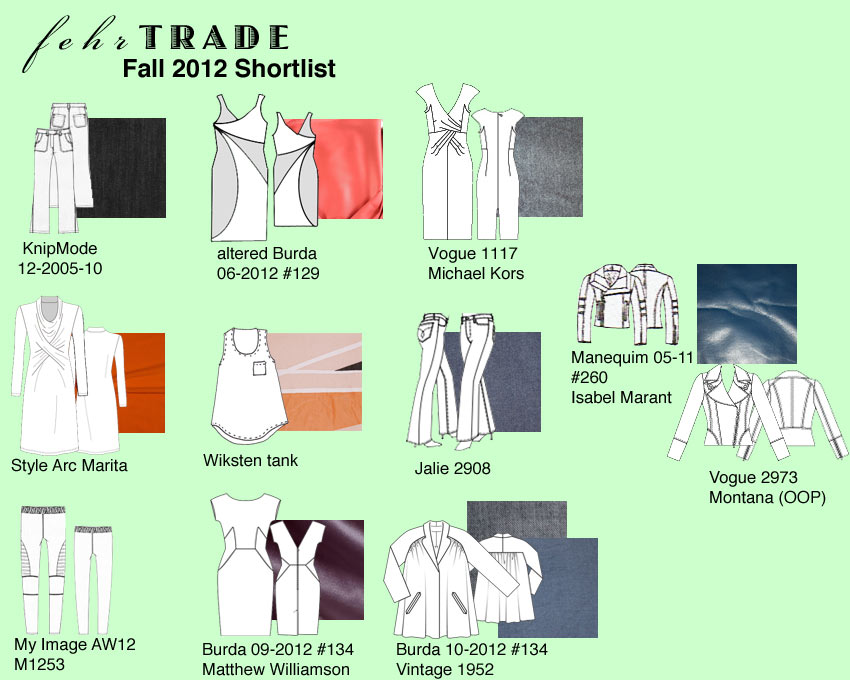
Fall/Winter 2012 Sewing Shortlist

A lot of sewers like to “Sew with a Plan” (SWAP), but I prefer to call this a “Shortlist” rather than a “Plan”, so I’m free to still change my mind and add/remove items as I go along! My main goal here isn’t so much to create a capsule wardrobe that can be worn together, but more to use up fabrics and/or that have been in my stash for a while that I’d really like to just wear.


(Click to enbiggen!)

From the top down, in no particular order:

  • KnipMode 12-2005 #10 – I’ve got some non-stretch denim aging in my stash from a few years ago, and I love KnipMode’s style lines for these. My wardrobe is in desperate need of more jeans, hence why there are two pairs in this Shortlist!
  • Altered Burda 06-2012 #129 – Now that my stretch satin from Gorgeous Fabrics is in hand, I can finally make the final version of this dress after completing the drafting and muslins back in July.

Let the disco begin!

Because I’m a good wife, I promised James I’d make his reversible smoking jacket after I’d finished my peplum top (photos coming next week, sorry – it’s been impossible to organise a photoshoot around both our social schedules!). This week has been rather busy, even by our standards, but I did get two evenings to work on it, and so far I’ve completed the entire corduroy shell (including bound buttonholes and no less than three welt pockets!) and moved on to the interior. Or, because this is a reversible jacket, I suppose it’s just “the other side”.

The other, disco side.

If you recall this is Betabrand’s disco fabric and it seriously is as bright and loud as the photos on their site suggest. I had to cut it with the black side facing out just so I wouldn’t go dizzy cutting it!

Coming up… peplums, sweat & booze, disco and smoking!

Lots of things going on at FehrTrade Towers, so it’s time for an update roundup!

Peplum top

After my last post outlining the lining instructions, there will be no points for guessing that this is coming along shortly! I’ve just got to handstitch the hem and the bottom of the lining and it’s finished, hurrah. Perhaps if I’m speedy I can wear it to the V&A Ballgowns exhibit meetup Karen is planning?

Bacchus half marathon costume

As part of my preparation/reward for my marathon training, I signed up to run the Bacchus half marathon this weekend. Not many people are familiar with this race, but it’s been rated exceptionally highly on Runner’s World, and the clue might lie somewhere in the description: a half-trail, half-road, fancy dress (costumed) race through a vineyard in Surrey with wine tasting every 2 miles, plus a free glass of wine and hog roast at the end. See why I signed up??

I’m regularly running much further than half marathon distance in my training runs, so even though this is only my second half marathon, I’m not that concerned about the distance, so instead I concentrated on the costume, making sure it’s entirely wicking and running-friendly!

I’m sure it will surprise none of you that I’ve also made another Jalie running skirt. Or, err, to be precise, two more, since I made another black one in parallel with my Bacchus one and forgot to photograph it! And a top based on my knit sloper (which I’m still tweaking after running in my sequin top for a few months now).