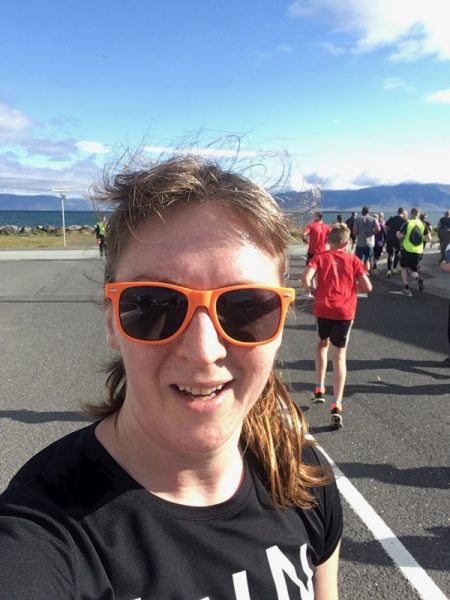
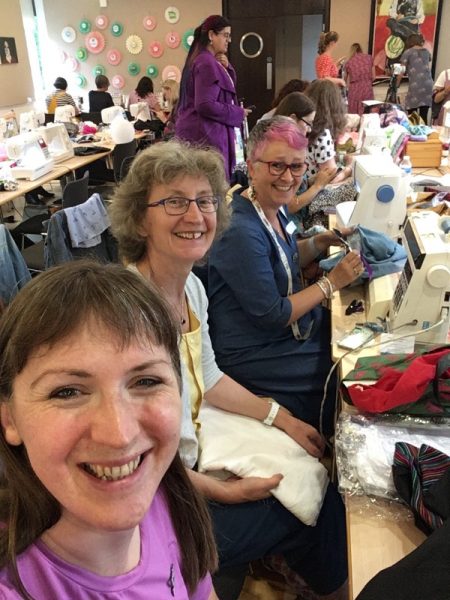
Blog

Activewear Masterclass – new date added!

Wow, so many of you have booked my Activewear Masterclass in July that we’ve gone and added a second date! So if you wanted to attend the first one but couldn’t on that weekend, you can now book for Sunday 30 September as well!

Like the July date, this is a one-day masterclass held at New Craft House here in London, and you’ll learn how to sew strong and stretchy seams on a regular sewing machine, adapt patterns to your specific sports, plus sew up a pair of leggings and a workout top, ALL IN ONE DAY! Plus you’ll receive a signed copy of my “Sew Your Own Activewear” book, too!

How to add hand mitts or a turtleneck to the Winter Base Layer

I absolutely love the Winter Base Layer for cold weather exercising – I’ve both run and cycled in mine and I get so many compliments whenever I wear them! But with a few simple steps you can also change both the sleeves and neck to make it even more versatile.

Today I’ll be showing you how you can use the hand mitts from the Surf to Summit Top pattern instead of the included thumb cuffs, and also how to extend the neckline into a turtleneck (aka polo neck) if you’d prefer.

How to widen the Yoga Bottoms’ legs

Current fashions in activewear are pretty much exclusively for a narrow, close-fitting ankle on leggings, but this wasn’t always the case. Just as in the wider fashion world, activewear follows current trends and what goes up must come down and wider legs will surely come back around again! When I started running in the early 2000s, my first few pairs of running trousers were all bootcut, and I know there are people out there who prefer a wider ankle opening on their activewear, too. After all, do we not sew in order to have our clothing exactly the way we want it?

Luckily, altering the Yoga Bottoms in order to have a straight leg or bootcut is really simple. As this design doesn’t change much from the block below the knee, you can actually make this alteration at any stage before cutting the fabric, but if you’d like to do the same to, say, the Active Leggings, you’ll want to widen the lower legs of you block before following the pattern change instructions from the book.

Let’s talk about gussets

Let’s all take a moment to talk about gussets – crotch gussets in particular, and what they can and can’t do, because there is just so much misinformation floating around about them. A gusset is a separate piece of fabric sewn into a seam, most commonly seen on underarms (especially in vintage styles) and on the crotch of trousers.

The purpose of a gusset is to increase the range of motion of the limbs nearby – so in the case of the vintage blouse, its because a dolman sleeve doesn’t really allow the arm to raise naturally due to the shape of the bodice/sleeve piece and the limitations on the non-stretch fabric. So a small gusset is added to the underarm will allow the wearer to raise her arms. The same principle applies to crotch gussets – the purpose of a crotch gusset is to increase the range of motion of the legs.

Sewing Activewear Without a Serger

One of the biggest misconceptions about sewing your own activewear seems to be that you need to have a serger/overlocker to do so. Even people who don’t sew end up asking me about this immediately after they find out what I do, and it’s just not true! You really can make sturdy and functional activewear even if you just have a regular sewing machine, and there’s no better time to get started than right now!

On my stall at the Great British Sewing Bee Live show last September I had a list of about ten different activewear techniques I was ready to demonstrate to visitors. I showed a fair few how to do the basic three elastic edge finishes, but I pretty just spent all my time showing people how easy to is to sew basic activewear seams using a regular sewing machine – over and over again!

Elastic edges three ways

Today I’d like to show you how you can change up the look of your “Sew Your Own Activewear” Vest Top by simply changing the way you finish off the neckline and armhole edges. Elastic edges are super important in activewear as they hold the fabric close to the body, reducing the risk of chafing, but also making it less likely to get caught on things (a real safety risk when climbing!), or exposing yourself accidentally (hello downward dog!), and also to keep contents from falling out of your pockets, too.

These methods are great ones to have in your sewing skillset as you can also use them on the Crop Top (which we’ll be looking at more next week!) as well as my XYT Workout Top pattern. All three of these methods can be done on your basic sewing machine, and once you get the hang of them, you’ll find all sorts of uses!

How To Add Bust Support to the Vest Top

Earlier this week I introduced you to the Vest Top design from my “Sew Your Own Activewear” book, and today I’d like to show you how you can add some bust support to it so that you can wear it without a separate sports bra if you wish. The Crop Top design uses some of the same pieces as the Vest Top but includes two layers of power mesh to add support for low- to medium-impact activities, so we’re going to use portions of both designs to create a Vest Top with support inside but the same appearance outside.

Happy 2018! (My Year in Review)

Happy fresh and new baby year, everyone! I always like to celebrate the first of the year with a look back at the year that’s just completed – this gives me a chance to reflect at the things I’ve accomplished, the garments I’ve made, and challenges conquered. As is traditional, I find myself starting 2018 with lots of great stuff on the horizon but unable to talk about it (this time last year my two big secrets were my Threads article and my book deal, so you’d better believe 2018’s secret project is a good’un!) so you’ll just have to trust me that the outlook for 2018 is rosy indeed!

Pre-Order my Book to Get a Free Bonus Pattern!

Things are starting to ramp up with my upcoming “Sew Your Own Activewear” book now that the final, final (no really, FINAL!) edits are finished, print and digital pattern versions have been polished, layered, and updated with the spiffy new book fonts, and the marketing ladies at my publishers have been devising plans for the new year’s launch fun!

I’d like to thank every single one of you who’ve gone and pre-ordered the book already, either from me directly, or on Amazon – I’m truly blown away by how many of you cannot wait to get your hands on this!! It’s about to get even better though, because on top of all the thirteen designs I created for the book, I also created a little bonus pattern at the same time to reward everyone’s who’s waiting patiently for their pre-order!