
For the last few years, Jalie Patterns have released a “Galaxie” pattern around the holidays that is usually gift-themed. One year it was cooking-focused, another on travel, but this year the focus was on pets, and, reader, I bought it immediately! Galaxie 4 contains several little projects for pets – collapsible bowls, zippered pouches, a poo-bag dispenser, and a pet bed – and one for humans, too – a bum bag. My Instagram followers will know that I made some of the other views of this pattern literally the next day, but as those are presents you’ll need to wait to see those!
Today we’re talking all about the “Coquette”, a pet padded bed/cave/house/etc. It comes in a range of sizes that would be suitable for a guinea pig, rabbit, cat, or small dog, but you could likely scale it up for larger dogs if you really wanted to. After some deliberation, I ended up using the second-to-largest size, 35cm, and I think this is the right size for an average sized cat, though you could probably go down one size further in a pinch if you had to, too.
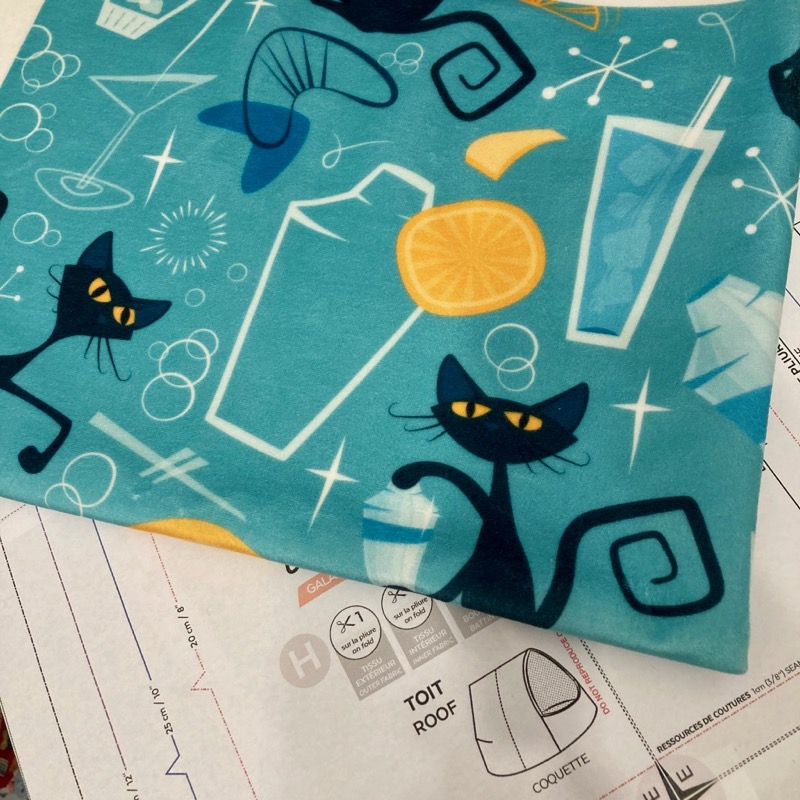
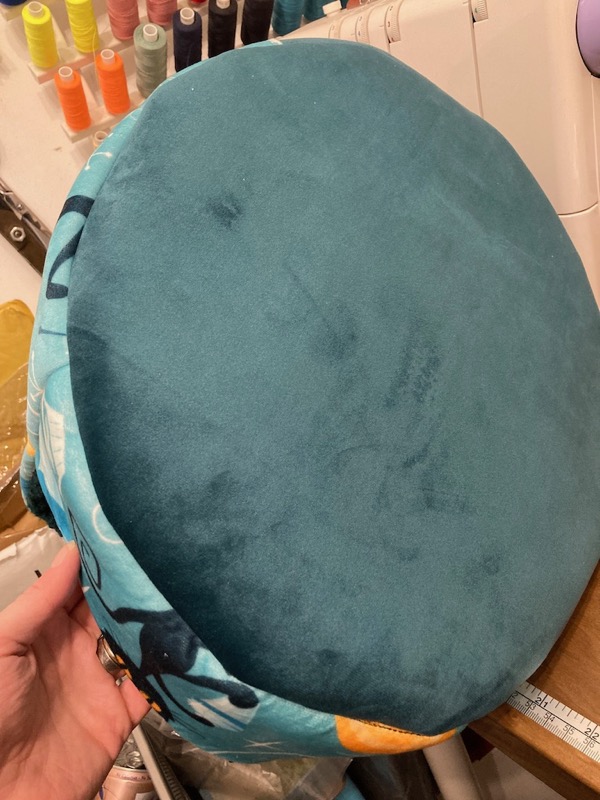
Sponflower had a BOGOF sale on fat quarters a month or two ago so I bought up a bunch of random fabric bases, including this print of retro black cats making cocktails (how perfect!) on their “Celosia velvet” base fabric. I wasn’t quite sure what I wanted to make when I bought it, and unfortunately this was not enough to make the full exterior of the bed. Boo. So I got creative and pieced it (begrudgingly) with leftover teal upholstery velvet from our sofa slipcover. If you recall, this fabric had a sticky backing that left a gummy residue on my needles, walking foot, and machine bed and was utterly traumatic to sew. So it was not lightly that I made the decision to use it again, but it really was the best colour match out of my available stash fabrics. Thankfully, I was delighted to discover that it had dried out and lost all its awful stickiness over the past two years and was actually fine to sew this time around!!
Then I had to decide on an interior fabric. I didn’t have any scraps big enough in my stash so I bought this teal “boucle coating” from Fabrics Galore (though I’d definitely call it “sherpa fleece” rather than boucle). They’re sold out of this colourway now but they’ve got it in a ton of others and it’s really nice – super snuggly and a perfect match for the other two fabrics, woohoo!
That just left the batting. The instructions called for “2.5cm/1in batting (Kodel)” but after a search I couldn’t find anywhere stocking quilt batting that thick and I’ve never heard of Kodel before. I ended up using this double-sided fusible foam from Sew Essential after asking for their help. Note that even though it’s double-fusible, you still need to baste it as indicated in the instructions (and be careful NOT to press it directly!), but at the very end you can give it all a good press so the layers all stick together! If you’re also in the UK and wanting to make this, I’d highly recommend this foam – it’s pricey but you’ll have plenty leftover from 1m for other projects.
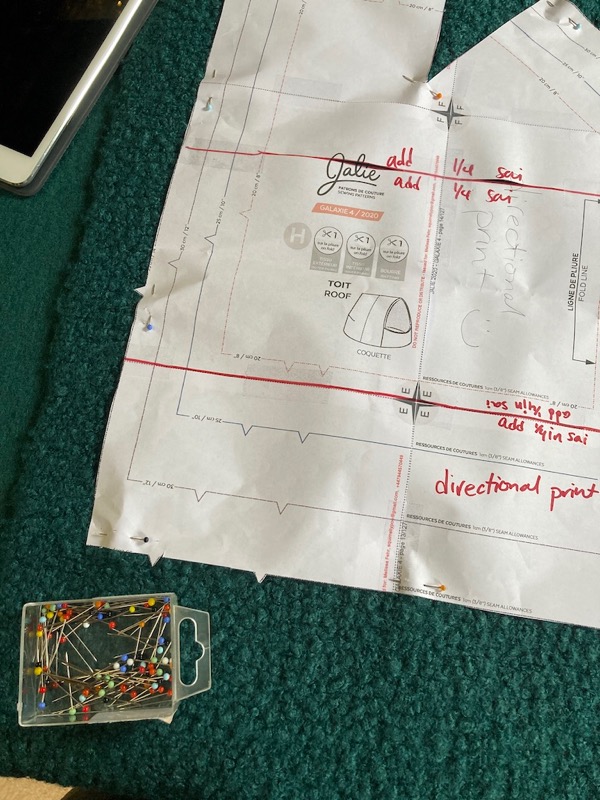
If your fabric is a directional print, I’d advise to thoroughly read the instructions and make sure you understand how the bed is constructed before you cut out your fabric. I introduced some extra seaming so I could fit it in my fat quarter, but the right way up is not necessarily how the text is printed on the pattern pieces, just be aware. It comes together nicely but conceptually the pieces are a bit difficult to get your head around at first!
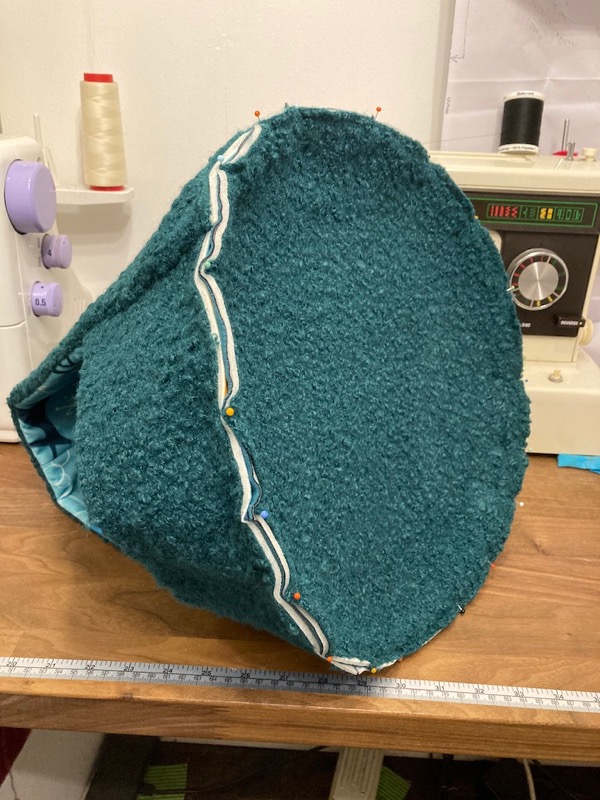
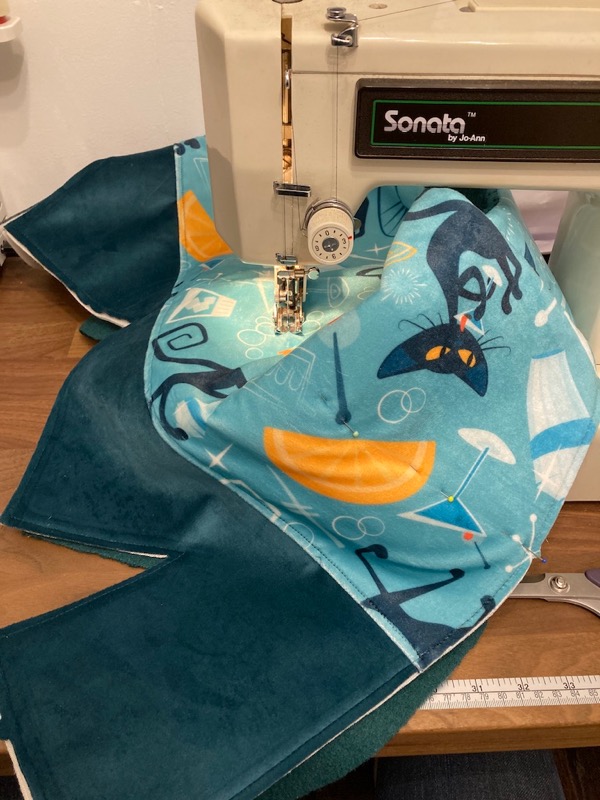
Despite working with multiple layers of thick upholstery fabrics, I actually only broke two needles – and that was in attaching the bottom to the bed! I don’t think it’s a coincidence that it’s the only time when there’s two layers of foam.
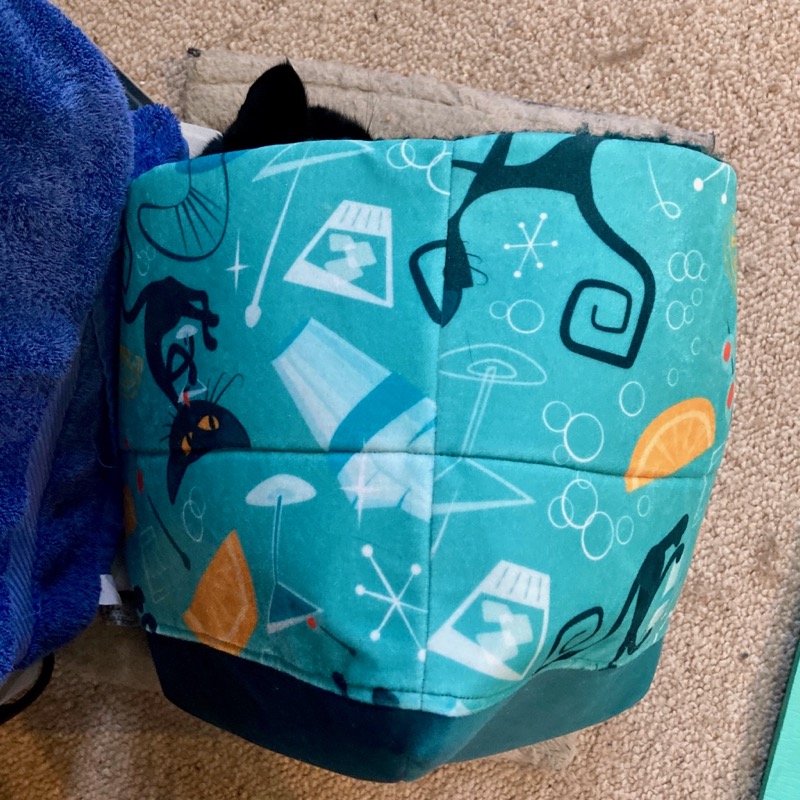
I really like that, in addition to the bed, there’s a removable cushion inside, too. The instructions have you cut 2x exterior and 2x interior fabrics for the bottom & cushion, but I thought it’d be nicer to cut 1x exterior and 3x interior so even if the cushion is removed it’s still snuggly inside.
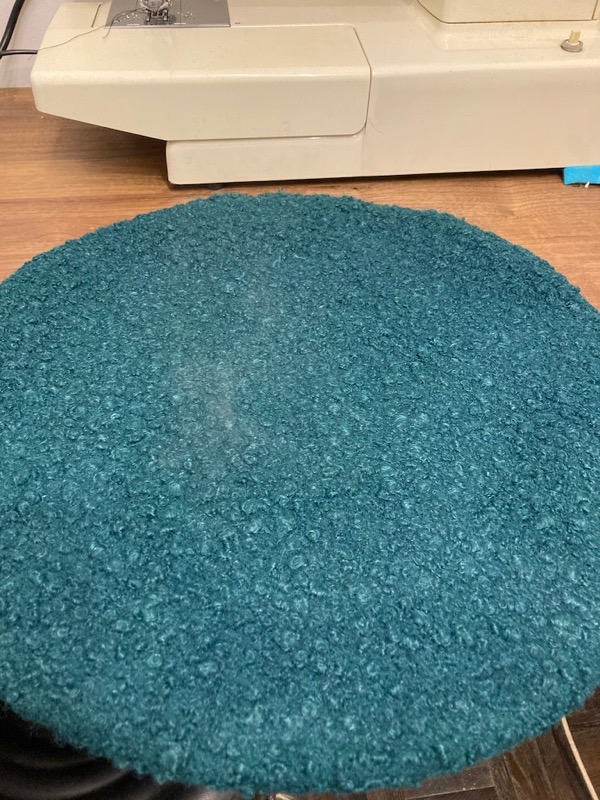
The cushion nicely covers up the only raw seams inside, and after constructing the cushion I pressed it to fuse the foam to both sides and it was cold enough in my sewing room that the cushion was steaming!!
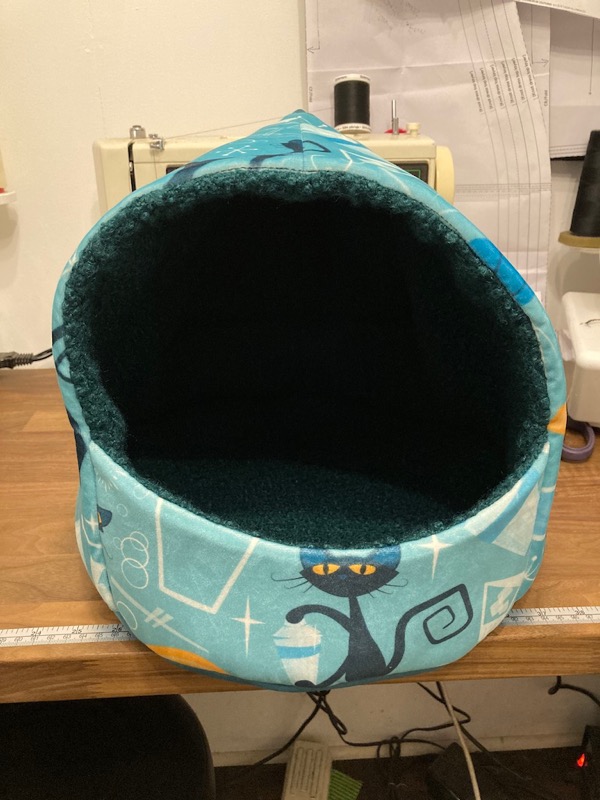
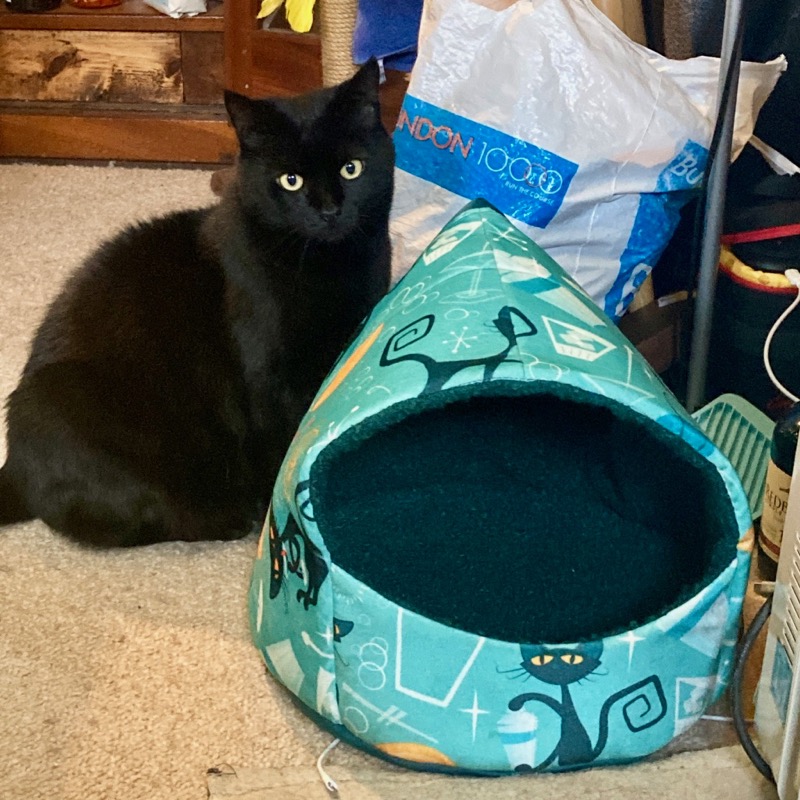
And then it was finished! This was a super straightforward one to sew and I’d totally consider making it again for a gift, too. So long as you can manage with all your layers, you’ll be fine! *cough* walking foot! *cough*
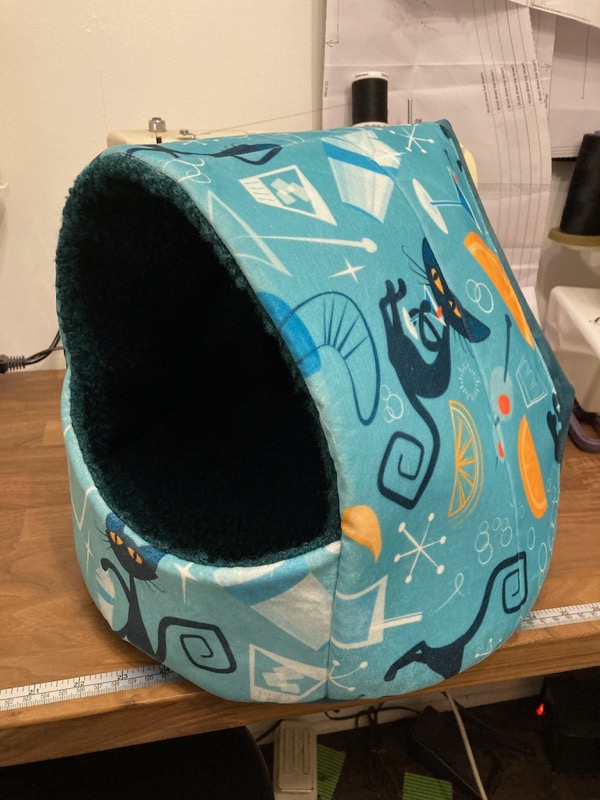
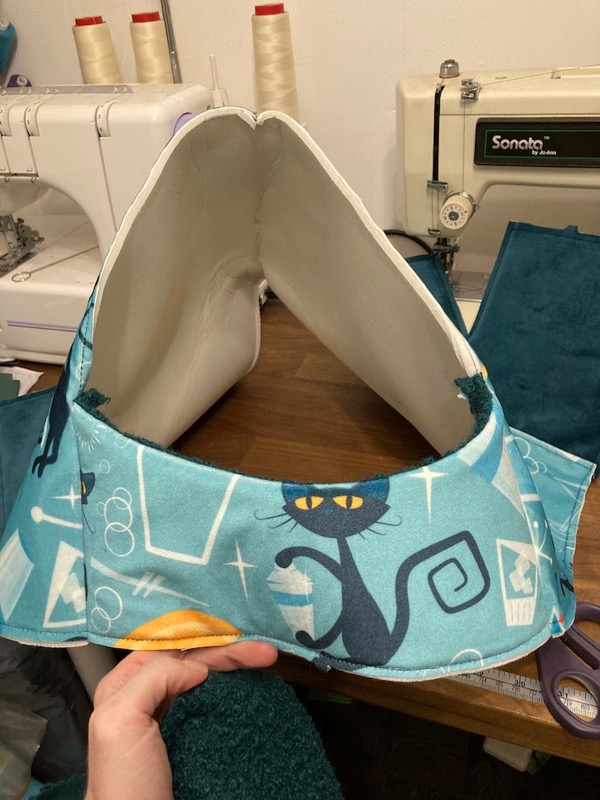
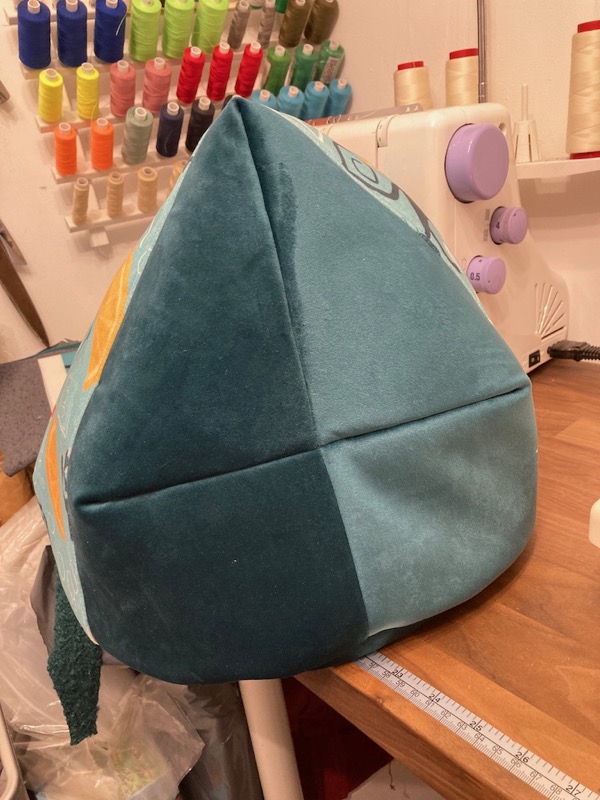
In case you also have trouble visualising how the roof is constructed, here’s a view of the back – essentially the pleats match up with the vertical seam to create a cross at the back.
By far the hardest part of this entire process was trying to convince Nishi to go inside it!! She’s a super cautious/nervous cat and she gave it a good sniff when we put it in the back cabin. Then we took the cushion out and put it on top of her usual sherpa bed by the radiator for a day or two to get her used to sleeping on it and giving it her own smell.
We tried putting treats into the cave to encourage her to go inside, but she’s not terribly food or treat motivated so she just put enough of her body inside to get the treats then, err, retreated! What finally did the trick was sprinkling a bunch of dried catnip all over the inside of the bed, and now she’s climbing inside and falling asleep on her own!
This is Nishi’s Christmas prsent this year, but a) since she’s a cat and doesn’t know when Christmas is, and b) she gets a bit freaked out by all the wrapping paper and commotion, I thought it better to give it to her early and let her get used to it so she could have another place to retreat to on Christmas day. And bonus points that it’ll match our sofa when we can finally retrieve it from the storage unit!