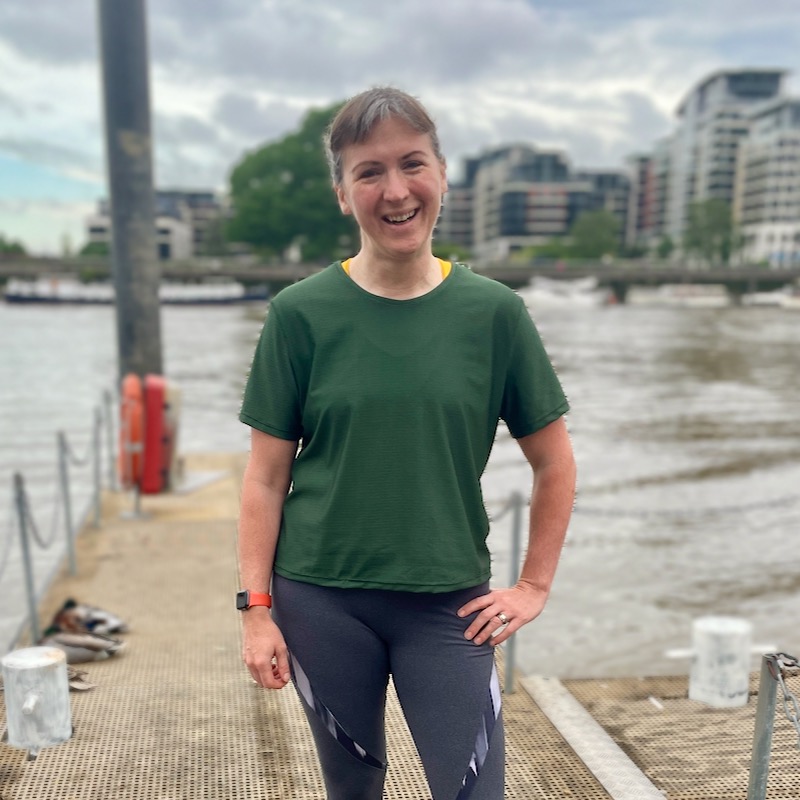
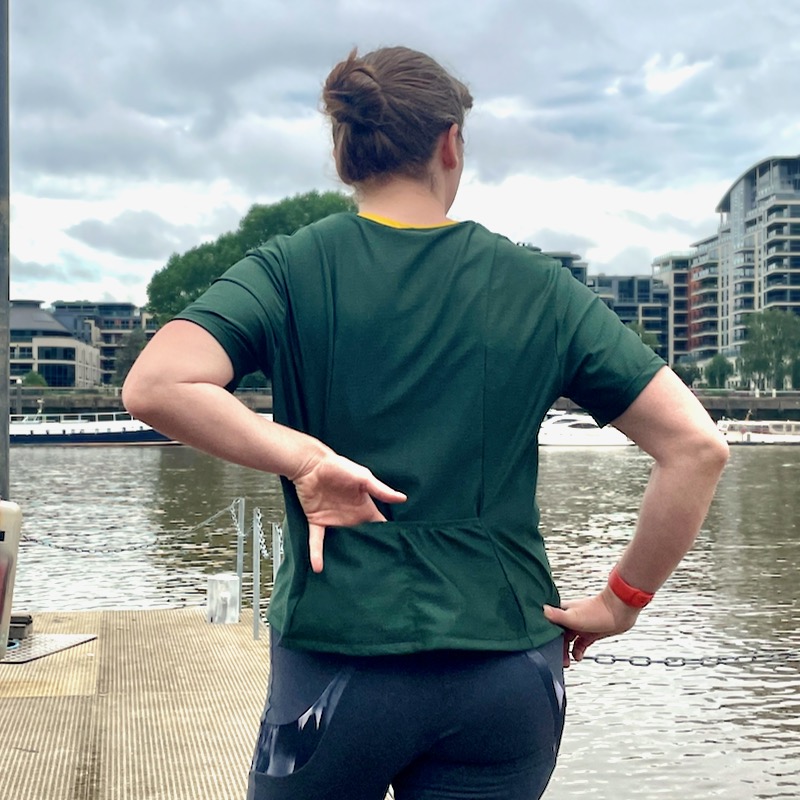
Today I wanted to show off a new Versatili-Tee I made myself since the launch of our Versatili-Tops pattern (which includes both tank and tee versions), since I took my own suggestion from the Variations section at the end of the pattern instructions and added a back pocket! This is a really easy addition that only adds a few minutes on to the construction but makes it even more useful, especially for low-impact activities like hiking or cycling.
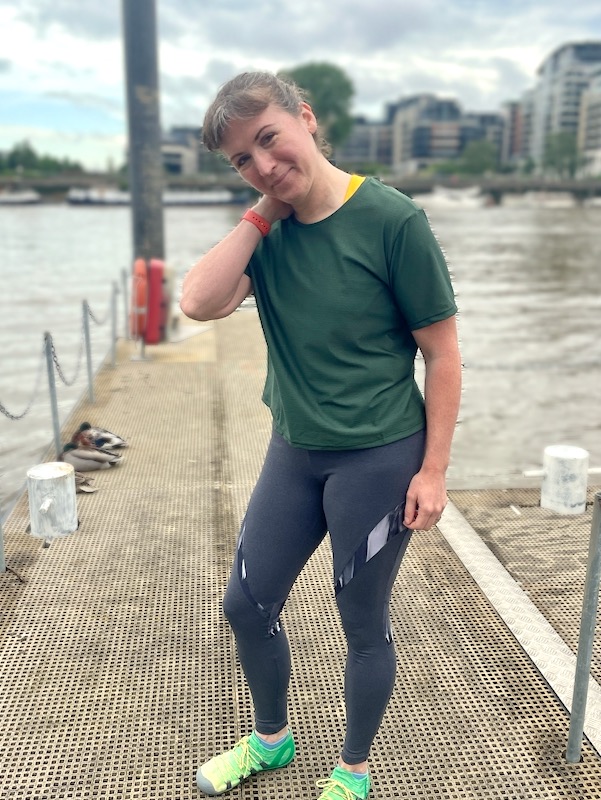
For this Tee I used some forest green aerated polyester activewear fabric that’s been in my stash a few years. I believe it was an ex-Tracksmith deadstock fabric I bought from FabricMart (US), and it’s nice and cooling with the micro-holes, plus it’s got a lot of good stretch and recovery, too. However, those holes were created REALLY off-grain, which made cutting out a bit more challenging than usual since I needed to fold and cut based on the orientation of the holes instead of the selvedges. But perhaps this is why it wasn’t used in RTW and was sold as yardage?
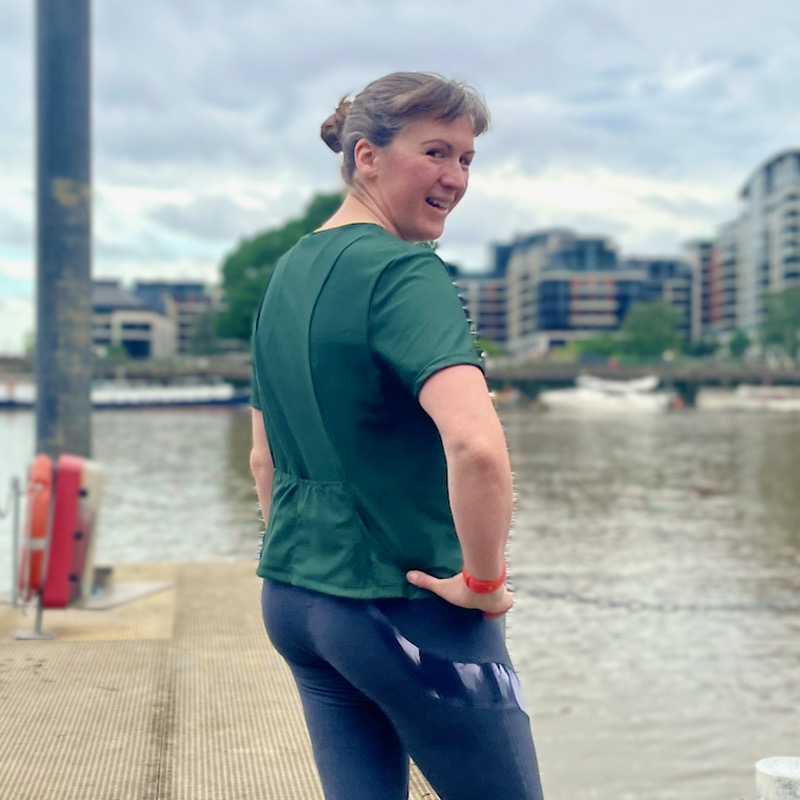
If you recall, the Versatili-Tops have no side seams, but instead have a front piece that wraps around the body to meet the narrow back piece.
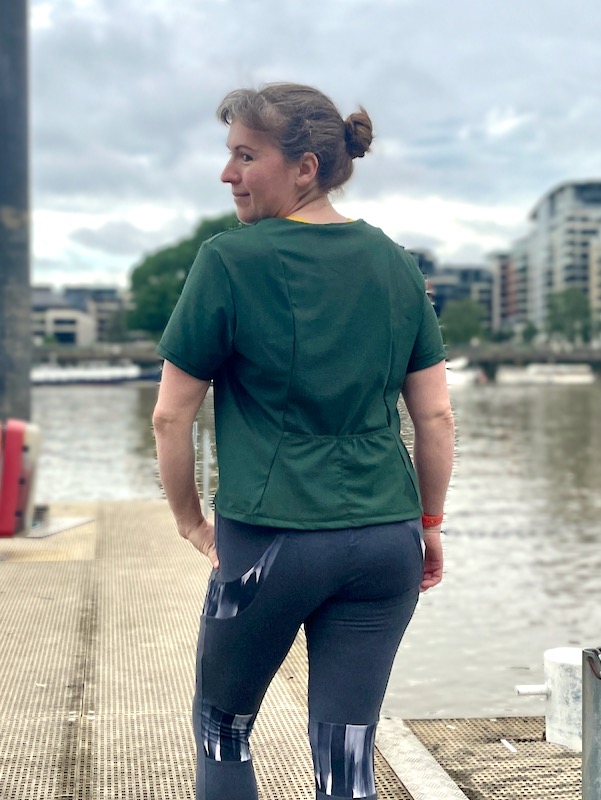
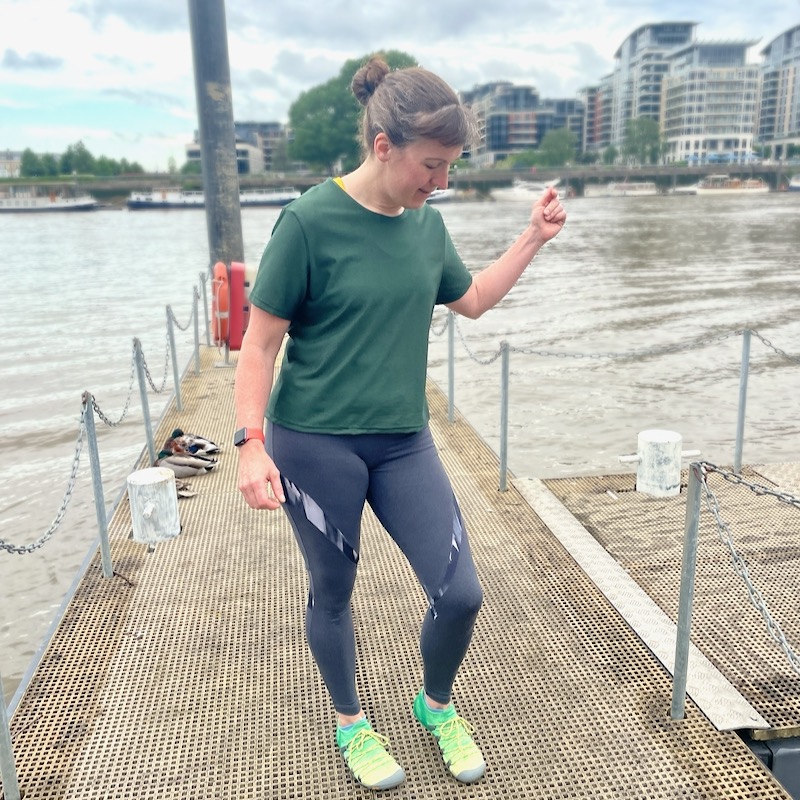
(seen here with our PB Jam Leggings!)
If you want to create your own back pocket, it’s very similar to the process I outlined in this Raglan Tee hack a few years ago for the launch of my “Sew Your Own Activewear” book.
First, cut a second Back piece using only the lower portion of the pattern piece, from about 2cm (1in) above the lower notch down to the hem. You can really cut the top of the pocket however high or low as you like, but keep in mind that the higher the opening, the more difficult it is to contort your hand behind your back to get into it! (Or maybe it’s just my poor shoulder mobility!)
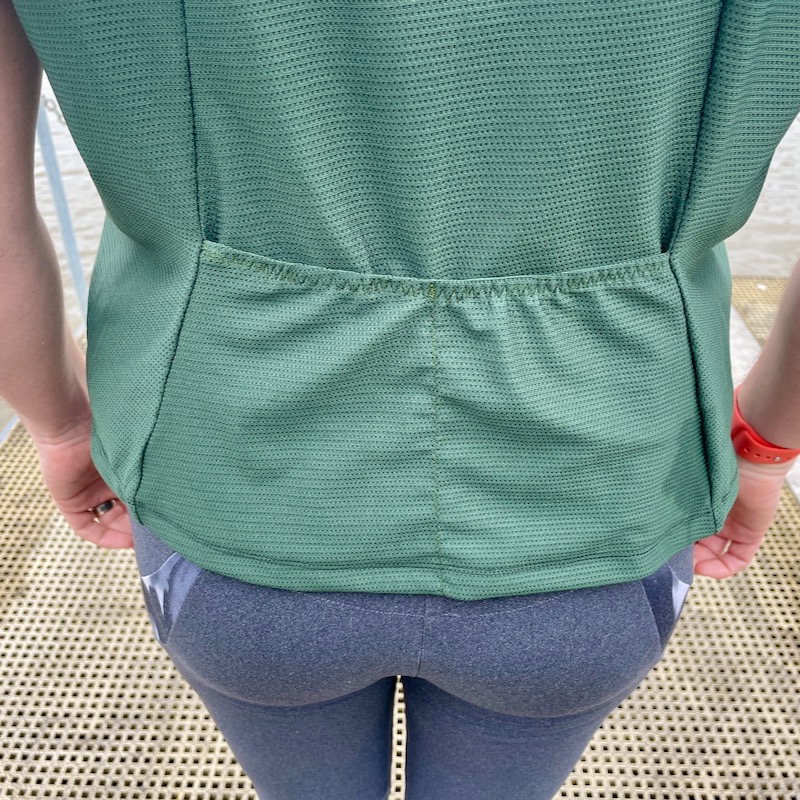
You can use any of the elastic edge finishing techniques, but here I opted to use clear elastic. I cut it slightly shorter than the top edge (by maybe 4cm/2in) in order to hold the contents a bit more securely but it does make the top a bit more fitted in the waist, too. I attached the elastic by first zigzagging it to the wrong side of the upper edge of the pocket, then folding it inwards again and topstitching with a triple zigzag stitch.
Next, place the pocket onto the bottom of the Back piece, with the wrong side of the pocket against the right side of the Back, aligning all the edges. Baste along the sides and bottom edges using a zigzag stitch set to a long stitch length.
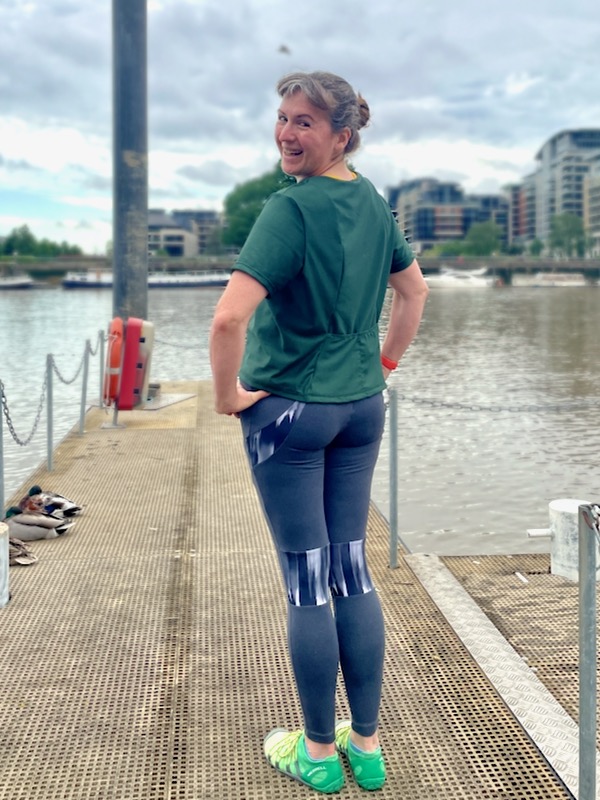
Finally, you can create vertical dividers in the pocket to make it easier to grab items. I opted to have one divider along the centre back, but it’s entirely up to you! To create the pocket divider, topstitch through both the pocket and Back pieces from the pocket opening to the hem using a zigzag stitch set to a short stitch length.
Then sew the top according to the pattern instructions, treating the pocket and Back as one layer throughout. This pocket technique will work with either the Tee or Tank, too! If you prefer to watch a video version of this tutorial, I’ll be posted one to my Instagram account in the next few days.
Honestly, these tops are just a snap to sew together! It’s really satisfying to have such a quick sew that you can wear for exercise at the weekend. I’m actually thinking I might add an iron-on transfer to the front of this to jazz it up a bit once we’ve dug ourselves out from under the last of the building works mess!
While we were taking these photos, we had some party-crashers! (Or maybe we were crashing their party??)
You can make your own with our Versatili-Tops and PB Jam Leggings patterns! If you haven’t got a project yet for this weekend’s online Sewing Weekender, these would be perfect, and I have it on good authority that “sewing activewear” is a Bingo square this year, too!