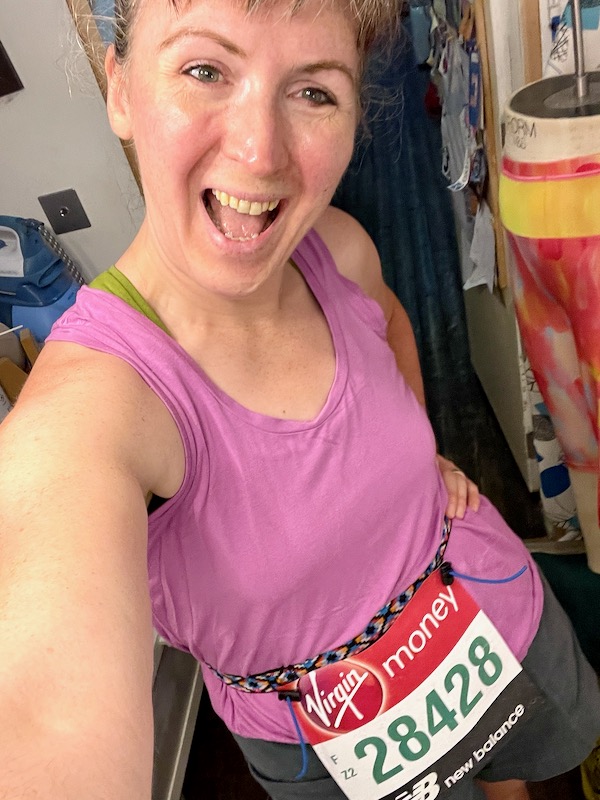
I’ve signed up to race my first official duathlon in September (that’s run-cycle-run if you’re not familiar) and one of the things I need for the race is a tri-belt, which, having never done a triathlon myself, is something I didn’t own. A tri-belt is essentially an adjustable loop of elastic with two smaller elastic cords sticking out that you can affix a race number to.
The purpose here is to be able to attach your number to it so you can easily display it on your front as you’re running, and on your back as you’re cycling, without having to re-pin it in place! But when I went to purchase one, I saw how simple they were and thought “I could make that!” And honestly, it was so easy, I’ll show you how to, too! Hint: these also make great gifts if you’ve got a multi-sports athlete in your life!
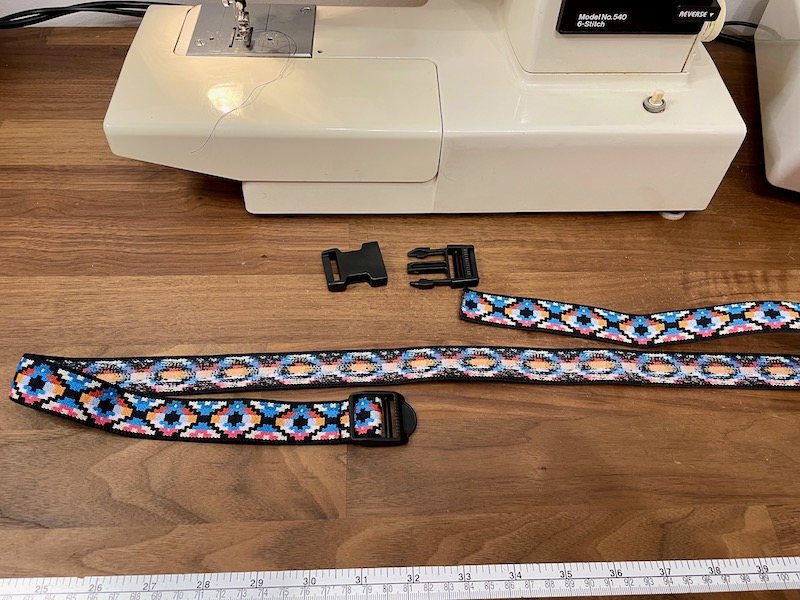
Supplies
First of all, supplies! You’ll need a length of waistband elastic that’s longer than the measurement of where you want to wear the belt. So if you’ll be wearing it at your waist, buy maybe 15cm (6in) more than your waist measurement. If you plan on wearing it at your hips, buy a bit more than that measurement. It’s better to buy a bit extra, as you’ll trim it down and use some of the offcuts anyway.
If you like the fancy patterned elastic I used in mine, it’s made by Prym (aka Dritz in the USA) and comes in a bunch of different colours and styles.
Edit: There are also some great patterned elastics over at Pacific Trimming (USA) and SelfMade (formerly Stoff & Stil) (EUR)
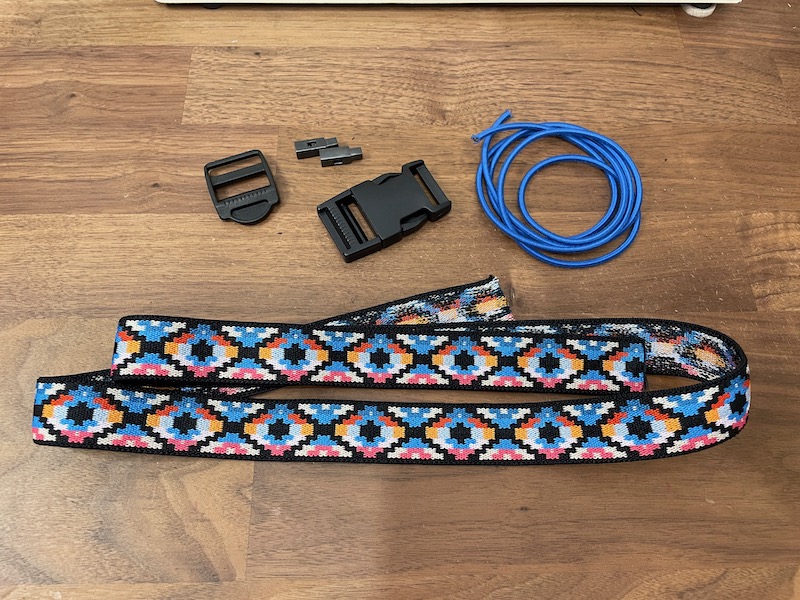
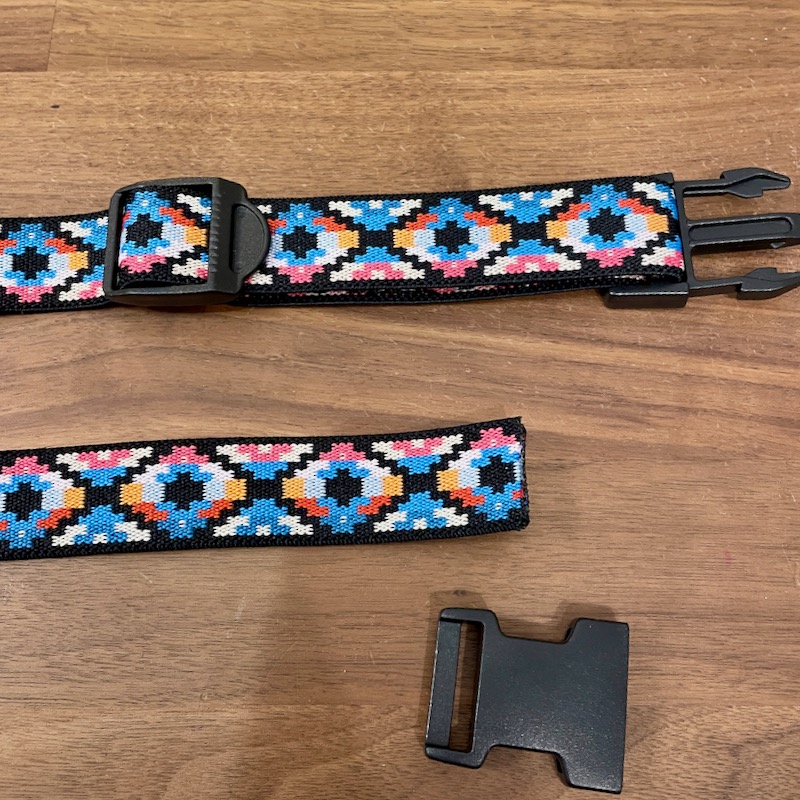
You’ll also need:
- One slider in the width of your elastic
- One buckle in the width of your elastic
- Less than 30cm (12in) of round, shock cord elastic
- Two toggles sized for the shock cord elastic
- A lighter or candle for melting the ends of your elastic (optional)
- Sewing machine, thread, needles, and an adjustable zipper foot (optional)
(You’ll notice that my toggles changed between the supplies photo and the finished version, as I discovered it was too difficult to squeeze my shock cord into my original toggles!)
Step 1 – Loop one end of your elastic through the post of the slider
If your slider has two posts like mine, loop it around the one further from the textured end.

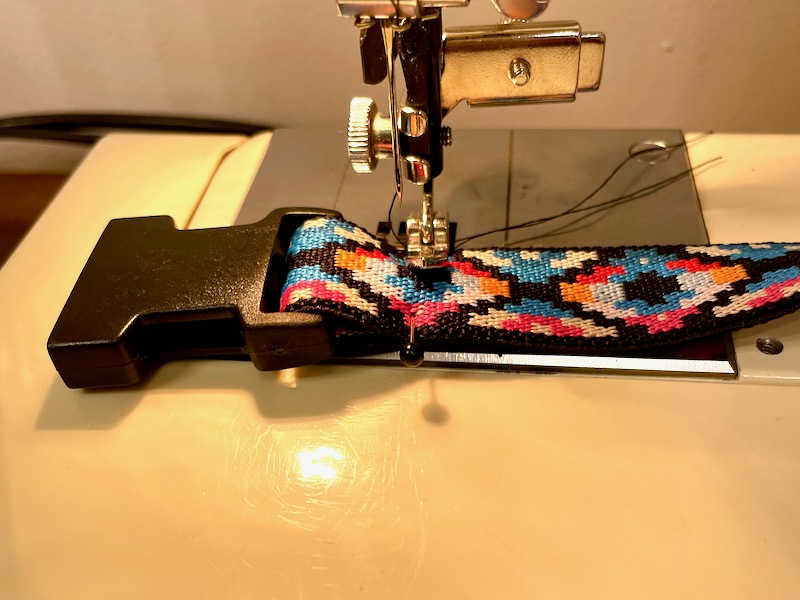
Step 2 – Sew the loop closed so the slider is fixed in place
It’s handy to have an adjustable zipper foot here so you can get closer to the slider. Use narrow zigzag stitches close to the end of the elastic.
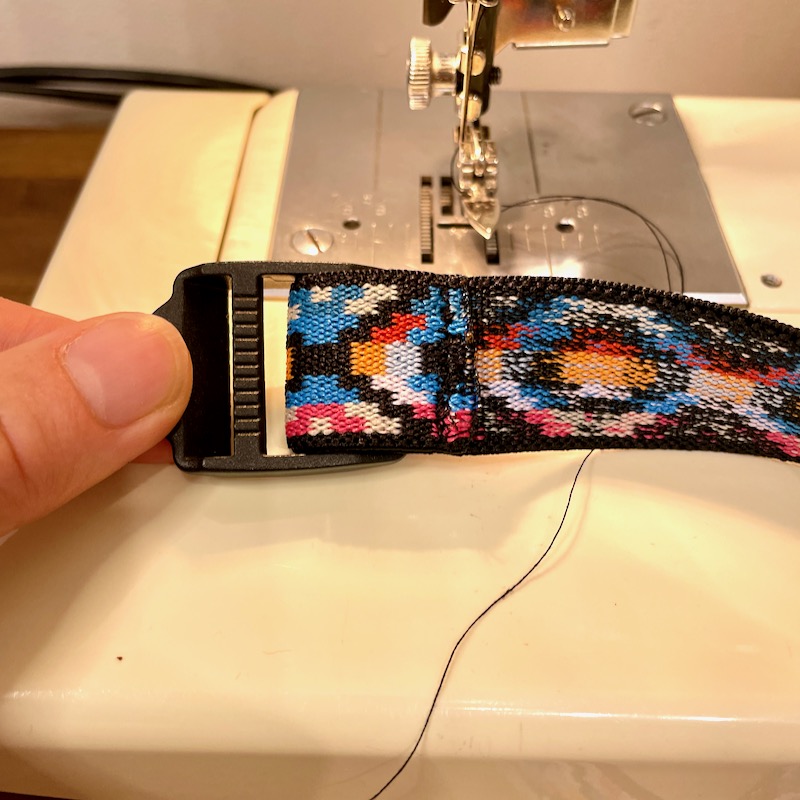
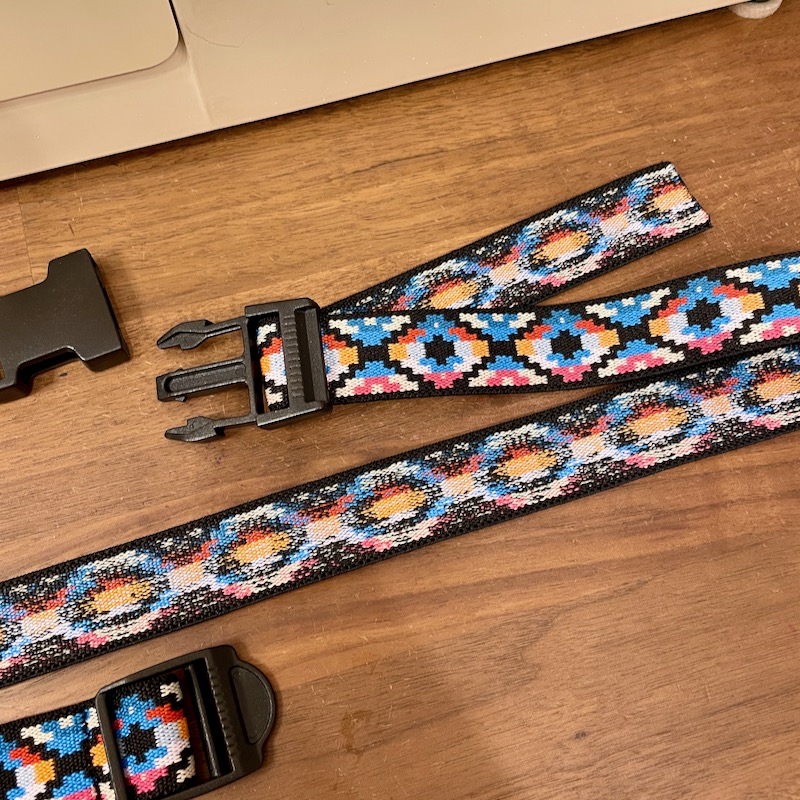
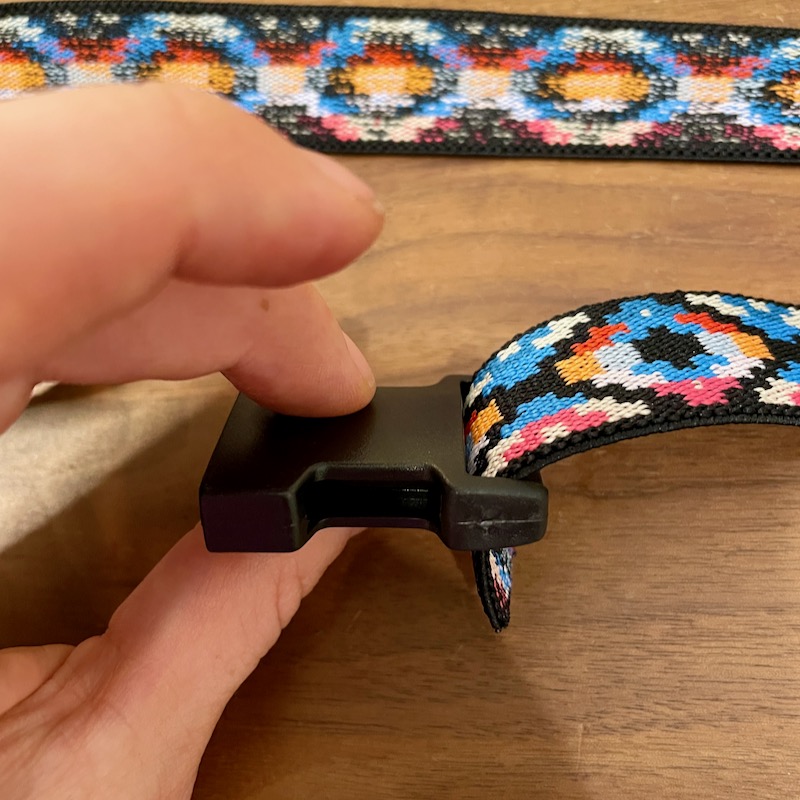
Step 3 – Take the other end of your elastic and loop it through the “teeth” end of the buckle
Then move the buckle up along the elastic so it’s a few inches from the slider.
Step 4 – Take the free end of the elastic and loop it back through the slider over top the original loop.
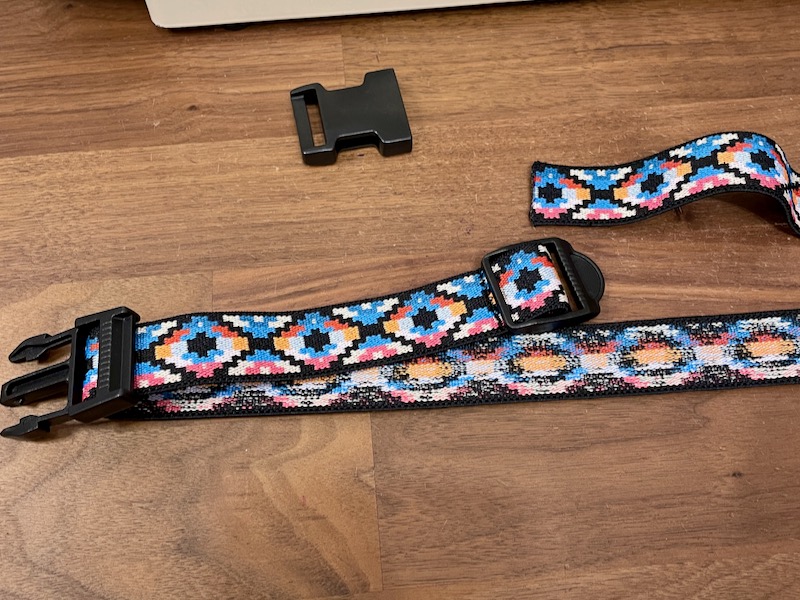
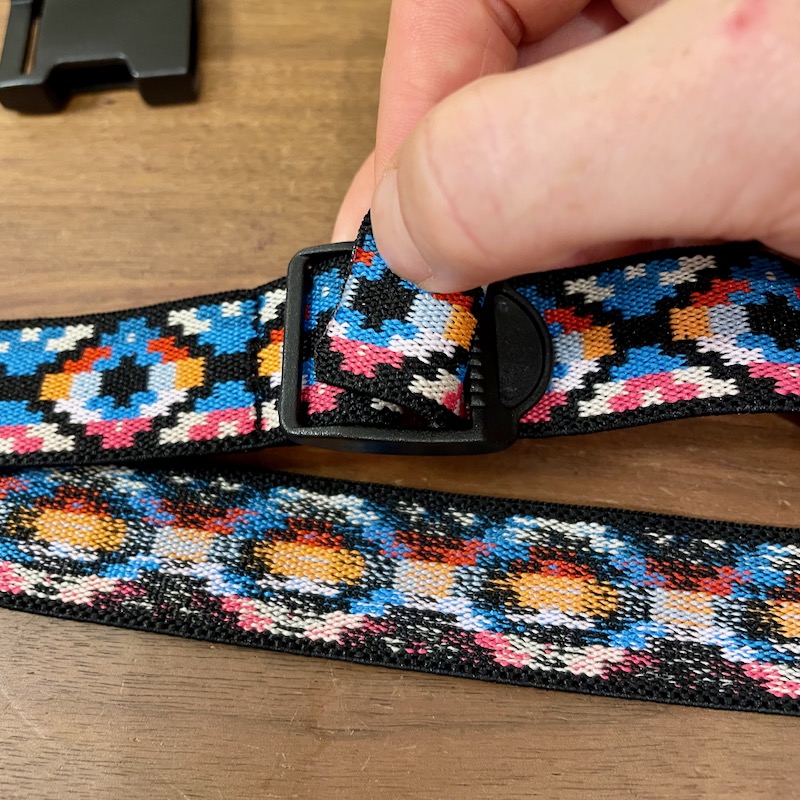
Step 5 – Take the free end of the elastic and loop it through the other end of the buckle.
At this point you can scooch the slider up so it’s a few inches from the “tooth” buckle.
At this point you should try on the belt and trim off any excess elastic. You should have a few inches of overlapped elastic near the slider, but you do not want a huge amount or it will interfere with the placement of the number cords and toggles. Remember to melt the ends of your elastic if you trim it here.
Step 6 – Sew the loop closed so the buckle is fixed in place.
As before, use the zipper foot and zigzag stitched.
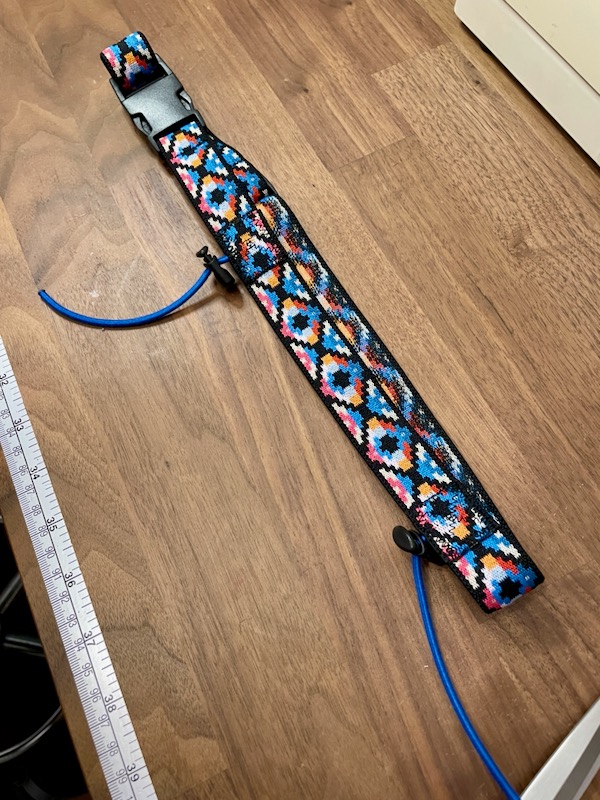
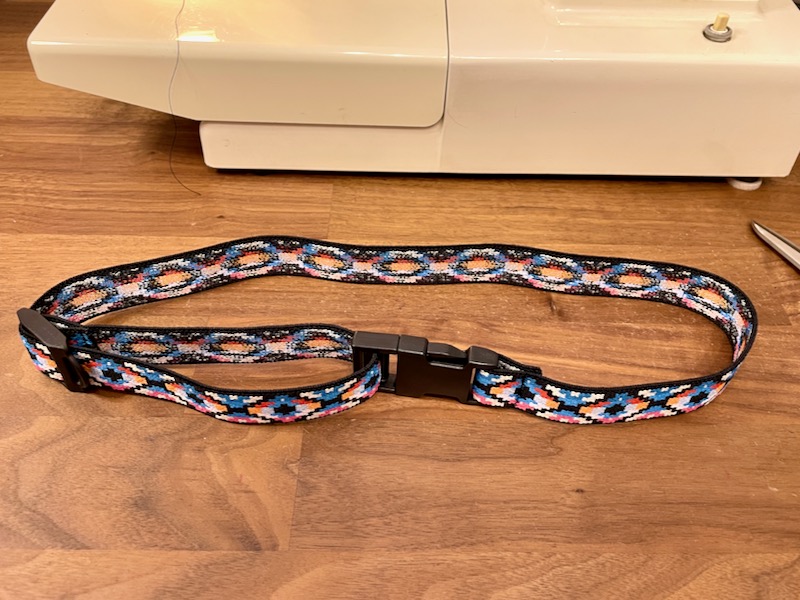
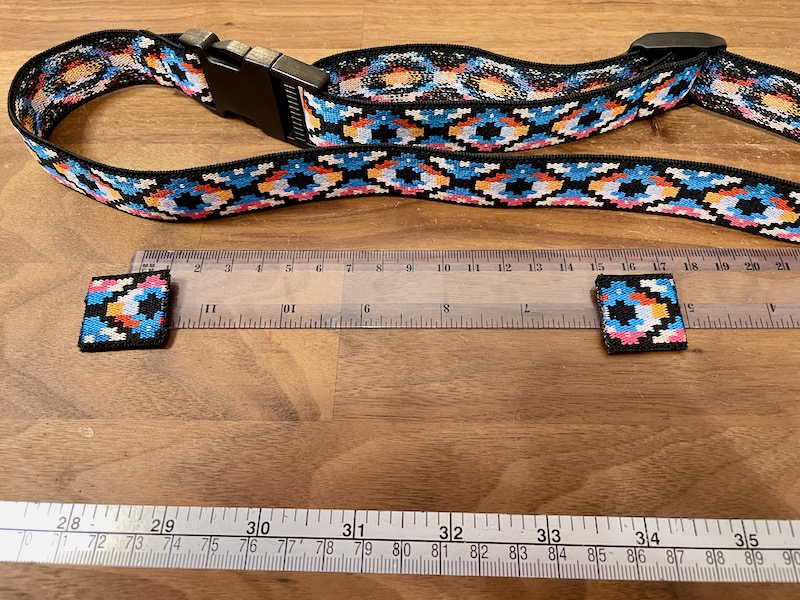
You should now have a complete, adjustable loop!
Step 7 – Cut two squares of elastic from your offcuts.
These should be approximately square, depending on your elastic width.
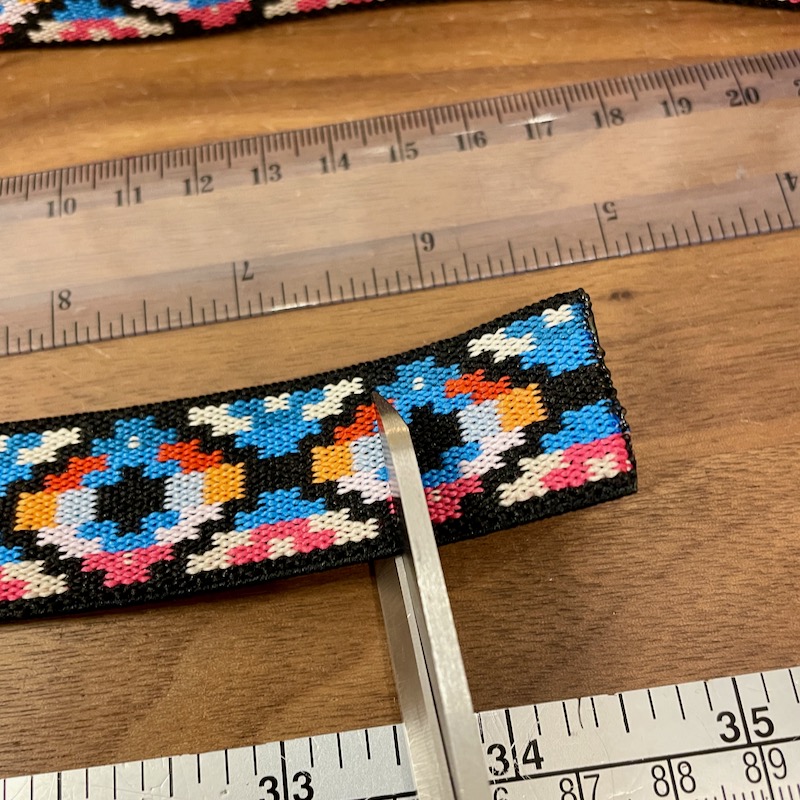
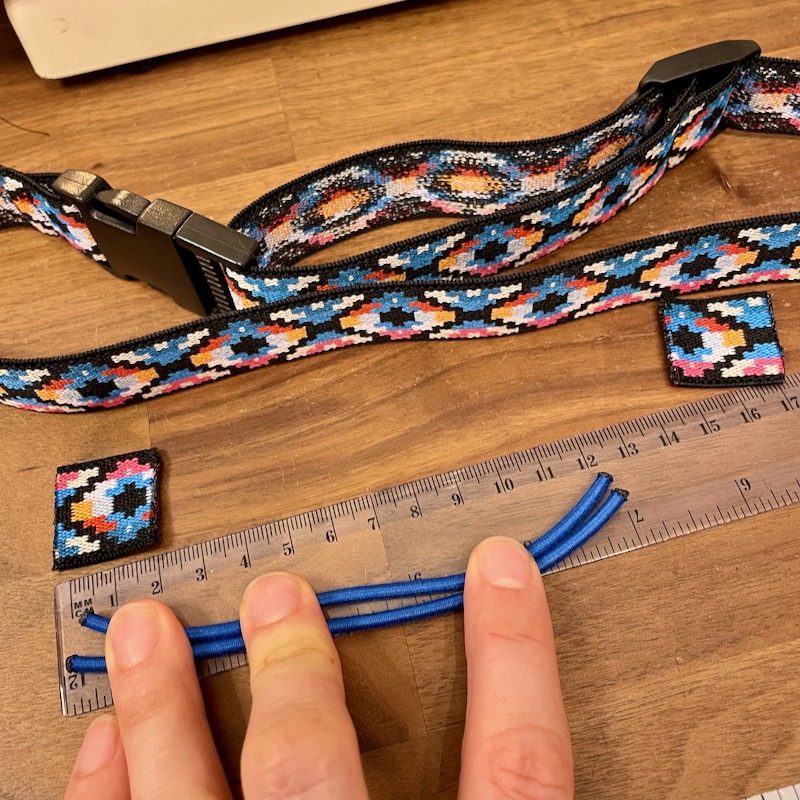
Step 8 – Cut two lengths of shock cord elastic.
These should be approximately 12cm (5in) long, but could also be shorter or longer if you prefer.
Step 9 – Place the shock cord elastic onto the belt and pin a square of elastic on top.
The squares should be placed approximately 16cm (6 1/2in) apart (this assumes your belt will stretch a bit when worn and your race number is a little bigger than this – if you have your number to hand, you want the shock cord elastic to be an inch or two narrower than your number holes) and close to the buckle end of the belt so they don’t interfere with the slider. Make sure that you’re pinning to a single layer of elastic NOT where it is doubled up for the slider!

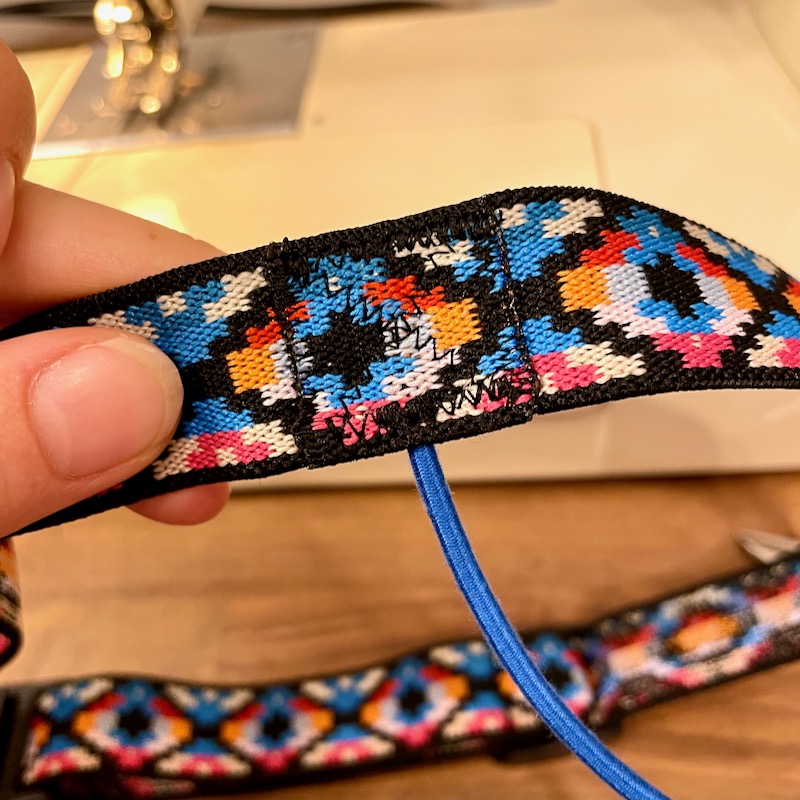
Step 10 – Zigzag the elastic squares in place, securing the shock cord elastic.
Using a narrow zigzag stitch, sew around the edge of each elastic square and sew an X in the centre as well.
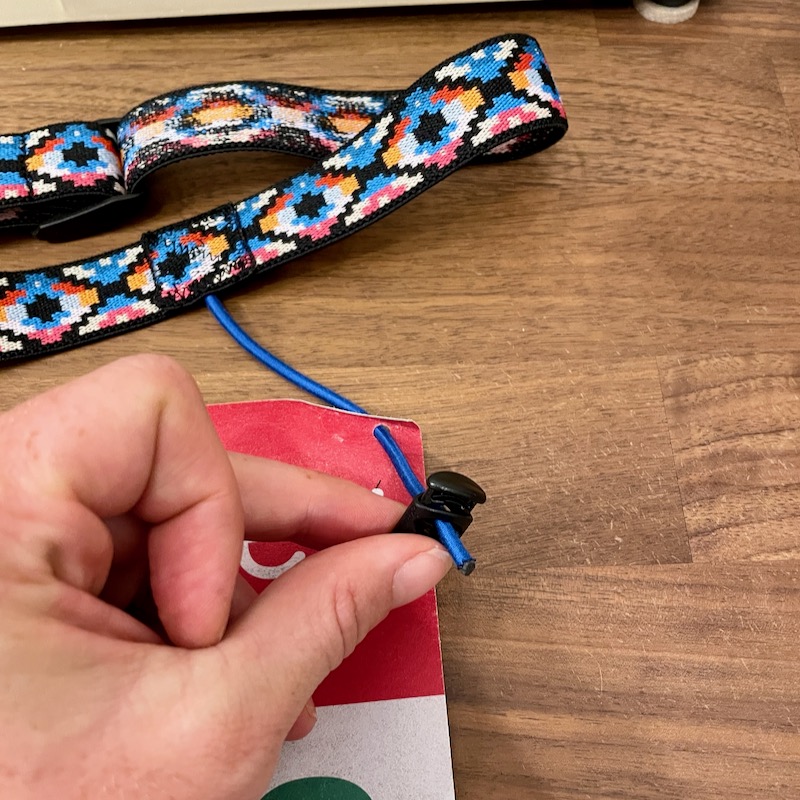
Step 11 – Thread the shock cord elastic through the toggles.
To use the belt, thread the shock cord elastic through the holes at the top of your race number, then through the toggles, and tighten the toggles to secure. The shock cord elastic should be pointing downwards when worn.
And you’re done, and ready to race!
If you used this tutorial and made a belt, let me know in the comments below!