I’ve made a lot of lingerie over the years, but my bra preferences have changed over the course of the pandemic (like a lot of women) to favour soft bras over underwired styles, and I’m still trying out different patterns to find ones I like. So I was very interested to learn that New Craft House had not only bought up the un-used fabric and haberdashery from a lingerie brand that sadly went out of business, but bought their patterns, too! When the collection was finally ready to buy (two bra patterns, three panty patterns, and four kits), I literally set a timer and hit buy within the first minute (if you’re ready this right after I’ve posted, the kits are only temporarily sold out while they catch up on the avalanche of orders).
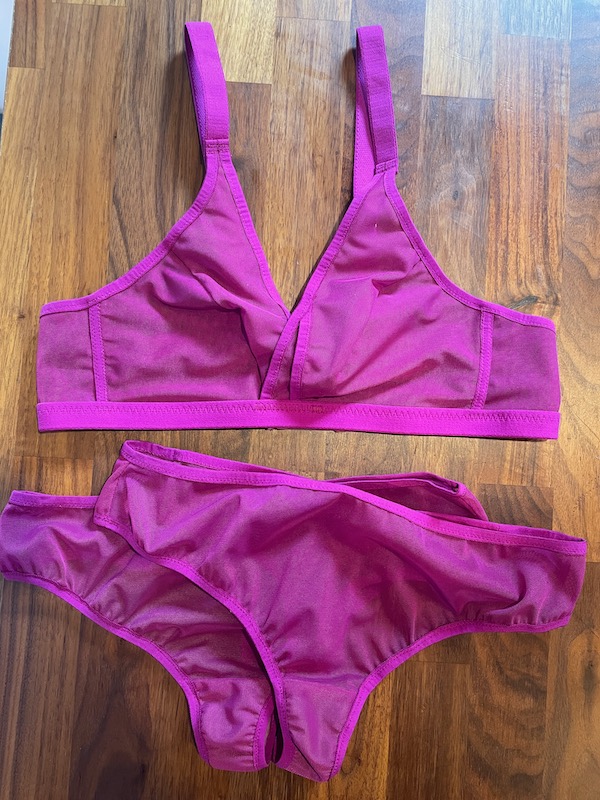
I decided on the Wren bra pattern as I liked that it was a little unconventional, and also bought the mesh kit for it and a mesh panty kit as well. The kits contain all the fabric, elastics, rings, sliders, etc to make one bra or panty, and you had the choice of either pink mesh or pink jersey (apparently other colours are on the way). If you stupidly bought your kits without checking if you had any matching thread on hand (like I did), I can safely say that the best thread match is Gutermann 247 (plum). You’re welcome.
To save on unused fabric, the kits came in two sizes (with the smaller size range being a few quid cheaper). I kinda wanted the extra fabric and elastic though so I I bought the larger kit, in size 36-42 (even though I’m a 34B). The mesh is high quality, and somewhere between a stretch mesh and a power mesh to my hand. I needn’t have bothered getting the larger kit though, because it turns out that the kits are VERY generous with the amount of fabric given, though the elastics are really only enough to make one bra. Like, I was able to cut the one bra and two panties out of just the fabric from the bra kit (with some leftover!) and not even touch the fabric in the panty kit. So I’ve got lots of fuchsia–mesh-lined sports bras in my future!
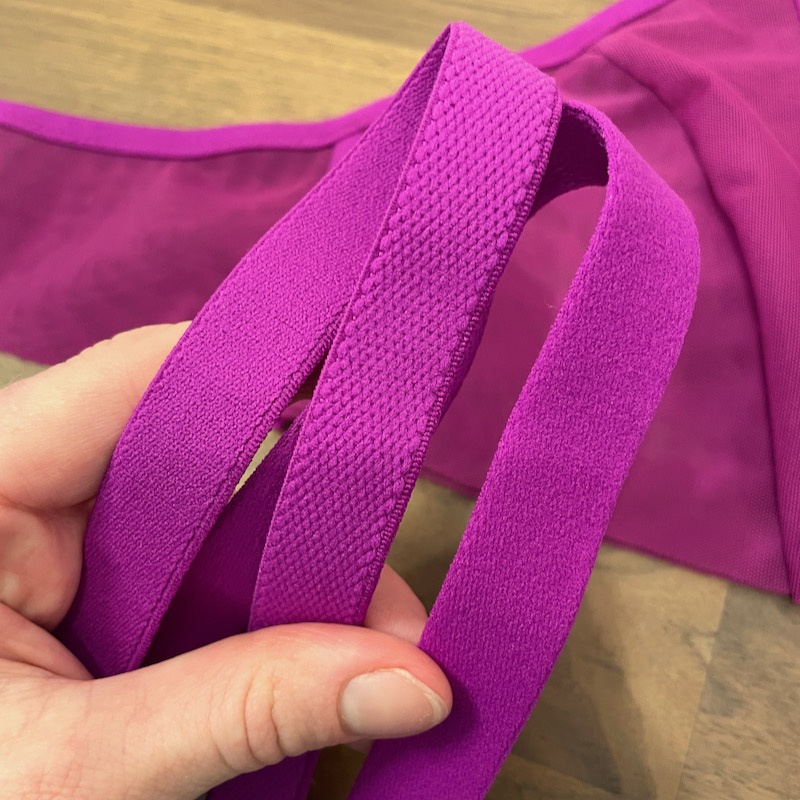
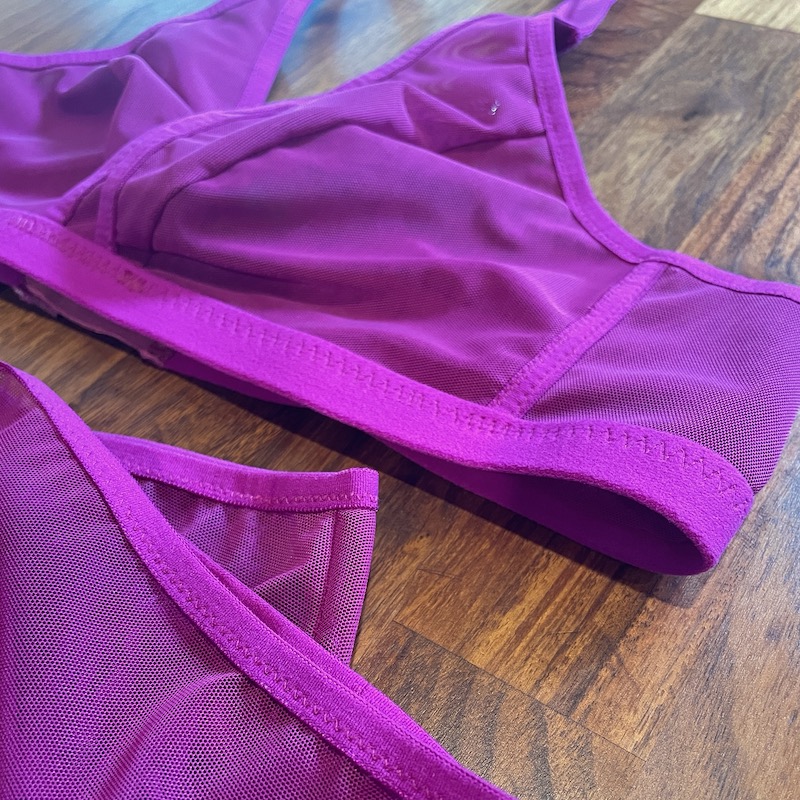
The strap elastic and underband elastics in the kit are VERY similar, though, and even though I’ve sewn a lot of bras, even I had a hard time distinguishing which was which (especially since the strap elastic didn’t have the traditional satin side, and the stretch amounts were similar). Ultimately I decided the slightly narrower, textured one is the strapping (on the left in my photo below), but it’s be nice if the kit said this (NCH confirmed in a chat I guessed correctly!).
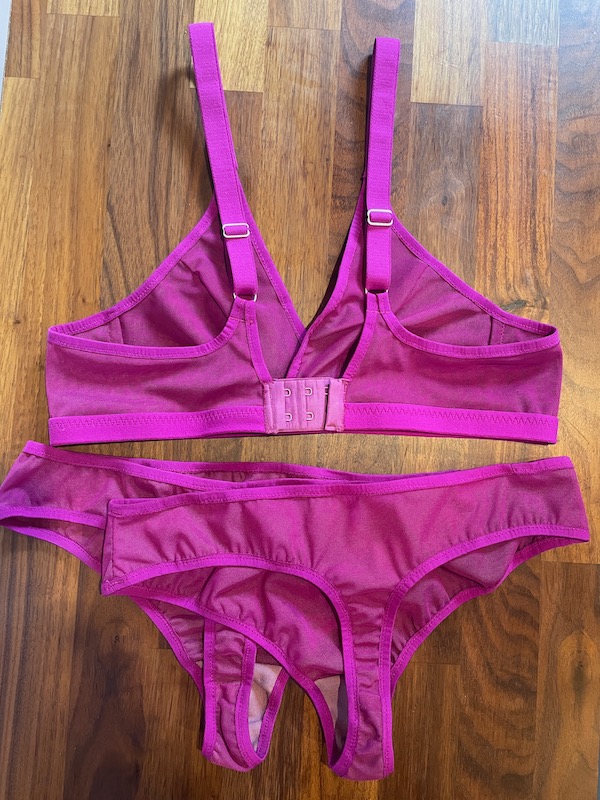
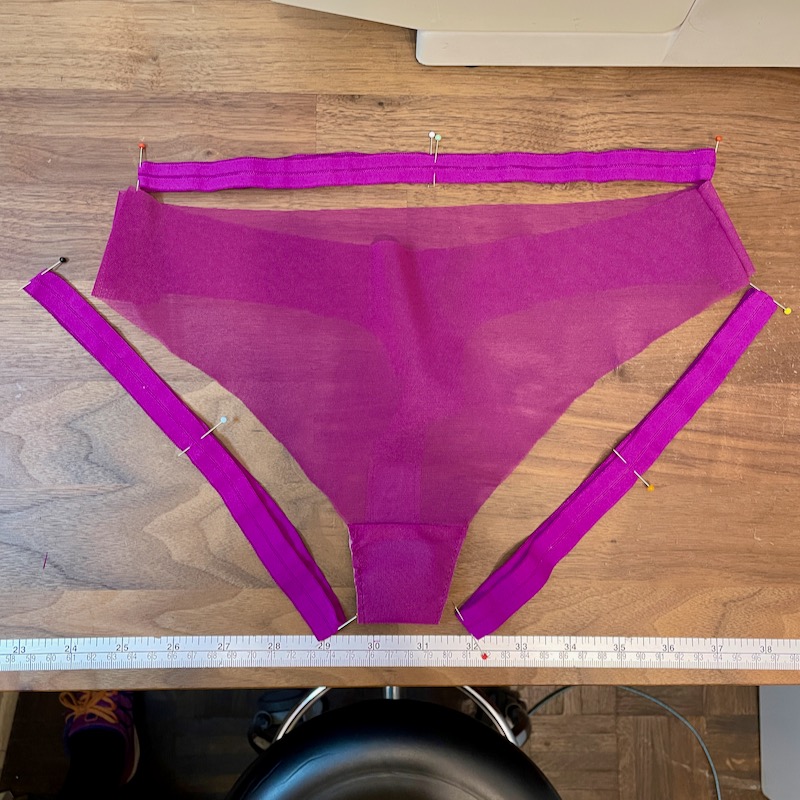
As I mentioned, I also bought a matching panty kit (mesh, size 6-18) but I didn’t use their patterns since I already have a TNT underwear pattern I love – the thong runderwear from our Threshold Shorts pattern! So I made a pair of those using the FOE from the panty kit, then did some calculations and realised I could make a second pair if I combined the leftover FOE from both kits and pieced one length. So now I’ve got a perfectly balanced matching set (1 bra and 2 panties)!
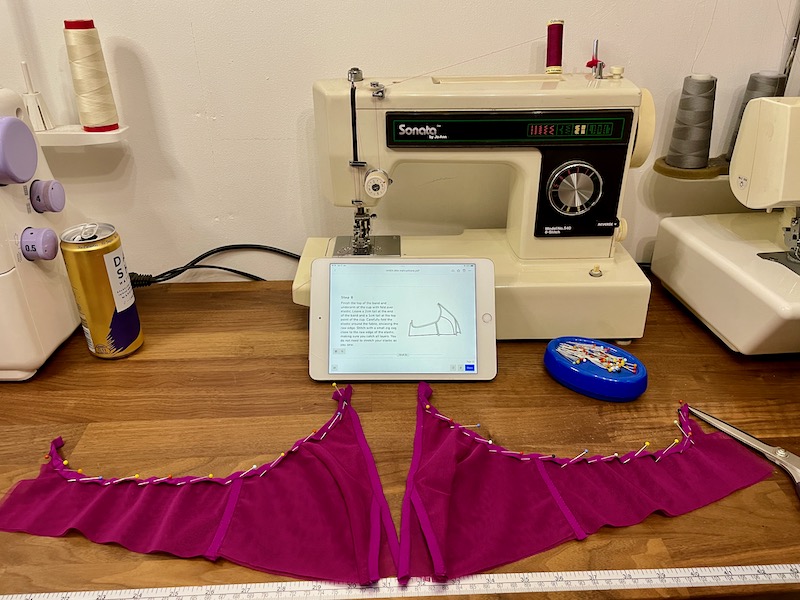
As I mentioned, both NCH bra patterns are from a lingerie brand that went out of business, but obviously having a pattern for manufacture and having one for home sewists are very different. So NCH cleaned up the pattern and wrote instructions for home sewists, so it’s a pretty typical pdf pattern with everything you’d expect – including the different sizes on separate pages so you only have to print a few pages.
Speaking of sizes – there’s a generous size range here (26A-42JJ), but every single bra pattern I’ve ever sewn has been a complete FAIL on the “choose a size” guidance for my body. I have no idea why, but these methods have resulted in telling me cup sizes anywhere from AA-D, both ends of which are laughable if you’ve ever looked at me. So in every case, I just choose my standard RTW bra size (34B), and know that it’ll get me in the right ballpark. This isn’t a dig at this particular pattern, it’s a failing of every bra pattern I’ve ever sewn.
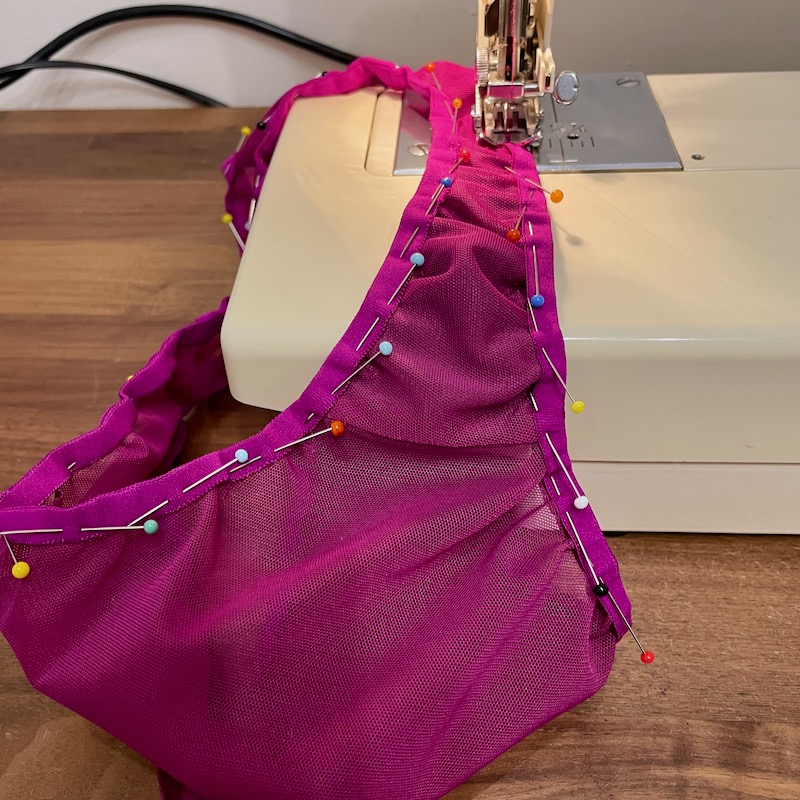
Anyway, back to the instructions – the text is a bit verbose, but otherwise fine. Some bits could be said better in half the words but the illustrations are good and the techniques are sound.
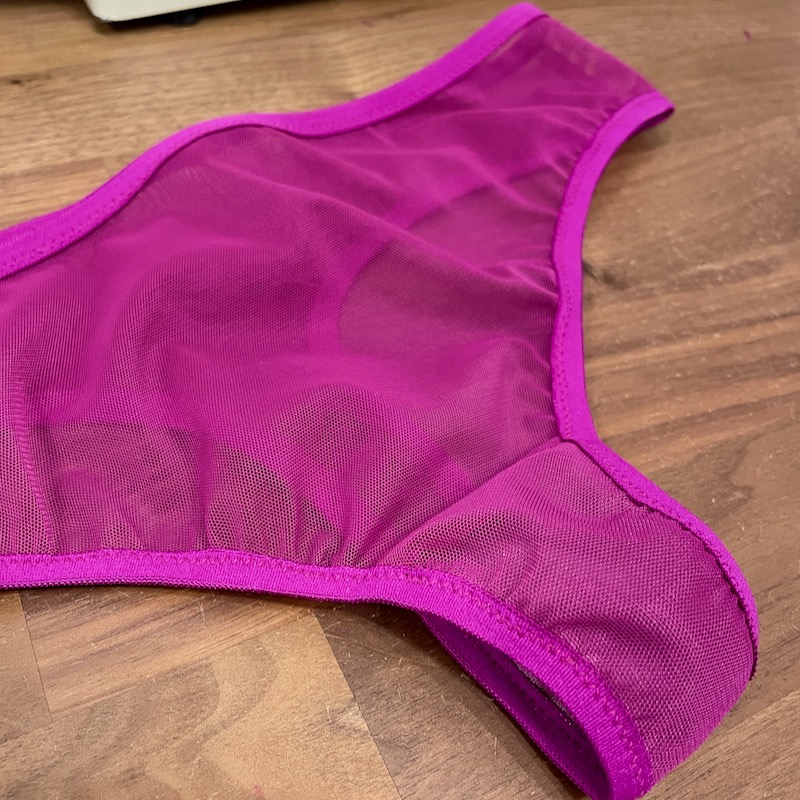
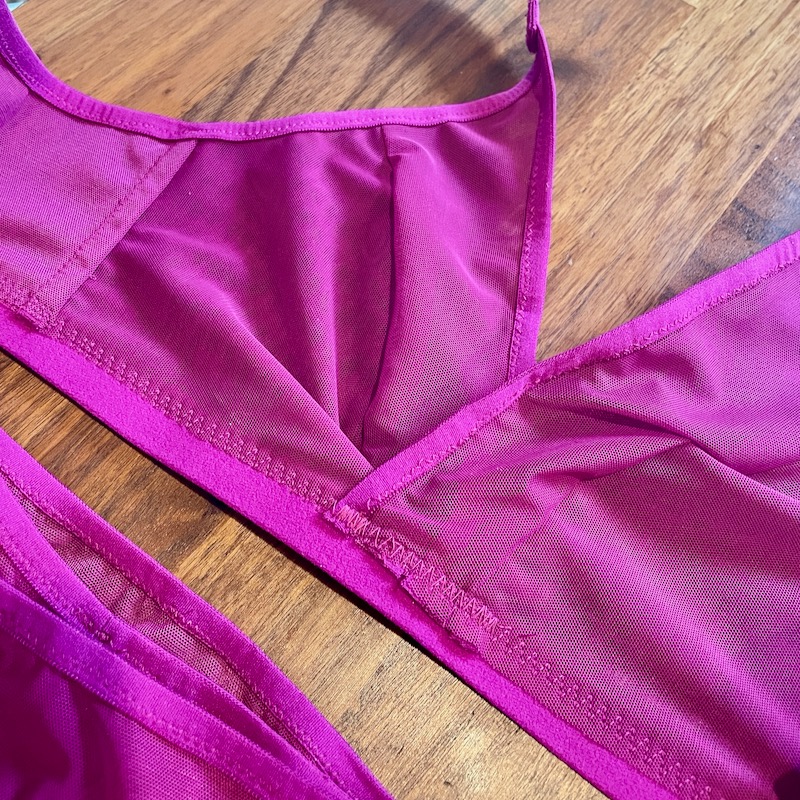
For instance, Step 5 wasn’t clear that you want the seam allowance on the outside (and I had to read the paragraph several times to understand that!), so I unpicked the basting like 4 times before I got it. The end result is one of my favourite details here though – it uses FOE to cover the seam allowance, then you topstitch it down so it’s like a lightweight boning on the side seam. Very clever.
Step 14 (attaching the straps to the cup at the front) was also a bit overly verbose, but could’ve been done in a much cleaner way. How I did it, and I’d suggest doing it is to trim the front cup elastic precisely 1cm from the fabric edge, then baste the strap and front elastics right sides together with precisely 1cm seam allowance (so you’re sewing right at the barely-visible fabric edge), and THEN flip the elastic seam allowance down and bar tack as indicated.
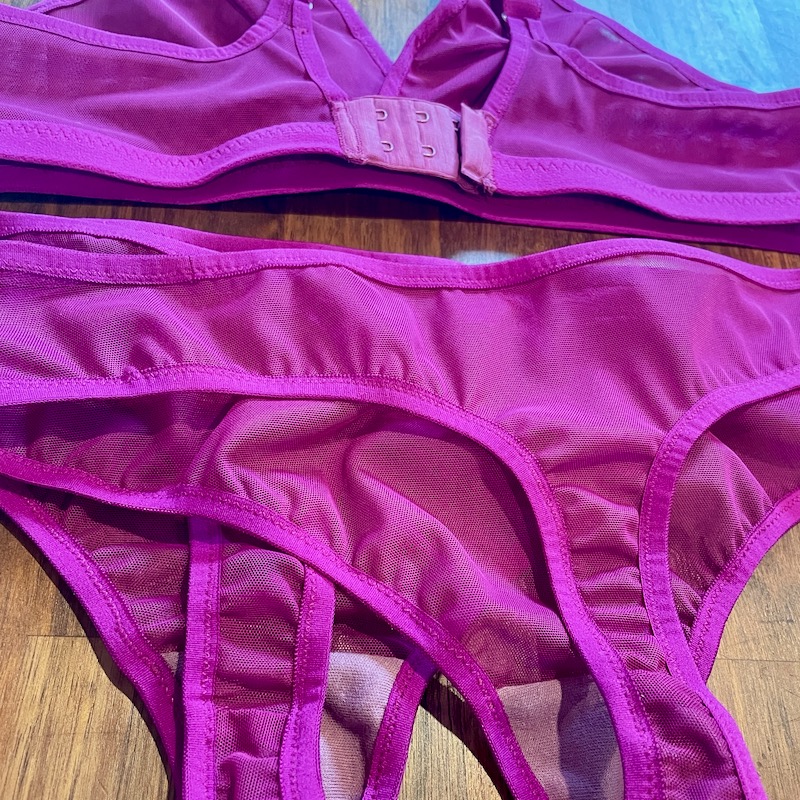
Overall, there’s entirely clean finishes inside apart from where the underband elastic joins the bottom of the bra. It’s the only point where there’s raw edges inside – this could be avoided by using the technique I share for the waistband of the Split Shorts in “Sew Your Own Activewear”.
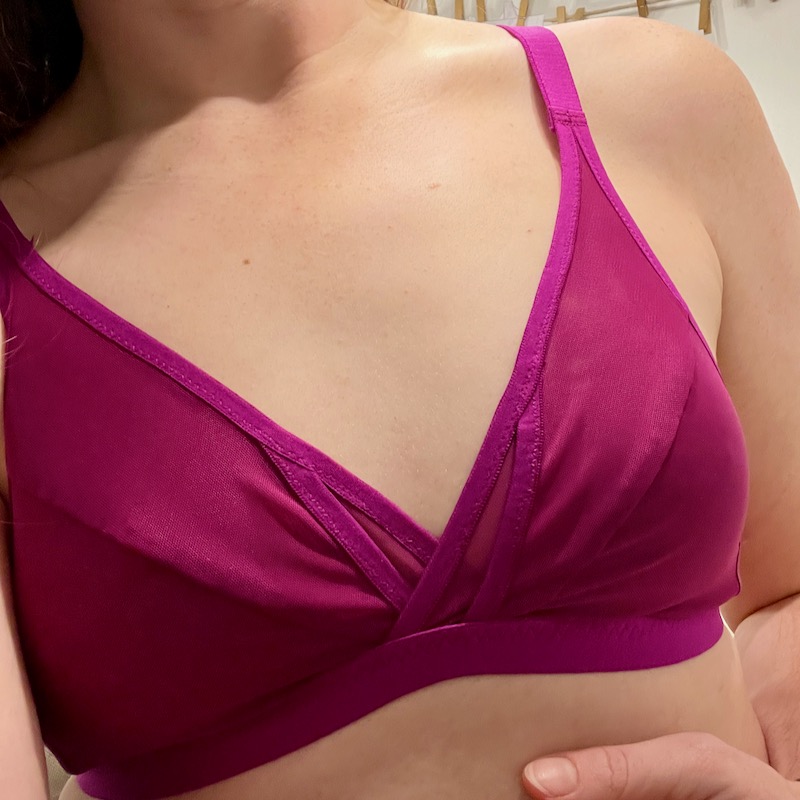
The most nerve-wracking thing about sewing bras is that you’ve got to finish sewing the entire thing before you can try it on to check the fit. Thankfully my reckless approach of “pick my usual size and cut into my precious kit on a whim” paid off here! There are a few diagonal wrinkles pointing towards the CF to fix next time but overall it’s a good fit and very comfortable to wear. The double layers of mesh actually make it pretty supportive, too, which was a nice surprise.
Overall it’s a great pattern, though one I’d say is definitely for advanced beginner or intermediate sewists. You’ve got to be comfortable applying FOE and handling stretch fabrics, because they give very scant advice. But if you’ve read our “Activewear Sewing for Beginners” eBook, you should be absolutely fine to tackle this.