Blog

Cheetah print running leggings

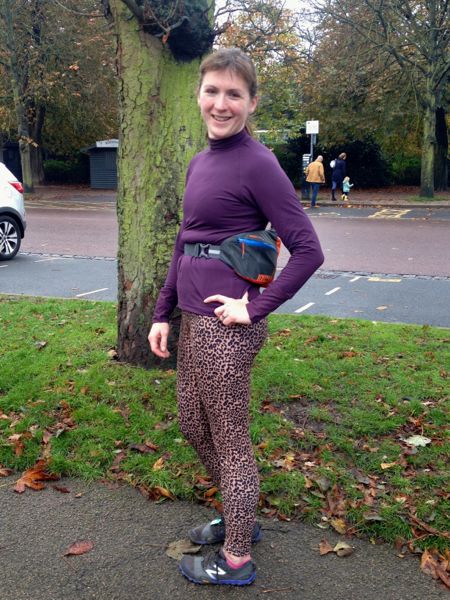
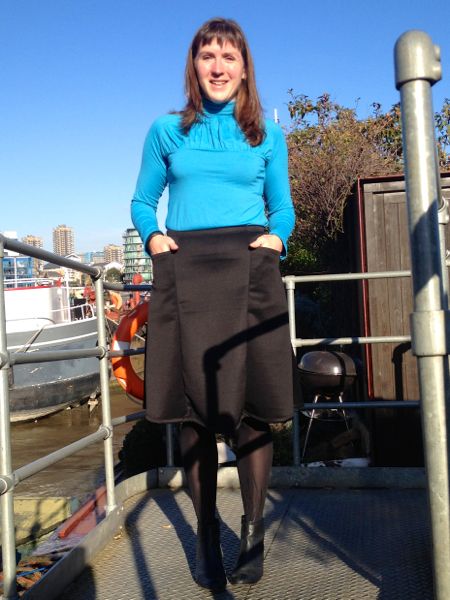
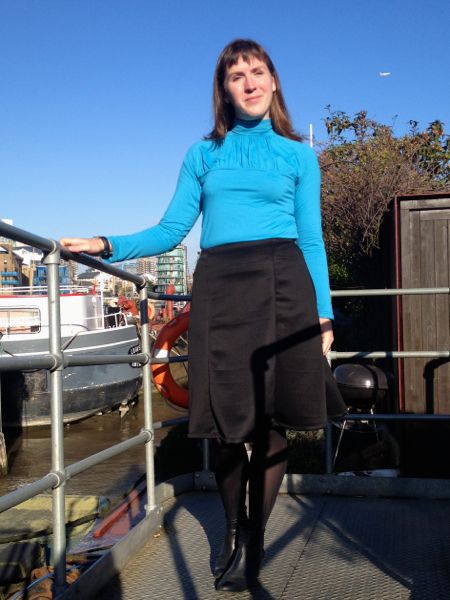
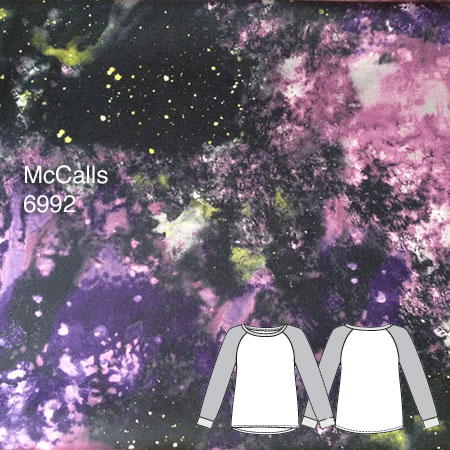
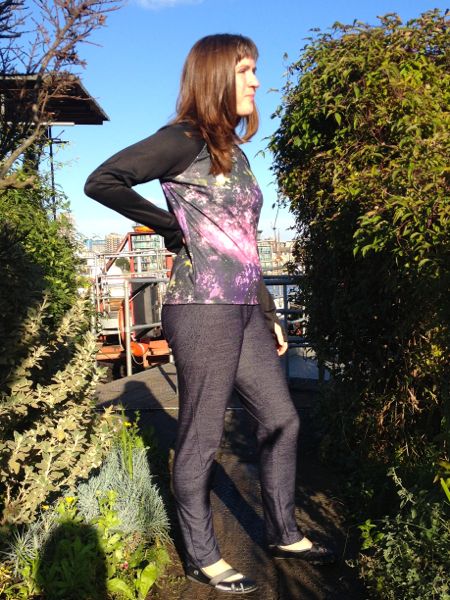
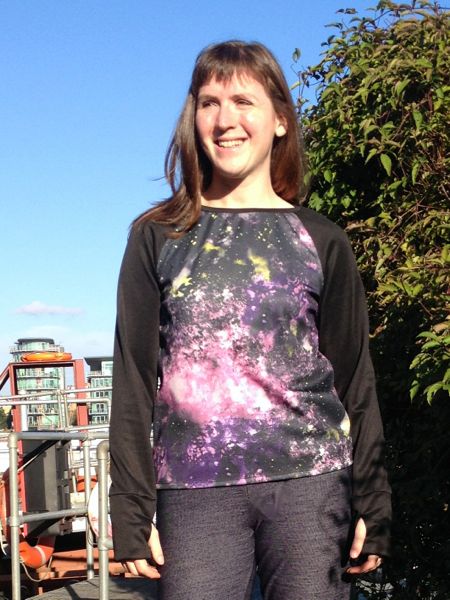
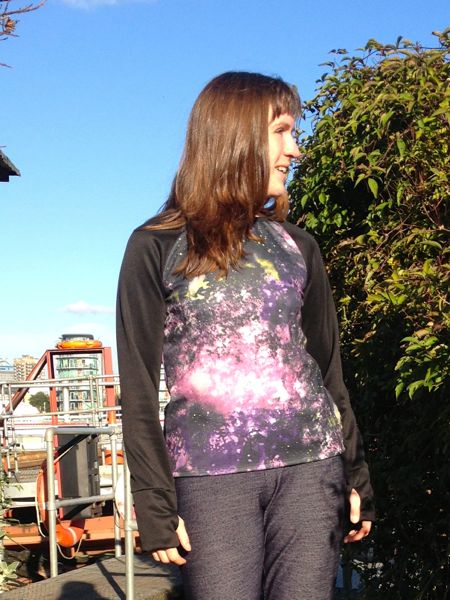
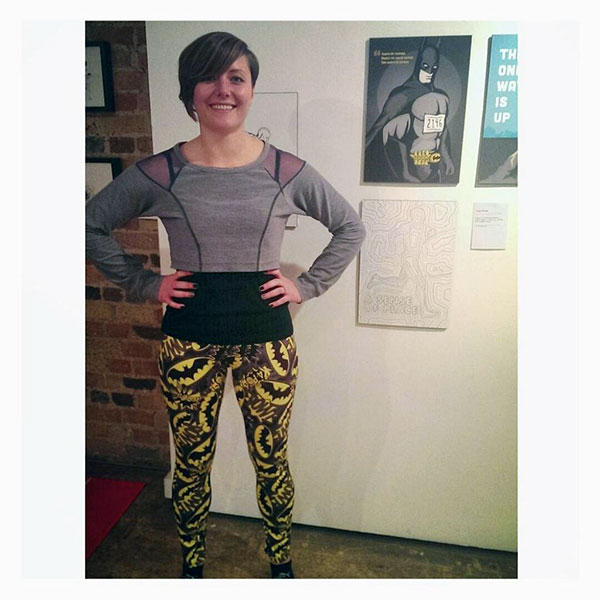
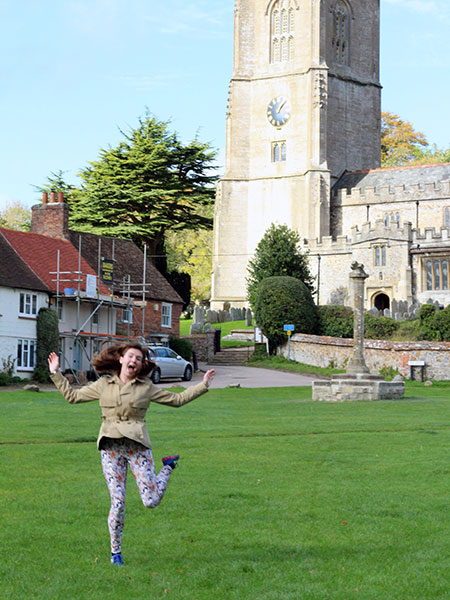
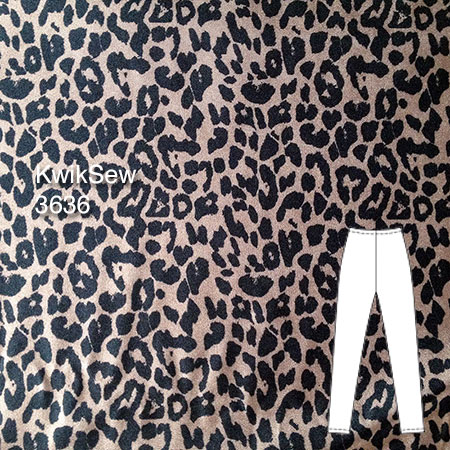
My Fun Sewing Weekend was going so well after I made my galaxy sweatshirt and black travel skirt that I decided to tweak the fit on my Kwik Sew one-piece leggings pattern and test it out on some unsuspecting cheetah-print nylon lycra from UK Fabrics (well, they call it leopard, but I say cheetah!).

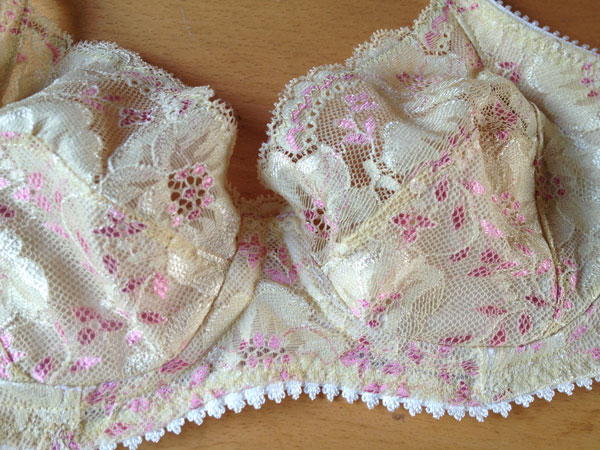
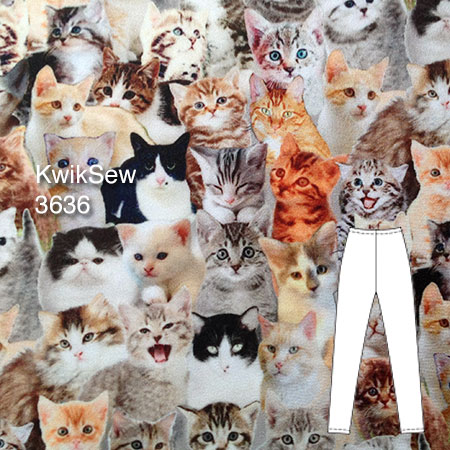
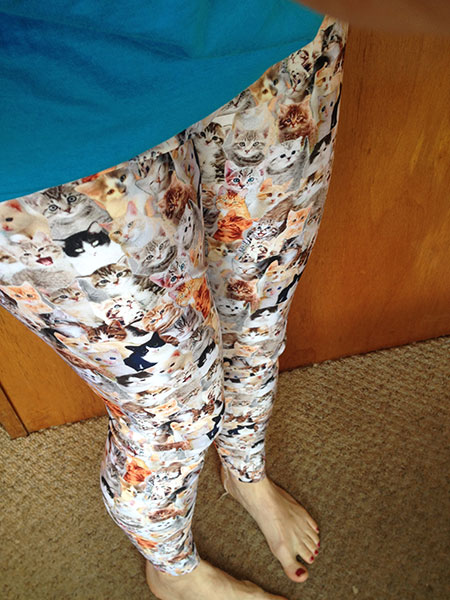
I’d made this pattern a few times for myself and many times in classes, but I noticed when I made my crazy cat lady leggings recently that the fit was a bit too loose in places. I totally blame this on my training firming me up further, since the leggings were loose around the hips, upper thighs, and ankles. And perfectly fine at my runner’s calves and quads!

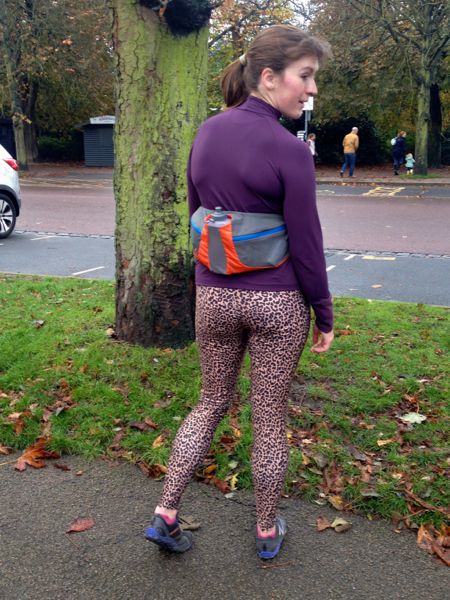
So I shaved off a good centimeter from the front & back crotch curves (meaning 4cm overall), another 1.5cm wedge from the inner thigh on both sides, and then a hefty 3cm wedge from both sides at the ankles. I have tiny, bird-like ankles, and the standard ankle width was just flapping in the breeze… So now my pattern is something like Size Small/XS in the waist and hips & upper thigh, Medium in the lower thigh/knee/calf, and XSish in the ankles. Hooray for custom fit!

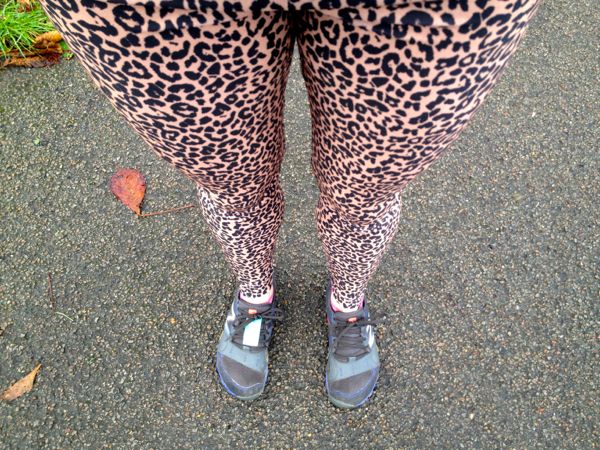
These literally took me 20 minutes to cut out and sew together, and I wore them out on my Sunday run around Greenwich Park and back home along the river. These felt so much better for the little fitting tweaks – the cat leggings start to fall down after a few kilometers and pool around my quads (a sure sign they’re too loose above that point), but these stayed in place for the whole 20km run!

A black travel skirt

I’ve noticed a hole in my wardrobe recently – I really don’t have any plain black skirts that fit me anymore. I found myself wearing my blue travel skirt I sewed up before we went to Mexico last summer an awful lot, and I seemed to get compliments every time I wore it, too.

So when I saw Tia Knight’s very reasonably priced scuba range, I picked up 3m of black to use for both the contrast on my galaxy print sweatshirt, and to make another travel skirt like my blue one.


Not the most flattering tech drawing! It’s more A-line than this in real life…

Like the first blue version, this is the skirt pattern from Christine Jonson’s Travel Trio Three pattern, which surely must be one of my best-value wardrobe patterns ever, as I’ve made the top 3-4 times now, and now the skirt twice, too. Like before, the skirt is shortened by 12cm at the “lengthen or shorten here” lines, which creates a really flattering hem length for my figure.


Seen here with the gathered turtleneck view from the same pattern, which I made back in 2011!

I really love how flattering and comfortable this skirt is – it’s made from a knit with an elastic waistband, but it doesn’t look sloppy at all. It’s also got two really deep front pockets built in to the seaming, and I’ve got no worries that my phone will fall out when I’m jumping around the moorings.

A galaxy print statement sweatshirt

As I mentioned last week, this past weekend was the first one in about a month where I wasn’t working, and I totally planned to fill it with as much Fun Sewing as possible!

First up was a “statement sweatshirt” using some luscious galaxy print ponte leftover from my birthday dress. I love that dress, but I loved the fabric so much that I wanted to be able to wear it with jeans and in casual settings where that va-va-voom sheath dress couldn’t really go.

I don’t usually sew from Big Four patterns as they’re so freaking expensive here, but in order to get the cheapest price on the Kwik Sew leggings pattern for my Like the Wind workshop, I had to become a Sew Today member, which came with my choice of two free patterns. After a bit of a think, I selected McCalls 6992 and McCalls 7026, which I actually frankpatterned together here!


Seen here paired with my Donna Karan denim-look leggings

It’s usually my experience that Big Four patterns have way too much ease, and this was no different. My measurements put me squarely as a Size 16, but after a peek at the finished garment measurements printed on the pattern, I saw that a 14 would be plenty big enough, and that’s what I cut. Really, a 16 would’ve just drowned me.

I decided to use some black scuba from Tia Knight for the contrast raglan sleeves and neck band, and I bought enough to make a skirt from the same yardage, which you’ll see later this week!


I somehow managed to not get any back view photos – sorry about that! The back looks pretty identical to the front, however!

A Week in a Day

I’ve been a bad blogger this week. I’ve been doing lots (as you’ll soon see), but working every weekend for the past three, plus the weeks in between, and some out-of-town trips have all really sapped my enthusiasm to write! So I’m taking the lazy option out and catching you all up with a little roundup – a week’s worth of posts in a day…

Like the Wind workshop

Cult running magazine Like the Wind approached me a few months ago to ask if I’d like to run a “sew your own leggings workshop” at the week-long popup they were throwing together at the end of October. I’d known one half of the husband-and-wife team that run the magazine, but I’d never met Julie before this. Once I found out that she not only owns her own overlocker, but bought it when she sewed her own wedding dress with it(!), I knew we’d get along just fine.

We had five runners who’d only done a small amount of sewing before, but had never touched an overlocker before, and certainly not a coverstitch either! They each picked their own fabric from FunkFabrics’ range, and walked home in some very stylish leggings at the end of the afternoon!

Georgina picked a “Gotham” print, so of course she just had to pose with the Batman art in the gallery!

And here’s the finished set! I saw quite a few little “omg I’m so happy in my leggings” dances at the end, which really reminds me why I love teaching so much. Lucy posted a great writeup of the street art tour and my class, too.

There may be another Like the Wind workshop in the new year if we can work out the logistics, but there will definitely be more up at the Thriftystitcher studio in January and February, to be announced very soon! The classes are very similar, so if you’re a runner you can come learn at Thriftystitcher, or non-runners vice-versa at Like the Wind.

But I was so jealous of all their finished leggings that I treated myself to some Funkifabrics lycra this week (it was difficult, but I settled on this geometric aqua number in the end, because it reminded me of a Lamb album cover!).

Random sweatshirt sewing

When I was pulling out supplies to bring along to the workshop, I came across pieces for this sweatshirt that I’d cut out in February when I was trying to deplete random bits of leftover sweatshirting that was taking up too much room in my little sewing cave. The lavender “sacrificial sweatshirt” came out of that same cull, but for some reason I never quite got around to sewing this blue one together at the time.

Digital-print Cowl neck top

Every now and then, I feel like I really crack a garment – I end up with something that truly blends the most perfect fabric with the perfect pattern. I wasn’t entirely sure until I wore it for a day, but this top really nailed it! It feels 100% designer, special, and yet me at the same time.

The cowl-neck tee pattern is from the October 2014 issue of Burda magazine or available to buy individually as a pdf, and it came in three versions – a plain top (which is the one I made) – a tee sliced into various colourblocks, or a plain dress.

But this garment is really all about the fabric, and the pattern itself plays a supporting role. In fact, most of the time, care, and attention to the entire process was in placing the pattern pieces! Look what I had to start with:

I bought this digital print lycra from Ditto Fabrics when I was down in Brighton this summer (an Italian designer offcut that I snagged for £15!). Originally I thought I’d have the main body in the trompe l’oiel knitted houndstooth as that was what drew me to the fabric, but the houndstooth portion wasn’t quite long enough for the front and back, so I placed those over the “lace” portions and cut the sleeves from the houndstooth instead.


Worn with my Colette Beignet skirt I made back in 2010 that’s sadly, a bit too big for me now (it’s really relying on cinching that belt!

I used a size 40 for the first time here, which is my “new” Burda size since I’ve lost a few cm through training, and the fit is just as I’d like it, really. I loooooove the slim fit sleeves in particular on this pattern. They’re extra long here, too – it’s noted in the instructions are that the sleeves are 10cm longer than normal. I wasn’t sure if I’d keep them extra long or not, but as I was laying out the sleeves, I saw that the piece overlapped into the lace print area nicely, creating a sort of cuff-effect at the sleeve that I really liked the look of:

Burda magazine November 2014

I received this issue a good week ago, but I hadn’t been overly enthusiastic about this one, even though there are a lot of interesting designs going on. There are noticeably fewer patterns included this time, too, which seems to be related to there being some huge gown patterns which take up more space than usual on the pattern sheets.

So if you’ve got a formal occasion coming up over the holidays, you’re about to become very excited, but there’s plenty of casualwear included too…

There are some great separates in this issue, but I personally don’t rate either of these! The top is made for lightweight wovens, but that hem is just far too wide, in my opinion, and really gives the sort of “is she pregnant?” look even when teamed with slim trousers (not to mention that deep neck pleat which will look terrible on large busts!). In this case, they’ve teamed it appropriately with leggings, but delving a little deeper into the pattern, these leggings have: a) interfaced waist facings, and b) an invisible side zipper. On a knit. Errr. The pattern itself looks fine, just not the finishing!!

So are these cigarette trousers any better then? Well, I personally think the inset leather pieces would be more flattering slightly curved rather than straight, but that’s just drafting preference. The zipper on the side though – if you read the instructions, you do 80% of the work of creating a zippered welt pocket, only to seal it up with a facing to make it utterly useless! Otherwise, it looks like a decent pattern for stretch wovens, with a back yoke and nice front pockets.

I have a feeling we’ll be seeing a lot of this knit top across the sewing world in the next few months! It’s what Burda does best – a great knit top with interesting details and great fit that can be made up in a thousand different fabrics.

A Lime Linen Men's Shirt

James has a black linen shirt from Muji that he utterly loves. He’s worn it very nearly to death over almost ten years, though, with it rather faded and with a hole worn in in one place. So he asked me if I could copy it, as it’s a design that he’s never been able to find it shops again.


I’m so proud that my Illustrator skills are such that I can whip up a tech drawing like this in a few minutes now!

It’s an over-the-head design with a front button placket, stand collar, back yoke, and short sleeves with little button tabs on the sleeve hems. The only change I made from the original was to introduce a small pleat at the back yoke, as I just think men’s yoked shirts look weird when they don’t have them, plus it gives a bit of wearing ease back there.

I traced out his existing shirt with craft paper and my serrated tracing wheel, and made a quick muslin, which miraculously needed no fitting changes! Then it was onto the first real version, made up in a lime-green linen-blend mix from Ditto which he chose when we were in their Brighton shop earlier this year.

Plackets always tend to intimidate me as they seem like a bit of witchcraft – how can this weird shape turn into that in just a few steps?? So I put off sewing it, until I remembered that I’d scanned and digitised the placket template from David Page Coffin’s excellent “Shirtmaking” book. This is one of my clever-er ideas, as it means I just just adjust the width and length of the placket in Illustrator and print myself off a fresh template. Because obviously the dimensions for sleeve plackets for men’s shirts are of a different scale than the neck placket here!

Return to the set

Remember last April when I told you all about my day on set of the Great British Sewing Bee? Well, that was at the very end of Season Two, and I must’ve made a good impression on the production company because by the time that post went live, I had already begun work behind the scenes on Season Three!

Over a span of about four months, I spent a lot of time working on the Bee with a team of fantastic people, including the Thriftystitcher herself, who heads up the entire behind-the-scenes sewing team. Most of it was involved with the pattern challenges (the first portion of each episode, where the contestants are given a mystery pattern to make). I can’t discuss details of how we produce the patterns, but just trust me that a lot of work goes into each one before the contestants ever see them! A lot of this work was done in the production company’s offices – which are a pretty normal looking workplace, except at my desk there was a sewing machine and ironing board instead of a computer, which was quite funny!

My work involved a lot of sewing, fitting, digitising, but also illustration, too. I did the latter together with Rosie from DIY Couture (whom I’m not afraid to admit is way better at these than I am!). This proved to be great practice for my own pattern line, as the more I did these for the Bee, the better I got – it was especially helpful for someone to say “ugh, that one looks weird, do it again!” Seriously, this helped up my Illustrator skills immensely!


The Haberdashery, empty and quiet

I was super chuffed to see some of my drawings made it into the final tv shows, too! Here I thought they’d only have an audience of ten, at most!

A Yellow Lace Marlborough bra (that fits!)

I have a long and rather conflicted history with bra sewing. I sewed my first bra five years ago, but despite being an accomplished seamstress and having a really standard body shape, I still haven’t managed to sew a single bra that I’m happy enough to wear on a regular basis in the time since.

Until now.

I knew Orange Lingerie had a bra pattern in the works for the better part of a year, and I knew her bra construction book was awesome, and, when I met Norma on her trip to London last year, she gave me bra fitting advice in a restaurant toilet – and still when she finally released the Marlborough bra pattern I was skeptical. That’s just how burned I’ve been by bra patterns in the past.

But I eventually did break down and buy it, with the thought to throw out all my other tweaks, calculations, traced RTW pieces, and just start fresh with this pattern and see where to go from there.

Choosing a size was actually the most difficult part for me – despite being a 34B in pretty much every RTW bra brand ever, the different formulas used to calculate bra sizes online are insane. Various calculation methods have said I’m anywhere from a 40A (Orange Lingerie’s method) to a 34DD (Bra size calculator’s method), both of which are just laughable (and yes, before you tell me to go get sized in person, I’ve done that in the past, and they said I actually am a 34B). So I threw both out and just made my RTW size, a 34B, with no changes.

Before cutting into anything good, I first made a black test version – it’s unlined with unfinished edges, with various bits cut off of old RTW bras, and “plunge” underwires that were a bit too short. But it freaking fit.

I wasn’t about to get too excited (I’ve been down that road before, declaring I’d perfected bra fit, finally, only to have problems emerge over time and wear). So I wore it for a week or two. And it still fit well. So I cut into the good stuff.

Everything in this pale yellow version is from my (rather extensive) lingerie sewing stash, and I hadn’t remembered until afterwards, but this gorgeous lace was actually a gift from Norma herself, when she came to visit London! You may notice that my straps have an M&S lingerie brand on them, even. Yes, I definitely recycle when the RTW parts are nearly-new and save me some time!

Crazy Cat Lady Leggings

I mentioned at the end of a post earlier this month that I cut into the kitten-face lycra Fleur brought me from the Garment District and made some leggings, but they weren’t finished at the time, and I owed you more photos.

I wanted to minimise the disruption to the print as much as possible (I could hear the kitties screaming every time I chopped through a face!), so I used KwikSew 3636, which is a one-piece legging pattern with no seams running down th outside legs. Coincidentally, this is also the pattern I also in my Lovely Leggings classes (and there’s still time to join this Sunday’s class if you sign up now!), so it’s super quick and great for beginners, too. Perfect for showcasing a wild print!

We were out in Wiltshire at the weekend visiting a friend, so I wore these for a little walk around her village. They actually work surprisingly well as casualwear, especially paired with my trench jacket I made in 2010 and still wear regularly!