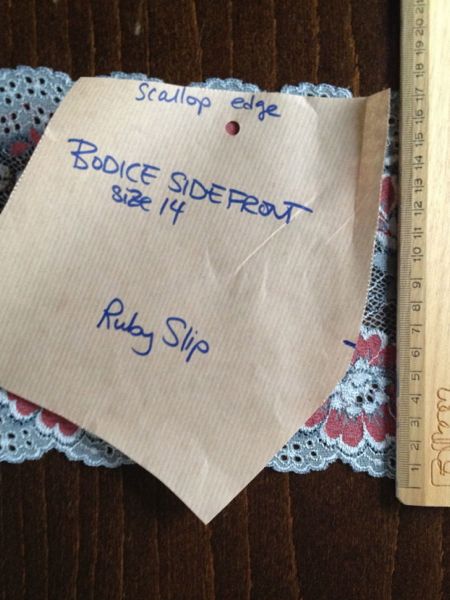
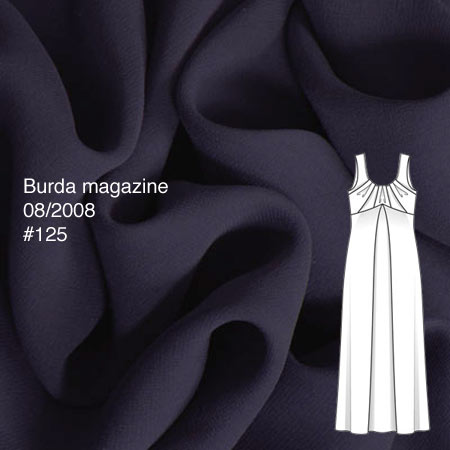
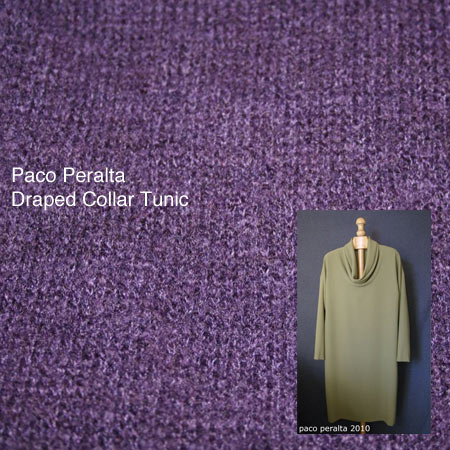
I’m totally bored with this issue, so I apologise for going through the motions here. KnipMode have really taken a turn for the dull over the past few months, as far as I’m concerned, and this issue really just highlights what’s wrong with the new leadership at the magazine.
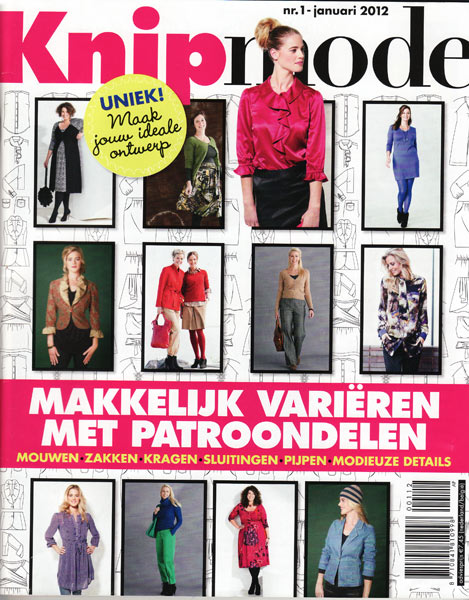
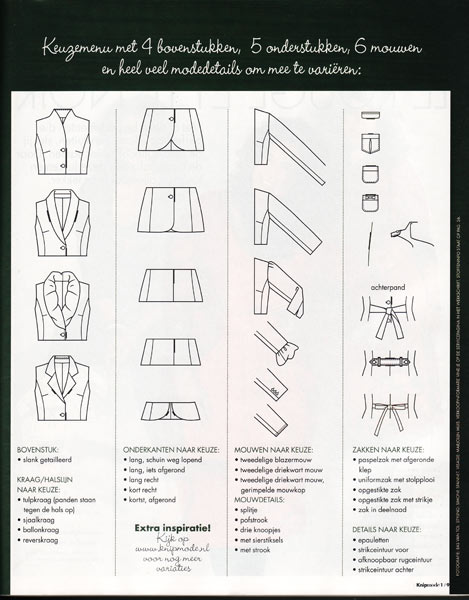
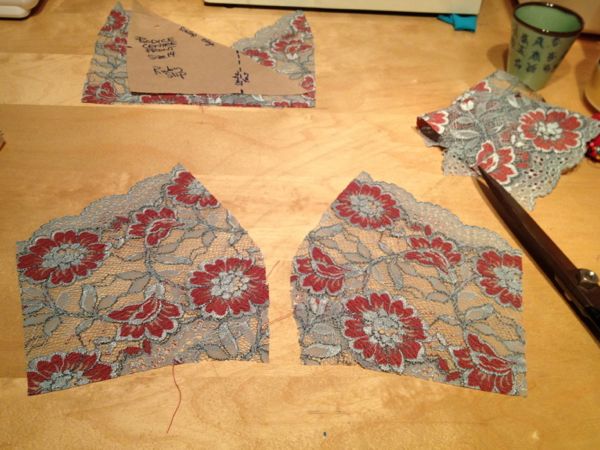
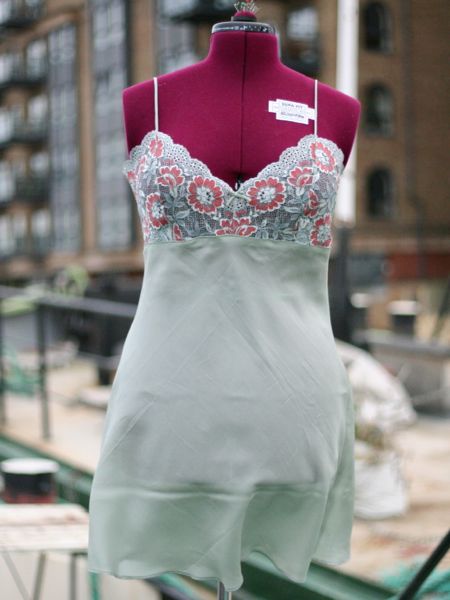
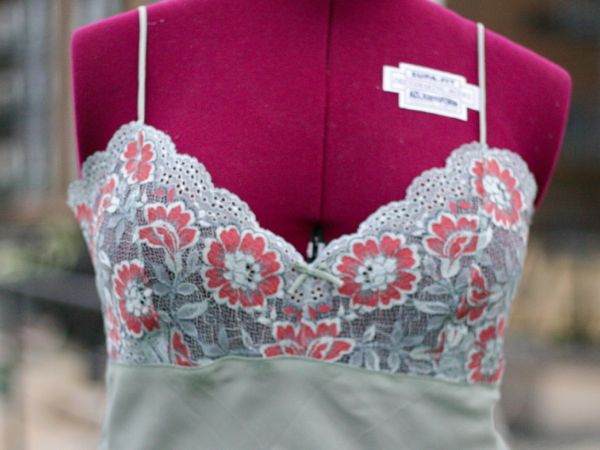
This issue is almost entirely comprised of “mix & match” garments – if you’re familiar with the Simplicity Project Runway patterns, then it’s the same concept here: choose a bodice, choose a collar, choose a sleeve, etc, and put together the garment you prefer. In principle, this is a great thing, and I’ve been enthusiastic when they’ve done this with cocktail dresses and blouses in the past.
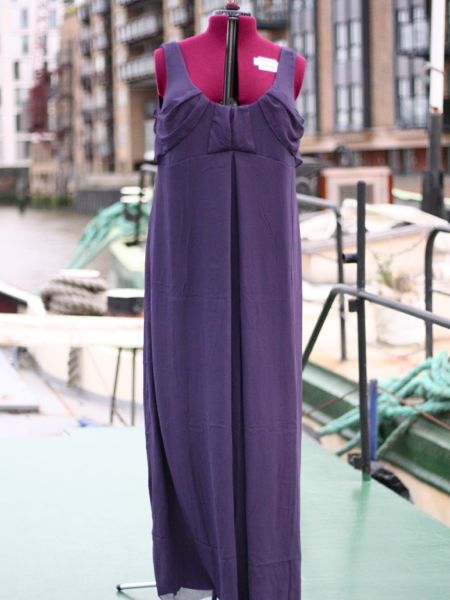
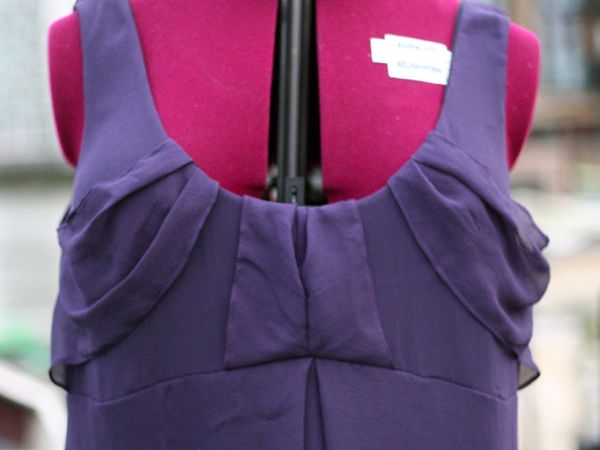
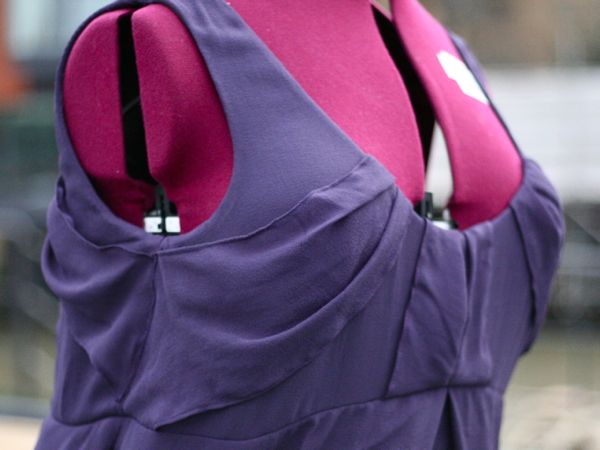
The problem here is that every single one of these garments is b-o-r-i-n-g to start with, so choosing between several boring customisation options just doesn’t make it any better. It’s like someone at the top heard the concept was popular with readers, but didn’t actually go so far as to make sure the underlying patterns were desirable before running away with the concept…
Case in point – the jackets. I’m not particularly a jacket person anyway, but I swear KnipMode have already published princess seamed jacket patterns for every single one of these variations in the past six months anyway. And the sleeves – changing the length is NOT a variation, as far as I’m concerned. I mean, why aren’t they changing the sleeve cap to gathered, or making one a wide cape sleeve, or a cap sleeve on one or something?? There’s so much you could be changing here but they’ve just missed the opportunity.