After August’s silk blouse bonanza, I was expecting September’s issue of the Brazilian pattern magazine Manequim to be a disappointment in comparison, but hoo boy, was I wrong! This is a fantastic issue, as evidenced by my enthusiasm with the scanner…

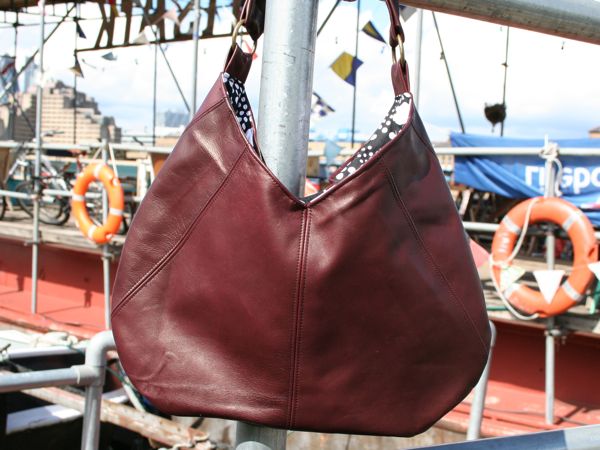
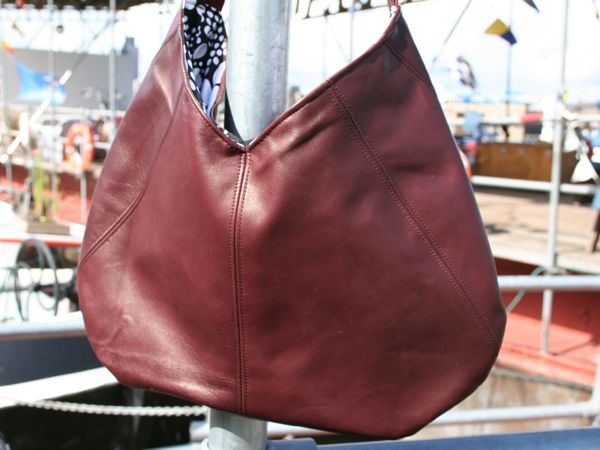
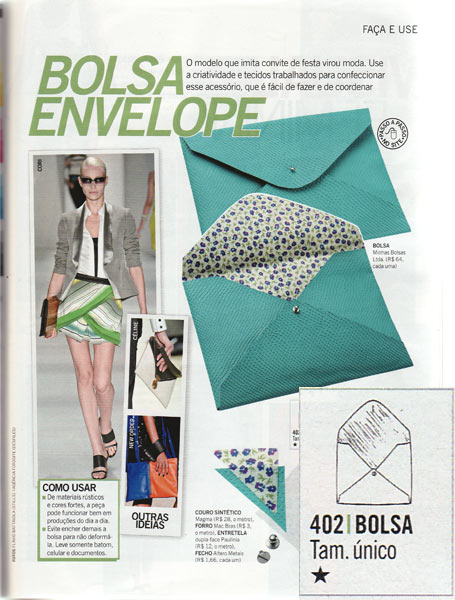
First off there’s a pattern for a simple leather envelope clutch. My friend Cindy recently sent me a tutorial for a similar leather clutch bag, so the need for a pattern is really up for debate!
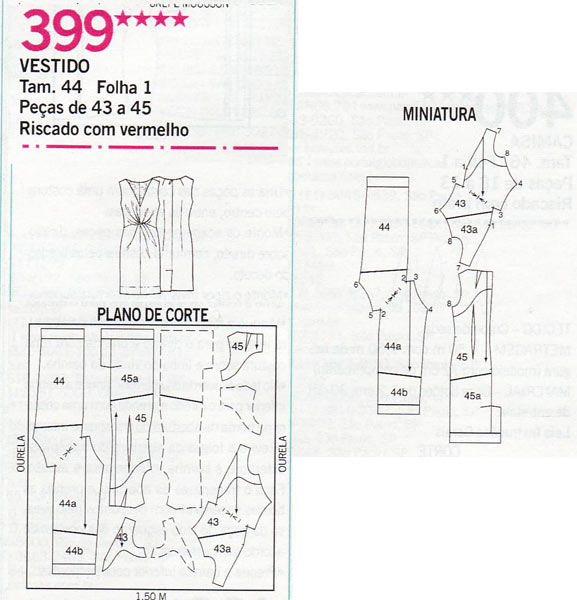
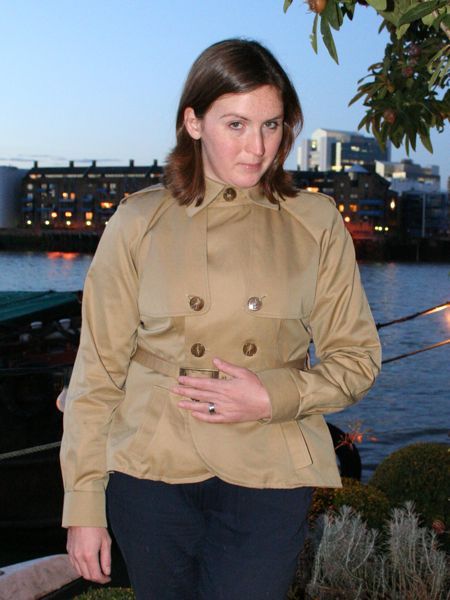
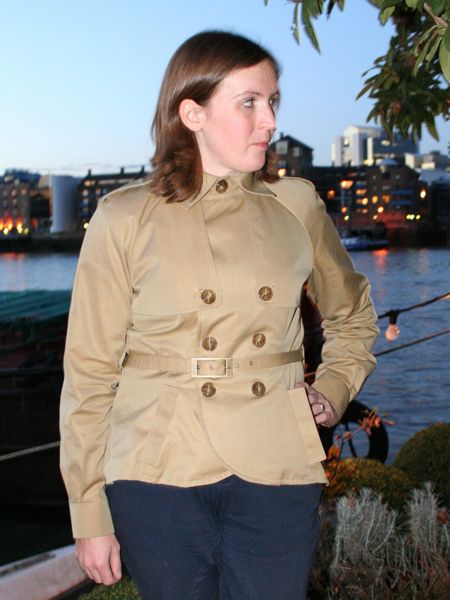
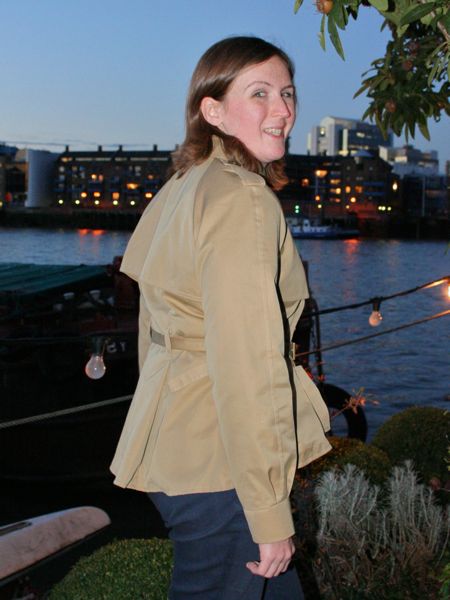
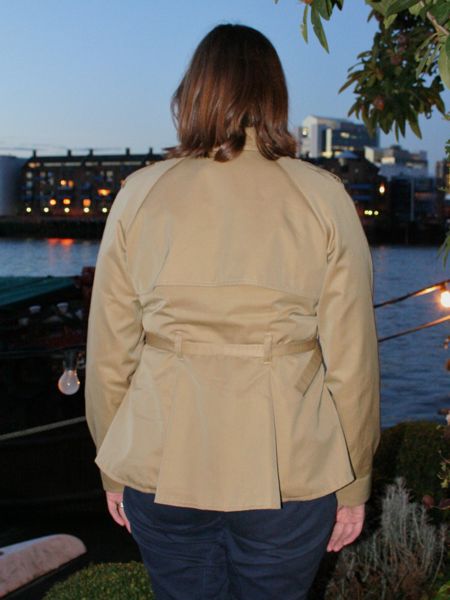
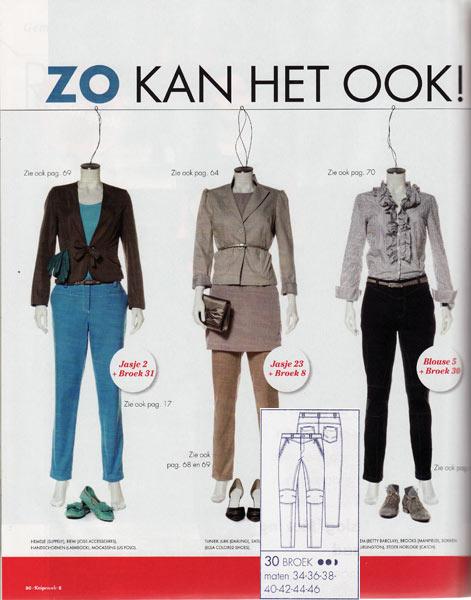
What a great jacket with such interesting seaming! I’m not so convinced about the dropped waist sheath dress though…

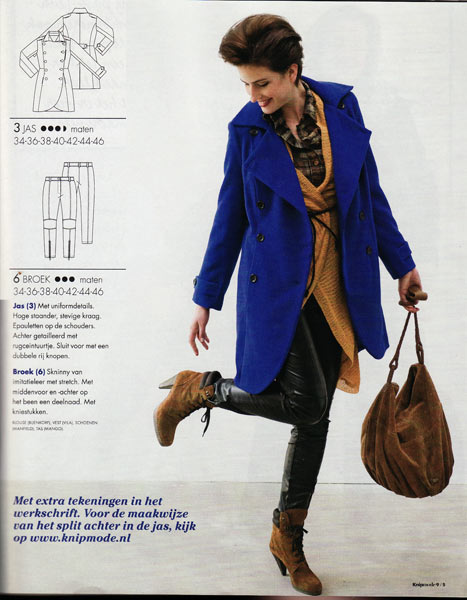
No, not deja vu just yet – I wanted to show you the tech drawings for the cover look, as the skirt is just lovely!

I know there are instructions for a similar twist dress in one of the Pattern Magic books, but I really like that Manequim took an extra step in the instructions for this dress and gave a secondary drawing showing how the pieces fit together. It’s almost like they saw what I did for the Vogue DKNY top and thought they’d do the same!