As I write this, London is in the midst of the second snowfall of the year (if you count Monday’s over-hyped yet under-delivered snow, that is) and I’m bundled up in a full-body thin layer of silk (long johns), plus my wool foldover trousers, my bamboo turtleneck, two pairs of socks, and my Russian greatcoat for my 35min walk into work today. It’s nothing on the Pennsylvania winters I grew up with, but at least I feel prepared!*
The good news is that, while it’s freezing outside, my sewing cave is one of the warmest spots on the boat, so I’ve been busy!
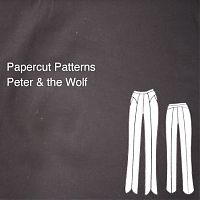
Papercut Peter & the Wolf Trousers
The new trouser pattern from Papercut Patterns was burning a hole in my To Sew list, so I just had to try them out! I finished these before last weekend, but Saturday I was covered in mud (another cross country race) and Sunday it was freezing and I didn’t fancy a photshoot.
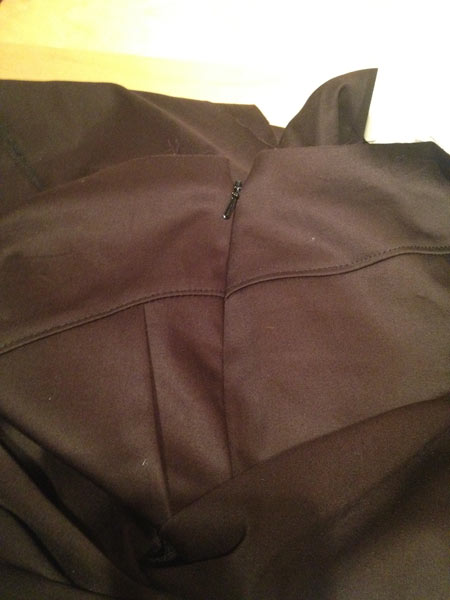
I did an awesome job lining up the seams on the side invisible side zipper, if I do say so myself!
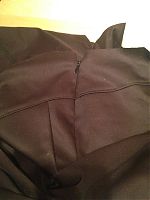
I really like that they have you topstitch all the mid-leg vertical seams as well as all the yoke seams – that topstitching really makes the seaming stand out nicely. It also meant I actually finished a huge 1000m spool of black Gutermann thread! I thought those things were infinite!
I’ve not yet worn these to work (the tulip hems mean my long johns are visible in front, the horror!) but I can tell already they’ve got a nice fit throughout – I especially like the trouser hems and the hip yokes, though they do mean the pockets are placed further down the leg than I’m used to…
I’ll try to get some photos this weekend, even though the details will be lost in the dark brown stretch twill (hey, it was in the stash alright!?) I’d bought in Paris last Spring. I didn’t have any particular attachment to it and it was a stretch woven as per the pattern requirements, so I made these as a trial version (or wearable muslin if you prefer). I might fancy making these again in some stretch wool suiting in my stash from last winter…
Another Chic Sweatshirt
When my parents were visiting in October, my mom looked through all my recent makes and decided she’d like a chic sweatshirt for her belated Christmas gift, and she picked out a lovely lavender sweatshirting for it while she was here. Remember how lovely she looks in lavender? I think it was a great choice. For my gift, she re-taught herself to crochet and made me a wonderful hat in mustard wool I picked out. Hooray for our little skills exchange!