Blog

Lycra & Lace running top and leggings

It feels like I’ve been talking about sewing my running gear for ages now, but I think that’s just because anything self-drafted and a bit custom tends to take a bit more time and head space than my average project! But I’m happy to report that two out of three of my first pieces are finished now (the sequin vest is awaiting more coverstitch binder practice, but more on that next week).
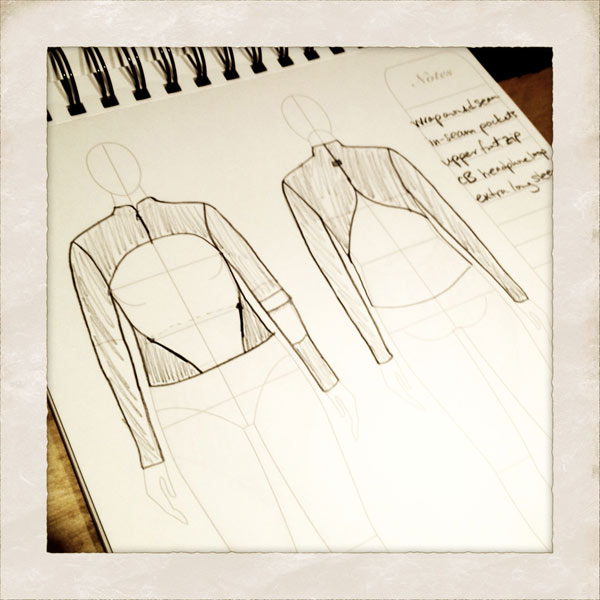
Both of these pieces are heavily modified (bordering on self drafted) from the originals, but the leggings are based on the Jalie 3135 skinsuit pattern and the top started life as my basic KnipMode long sleeved teeshirt.

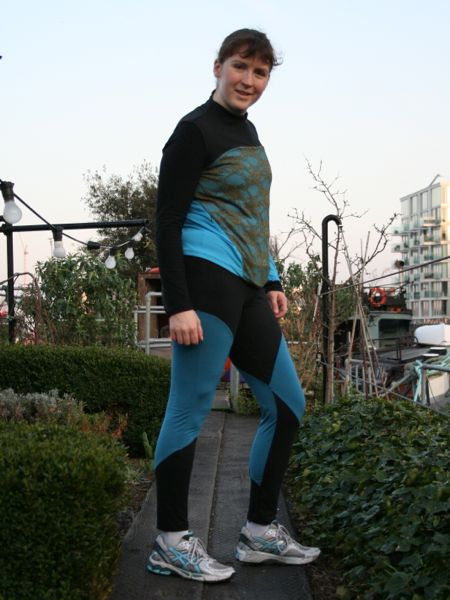
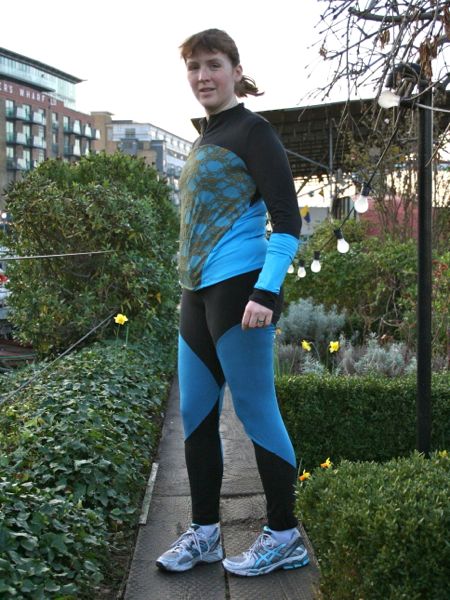
You’ve seen a sneak peek of the leggings earlier, but now you can see them paired with my long sleeved top, though the different turquoise shades mean I probably won’t wear them together often in real life.
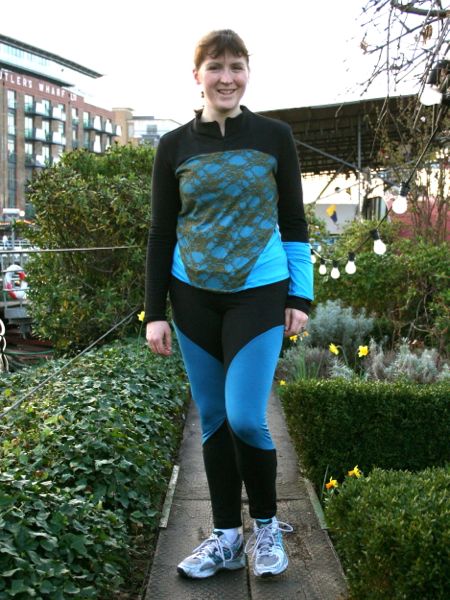
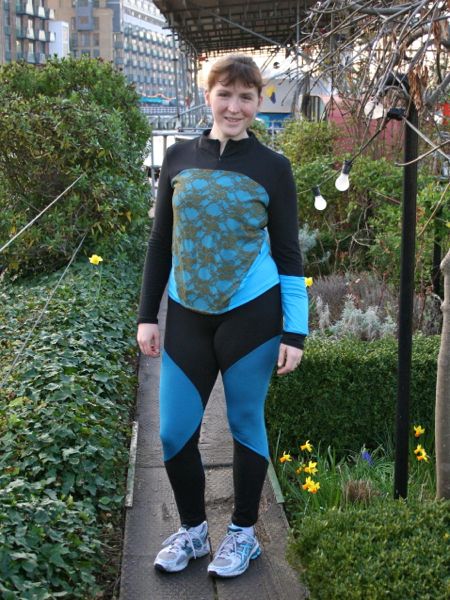
The long sleeved top needs three different fabrics in order to get a contrast on the upper body and again at the hip pockets. So I’ve used the black supplex for the top and sleeves, leftover turquoise for the lower back (which wraps around to the front hips), and the same turquoise but overlaid with olive green stretch lace for the front body.
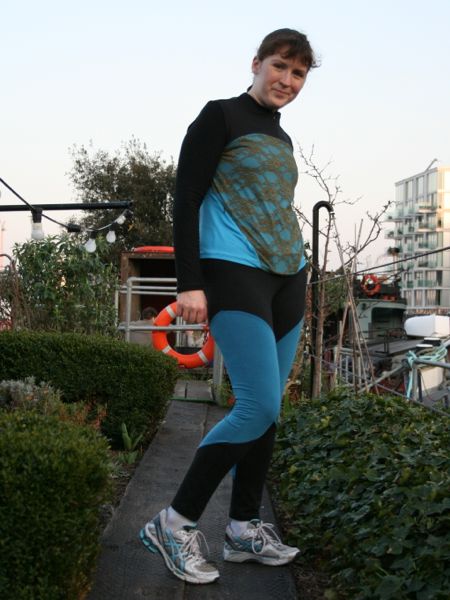
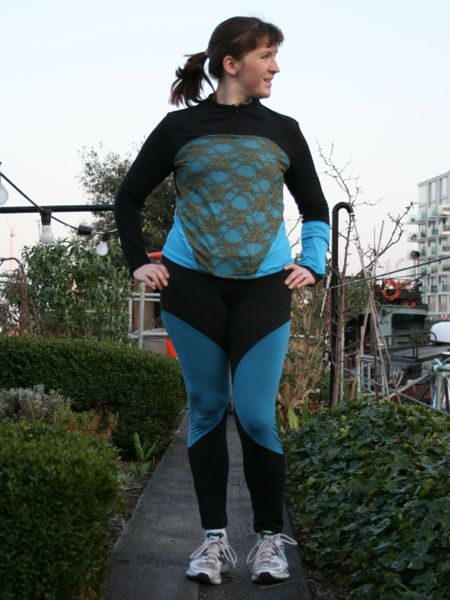
The leggings use black supplex and dark turquoise “silk touch” lycra for the contrast panels. You can see my cool seaming on the thighs below, and in getting design lines to match up, I favoured the outer seams matching. It means it’s not quite as cool on the inner thigh seams, but it means I get a nicer overall panelling.
How to finish a cowl neckline

As promised yesterday, here’s a really cool technique I used to sew the shoulder seams and get a clean finish at the neckline of my MyImage cowl tee (M1152 from the Fall/Winter 2011 issue) all in one go.

It’s a variation of “the burrito method”, and you can use it on any top where you’ve got a facing on one side, and a folded edge on the other. So it doesn’t have to be cowl necks, it’ll also work for surplice or wrap necklines with a self-facing, too!

This comes fairly early in the construction of your garment, but by this point you should have already sewn your facing (in this case, my back neck facing) to the body of the garment (the back here), right sides together. You should also stabilise your shoulder seams, either by using Vilene bias tape like I have, or with strips of knit interfacing or clear elastic – whatever your preferred method is!

In my example, I’ve got a back neck facing which is a separate piece, and a folded (ie: integrated) facing on the front.


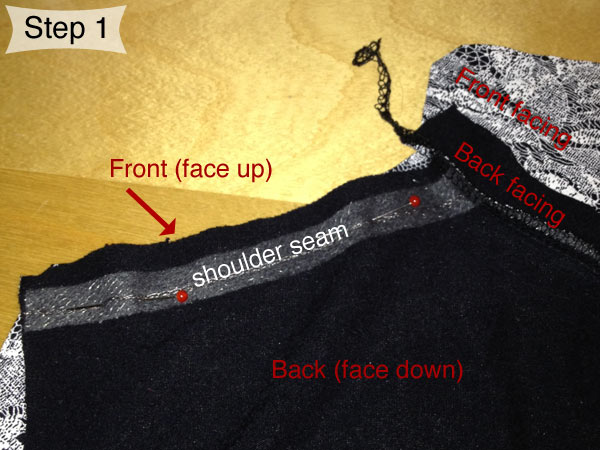
Step 1. Pin the shoulder seams together from the shoulder edge to the back facing stitching line, right sides together. Keep the front facing and the back facing out flat (ie: don’t pin them!)

The One Hour Cowl tee

First of all, thank you so much for all your comments and suggestions regarding my draped jacket! The consensus seems to be a) try it with skinny trousers, and b) shorten the sleeves at the very least, but I definitely need to take some time away from it before I can contemplate working on it again.

I think you can also predict what came next – a quick knit top! This top was particularly medicinal because last Saturday I’d already sewn up Holly’s maternity coat muslin, then done a bunch of overtime work from home, cut more insulation on the boat, and I found myself about 4pm with a totally frazzled brain and not quite sure what to do with myself.

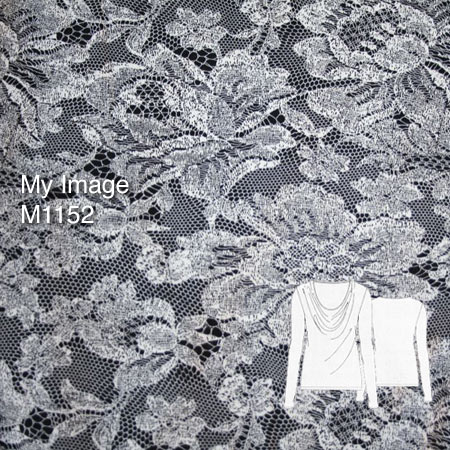
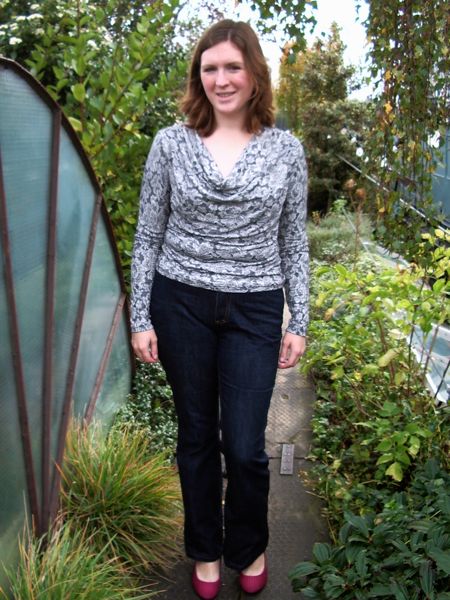
So I went with my gut instinct, and started tracing the MyImage cowl tee (M1152 from the Fall/Winter 2011 issue)!

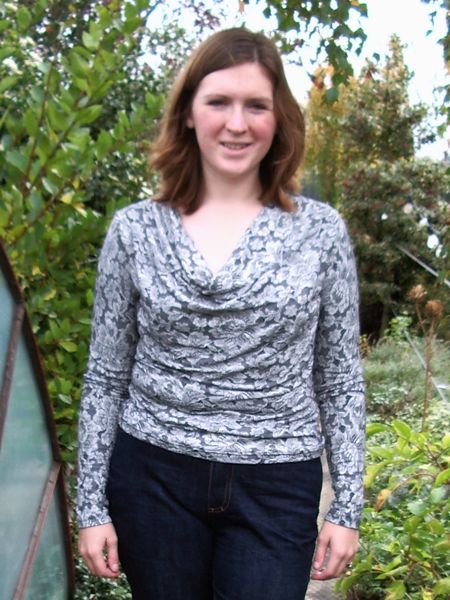
This fabric was a gift from Marie-Christine when we visited her in Toulouse at Easter. It’s a viscose(?) jersey printed (or actually, bleached, since the reverse is black!) to look like lace! I’m not a big “prints” person in general, but I’m such a sucker for a trompe l’oeil print, and you already know my love of lace!

There was only 1 metre of this, though, so it’s a good thing it has 2-way stretch since I had to fit the sleeves on the cross grain! If this was just a crosswise-stretch fabric I don’t think I would’ve been able to fit it in…

This pattern really is the essence of simplicity – there’s only three pattern pieces (four if you count the back facing, but I just used a rectangle of fabric instead), and the title of this post is no exaggeration – from tracing to cutting to sewing to wearing it took me only an hour! This really was just the pick-me-up I needed after the long-running draped suit project…

Peach silk shell blouse

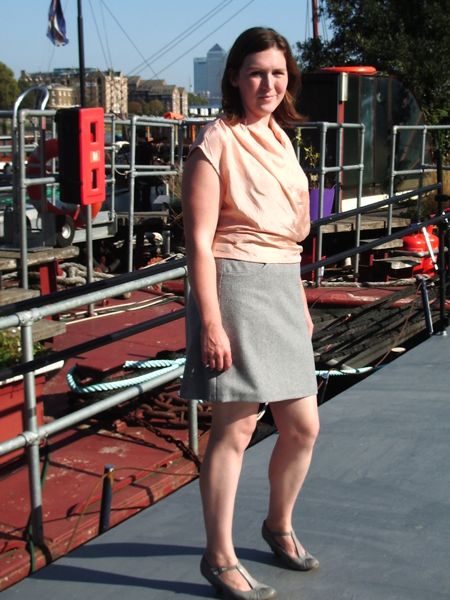
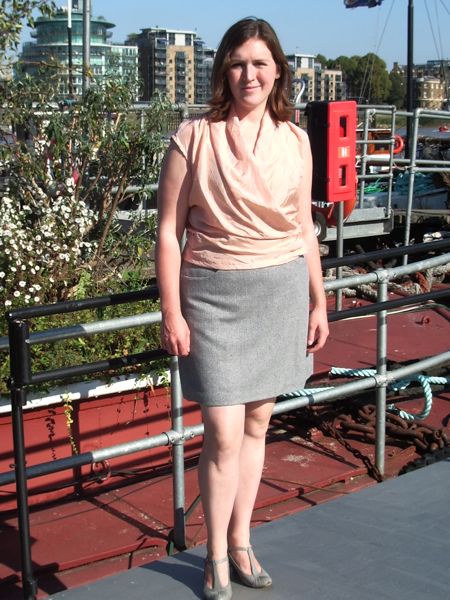
As I mentioned last week, I made this blouse the weekend we got back from Hungary. It was a really quick make, with only a few seams and minimal closures, so even including some thread tracing and french seams didn’t really lengthen the project time. In other words, it was exactly the sort of project I needed right after a holiday!

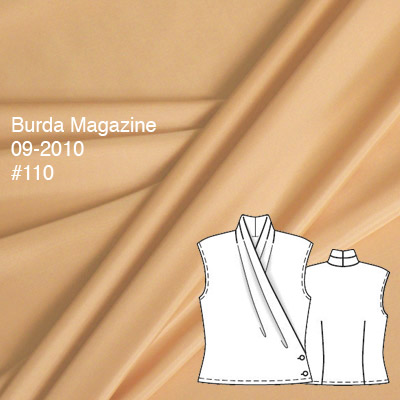
Burda 09/2010 #110 is the sleeveless version of this top and one of the, oh, eleven must-sews for me from this September 2010 issue. It’s been one of my absolute favourite issues since the moment it came out, so it was nice to make something other than the cover dress for once!

I mostly made this to coordinate with my upcoming grey wool skirt suit, but with our unexpected hot and sunny October (29C/88F!!!) in London, you’ll get it see it worn now in a summer style, paired with my silver tweed KnipMode skirt. I imagine the weather will cool off enough by the time I finish the suit that you’ll get to see it layered underneath the jacket as I intended!

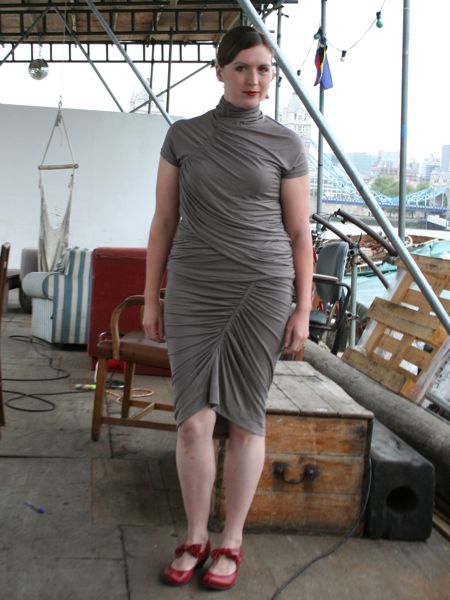
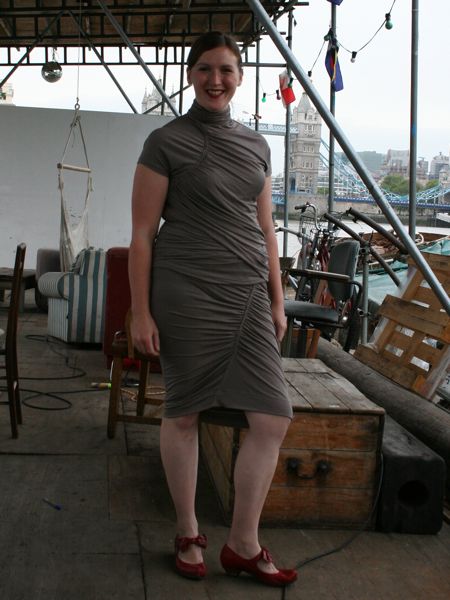
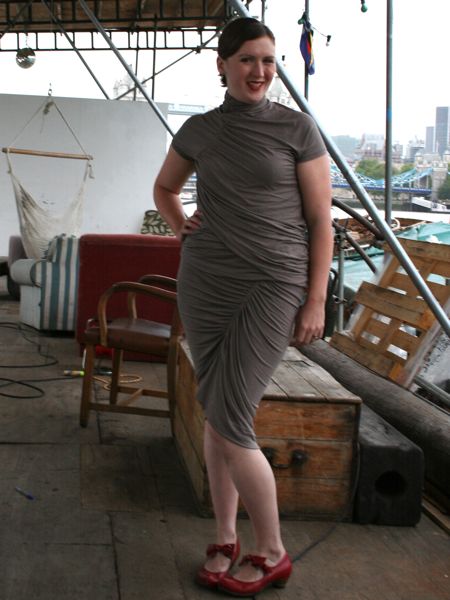
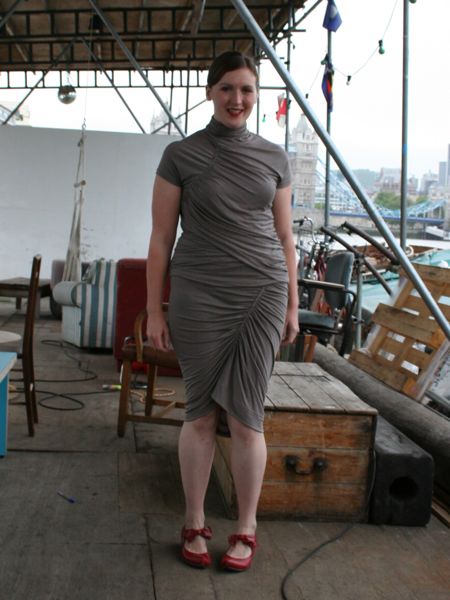
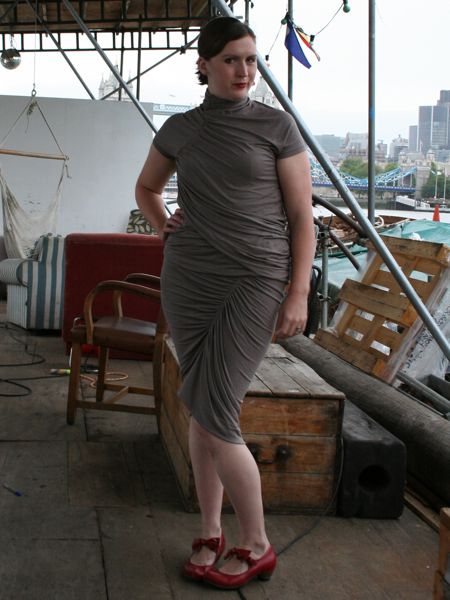
The Vogue 1259 Donna Karan gathered skirt set

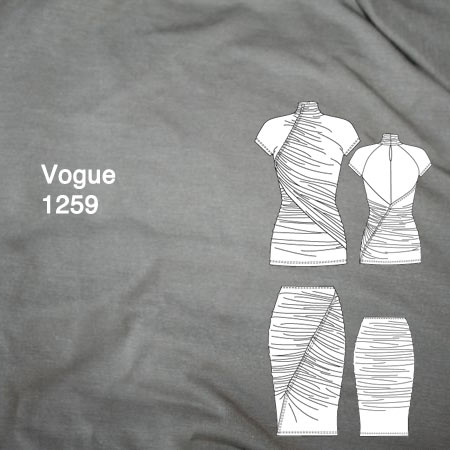
I’ve finally finished Vogue 1259! I don’t regularly sew Vogue patterns (or any envelope patterns, for that matter), but like plenty of other people, I just loved this design as soon as it appeared online, and I just couldn’t wait to sew it up!

I used this mushroom-coloured viscose/cotton/lycra jersey from Tia Knight on ebay, and it was perfect for this pattern. You really need something lightweight and drapey, because there are a LOT of gathers that would get bulky very quickly in anything heavier. Vogue don’t give combined yardages for making the top and skirt, but 3m was just enough for me to make both, in size 16, using their recommended layout.

This pattern is marked as “Advanced”, and I think the top definitely qualifies, both for construction, as well as the cutting and marking, and the following of their instructions (which certainly don’t make things easier!). The skirt, however, could easily be made by a beginner. So if you’re intimidated by the “Advanced” label but like the skirt, go for it!

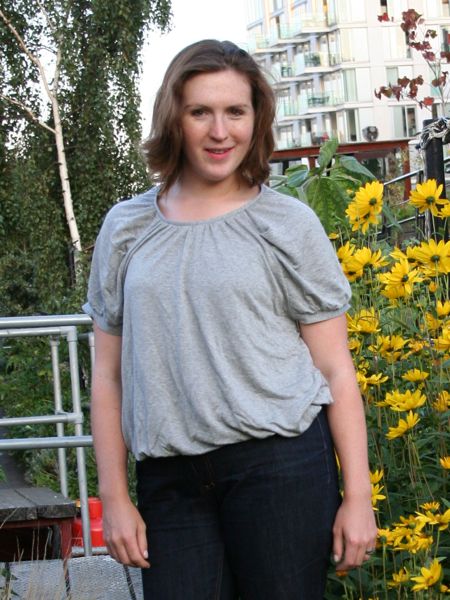
The grey marl Manequim big shirt

I chose the title “big shirt” as an homage to Burda’s strange predilection for calling any oversized top a “big shirt”. Looking at the size of this top, I think it definitely applies here!

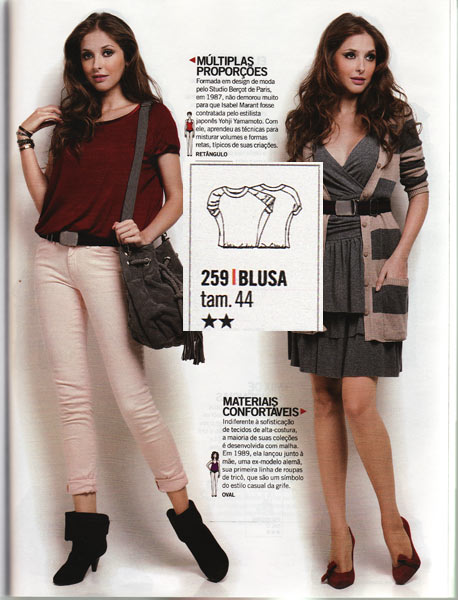
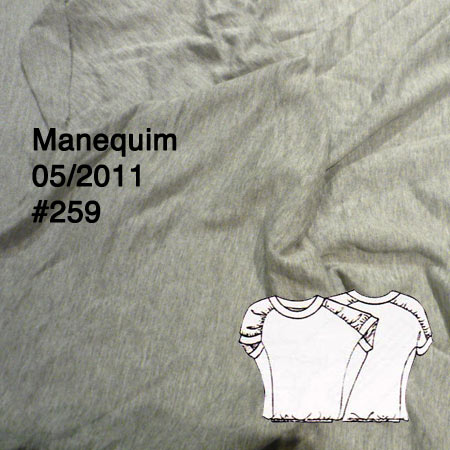
This Manequim top was printed twice, as July 2010 #307 and again as May 2011 #259. I liked it enough the first time around to trace it off Susannah’s copy, but then when I saw it the second time, I knew it must be a keeper to be repeated and be in my size, so I gave this a go in some drapey, viscose grey marl jersey I’d bought from Totally Fabrics a while back.

You can see it’s a roomy fit from both magazine photos, but you can’t really tell exactly how large this runs – I measured the hem circumference at over 150cm!! I always make Manequim size 44, but this is over 50cm of ease! OMG! I’d say that if you are usually a Manequim 46, 48, or even a 50 or 52, you’d be absolutely fine in sewing this up, even though it’s marked as size 44.

Manequim say to pull the hem in with elastic in a casing, but I chose to apply inch-wide waistband elastic instead. I measured the elastic to my hips and then stretched it as much as humanly possible and it only just stretched to the fabric hem.

But the adventure doesn’t stop there – I had to introduce gathers in several places not indicated on the pattern in order to get pieces to line up. Namely, the bottom edge of the sleeve where it meets to sleeve band, and also around the neck edge. So in reality, I gathered all four edges of that sleeve piece. With all the gathers plus the bubbled hem, it’s vital that you have a lightweight, drapey knit for this top.

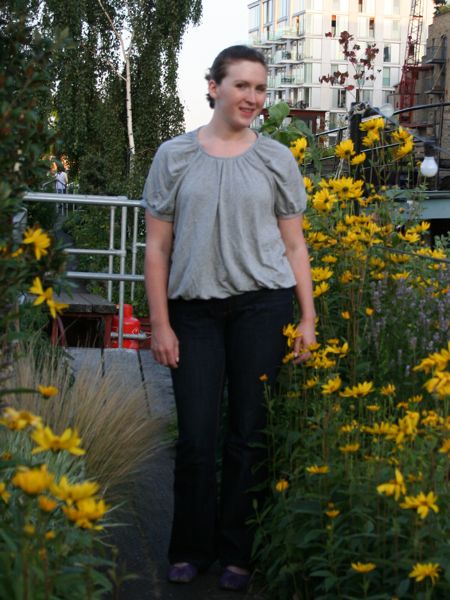
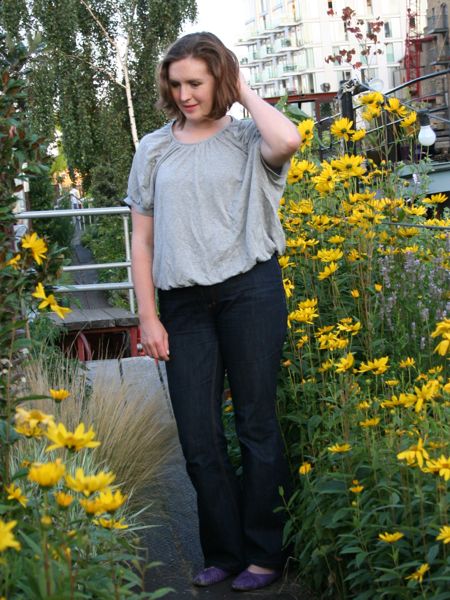
A silk chrysanthemum Sorbetto blouse

Every now and then I mention a few people from my personal life when they enter into my sewing world for whatever reason, but regular readers will probably recognise the name of “Neighbour Helen” more than most. As a neighbour, close friend, and convenient fashion industry alumni, she’s helped me assess muslins, balance proportions, learn how to rotate darts, and she even drew the amazing illustration for my free ruffled wristlet pattern!

So I was very saddened to hear that she and her husband are moving their barge to France in a few weeks’ time, to travel through the French canals for the foreseeable future (ok, saddened and jealous!). Since it was also her birthday, my gift to her was to make her a silk blouse of her choosing.
She chose the gorgeous chrysanthemum silk that was leftover from my blouse and I even let her try mine on, but she felt my top was too blousy for her and requested a simple shell instead.
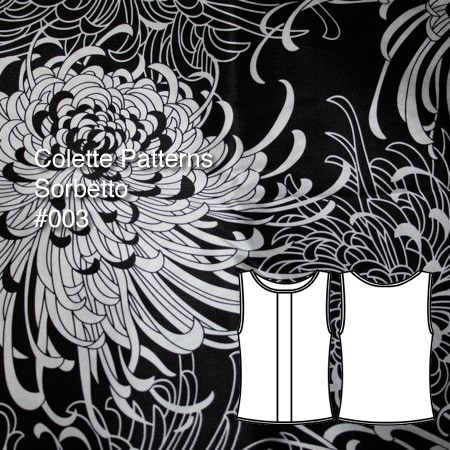
So I turned to the new (and free!) Colette Patterns Sorbetto top!

I made a few changes, though – the most obvious is that I eliminated the central pleat (which would have been too busy with the large scale print), and I lengthened hem by 3” as others said this came up short.

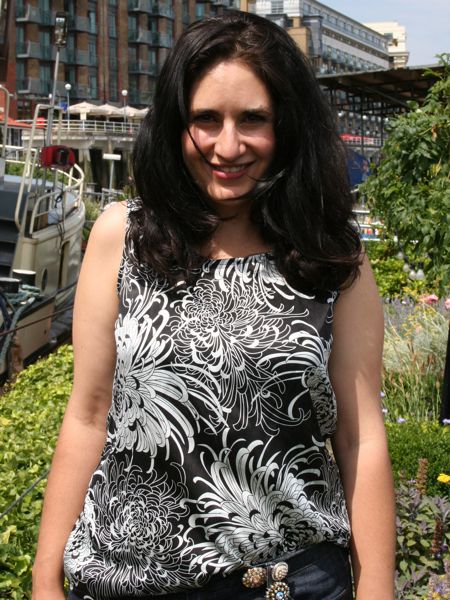
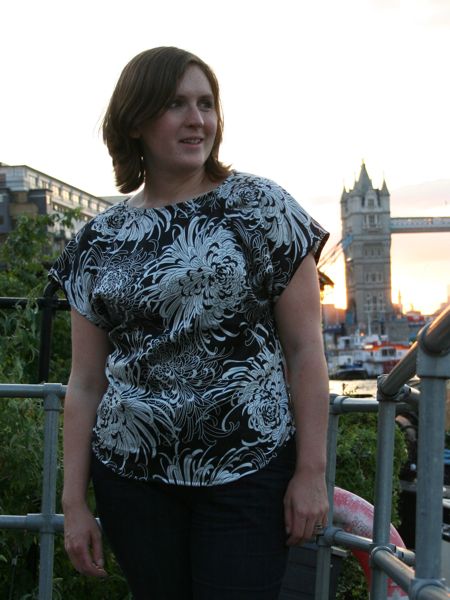
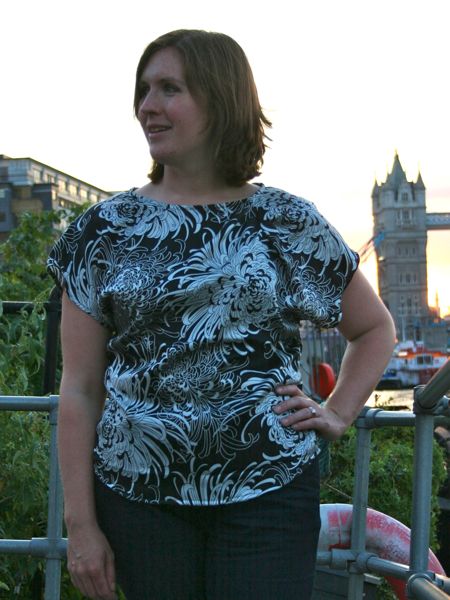
The silk chrysanthemum blouse

As I discussed in my post on “pedestal fabrics” last week, I’ve had a ridiculously gorgeous silver and black chrysanthemum print silk in my stash ever since AllisonC gifted it to me two years ago when I was about to go into hospital.

But I’d brought it out again recently and thought about how I’d best like to wear it and I decided that I love and wear my silk blouses so much (and my birthday blouse in particular!) that I should sew this into a blouse to get the most wear and love out of this “pedestal fabric”!

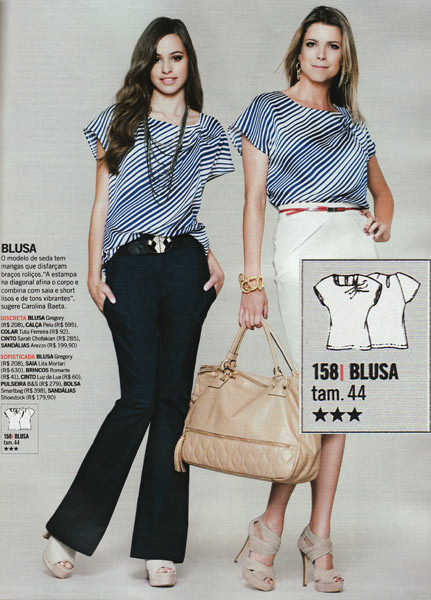
In this case I chose to use the same pattern as my birthday blouse, Manequim Feb 2011 #158, because it fits great, I love the style, and I knew it worked well with a drapey silk.

You know what? I am so happy I took the plunge and cut into this fabric, because I just adore this blouse!

A drapey colourblock top

I’m a big fan of the occasional “quick knit top”, but this time around, I wanted a knit top with a more challenging design to give my brain more of a 3-D spatial workout.

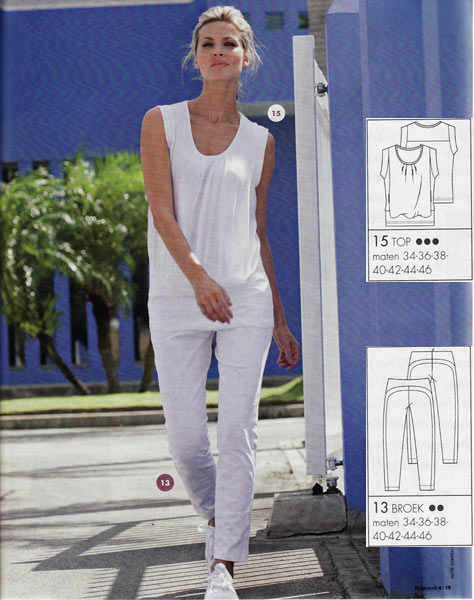
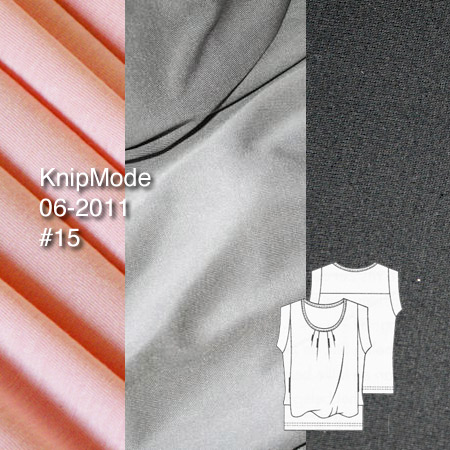
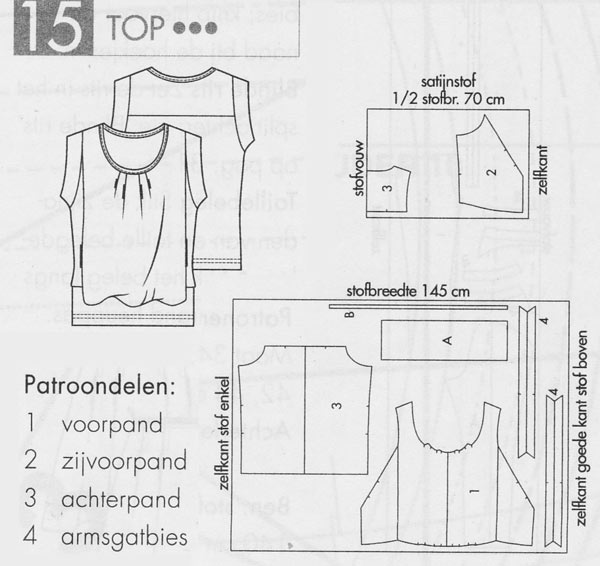
I was really intrigued by the pieces for KnipMode June 2011 #15 when I first saw the magazine, and even after tracing it out and laying the paper pieces together, I still wasn’t 100% sure how they were going to fit together.

I thought it best to make this up using scrap fabrics (just in case!), so I pulled out a couple of those awkward, less than 1m offcut fabrics from my stash:

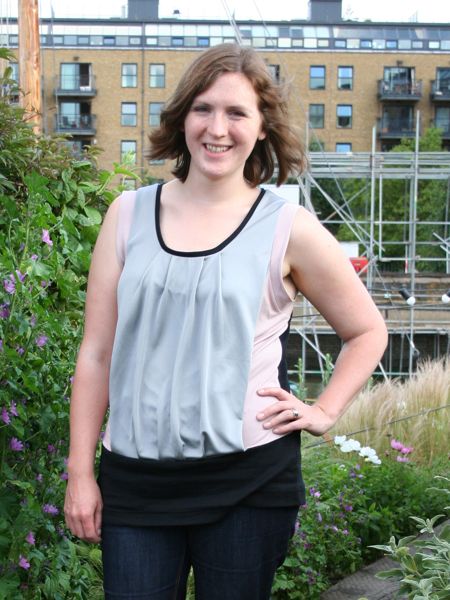
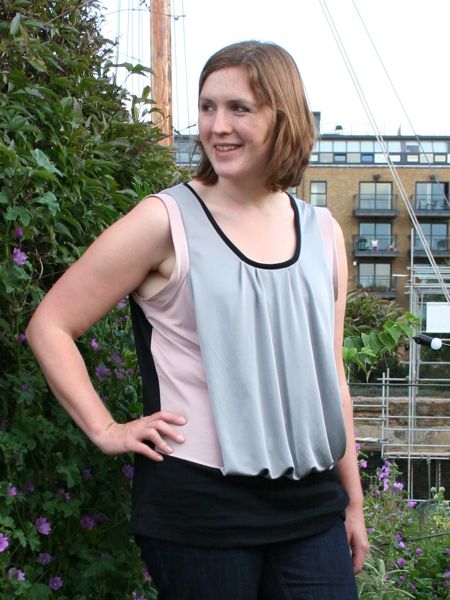
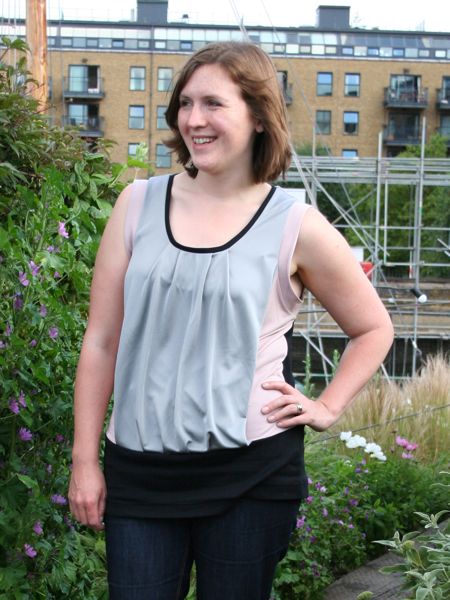
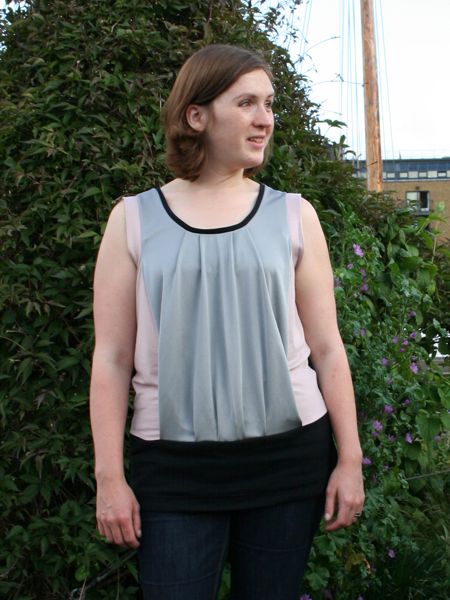
To be honest, while I enjoyed the challenge of constructing the design, I wasn’t so sure about how the design would look on me throughout the entire construction. But as soon as I tried it on for the first time, I was struck by how well my colourblocking worked, and how nicely Jonathan Saunders the look is!

I get to tick three separate SS11 trends here – colourblocking, muted hues, AND volume! All in one top!

Lekala cowl top instructions and giveaway

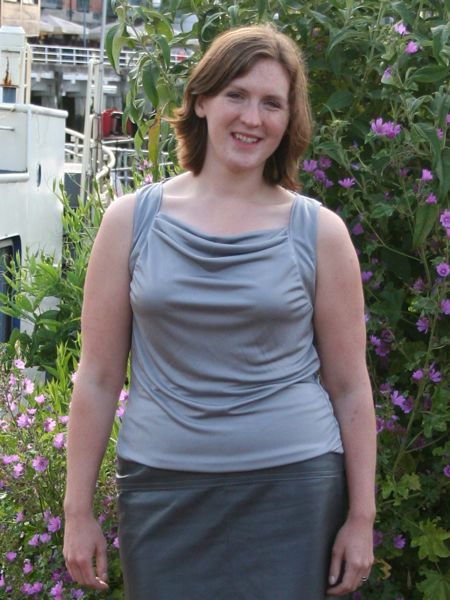
You’ve seen my version of this fantastic cowl top, now’s your chance to make your own and show me yours!

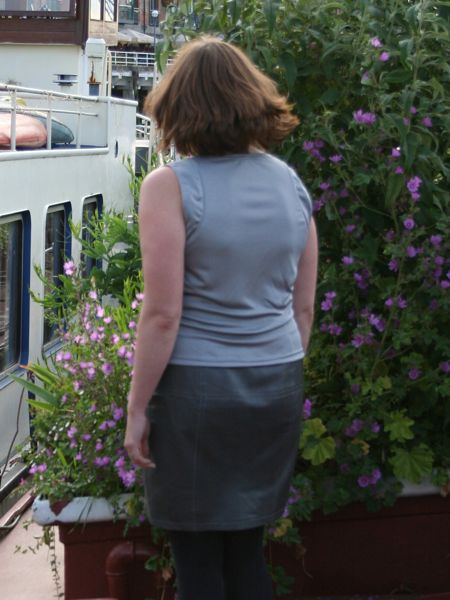
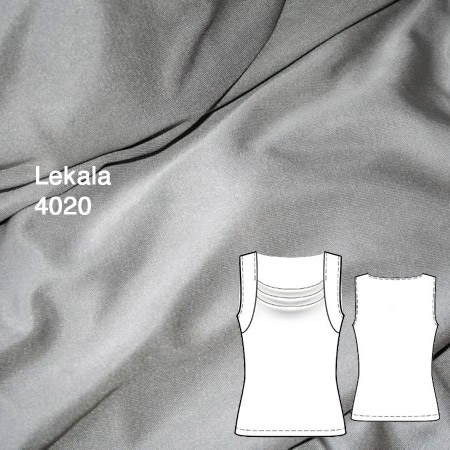
As you’ll recall, the above is made using Lekala 4020, but I’ve created sleeve bands on the back to echo the ones on the front, so our first step is to alter the pattern for this.

Here’s the (unaltered) tech drawing:

Lekala give full pattern pieces rather than placing some patterns on the fold, so the first thing I like to do is fold the front and the back in half. If you’re altering the back like me, then cut the back piece in half along this foldline (at the CB).

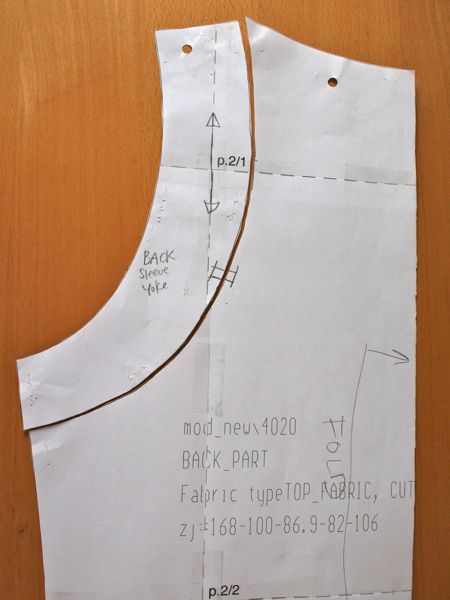
To echo the sleeve bands/yokes on the back, first lay the front sleeve band/yoke piece onto the back, and mark the corresponding widths at the back shoulder and the back side seam, so the two bands will align nicely when sewn together. Then, using the front yoke piece as a guide, draw a nice curve to join the two points, trying to keep the width of the yoke even. Lastly, draw a double notch somewhere in the lower half across the line, so you’ve got the notches on both the back piece and your new back band piece. Then cut along the line and treat as two pieces.

You’ll end up with something like this: