This is a bit of a Public Service Announcement, but as I couldn’t find this information easily myself, I thought it was really important to get it out there to save some other poor sod the frustration and money I just spent.
Freezer paper stencils are great – fast, fairly easy, you get good results, and you can reuse the stencils a few times. Search for freezer paper stencil tutorials online, and you’ll get tons of results, all saying you can either print directly onto the freezer paper, or lay your design on top of the freezer paper, and trace around it with an exacto knife.
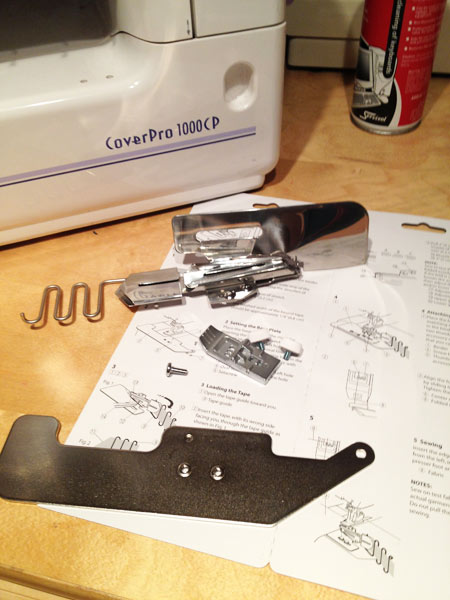
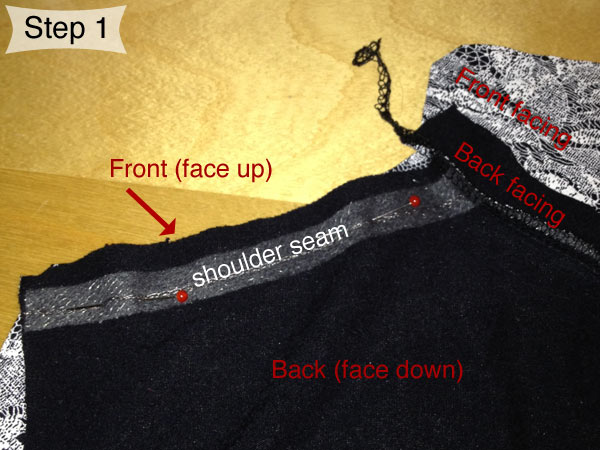
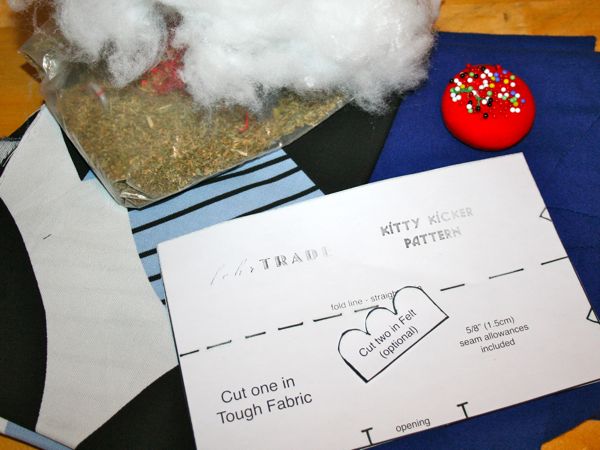
The latter is what I’ve always done in the past, but for my upcoming RDC refashioning project, I have a ton of stencilling to do, so I thought if I could cut out the step of taping the paper layers together, it’d go a bit quicker.
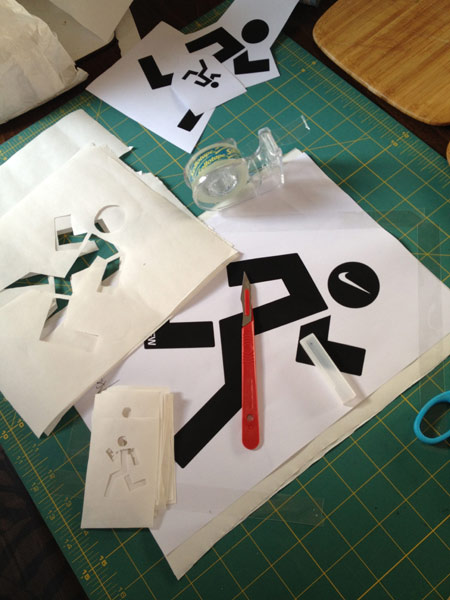
Only thing is, clearly none of the well-meaning tutorials out there own a laser printer. Laser printers use heat to print. Freezer paper uses heat to bond to the fabric. You see where this is going…?
DO NOT PRINT DIRECTLY ONTO FREEZER PAPER WITH A LASER PRINTER!