On Sunday I taught a very beginning sewing lesson to three friends who all wanted to learn how to sew and have been begging me to teach them for months! I decided we would learn to use the machines and make a simple bag, and that would probably be more than enough for a first lesson. So I set up my little red machine, my everyday vintage machine, and made space for Veda to bring her new (purple!!) John Lewis mini machine up in the saloon…
The Sewing Machine Driver’s Test
After showing everyone the various parts of the machines, I put an old or blunt needle in each and I had them “sew” on the lines while the machine was unthreaded. The object is to get every single hole touching the line on the page, and when we did this in my home ec class in middle school, the teacher circled any errant holes (if we had more than three, we’d have to repeat that sheet). You start with straight lines, then corners, then a spiral, and finally wavy lines. My girls did great, but opted to redo the last two sheets to get some practice in!
Download my Sewing Machine Driver’s Test here! (Pdf, 200kb)
They all said that this really helped them to get comfortable with the machine and said the curves of the bag were way easier because of it!
The bag
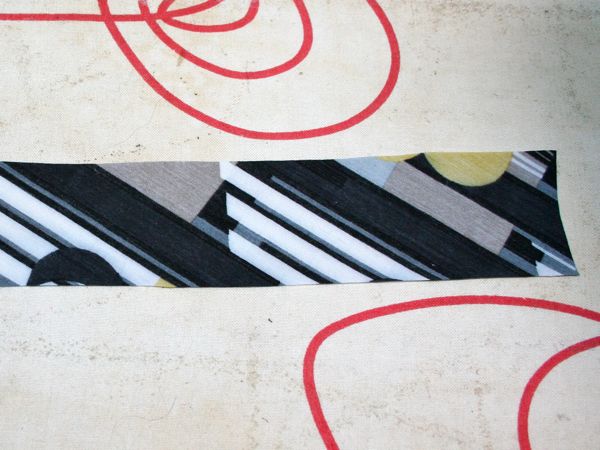
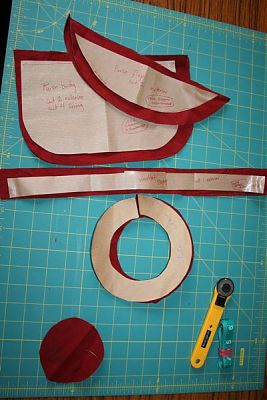
Then we moved on to BurdaStyle’s (free!) Charlie bag pattern, and I showed them how to trim and tape the pattern pages together, then how to lay out the pieces and obey grainlines and learn how to find the selvedge.
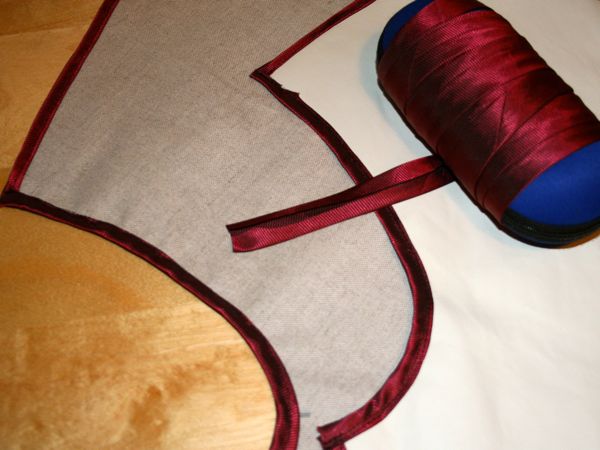
I really didn’t like that BurdaStyle’s instructions have you trim off the seam allowances on the bag handles and then overlock them (wtf? What beginner sewer has access to an overlocker??) so I had my girls make a facing for the top of the bag. It got them to practice sewing curves, the importance of clipping the seam allowances, and flipping inside out! And I personally think it’s less fiddly than bias binding when you’re just learning.
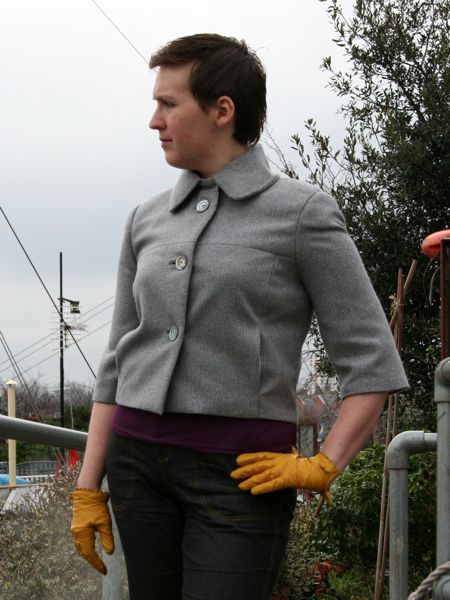
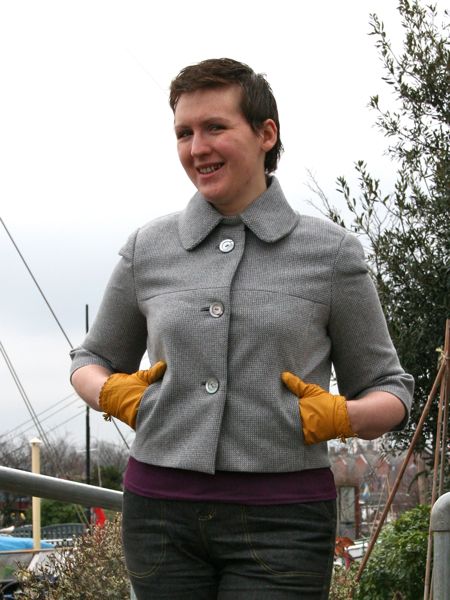
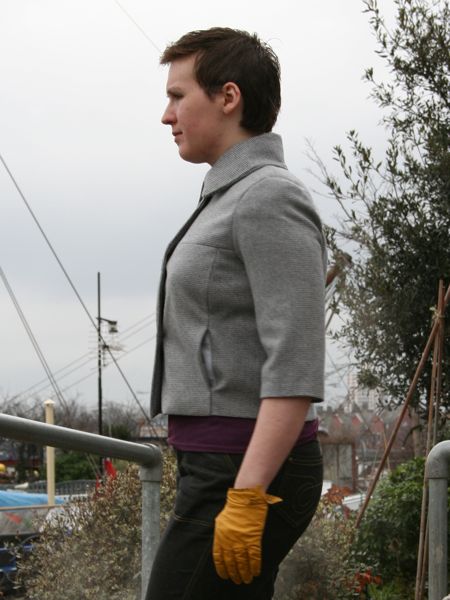
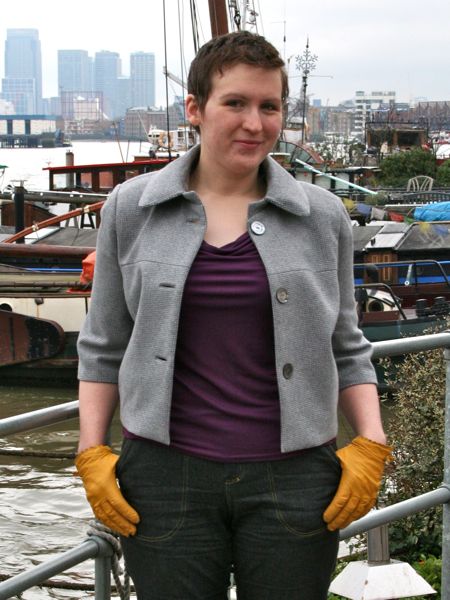
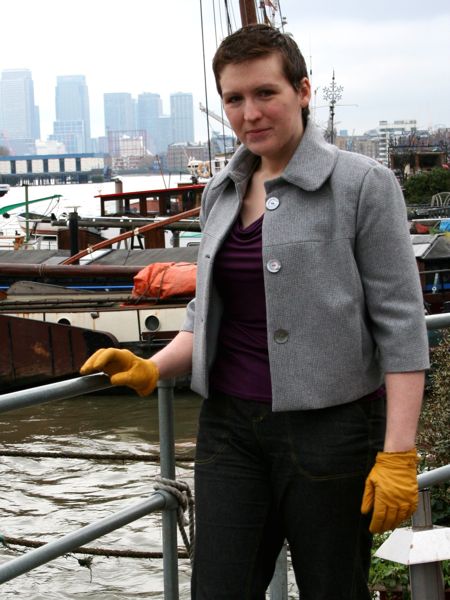
Here’s the one I made earlier, to refresh your memory…