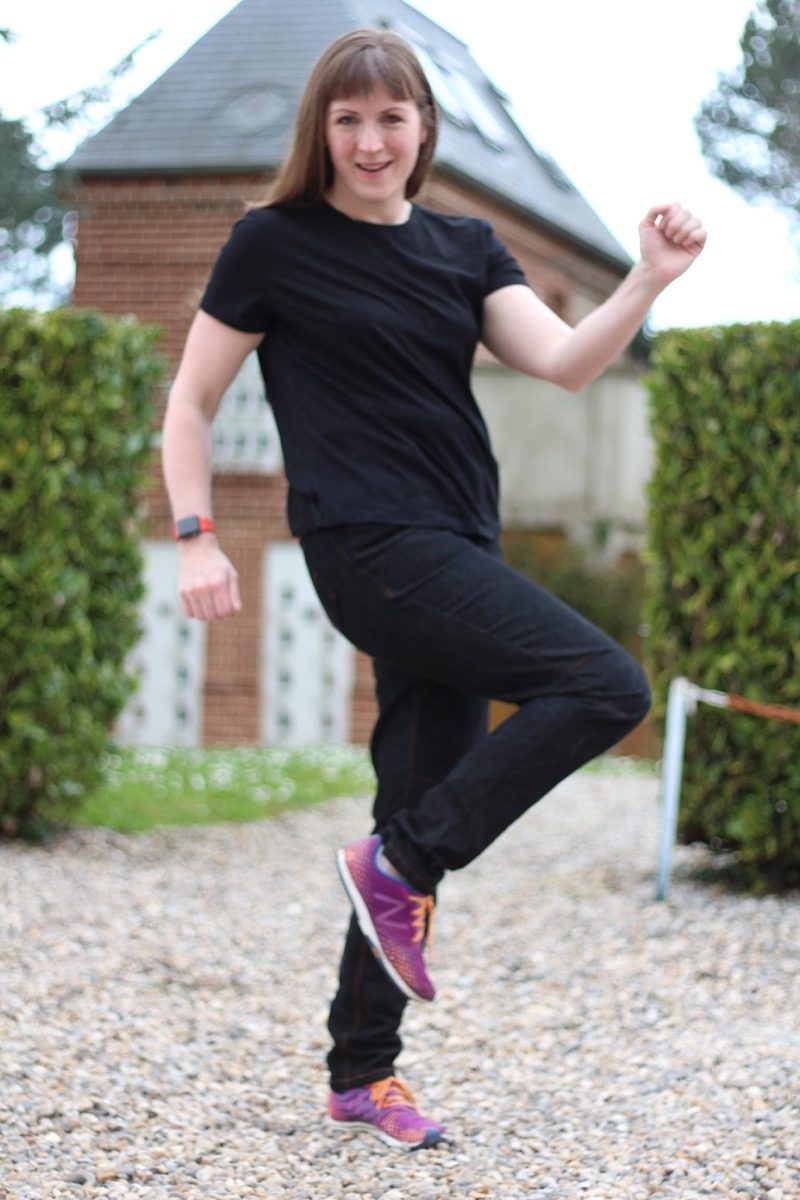
I’ve been sewing my own jeans for something like twelve(?) years now. Over the years I’ve built up my own preferences in how I like to construct them, but also how I like to wear them. And since I took up cycle commuting a few years ago, I really dig the ability to, you know, move in my jeans. I love know I can hop on a bike or break into a run at any time and my clothing isn’t going to slow me down (which also cuts down on the amount of clothing I have to haul in to the office!).
So I started making adaptations to my standard jeans pattern (which at one point started life as a Burda mag pattern but has morphed so many times it’s probably more accurate to just call it self drafted) to make them easier to cycle in (more on this later). By my count, these two are my 4th and 5th pairs of cycling jeans building on the ones from…
- Sewing jeans against the world (2016)
- Another pair of cycling jeans (2016)
- Cycling Jeans No3 (2017)
(I’m far too lazy to count up all the other, non-cycling pairs prior to 2016!!)
My jeans always get heavy wear, being worn at least once a week for a year or two on end, but a few months ago I started to see the tell-tale thin patches in the inner thighs of my previous two pairs of cycling jeans which required emergency mending to stave off instant death and eke out a few more weeks of wear until I could sew their replacements!
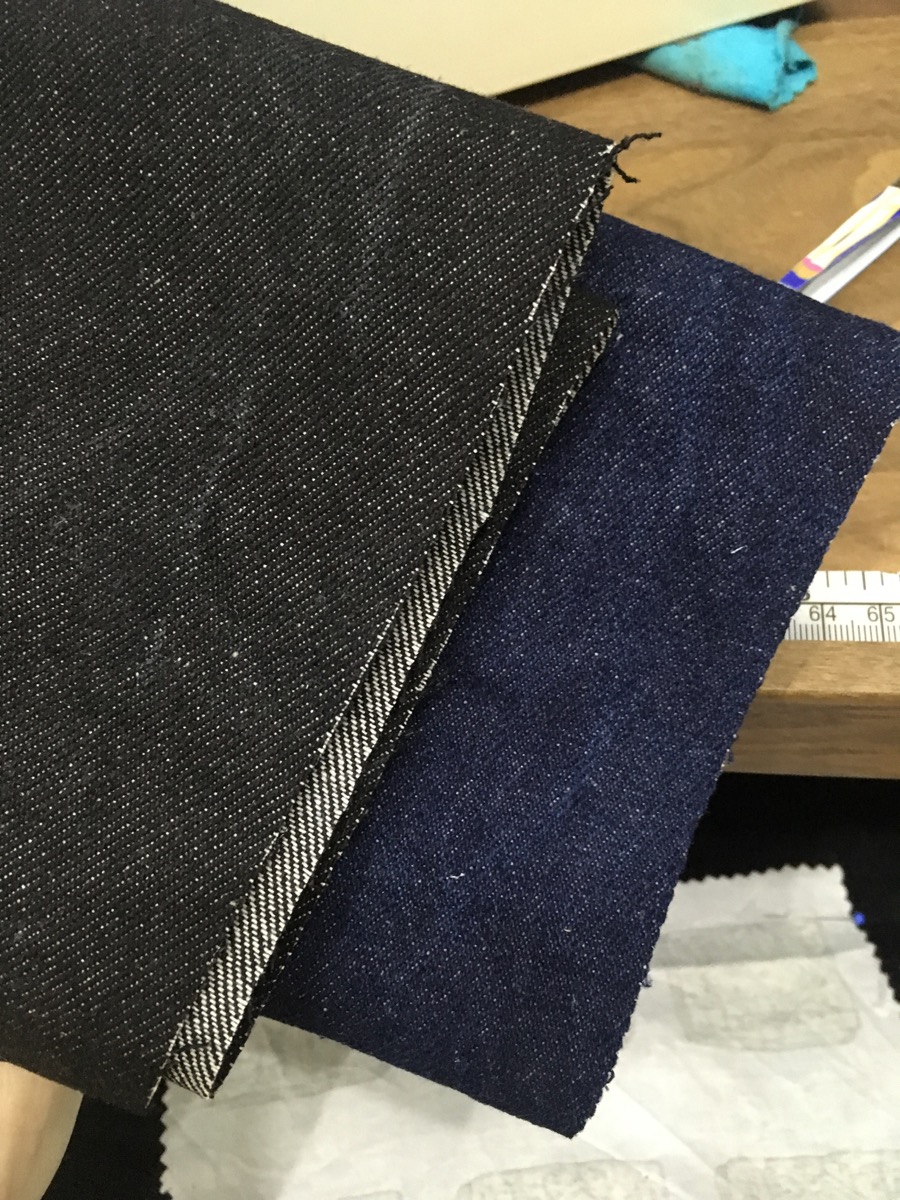
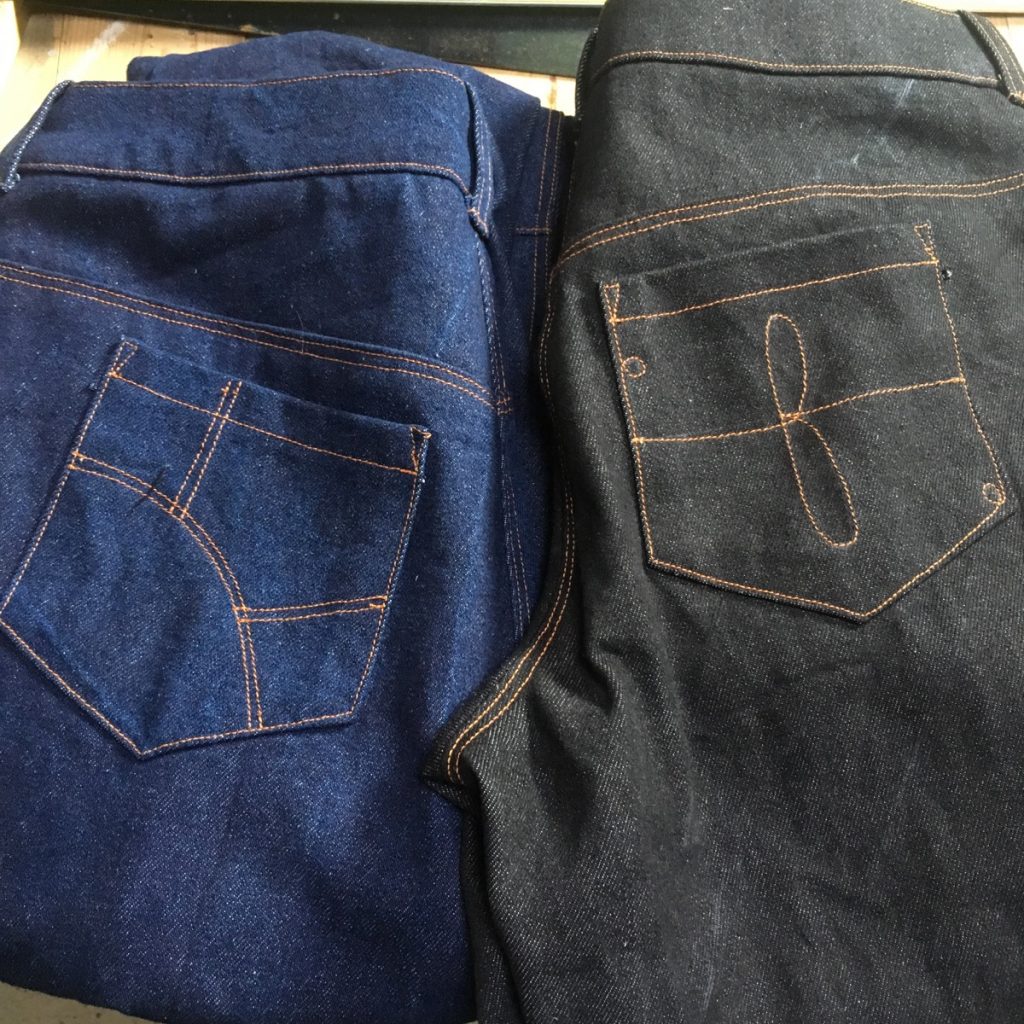
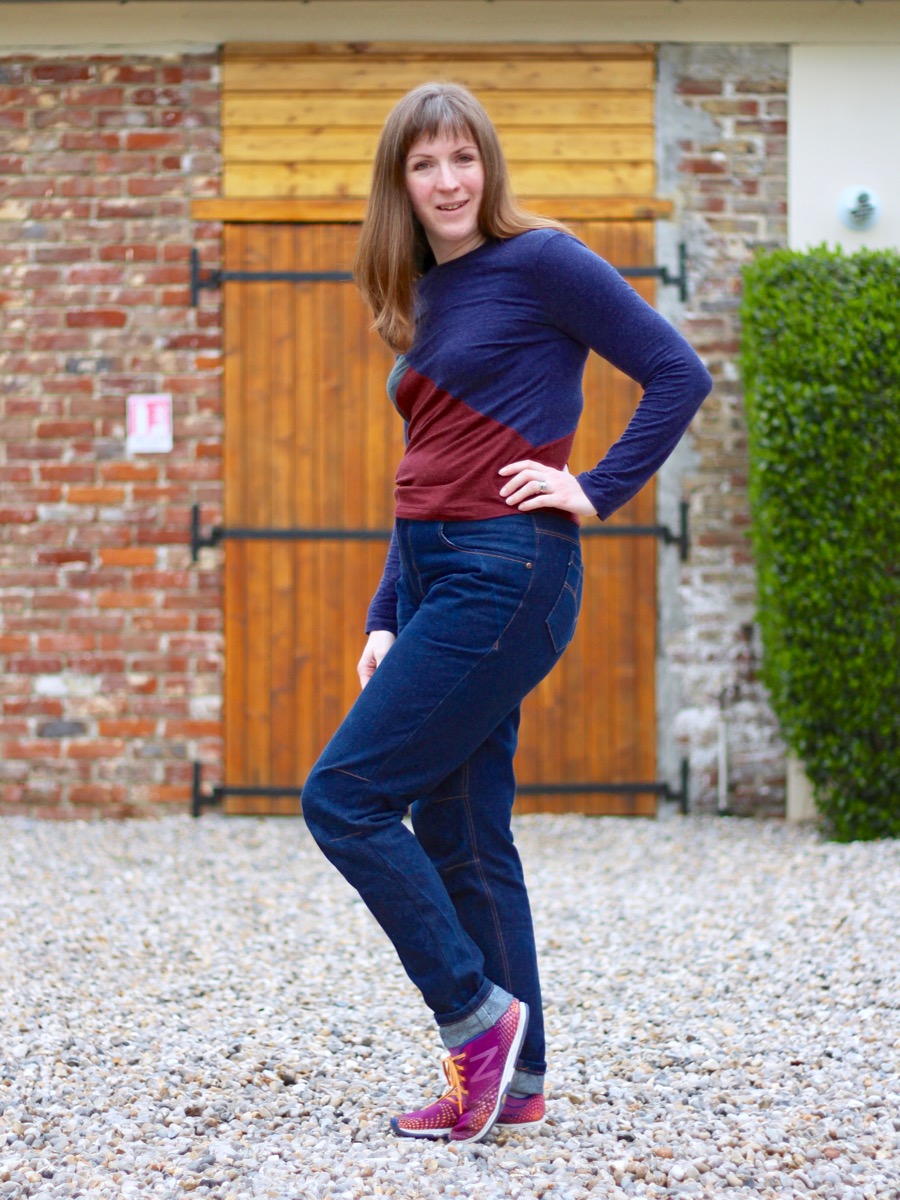
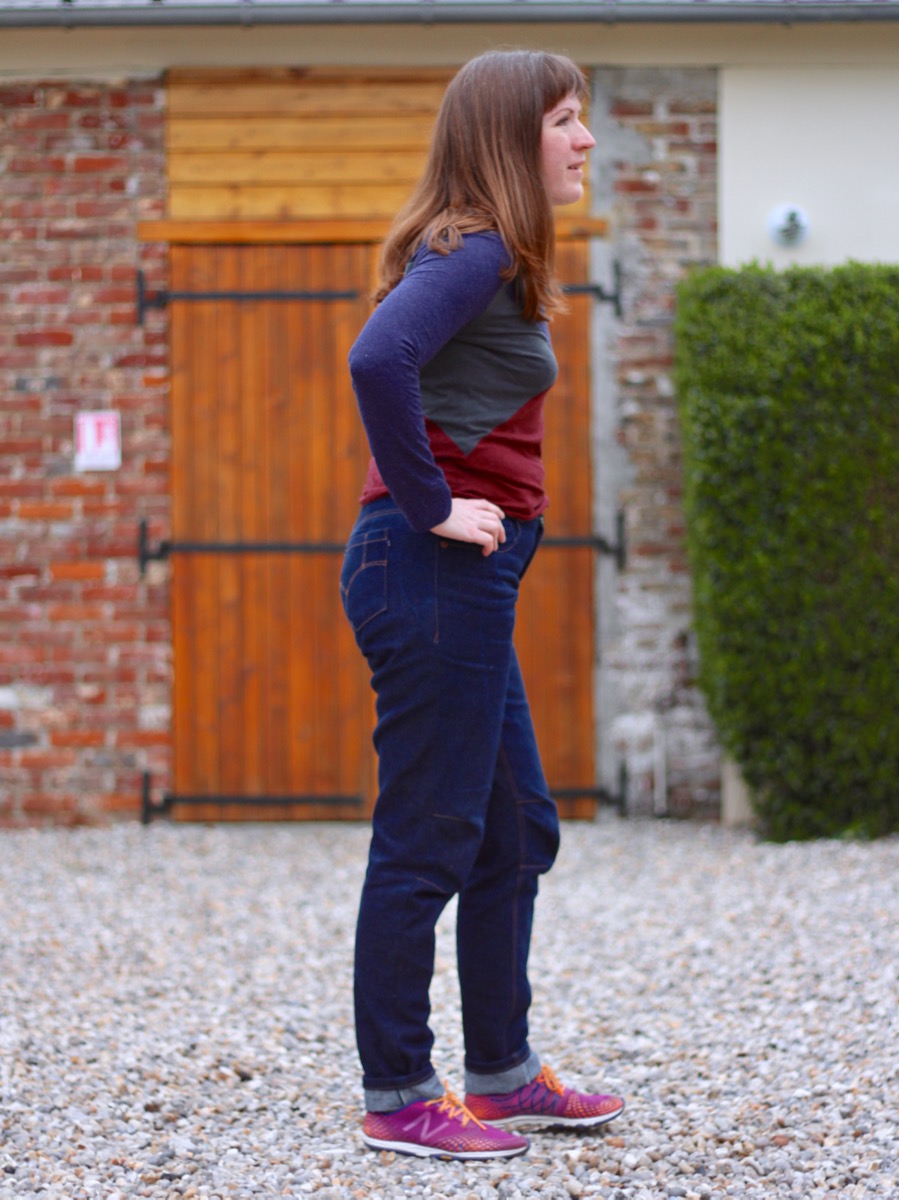
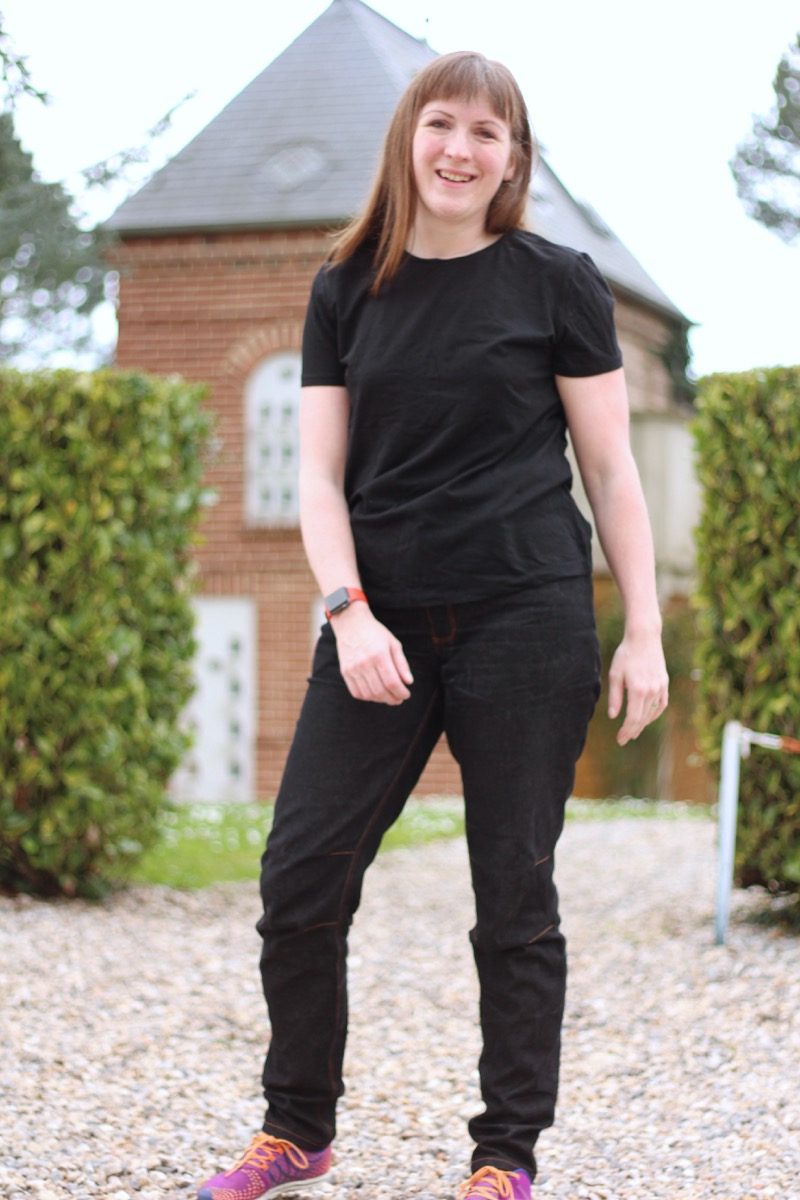
All my jeans for the past ten years have been made exclusively with Ditto’s imported Italian denim, but Gil hadn’t been able to source the non stretch, heavyweight denim I prefer this time around so I was forced to look further afield. So these pairs are made with denim from Merchant and Mills instead – 14oz Archive Denim (the blue) and 12.5oz Yama Denim (black, and no longer available).
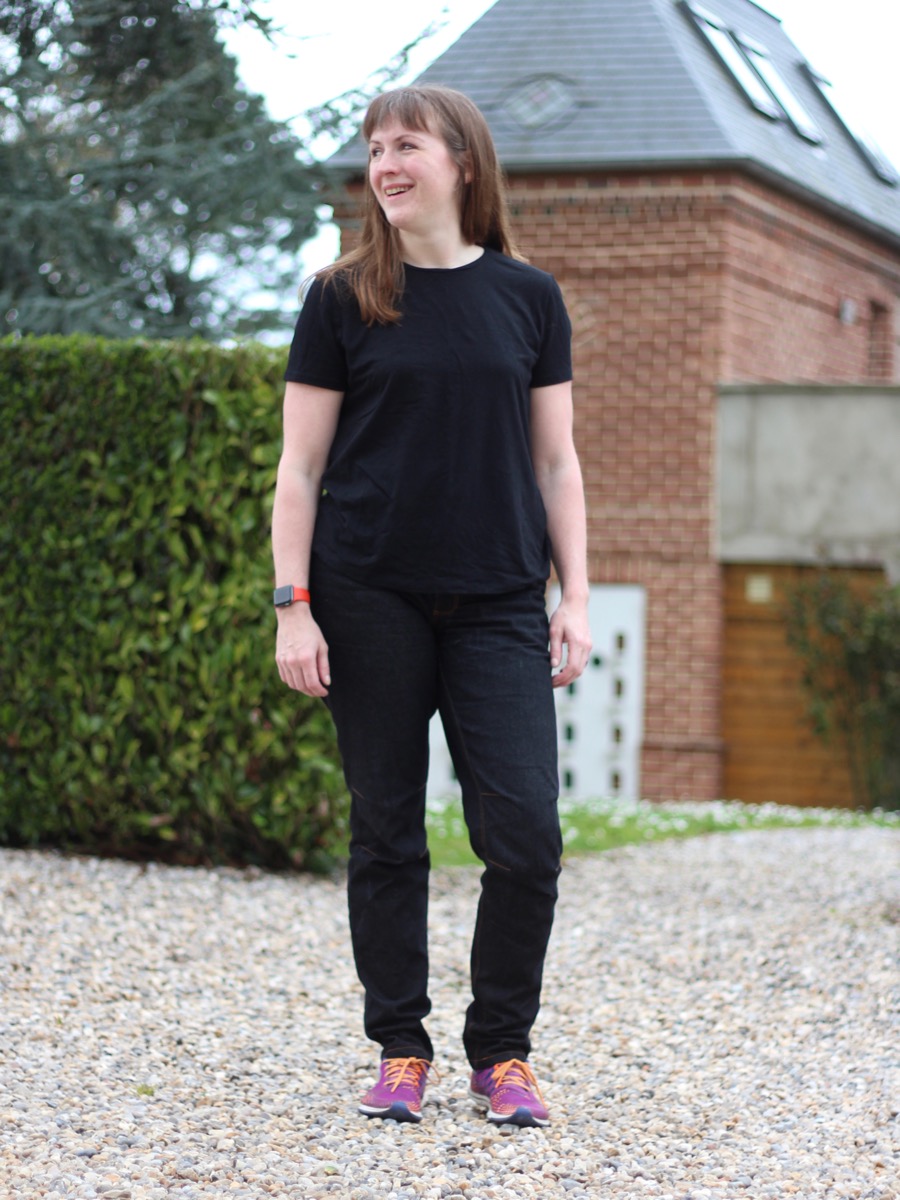
So what makes them “cycling jeans”? Modifications include:
- Two 2-cm darts above and below the knees in the front only to create extra fabric to allow the legs to bend easily
- Extra long rise added to the yoke in the centre back, to prevent “plumber butt” gaping when seated in the saddle
- Extra long lower legs to account for the extra length needed to go around the bent knee

Since I’ve made jeans so many times I can really just construct them in my sleep (oh if only I had 8 hours of solid sewing!!), but this is the first time I’ve ever made two at the same time. Since jeans require two colours of thread – navy for construction and bronze for topstitching – I like to have two machines out to prevent having to rethread every five minutes. And regular readers will know how much I adore my vintage hand crank Singer for topstitching & buttonholes!
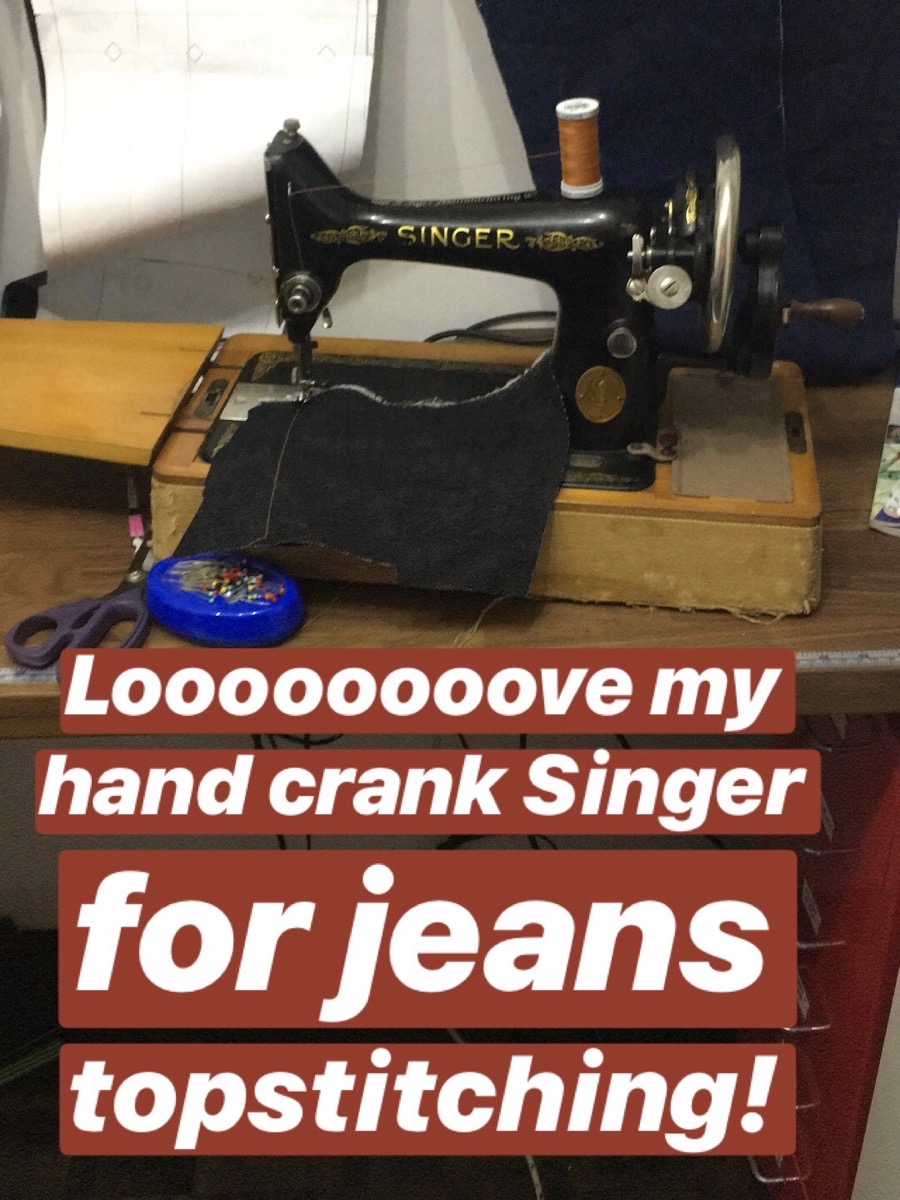
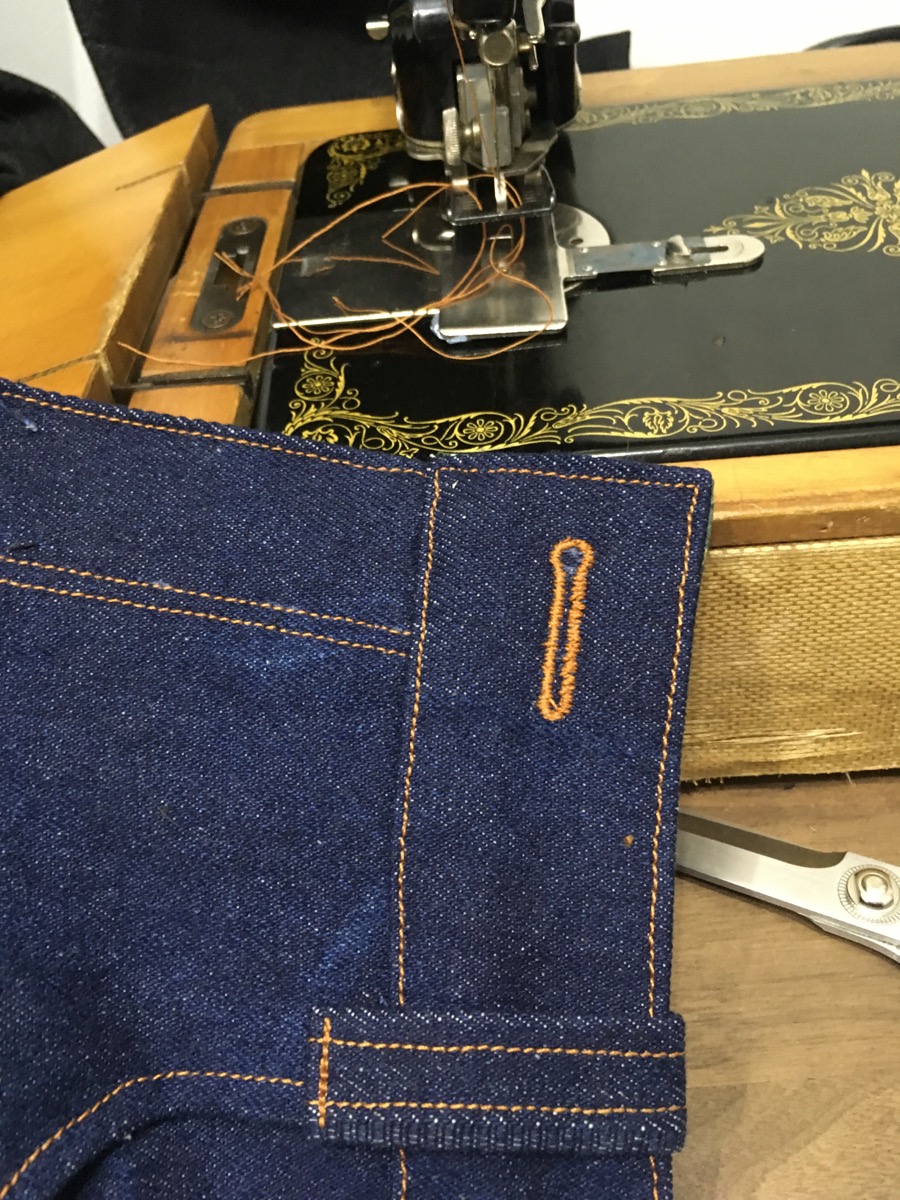
It just makes the most beautiful straight stitches and goes through umpteen layers of denim like it was nothing. I use a vintage buttonholer attachment to make the lovely keyhole buttonholes, and they’re so much better than anything my usual sewing machine puts out.
Regardless of which machine you’re using, when it comes to topstitching, my two biggest tips are:
- Use Guterman upholstery (aka “extra strong”) thread in the grey spool, NOT the “topstitching” thread in the mint green spool, which is too thick for a lot of machines and needles.
- Always use regular (Sew All) thread in the bobbin! So buy your bronze in two different weights of thread and your machine and stitching will be much happier.
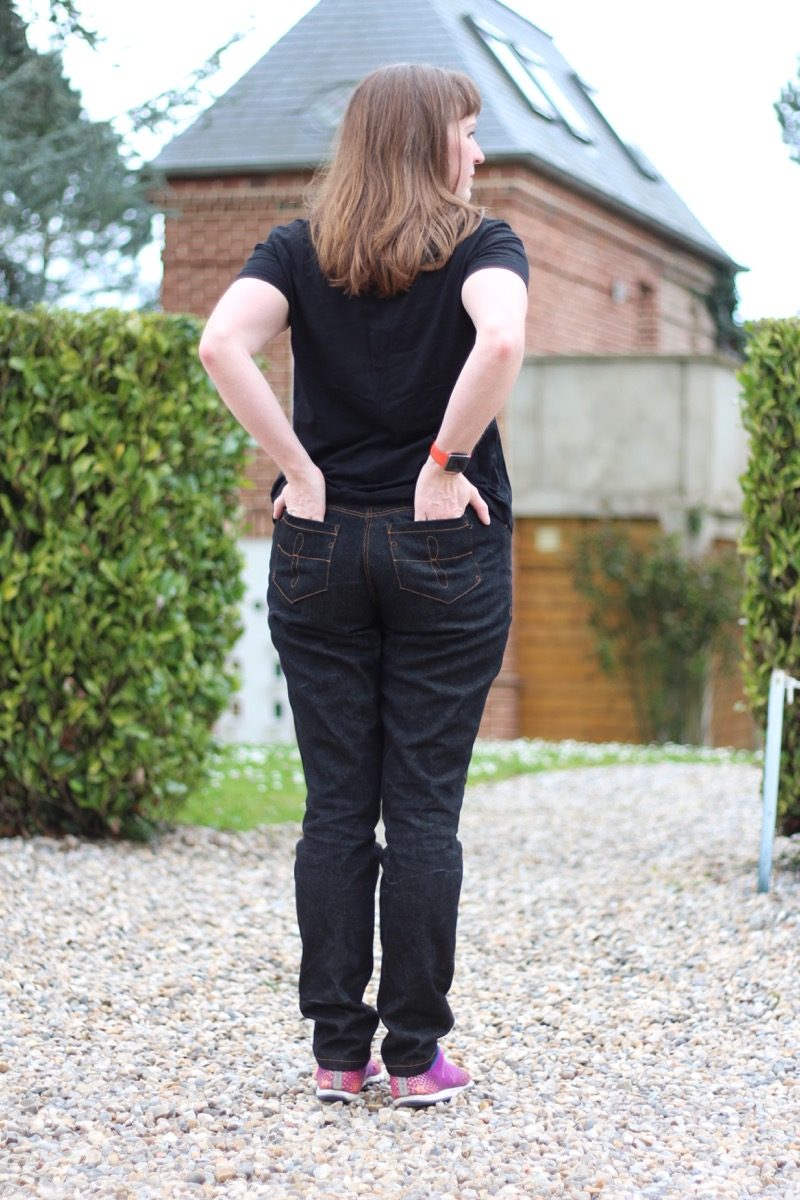
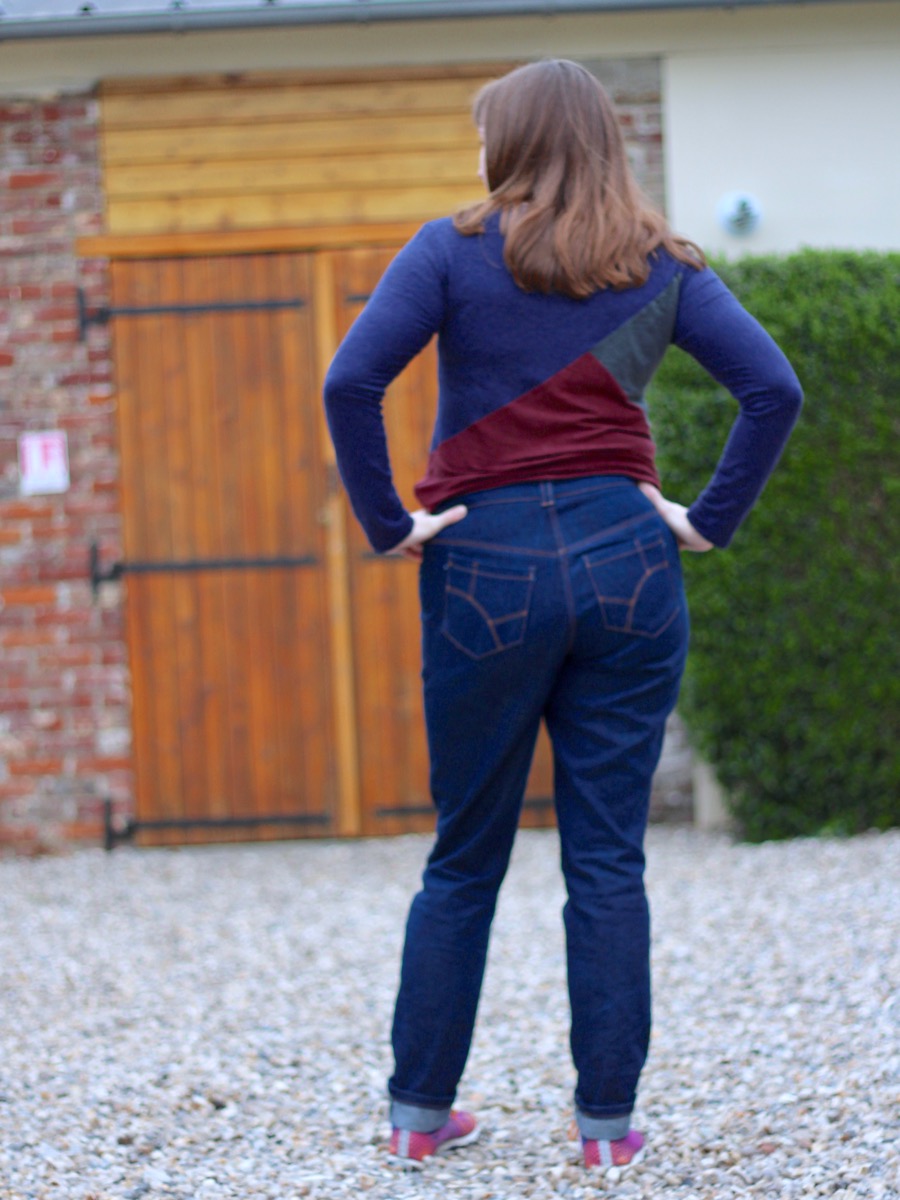
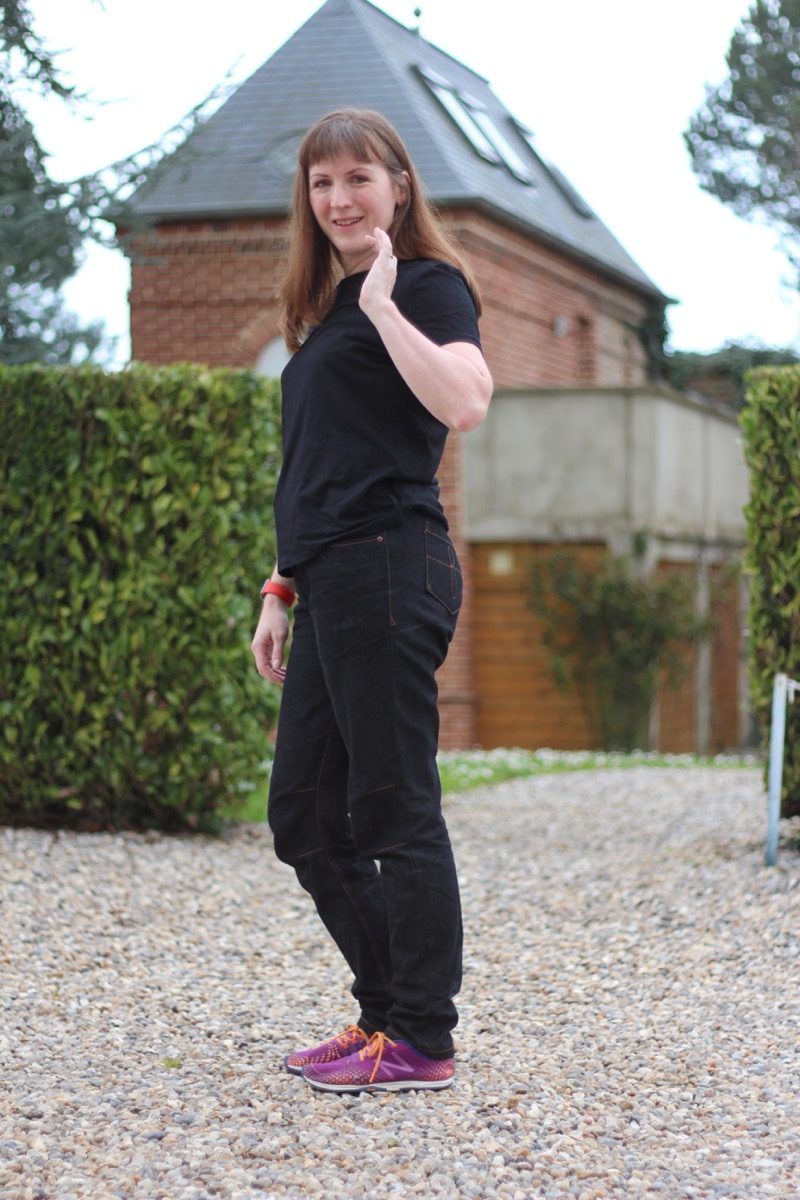
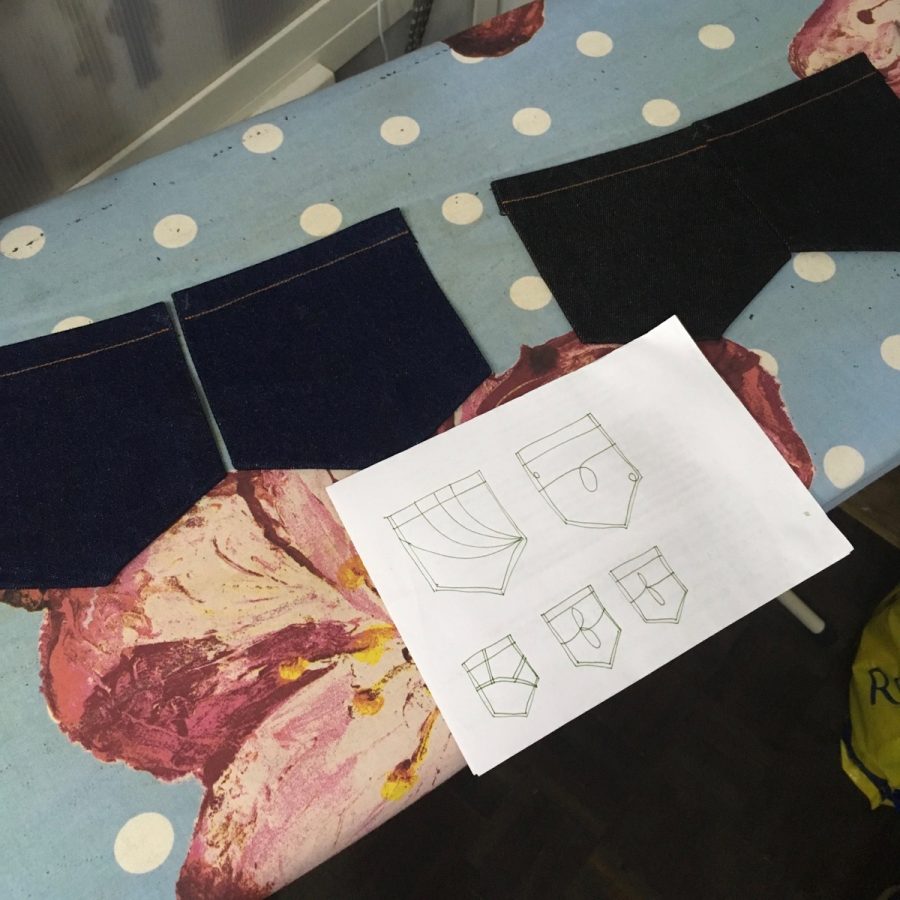
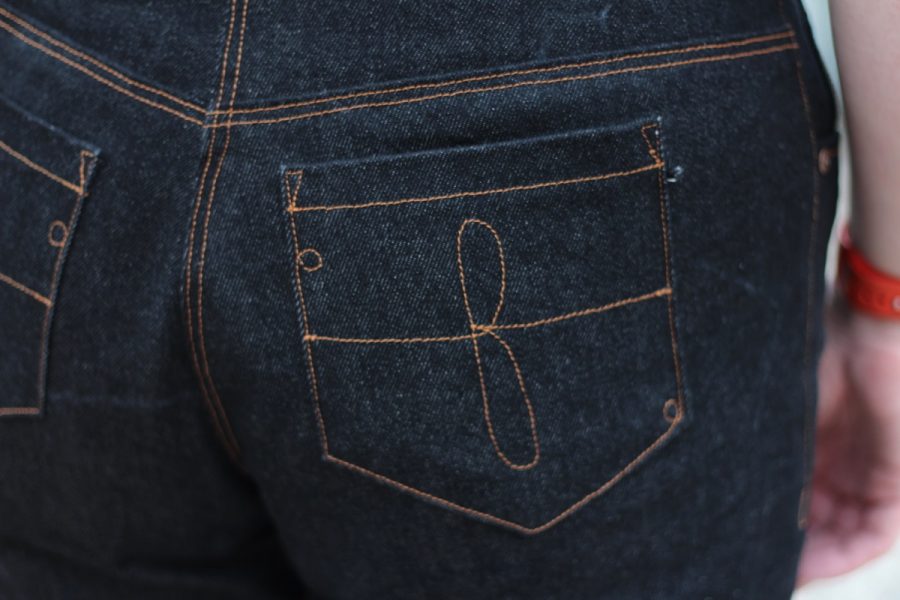
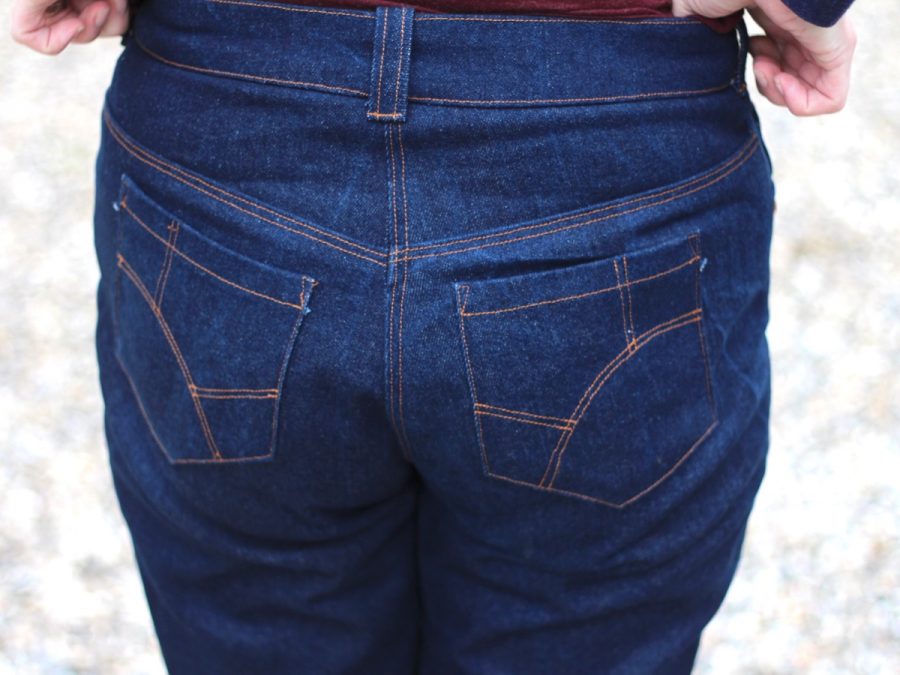
I may be creative in many ways, but back pocket designs are not one of them! I’m forever rehashing the same swoops I’ve used before (though Closet Case Files has a great, free pdf full of back pocket designs which I’ve gratefully used in the past) so this time I brought some sketch paper into the office and set aside time to sketch out back pocket ideas, ultimately settling on the geometric rising sun and stylised “f for fehrtrade” designs you see here. And because stitching identical curves with one hand wasn’t enough, I decided to add some loops into the edge stitching of the black pair, too!
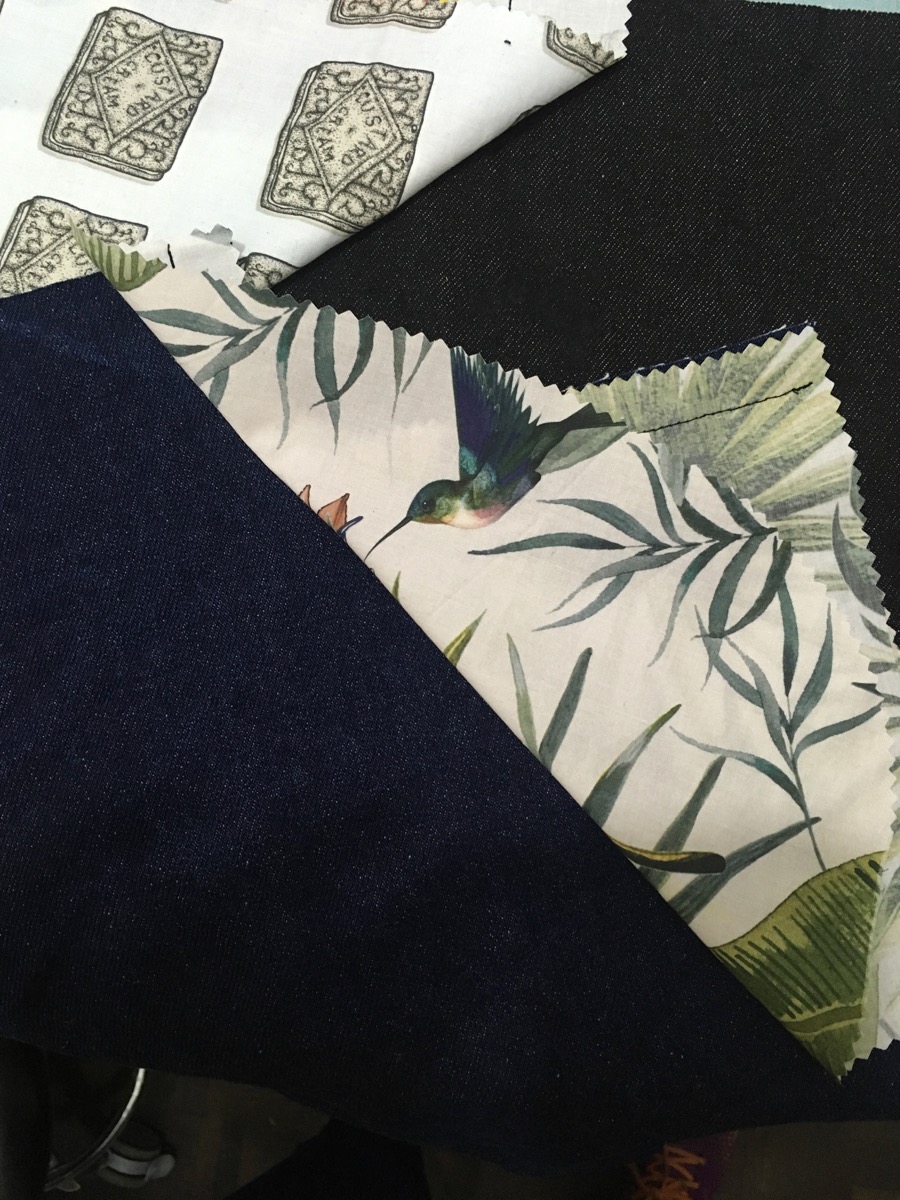
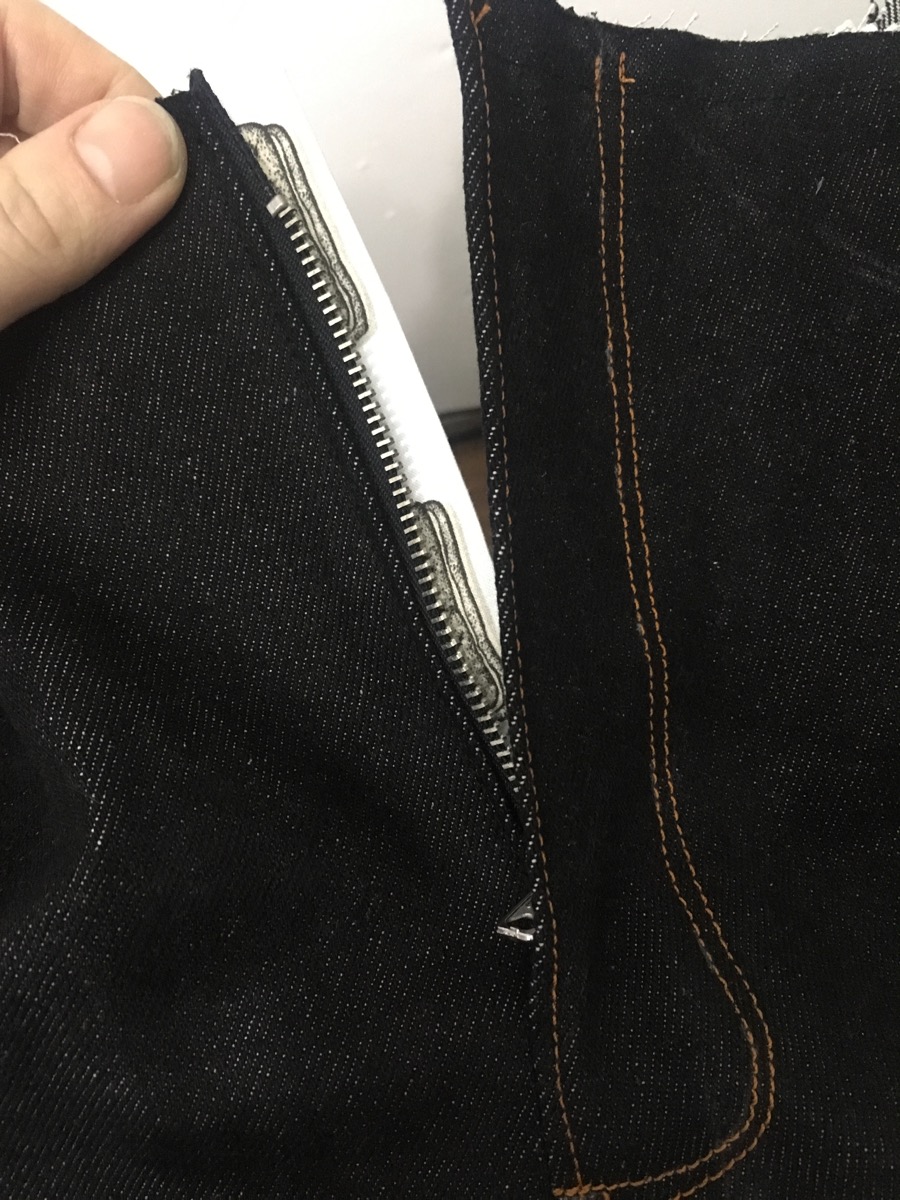
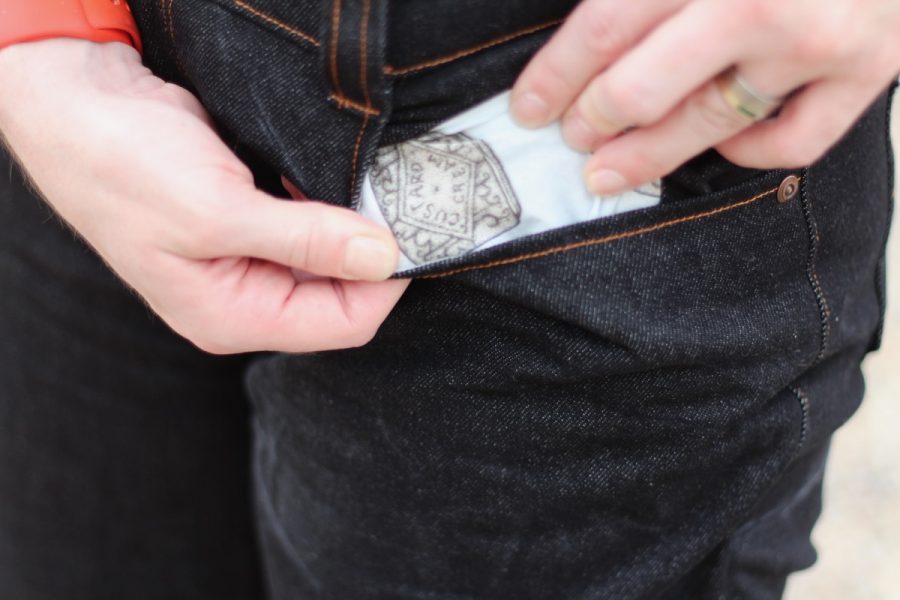
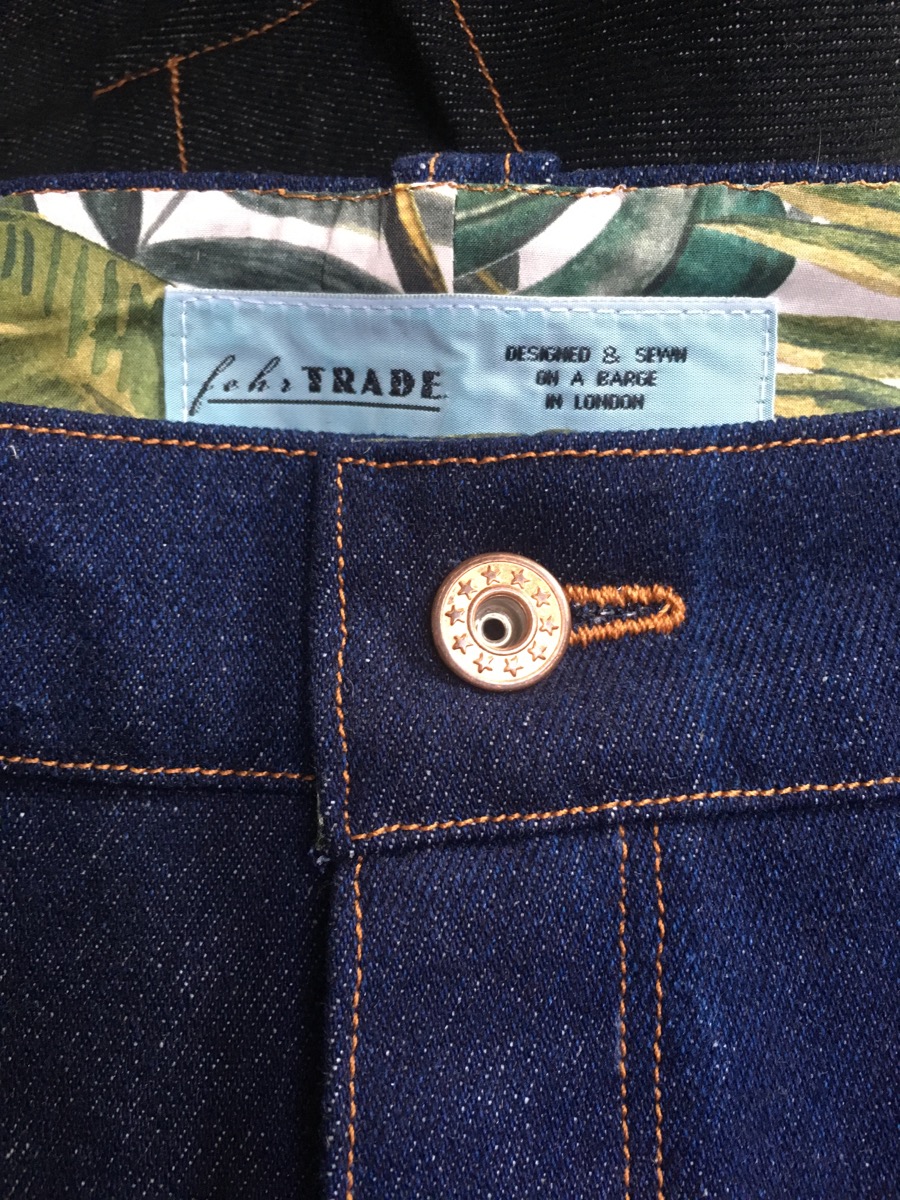
One of the nice touches I like to give my jeans are to have contrast pocket linings, inner waistband & fly underlap fabrics. This is really something only I can see, but it makes me happy every time I go to the loo, and it means I get to use up some scraps of random quilting cottons, like this biscuit design, or leftovers from other projects, like the botanicals from my Bettine dress last summer.
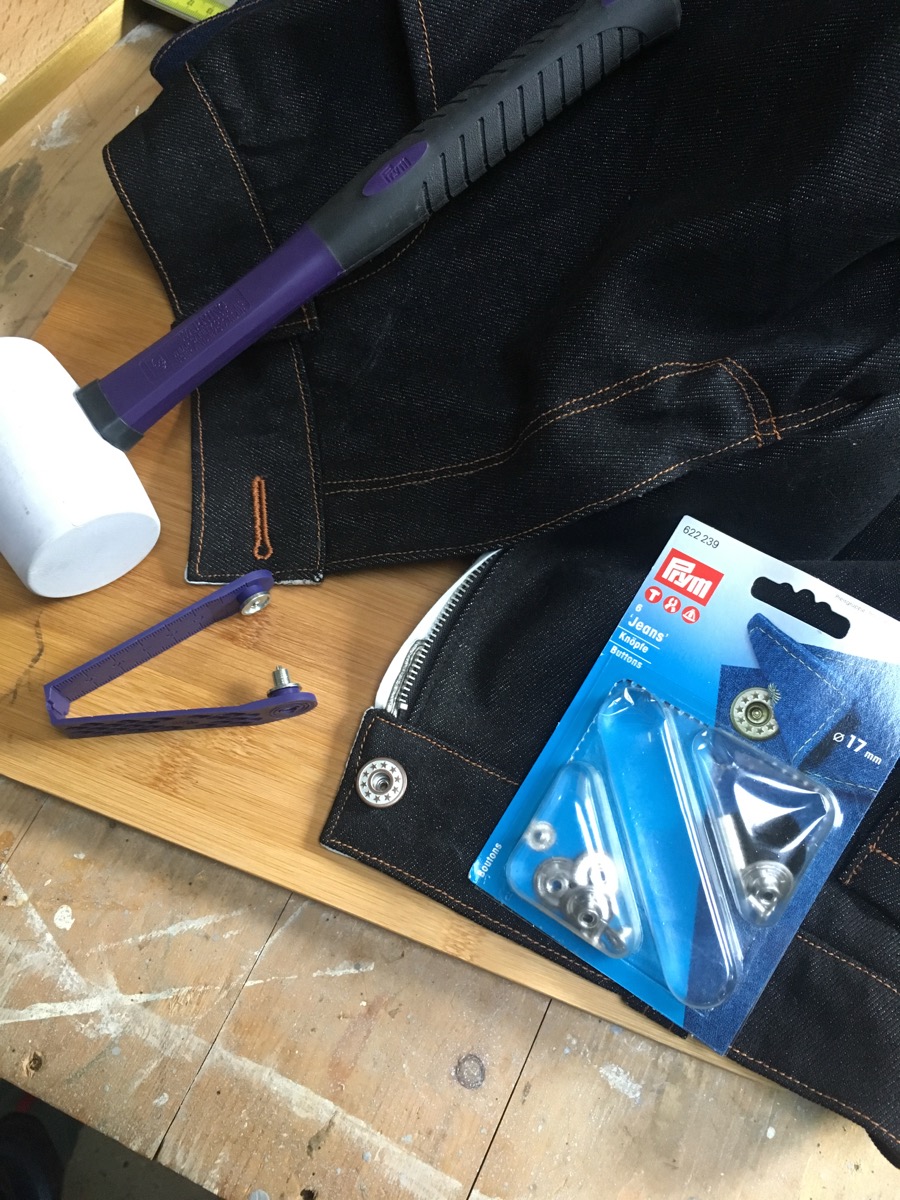
And another thing – life is too short for cheap rivets & buttons! I’ve had so many coat linings destroyed by cheap-ass rivets, and I’m sorry to say that the own of Cast Bullet died a few years ago and his daughter didn’t take over the business so I can’t personally recommend anywhere until my enormous stock eventually peters out and I have to go shop elsewhere. But I can definitely recommend the Prym all-metal jeans buttons. If you get the choice, always choose these over the ones with the plastic shaft which I’ve had fail while wearing over the years! Oh, and trim your rivets, people!!
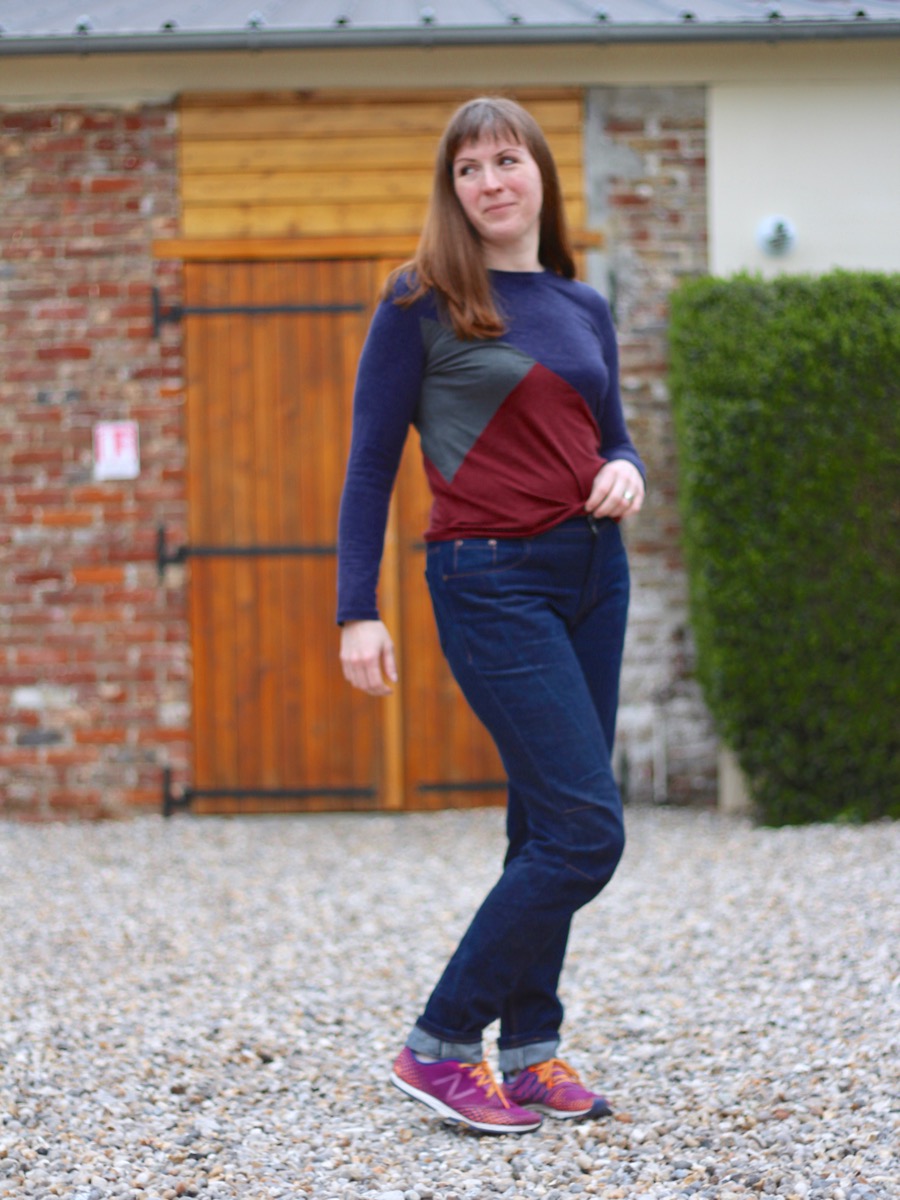
So you may have noticed that my jeans are a little too long, right? Well, another thing I’ve learned over the years (aside from the revelation that I need to sew them to fit like “just washed jeans” so they don’t end up too loose!) is that denim shrinks in length throughout the first ten or so washes. I haven’t got time to pre-wash my denim 10 times (2 or 3 is plenty enough for me, or until my hands stop turning blue), so I add in an extra inch or two to the leg length. It means I have to turn them up for the first month or two, but I’d rather that than having them be too short for the whole year or two after that!
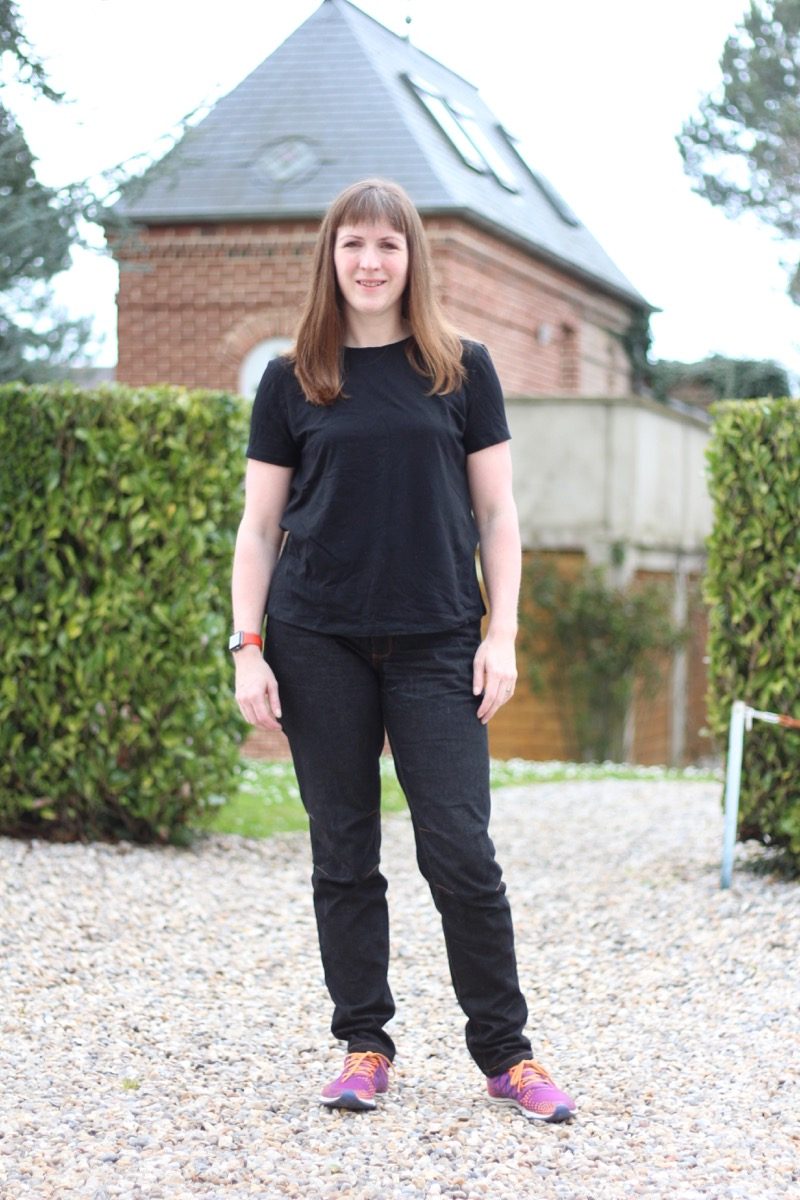
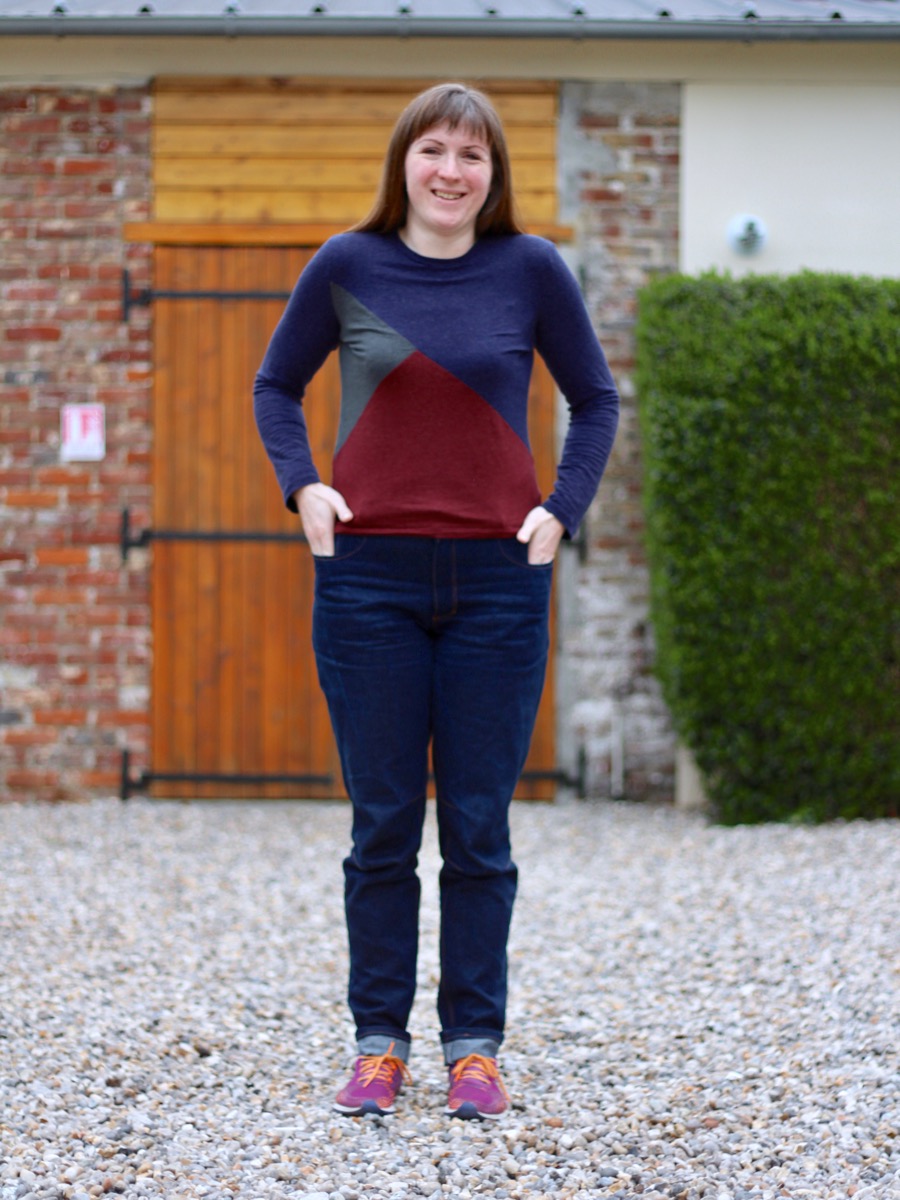
And finally, in case you were wondering – yes, I made these before my 40th birthday gown, not in the past week, ha! And you can see them worn with: my black soy jersey Loose Fitting Top Block, and my wool-blend jersey Tessellate Tee!

(Photos taken at our lovely hotel in France for our post-birthday getaway!)