Argh I’ve done that thing again where I get really busy in my sewing cave (and elsewhere!), ignore my laptop altogether, and end up accumulating a full week’s worth of posts that I can’t face writing. This usually bogs me down mentally for a few days until I realise I have to face the laptop at some point, and I work a “computer day” (I much prefer “sewing days”!) to clear the slate.
But a-ha! I gotcha, “internet day”, because I’m going to cram together all the updates I really should write about in one big go. Didn’t see that coming, didja?!? (frollicks off to the sewing cave…)
Birthday gifts
Thank you again so much for all your compliments on my galaxy print birthday dress last week! I’m not sure what I did right, but I ended up getting an awful lot of lovely sewing gifts this year…
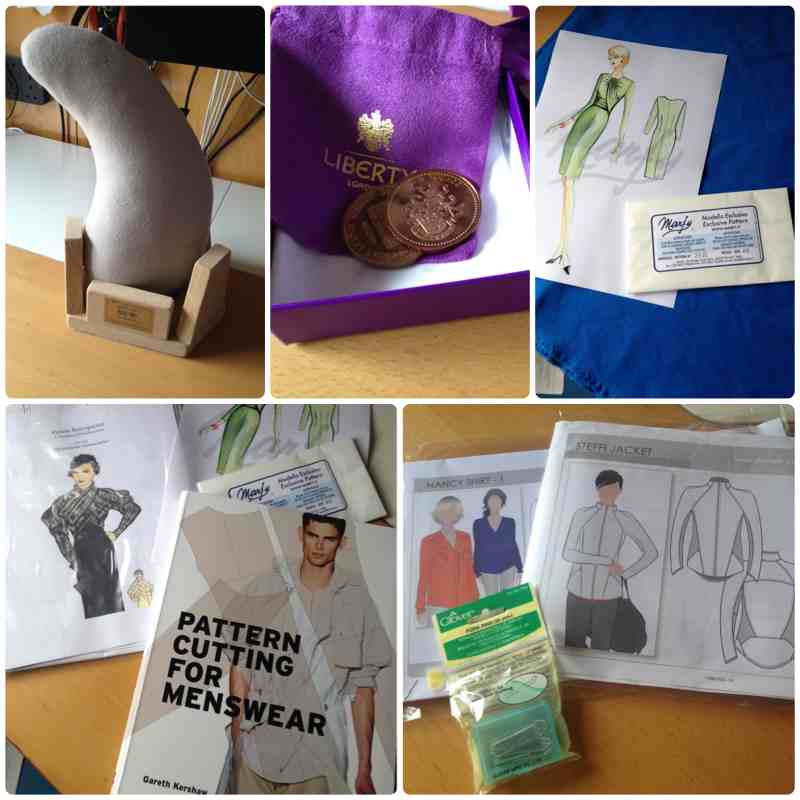
Clockwise from upper left:
- An amazing, handmade pressing ham and stand from Claire (protip: she’s selling these right now in custom fabrics so get in touch with her!). The ham is a funny shape because she’s cleverly designed it to mimic a crotch curve so you can really get in there and press it well, and the stand essentially acts and a hands-free for it! She also got me some royal blue ponte knit that was just so me that I cut it out the same day (seen in the upper right and below…)
- From my friend Jennie, Liberty gift coins! They’re like gift cards, but because Liberty are so damned classy, you get a gorgeous purple suede bag with special coins instead. Mmmm, shopping!
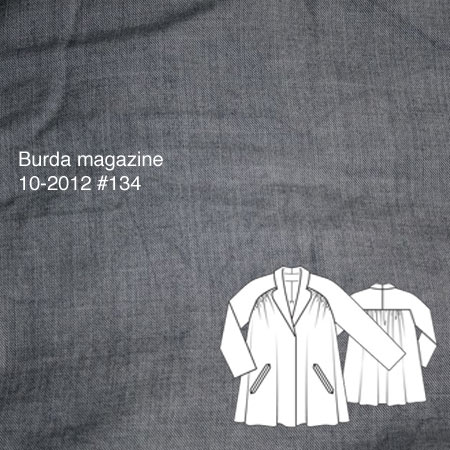
- From James, a Marfy dress pattern I’ve been lusting after for ages (Marfy 2935)
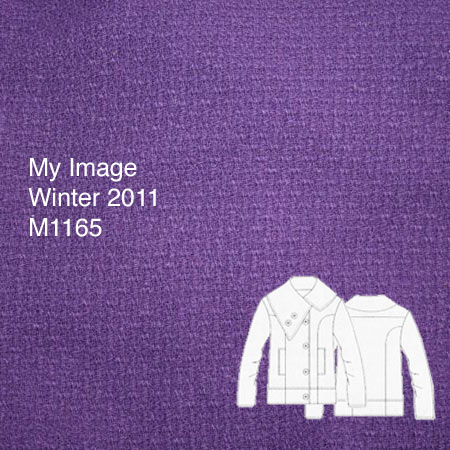
- From my inlaws, the Style Arc Steffi Jacket (and March freebie pattern, Nancy) and Clover fork pins (which hold silks in place better than anything else, apparently!). I’m particularly pleased with the Steffi jacket as I love the design and it saves me the trouble of drafting it myself!
- From James and my parents, an Eva Dress reproduction of a 1933 Katherine Hepburn jacket that I’ve literally had on my WishList for 3+ years (hurrah!), and a brand new Men’s drafting book that came recommended from Fashion Incubator and has better, modern designs included than anything I’ve seen actual patterns for. So I’ve got high hopes for that, even though it doesn’t contain a tight-fitting stretch block.
(I also got a bunch of books and running stuff, too, but I do attempt to keep this blog on topic!)
Marfy dress
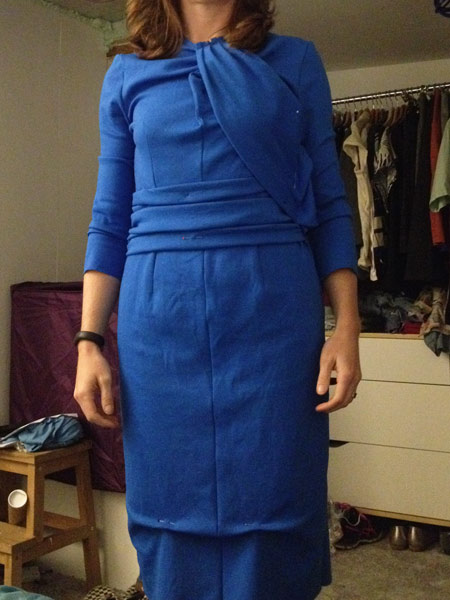
On my birthday itself, I decided I wanted to do some “fun sewing” and not “work sewing” (you make this distinction when you start doing this for a living, I’ve found), so I actually ended up cutting out Marfy 2935 in the blue ponte knit – surely a new record for both pattern and fabric to be used in less than 24hrs!
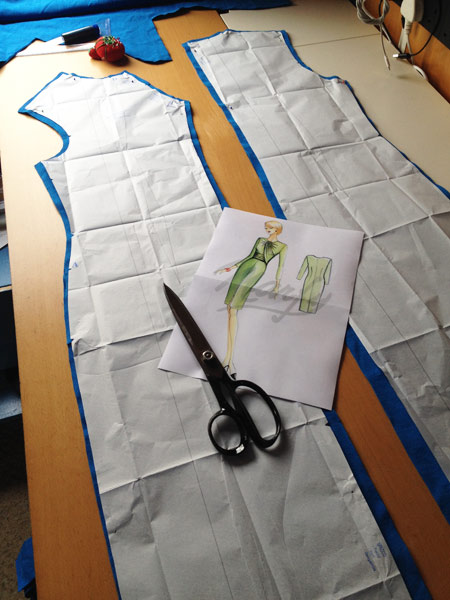
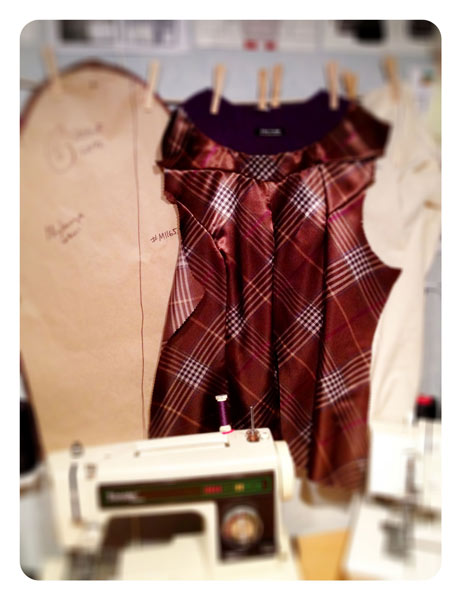
The first snag was that there was no pattern piece included for the horizontal waist drape on the green version – I emailed Marfy saying it was missing, but that I presumed it was just a gathered rectangle and could I please have the dimensions. Several days later, I got a vague and partial reply saying that I was correct and it was important that it’s cut on the bias. That’s it – no “yes, you should’ve received that piece” or “here’s the dimensions”, oddly.
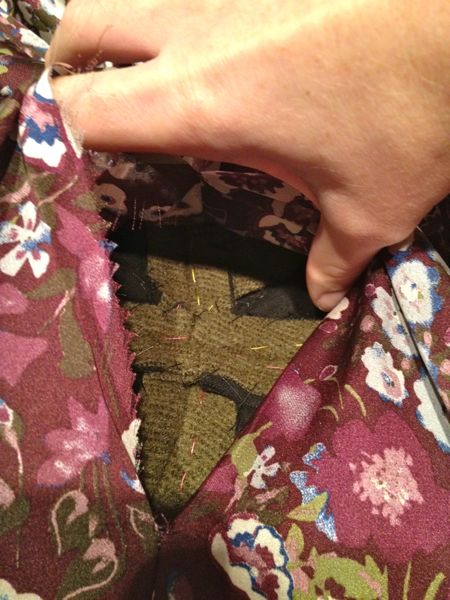
But I had already carried on with my dress using guestimated dimensions for that piece, and got to a try-on stage with basted side seams: