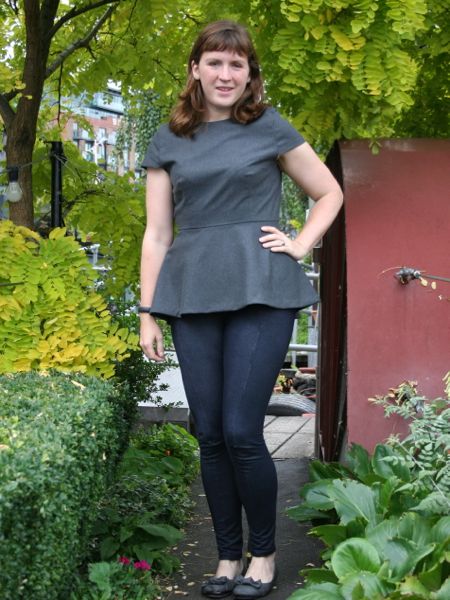
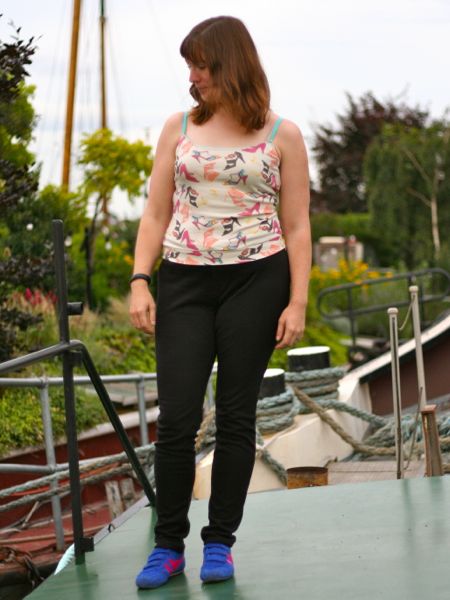
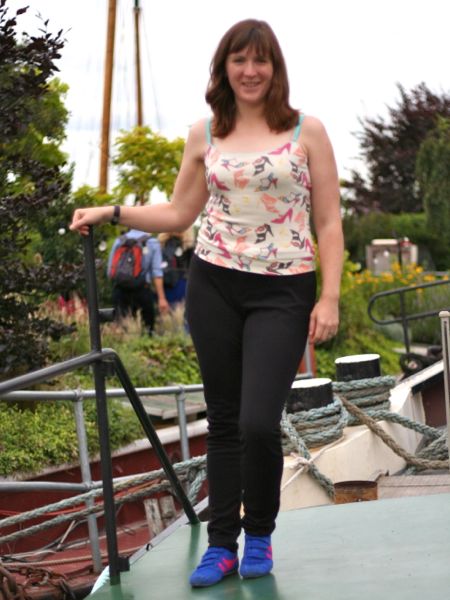
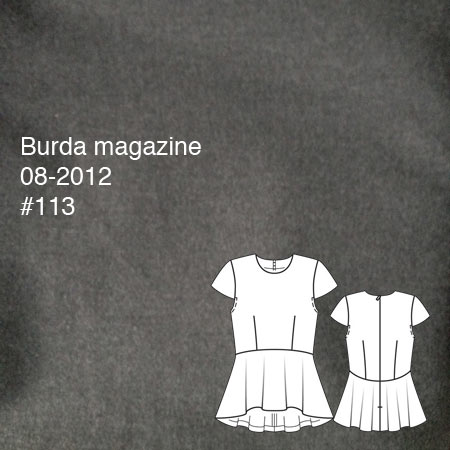
It should come as no surprise that I’ve been sewing this peplum top – after all, I shared my instructions on how to line this top already! But for those of you who are short in the memory department, this is #113 from the August 2012 Burda magazine, which is also available to purchase as a pdf download here (and you can look at the full instructions and layout diagrams on that site for free). There’s also versions with long sleeves or with a much longer peplum, extended into a dress, so there’s quite a lot of versatility here.
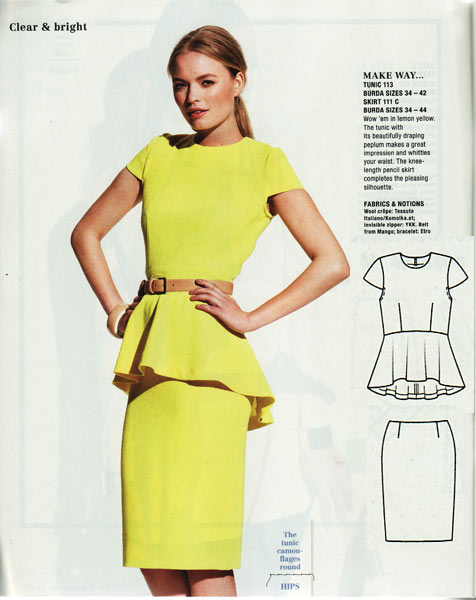
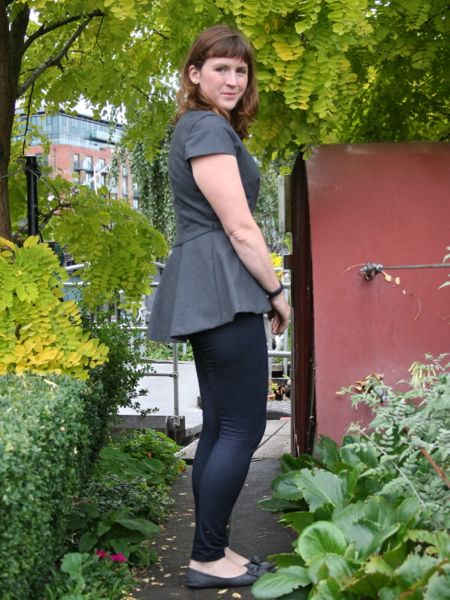
A lot of peplum dresses just feature a ring of excess fabric around the hips, but here, the curved waist seam plus the sloped hemline and bias-cut peplum on this particular pattern really sets it above the rest. I also like that it’s separates, so I can pair my top with a skirt, slim trousers, or leggings and get much more wear from it than just a single dress.
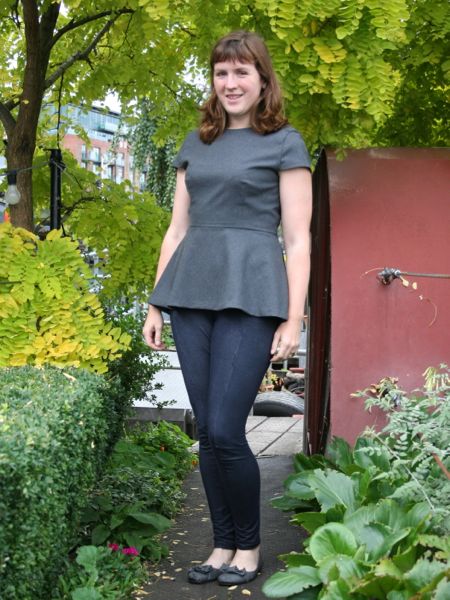
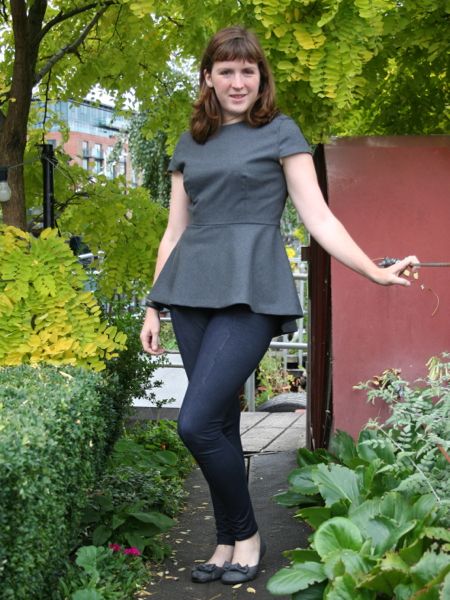
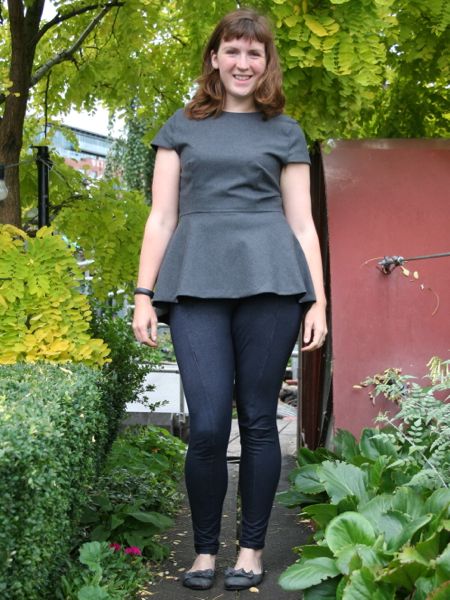
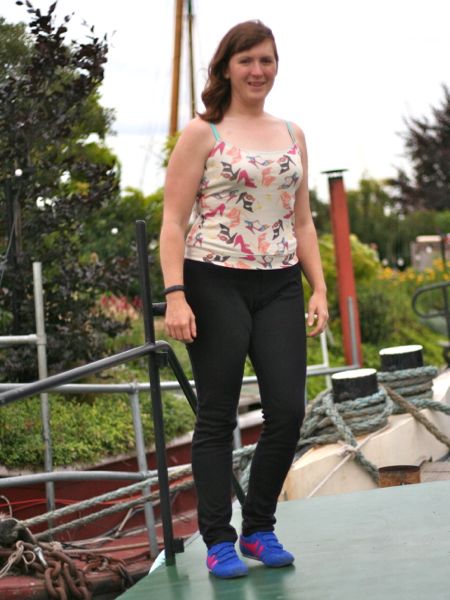
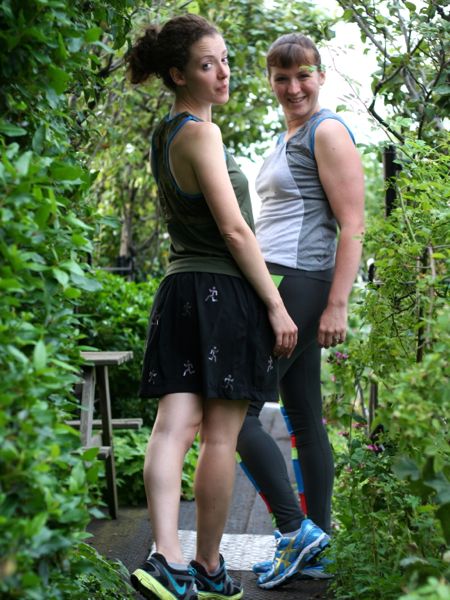
This is how I wore it to Karen’s V&A Ballgowns meetup, worn with my denim-look leggings I made a few months ago. I know peplums are really trendy right now, but I really like how retro 1950s this outfit looks even when made with completely modern patterns and fabrics!