You’ve already seen a peek of this fabric in the camisole I made from the leftovers, but let me now rewind a bit and tell you about how I came to print up the custom fabric in the first place!
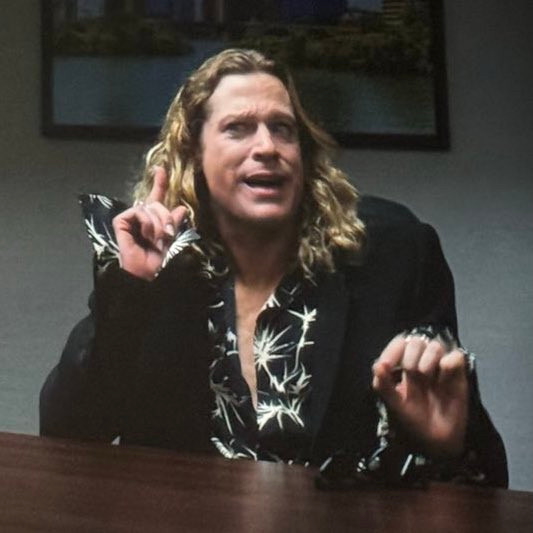
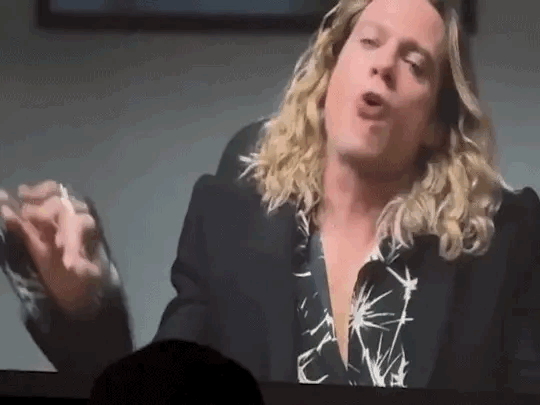
In the teaser trailer shown at San Diego Comic Con (and not officially released in HD) for series 3 of Interview with the Vampire (now called “The Vampire Lestat”), there’s a scene where Lestat and Louis have an argument in a room with each of their lawyers present. Lestat is wearing a monochrome blouse with a black jacket over top that I absolutely loved. Thankfully, others identified it as a SS25 Haider Ackerman silk print blouse. Since it’s relatively recent, I could find good photos of the blouse and the coat in the same print on eBay.
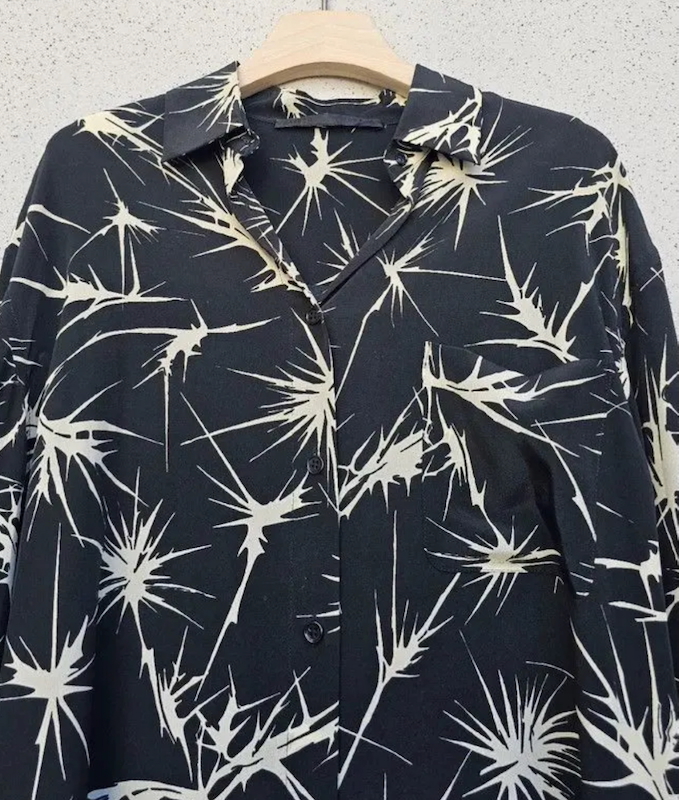

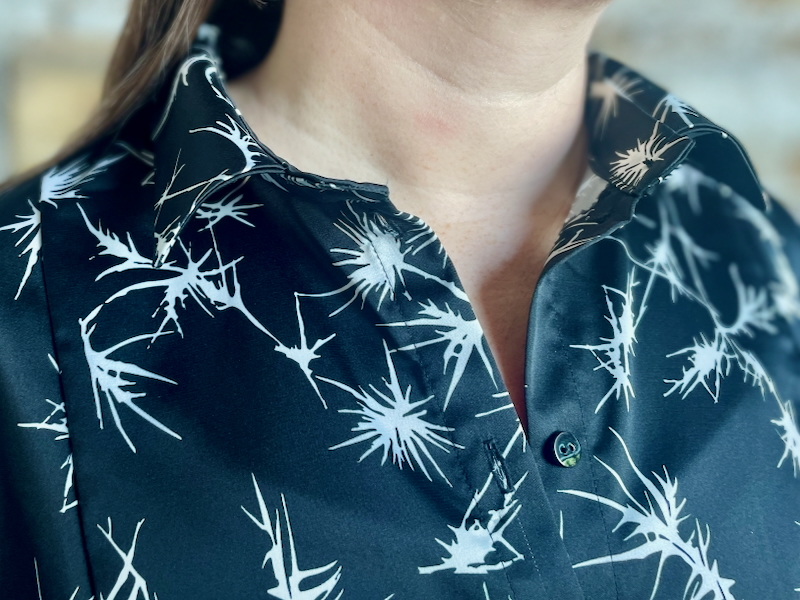
I used the photos to recreate a similar repeating pattern using Photoshop and Illustrator, then got samples printed at Maake in 3 different flowy, silk-like base fabrics: Eco Silk Twill at £19.75/m (on sale), Eco Gloss Satin at £21.95/m, and Eco Satin Flow at £19.50/m. I ummed and ahhed over the samples for a few weeks but ultimately decided on the more matte Eco Satin Flow, as it just felt a bit more “expensive” (despite being the cheapest). It has sheen and lustre rather than “shine”, and a lovely feel.
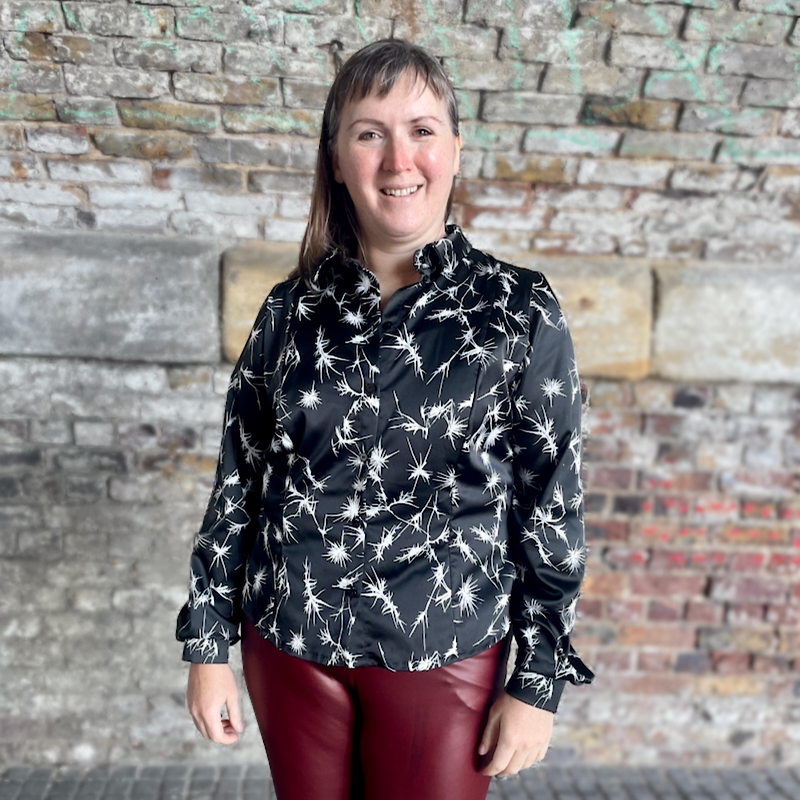
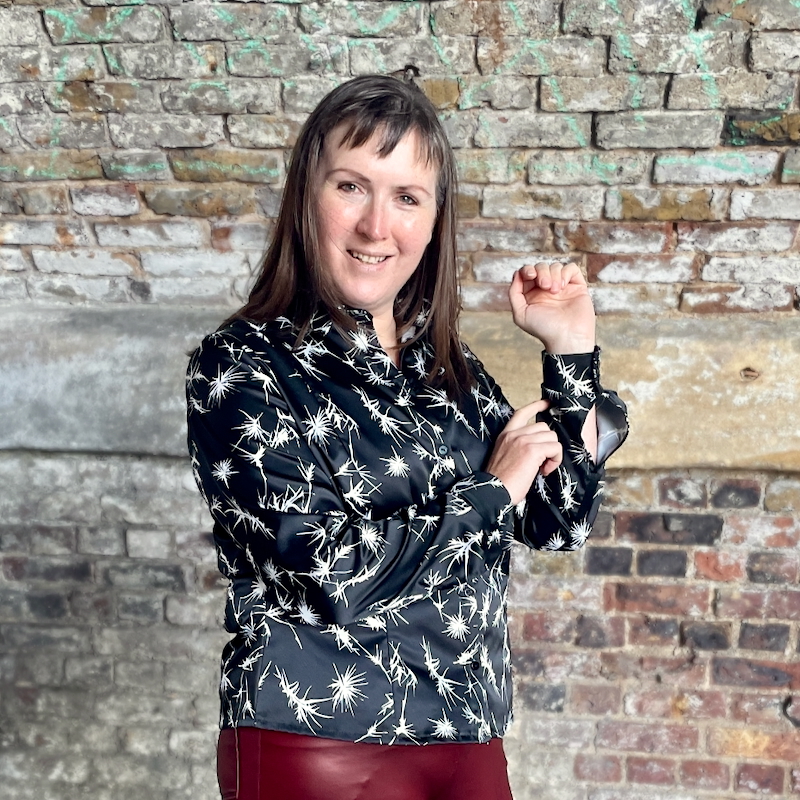
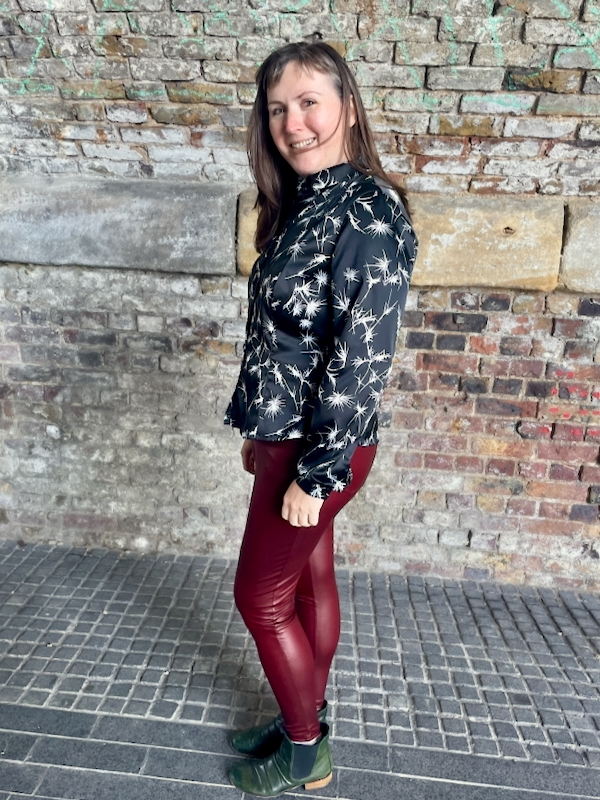
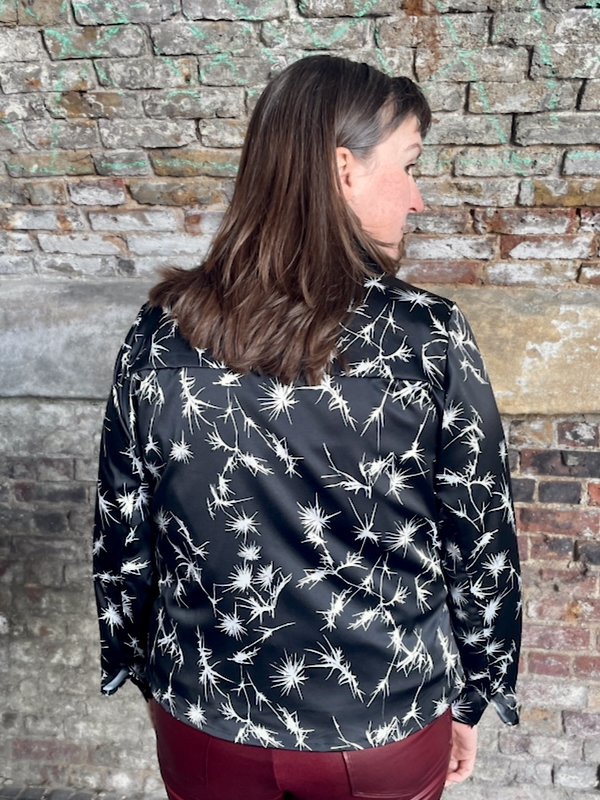
For the pattern, what else would I use but my beloved Named “Saraste” from their “Breaking the Pattern” book?? I’ve already made this as a dress twice, a swing top twice, and a long sleeved shirt once (ironically, as part of my Claudia tribute outfit!).
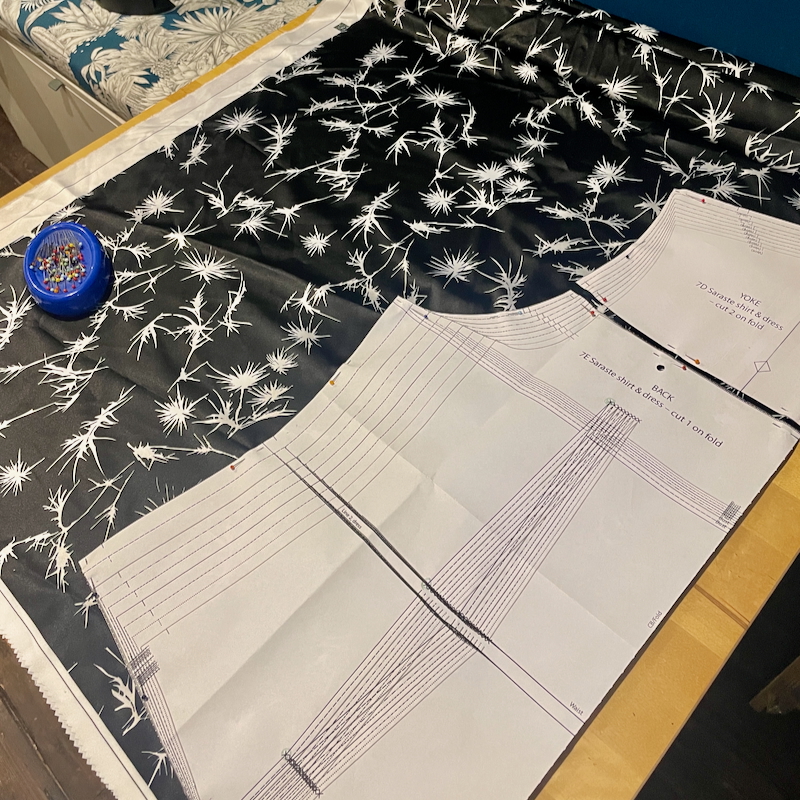
I needed to go up a few sizes from what I’d used before, so I had a fresh A0 of just the shirt pieces printed up so I could cut them in Size 9 (the largest! Eep!). I learned from the olive green wearable muslin that I could easily fit the pieces out of 1.5m fabric (so long as it wasn’t a directional print), but unfortunately Maake only take whole meter orders so I had to buy 2m. So the fabric alone was about £40 for this shirt – not cheap but still far better than paying for the designer version!

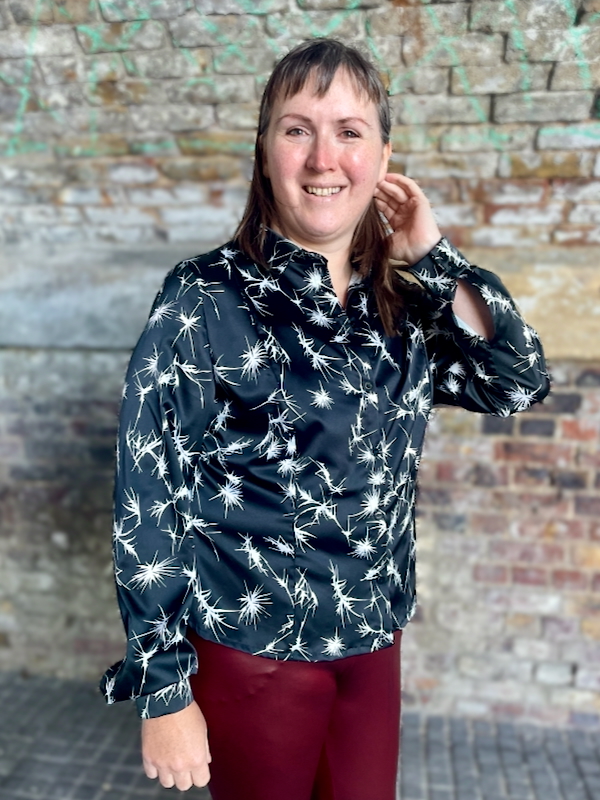
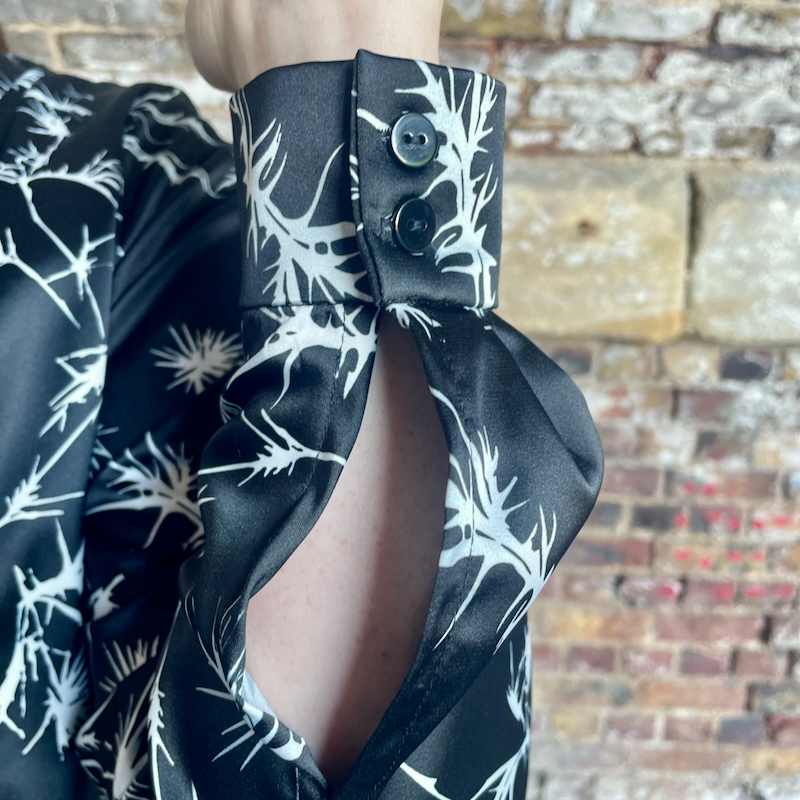
I lengthened the sleeves so that they billow out above the cuff when buttoned, but also crucially stick out past the jacket when unbuttoned so they can flap around when hands are waved about theatrically! I originally lengthened the sleeve by 4cm for my olive green wearable muslin, but this was nowhere near enough. So for this version I doubled this to be 8cm longer than drafted.
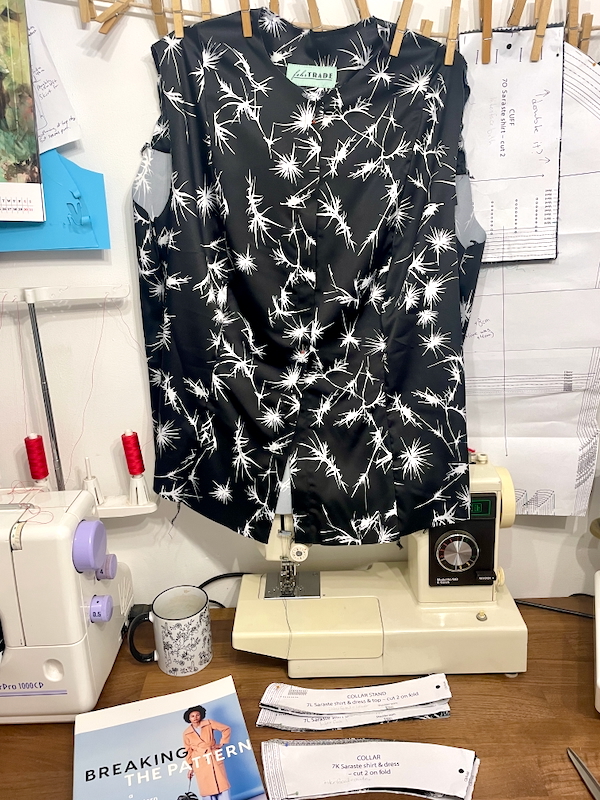
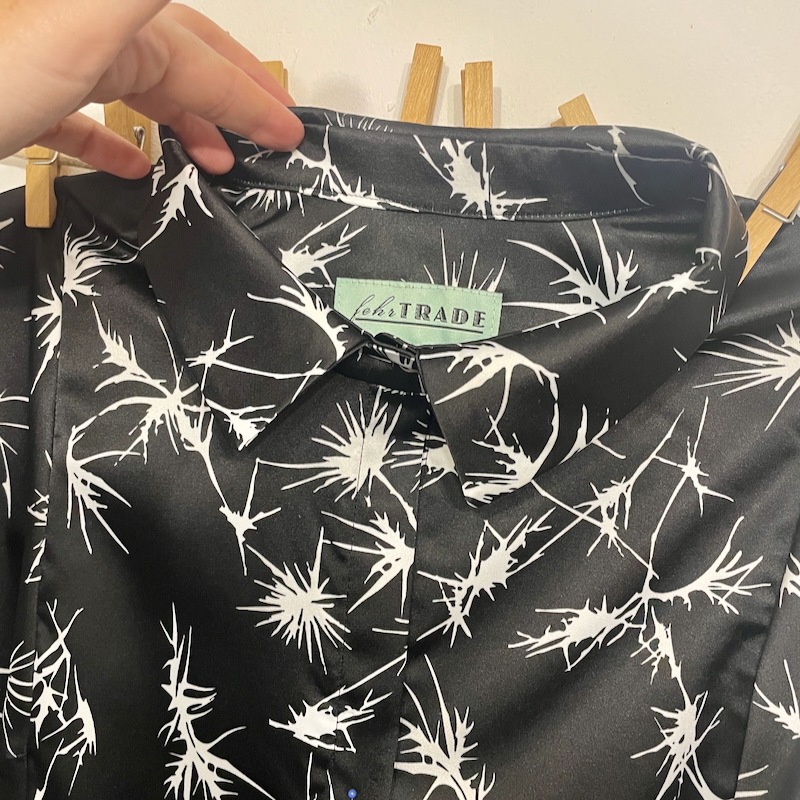
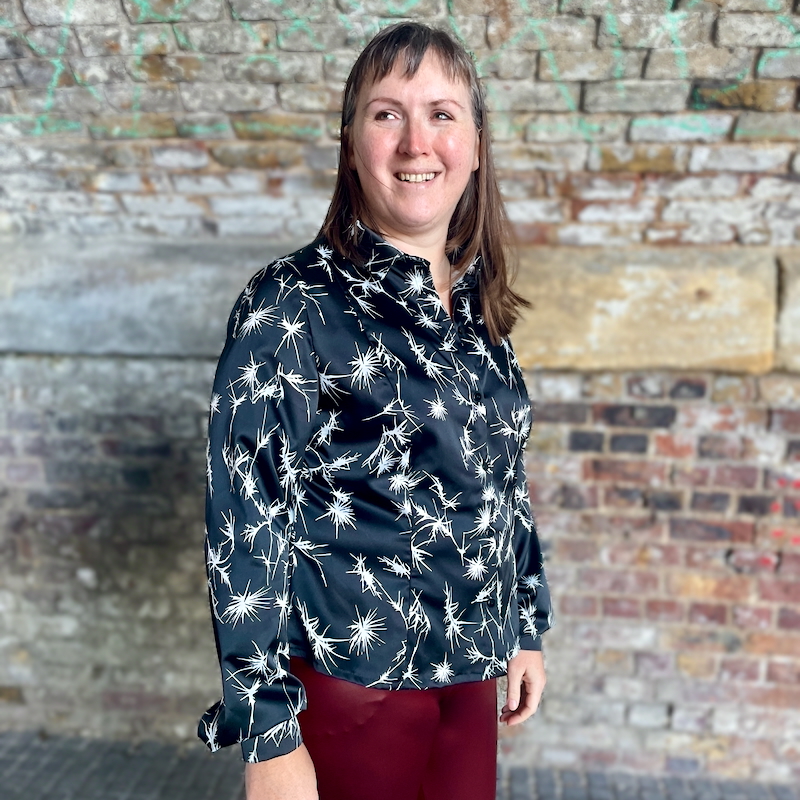
I bought 11mm black river shell buttons from MacCulloch & Wallis (11 for the shirt plus an extra for inside, just in case I ever lose one), and they’re extra luxe and very high quality.
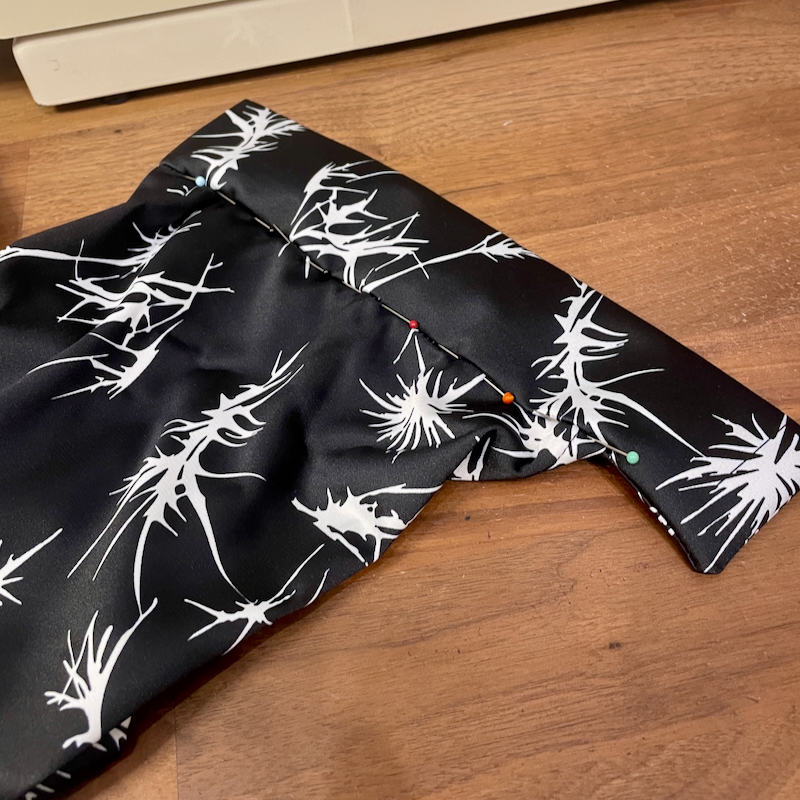
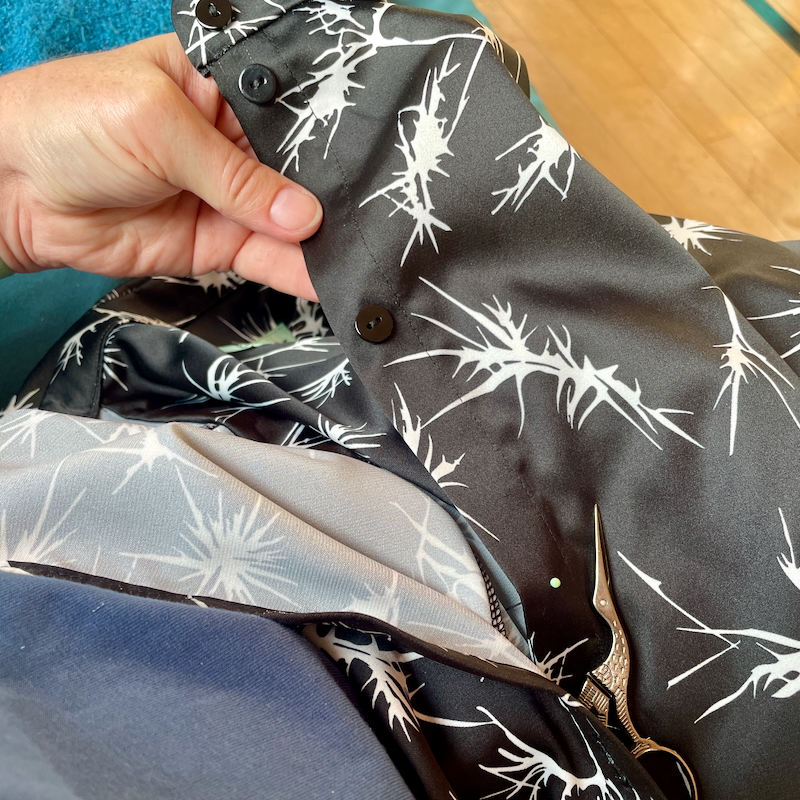
As with the olive green version, I sewed this using the overlocker for the main seams, and my sewing machine with a microtex sharp needle for the rest. I enclosed seams wherever possible, like on the yoke seams where I could burrito them. I could’ve done french seams instead, but I hate doing them on 1cm seam allowances, and the overlocker makes them just as tidy and unlikely to fray.
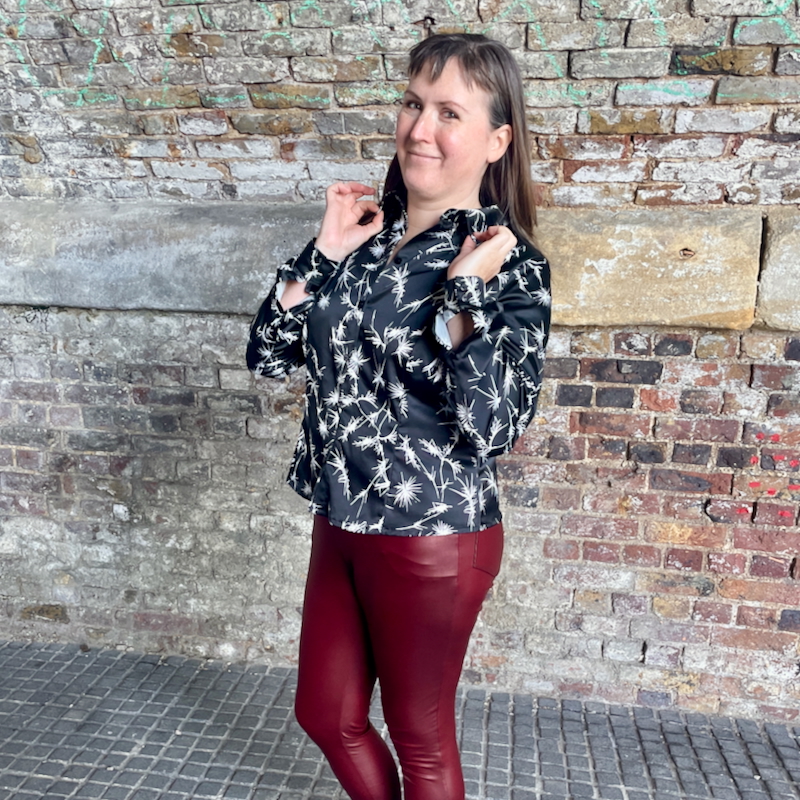
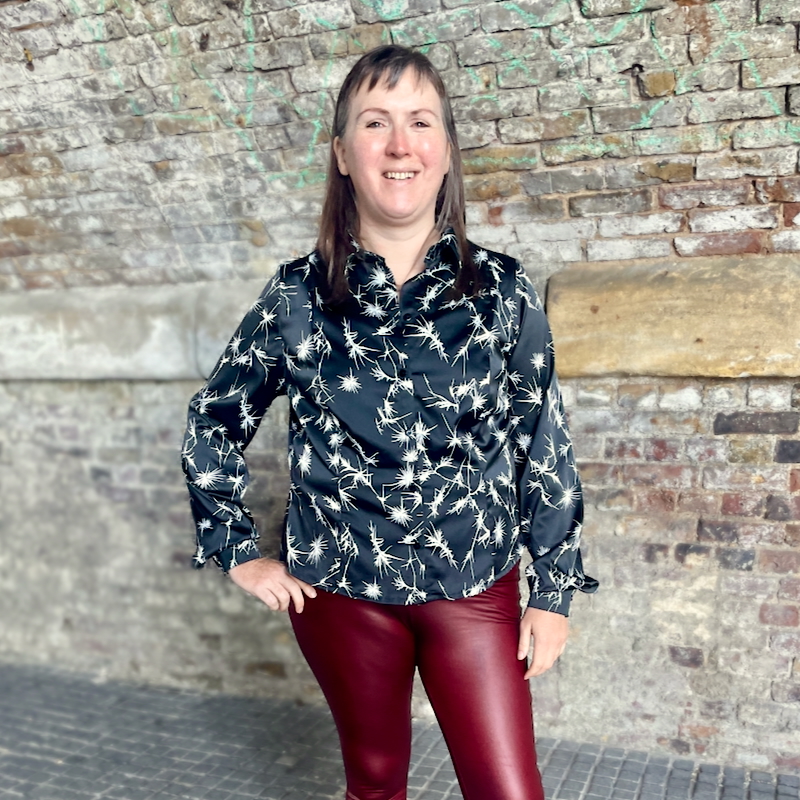
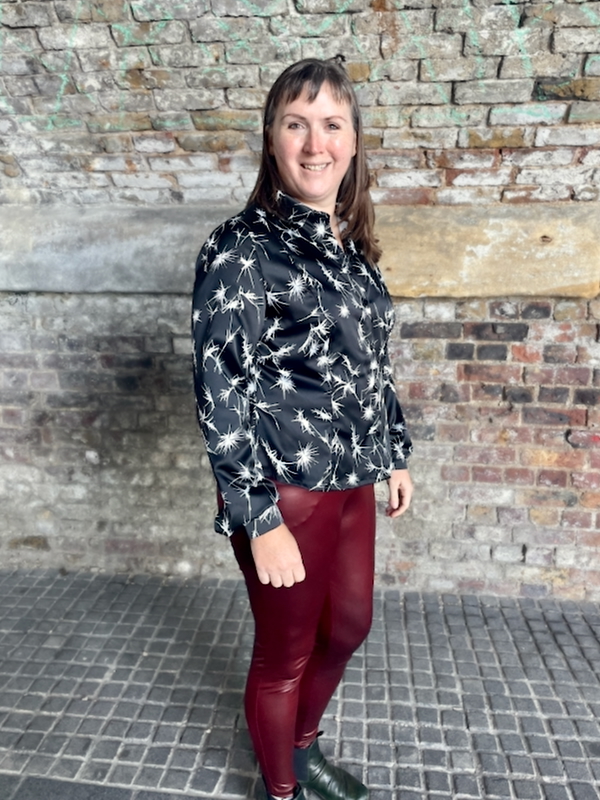
I absolutely love the fit of this shirt! I’m glad I left off the waist darts again as this just feels so easy to wear and effortlessly chic.
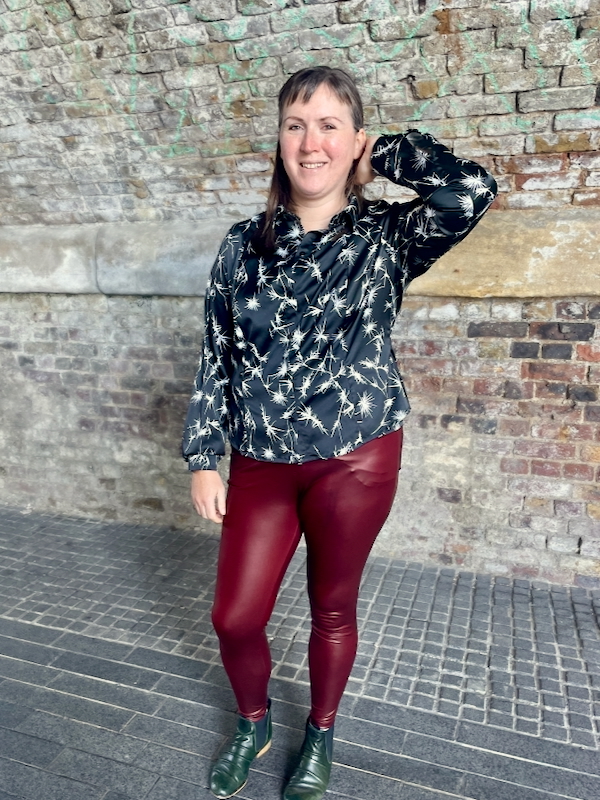
I may have made this in tribute to My Show, but unless you’re one of the hardcore fans, you’d just think it was a nice blouse! As much as I love my branded vinyl show shirts, I also love “undercover looks” like this one.
Stay tuned because I’ve got posts coming up on two more components of this Lestat Tribute look, plus a specially styled nighttime shoot with them all together, too!