This week we’ll be talking about one of the most popular designs in my “Sew Your Own Activewear” book (that is, if your initial To Sew list intentions are anything to go by!), the Active Jacket! I was so lucky that my publisher gave me absolute creative control with the contents and designs for this book, and I knew from the first conversations that I wanted to include a jacket of some sort. They’re the sort of garment I wear all the time, whether it’s on my cycle commute, marathon training, or just to wear after a race, but for some reason I never quite found the time to release a pattern for one. So the Active Jacket was born!
The description in the book sums it up pretty well:
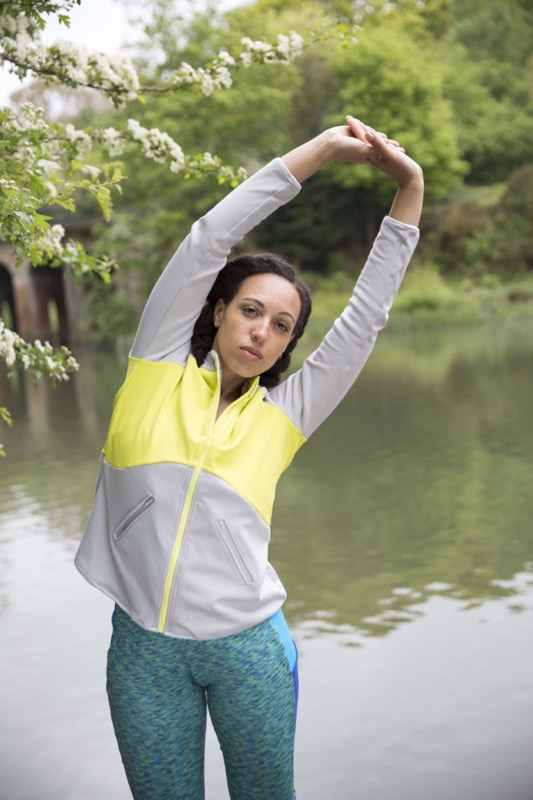
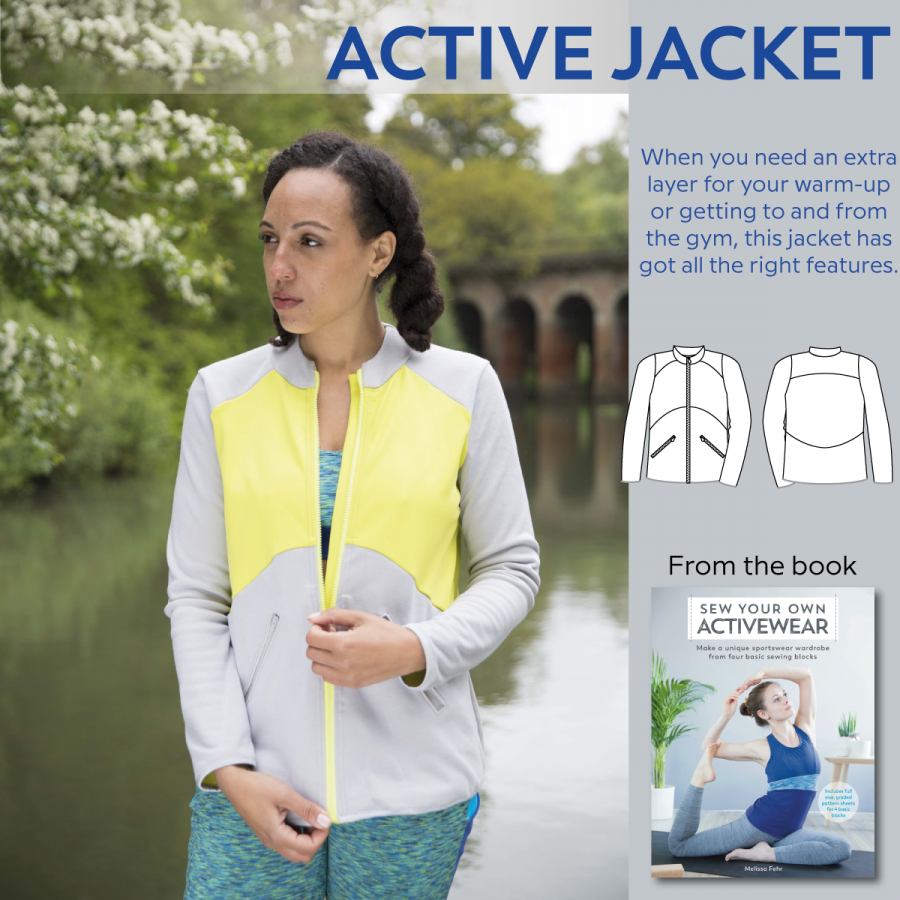
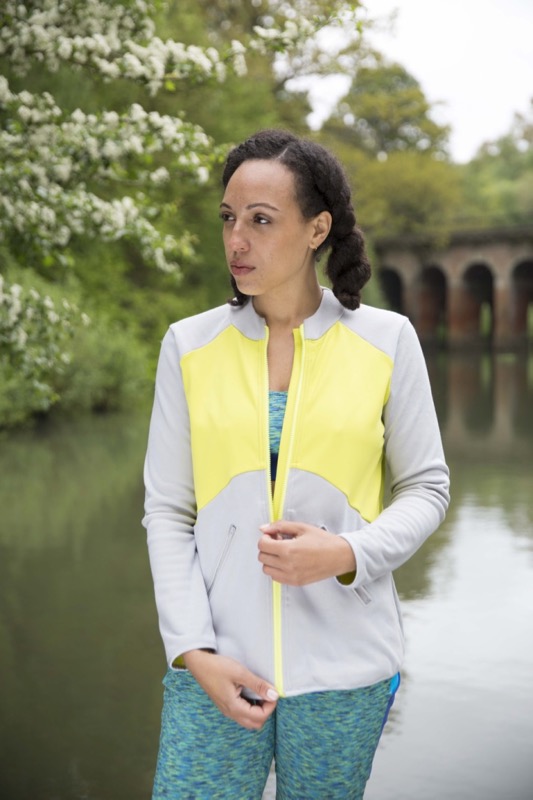
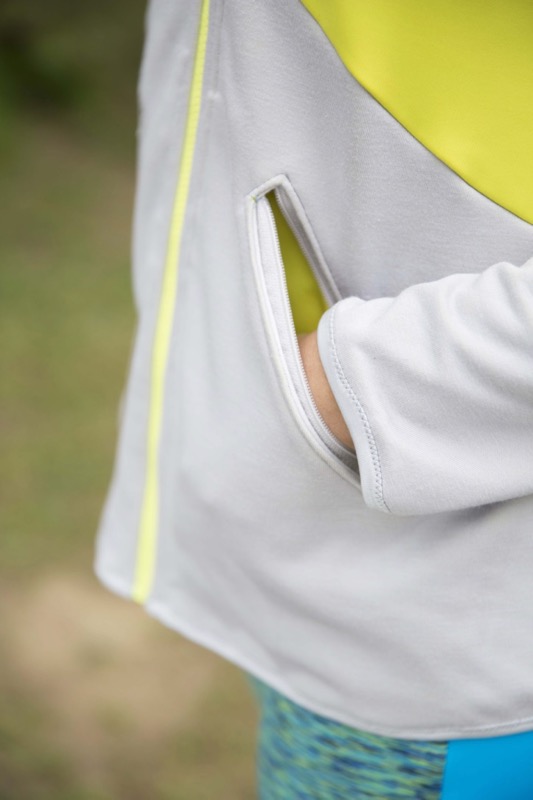
“When you need an extra layer for your warm-up or getting to and from the gym, this jacket has got all the right features. A one-piece shoulder yoke plus flattering curved seamlines in the front and back provide ample opportunities for colourblocking or reflective piping, while a faced standing collar keeps the chill off your neck. The two big zipped (zippered) front pockets keep all your essentials secure, and the opening front zip (zipper) (complete with zip (zipper) shield) makes it easy to regulate your heat. The hem and sleeves are finished off with binding to keep the edges from being too bulky, meaning you can still maintain a great silhouette even when layering up.”
This is one of the more involved/advanced projects in the book, both in terms of drafting and sewing, but don’t let that put you off! I’ve spent loads of time drawing all the illustrations out for every step, then re-drawing, zooming in, and splitting off different views in order to make the instructions as clear as possible. Just take it one step at a time, and you’ll learn so much from this jacket that you can apply to lots of other projects, too.
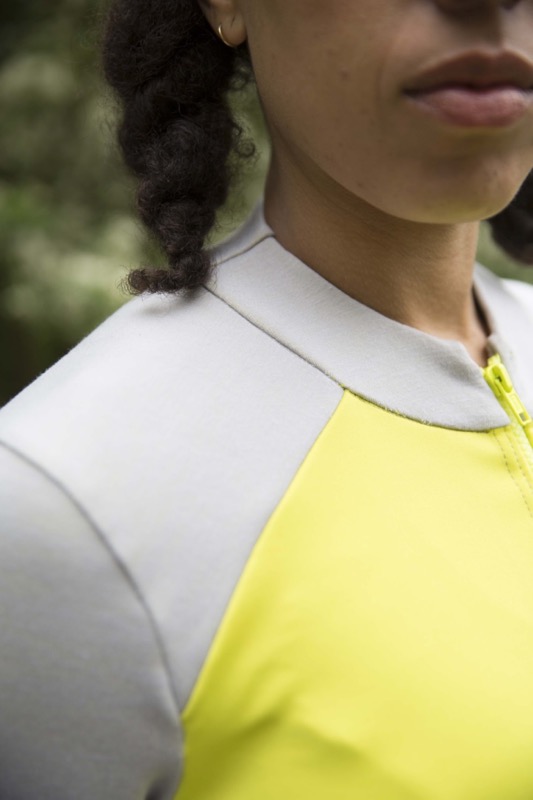
The collar on the active jacket is curved and faced (unlike the extended neckband on the Winter Base Layer, for example, which is rectangular) as this is designed to be made in heftier fabrics with lower stretch that would lay funny if it wasn’t curved to match the neckline. You’ll learn how to get a nice, clean finish on the inside so you don’t have any raw zipper tape scratching against your neck, and that front zipper closure features a fly shield to further protect you plus block the wind, too.
It’s not apparent in the tech drawings, but there’s no shoulder seam on this jacket! The yoke piece stretches from the upper back to the upper chest, and you’ll learn how easy it is to join pieces together to omit that shoulder seam. This is particularly useful for outdoor jackets to prevent rain or snow from sneaking in through the stitching!
They may look intimidating, but I swear the zippered welt pockets on this jacket are really very straightforward! They key here is interfacing, but a bit of magic tape can also help in the topstitching step, too. You can also use scraps of thinner activewear fabric (hello old race shirts!) as the pocket linings to reduce bulk, too.
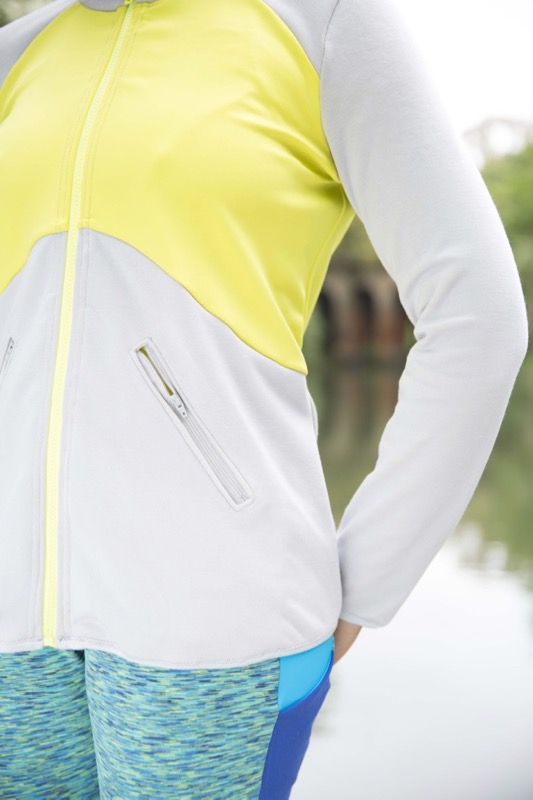
For the sample our athlete model, Sanchia, is wearing in the book, I’ve used some fantastic double-sided scuba/jersey from Fabrics Galore (no longer available), but any hefty activewear fabric would work here – tech fleece, softshell, sweatshirting, or the like. Just pay attention to the cross-wise stretch of your fabric, and if it has less than 20% stretch, you may need to add some extra ease to the chest, upper back, and sleeves in particular to give yourself back some mobility room.
After I found the lovely grey and lemon scuba, it was a bit of a hunt to find matching zippers, both for the pockets as well as the opening zip. Yellow zippers tend to be either canary yellow or hi-vis, neither of which looked right! But eventually I found a great match from Pennine Outdoor, and the silver grey stretch binding from Minerva Crafts blends in perfectly as a lightweight hem finish on both the bottom edge of the jacket and the sleeves.
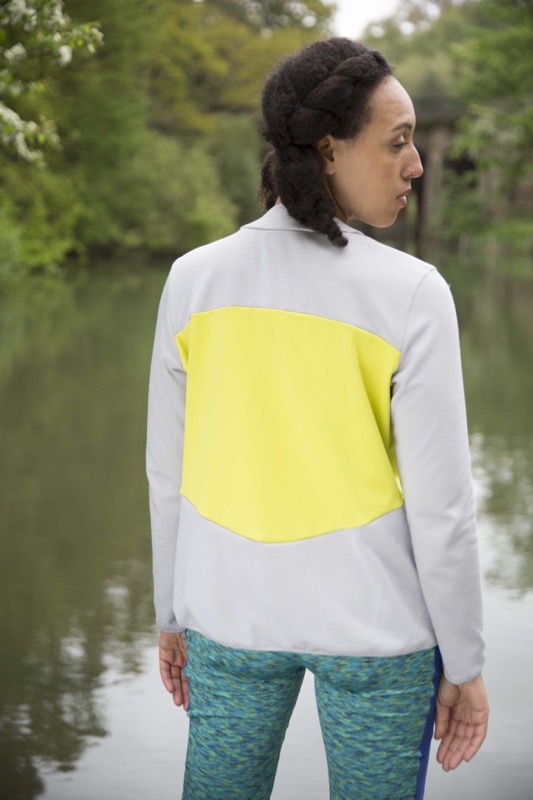
The back view got cut from the book, but you can see it here, and trust me that the body seams wrap around nicely at the side seams, too.
Also, if you missed my newsletter over the weekend, “Sew Your Own Activewear” is out now WORLDWIDE! Yes, it was released in Australia last week, and as a surprise, it’s out in the USA ahead of schedule, too! You’ve still got til 30 March to claim your free bonus pattern if you’ve bought through Amazon, though (if you’ve bought elsewhere and want it, you can email me proof of purchase and I’ll send it to you, but it’s not automated so it might take me a few days). All the details are on www.sewyourownactivewear.com!
You may have seen an accidental sneak preview of the softshell jacket I made for myself, but you’ll get a proper view of it later this week! Who’s got an Active Jacket in their Spring or Fall sewing plans?