We’ve got a holiday coming up in September, and despite the destination being decidedly un-beachy (Berlin! By train!), we’ll actually be spending four days entirely in swimsuits while we celebrate four wedding anniversaries at Tropical Islands.
I’ve still got two me-made swimsuits I’m really happy with – this Aztec-print Seamwork one from 2015(!) and the pastel bikini set I made last summer for lounging in our hot tub. But it’s always fun to make something new for a holiday, and since I’ll literally be walking around in my suit for the entire day, I didn’t feel like it was too extravagant to sew some more.
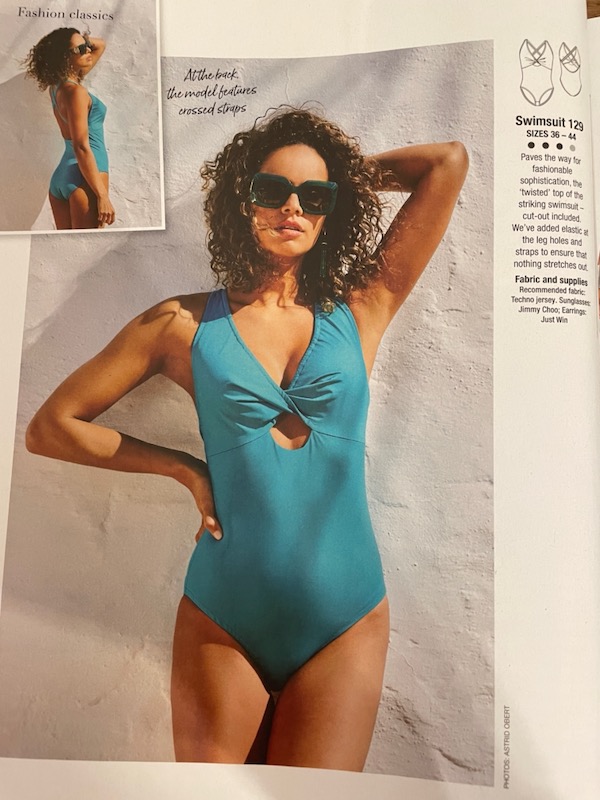
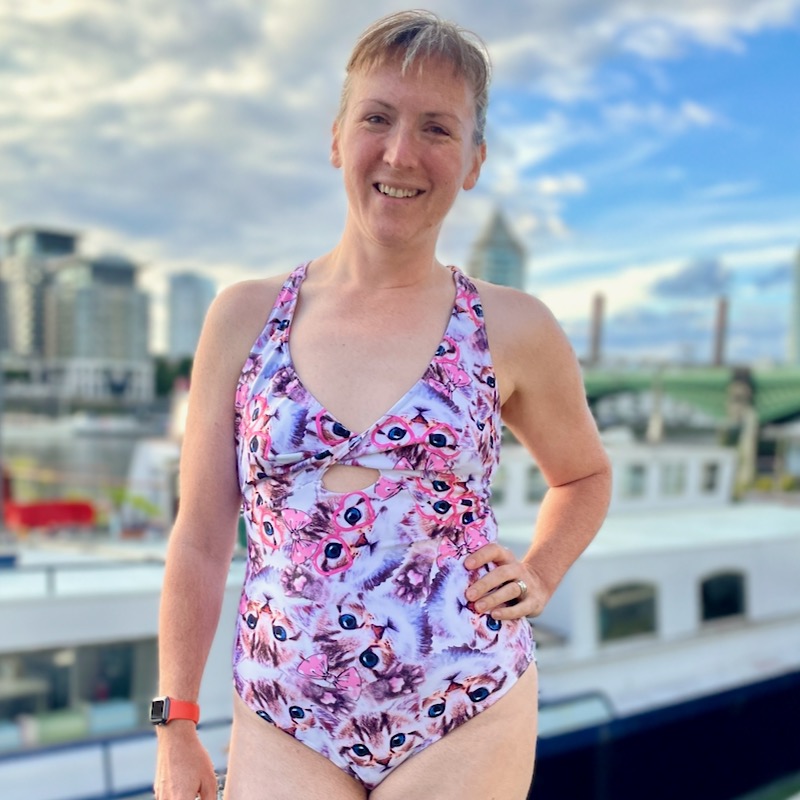
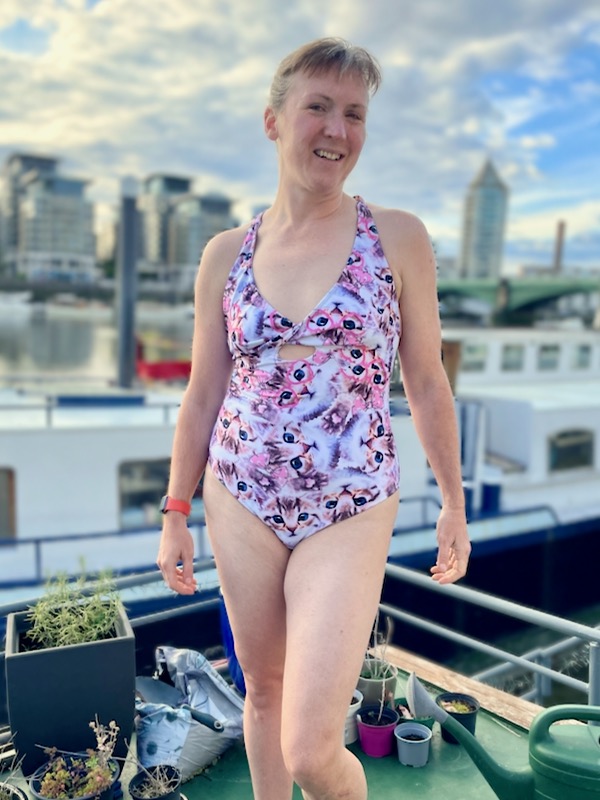
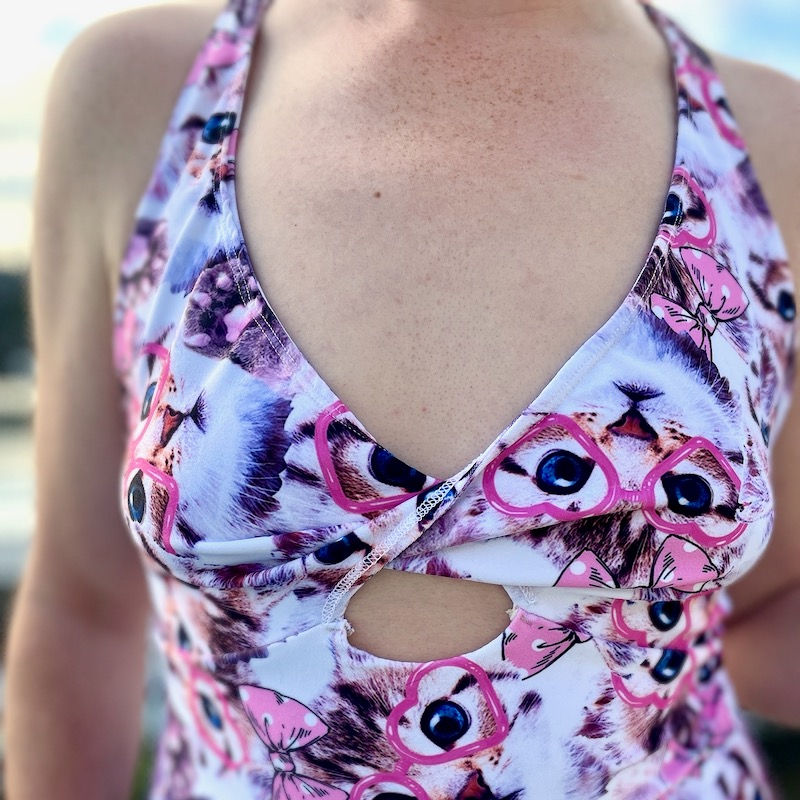
It’s been a while since I made anything from a Burda magazine (despite my subscription), but I really liked the look of #129 from the June 2023 Burda, even though the sewing and fabric choice on their sample is really, really bad! But I liked the design with the twisted bust and cut-out detail, and I thought it’d be nice to have a casual one-piece suit since my others are bikinis.
The fabric is a story in and of itself – I saw Smittenness on Instagram post about it in her Stories and I instantly messaged her with “omg WANT, where did you get this crazy fabric??” and she thankfully indulged me. So we can be crazy cat lady twins together now! The “Cute kitty cat kittens paws glasses” print stretch spandex is from BlueMagikClothing on Etsy, at £10.99/m, and I had plenty leftover from the 1m I bought. So who knows, you might see some hot pants in the future, too!
Since the fabric was a little thin, and also pale, I lined the lower front with cream recycled Econyl swimwear lining from Good Fabric Store (currently sold out but they do have it in black and latte). I would’ve lined the top front as well but it’s already two layers of exterior fabric thanks to the twist.
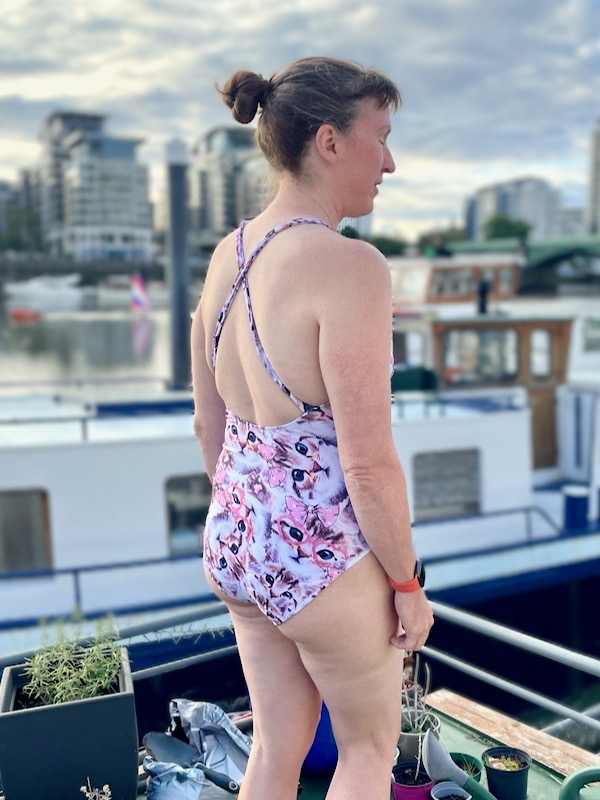
I made a muslin of this (and the other swimsuit I’m sewing, but that’s a whole ‘nother post!) to check the fit, and I really only needed to pinch out a wedge at the underarm to fix some gaping I had there. I traced out a size 44 as I’m a little closer to than than my usual 42 these days (blame the pandemic shielding weight gain!). Even the straps were the right length for me! The drafting gets two thumbs up for me, as you’d expect from Burda.
As you’d also expect from Burda, the directions are terrible. Like, way way worse than usual because the finishing techniques are absolutely unhinged, like the worst tickbox of appalling activewear techniques: elastic casings (tick!), handsewing (tick!), edges without elastic reinforcement (tick!), straps without elastic reinforcement (tick!)… And while they say how much elastic to use for the upper back edge and armholes, they don’t say how much for the leg openings. Sigh.
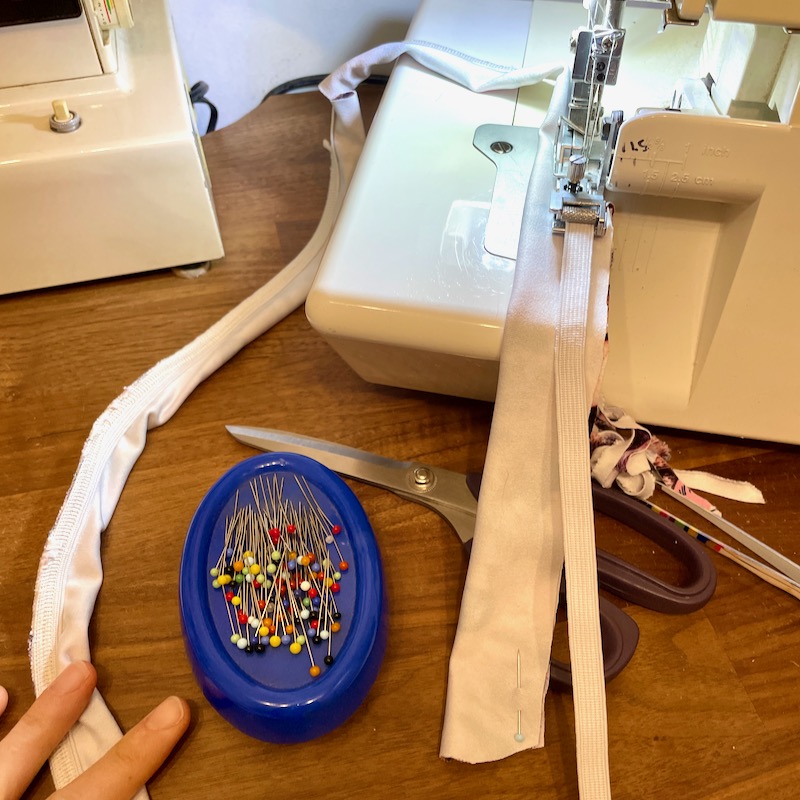
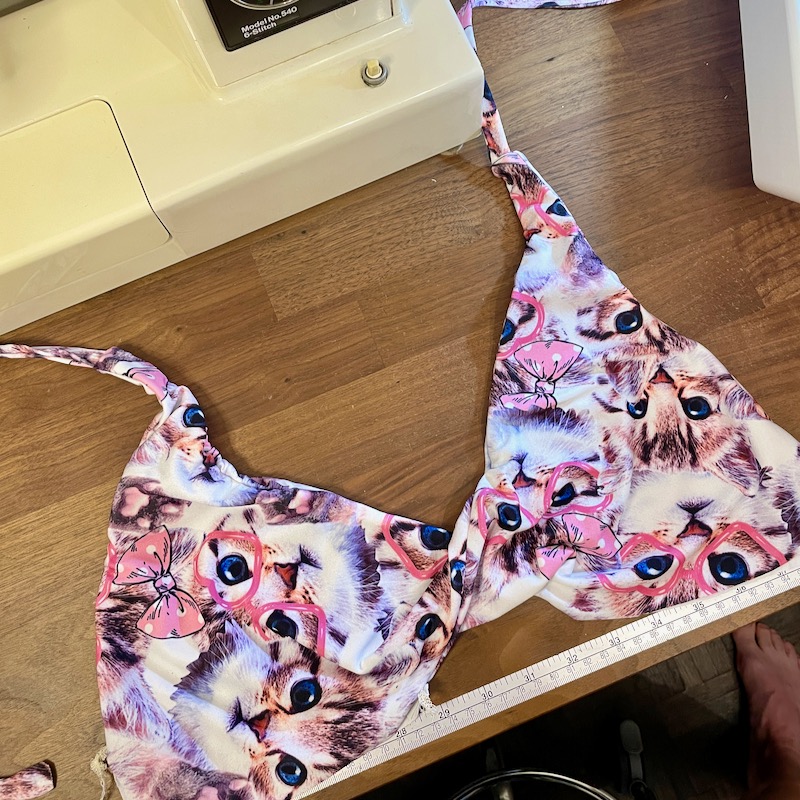
(Reinforcing the back straps with hidden elastic!)
Speaking of elastic, I used 9mm (~3/8in) Hemline swimwear elastic for the upper back and straps. Then 6mm (1/4in) swimwear elastic from my stash for the neckline, and armhole edges, and then more 6mm swimwear elastic from New Craft House for the leg openings after I ran out of my stash supply. My elasticator foot for my overlocker came in handy yet again, allowing me to apply the elastic (tension knob set to totally loose) and stitch seams at the same time (especially useful for the straps and bust edges).

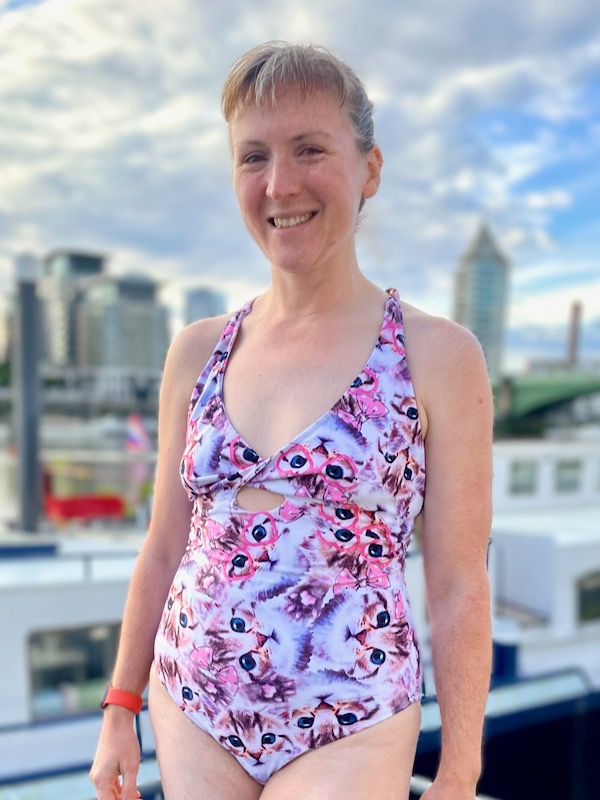
I’m super pleased with the finished swimsuit, and it’s just SO much fun! I think sometimes we need to wear things that make us laugh and are a little bit silly, and these cats with their pink bows and heart sunglasses are sure to make some smiles at Tropical Islands!
Since I had to completely change the order of construction to make it -not insane-, I wrote it down as I went along so I can share it with you. I’m a little biased, but this not only results in a neater finish, but is also far easier and quicker to sew.
Order of construction for Burda 06/2023 #129
- Sew the straps right sides together, reinforcing with elastic inside. Flip right sides out. Topstitch flat.
- Sew the lower front exterior to lining at the top CF scooped edge. Clip curves. Understitch to lining.
- Sew the lower front to back at crotch seam, burrito style
- Sew the upper fronts together, reinforcing with elastic (stretch elastic as you sew!): neckline from shoulder (1) to notch beyond CF on both sides; arm edge from shoulder to armpit (3) on both sides.
- Insert straps into the shoulders between the upper front layers and stitch.
- Flip right side out and topstitch edges flat. Note: reverse of stitching will show near CF twist! (I learned this the unfortunate way) Treat upper front edges as one going forward.
- (Baste on sewing machine first) Sew one side of the upper fronts to the lower fronts from 2 to the notch. Twist the other side of the upper front and attach the other side from notch to 2. Bartack seam allowance down at centre opening edges.
- Sew elastic to the inside top edge of the Back. Fold inside and topstitch.
- Sew the side seams, treating all front layers as one. Bartack the upper seam allowances towards the front.
- Join leg elastic into a circle. Sew to the inside of leg openings. Fold inside again and topstitch.
- Cross the straps and attach to the Back where marked. Try on and adjust straps before stitching in place.
Hope this helps someone else in the future! Let me know in the comments if you make this yourself and use these instructions, or if you like my suit!