Last weekend I was overcome by the desire to make something.
I didn’t want anything long or involved, so I grabbed some ice blue soft shell I’d bought from Plush Addict and thought I’d make myself a gilet to keep my body warm when I go on long runs and springtime cycle rides. But I’d only bought a half meter to test out the fabric since they don’t have samples and it cost like £3 for the half meter. When it arrived, it wasn’t quite what I was expecting (so I’m glad I didn’t buy the full yardage!) but the fabric itself was too nice not to use for something. It’s got a dense, tightly woven exterior with a very slight stretch and the inside is a soft microfleece. So it’s both water resistant and warm, and I thought it’d be great for wearing over a base layer for the upcoming transitional weather.
But I was impatient, and made lots of mistakes. I planned to use a block I’ve been working on (but cut a size larger to account for less stretch than I’d drafted for), but the fabric was so short it only came to an inch or two below the waist. “Fine”, I thought, “I’ll just have a cropped gilet or add a hem band or something!” and merrily cut away. It was only then I realised that I’d cut the Front on the fold, forgetting in my haste that I wanted to have a front zipper or snap placket and I’d now not given myself enough room.
So rather than cause further damage, I opted to step back, put it aside, and come back to it later when I was less of a liability.
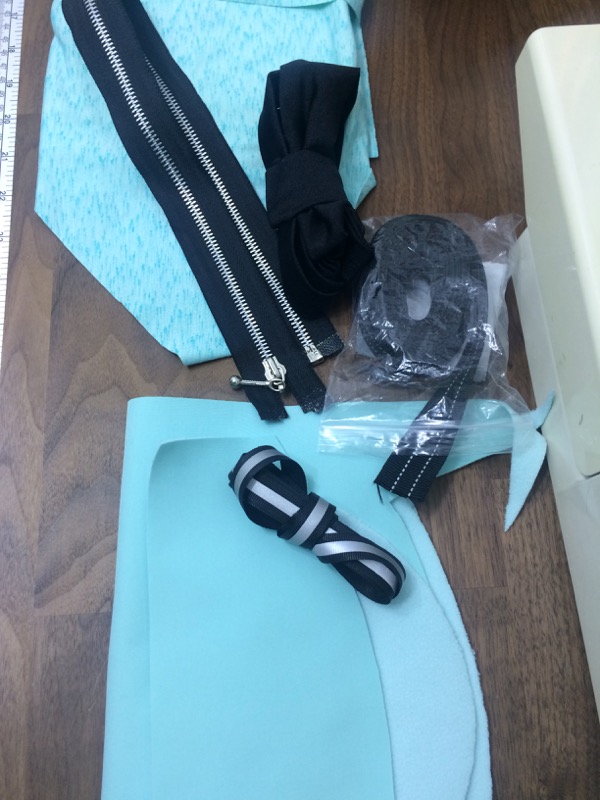
And I did – the next night I had some time after dinner so I had a rifle through my stash to see what sort of long, separating zips I had now that a snap placket was out of the question (answer: far more than I thought, but none that were quite right!). Once I settled on using the black zip with the metal teeth instead of a pale plastic one that was in my head, I started to see more black goodies I could use to create a whole “ice blue and black” colour theme to the gilet.
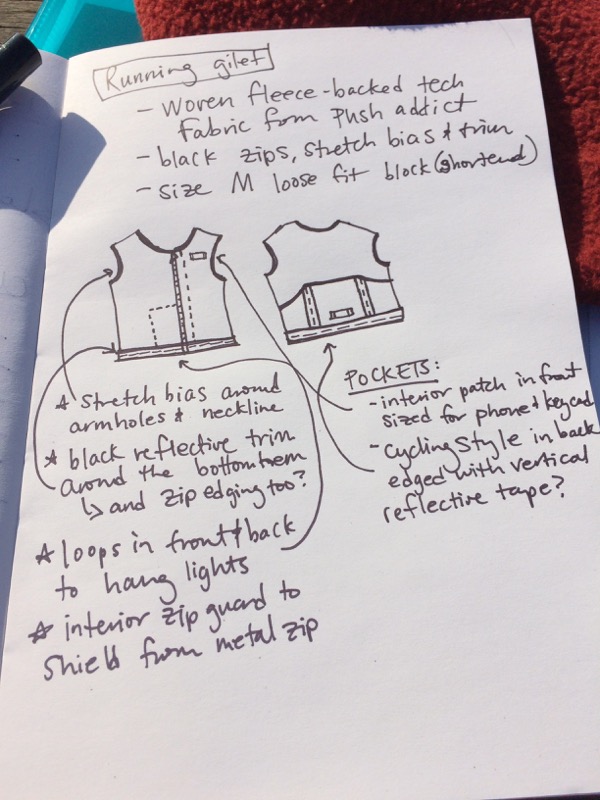
On Tuesday I had a follow-up appointment at Alvanon’s amazing fit studio, and afterwards I found a bench in Kensington Gardens and took a half hour or so to go through my fitting notes and also sketch out some ideas through a cup of tea in the glorious sunshine. I think the Vitamin D was just what I needed, as I ended up with some pretty good plans to rescue what I’d already cut out!
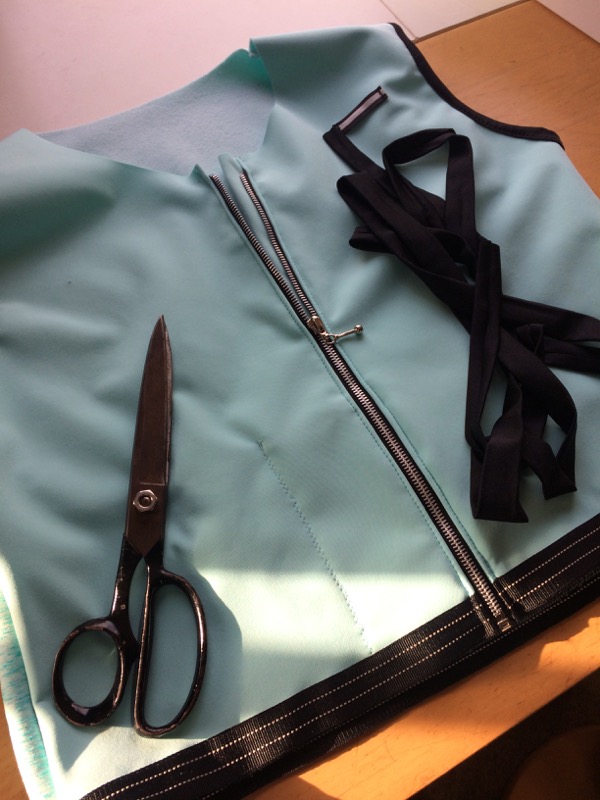
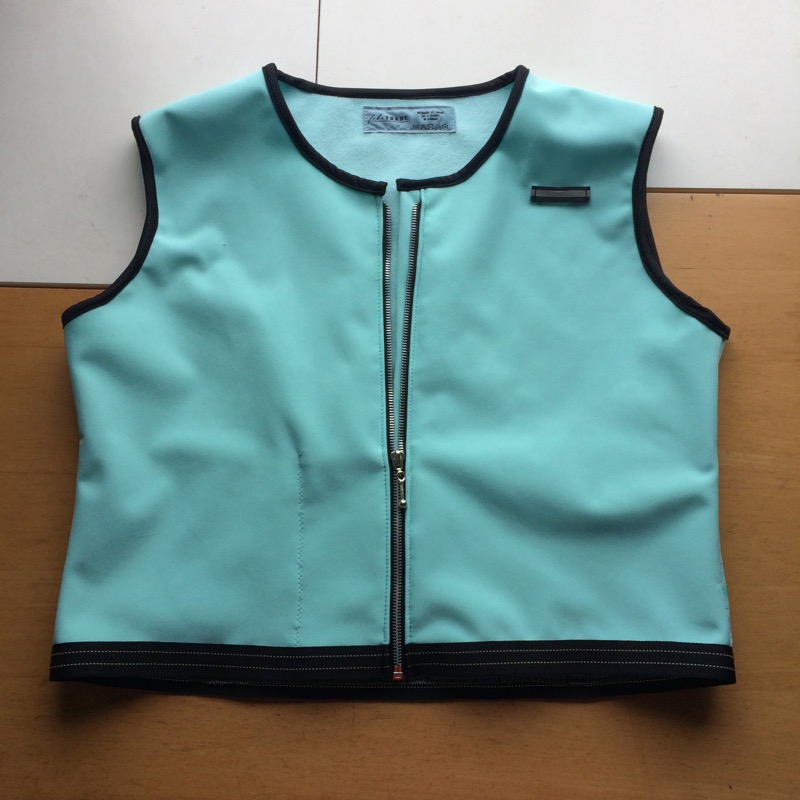
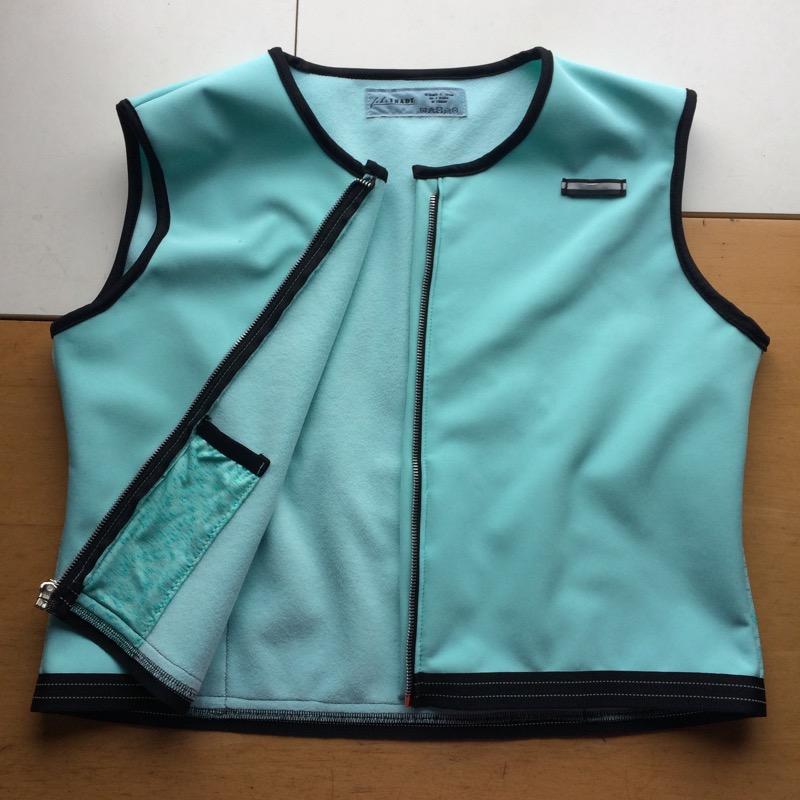
With a plan in my head, I could then start making it a reality in little 10-minute segments throughout the week. A metal tooth zipper isn’t my first choice for activewear, but I made this one work by having a placket underneath to protect my base layer from any irritation from the teeth. And because I didn’t have any good ribbing options, I decided to only extend the hem slightly by using some reflective tape over the bottom edge, which could also then wrap around the stiff plastic zipper end as well. I figured having a shorter gilet was okay since I’d always be wearing something underneath.
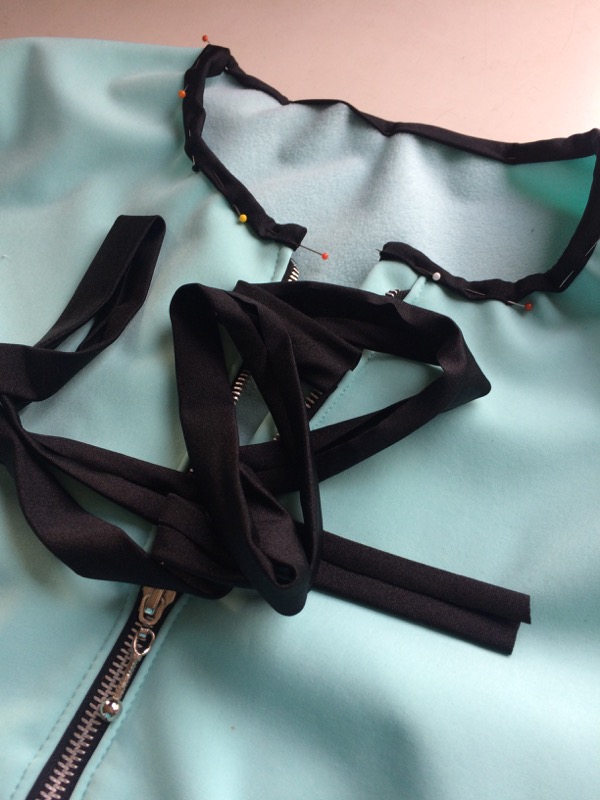
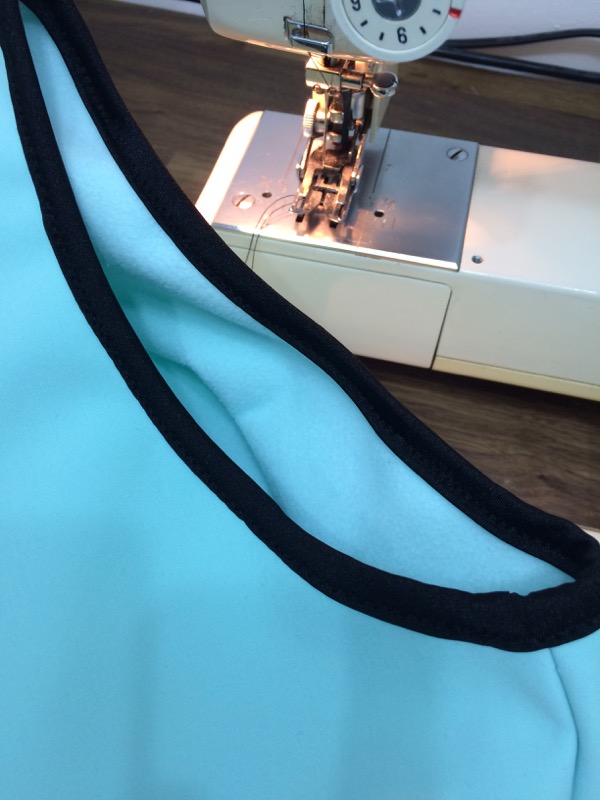
I don’t know if I’ve mentioned it before, but this stretch binding from Minerva is just wonderful for finishing edges on activewear. It’s shaped like a traditional double-fold bias binding, but made of thin lycra so it stretches. It’s great for covering edges in places like you’d use FOE, but works well for thicker fabrics like this where you’d ideally want something wider than most FOE options. I like to attach it with a slight stretch to the binding (just by feel) and sew through all layers in one go with a narrow zigzag. On this gilet I chose to enclose both the armhole and neckline edges with it.
I didn’t have any particular deadline in mind for this gilet, but it just so happened that I finished up the last piece a few hours before our local brewery has their monthly run club. The weather has been a little warmer this week, so even for an evening run I didn’t need all my usual winter layers, buffs, gloves, and Thermo, so it seemed a great opportunity to try it out on a short run. The brewery run is a nice 7km (4mi) route along the river then once around Battersea Park and then back to the tap room for a free pint on the house(!) and pizzas ordered in from a local sourdough pizza place.
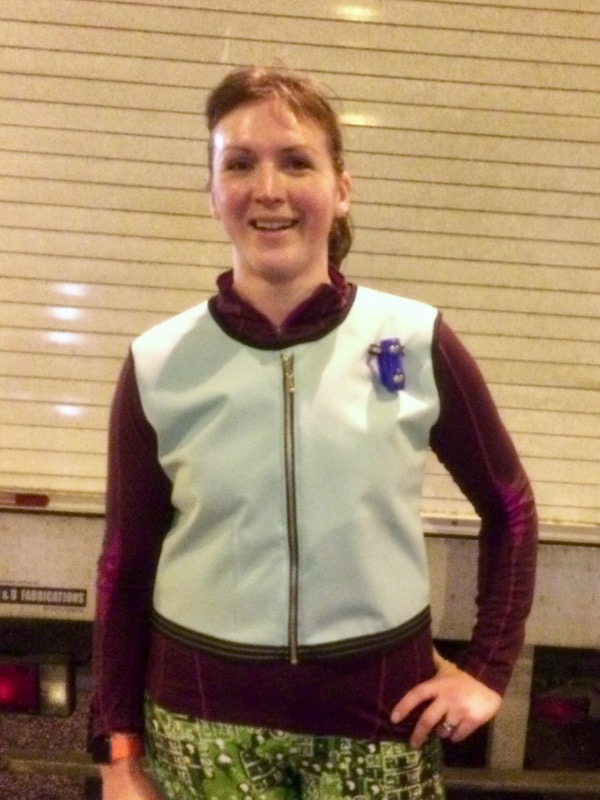
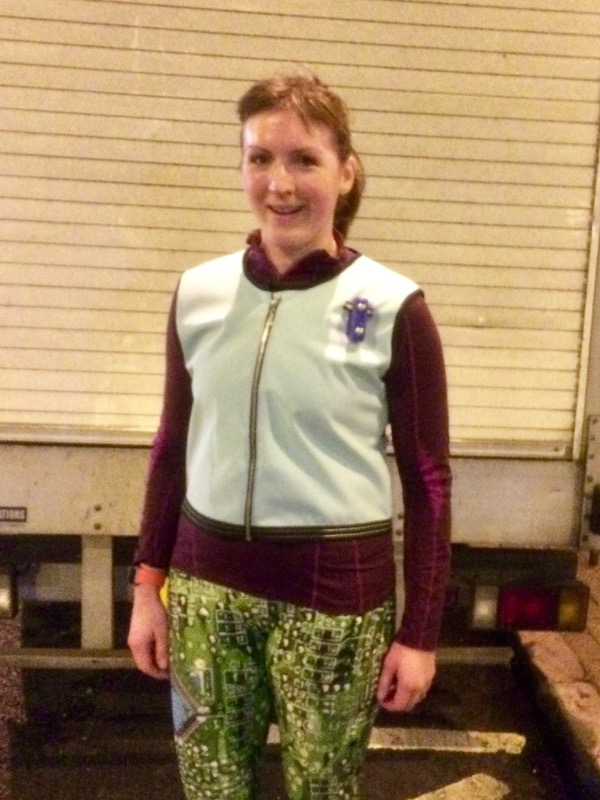
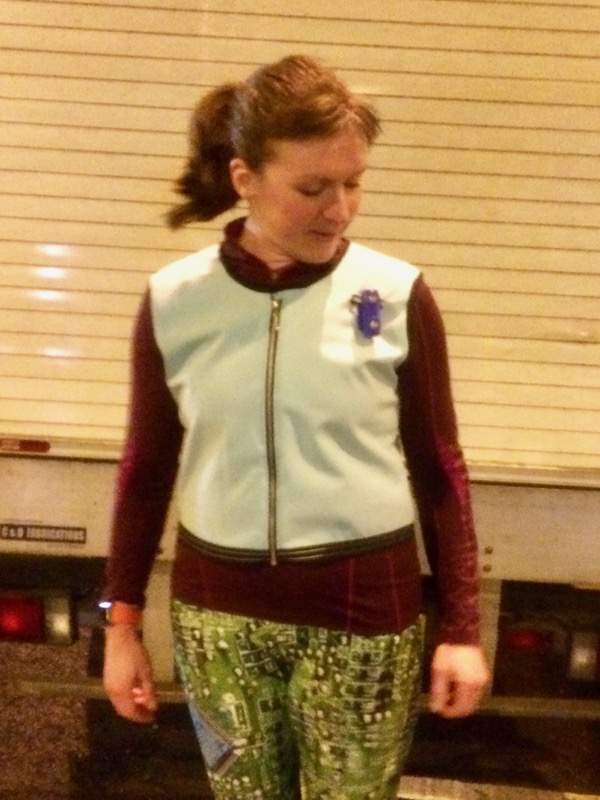
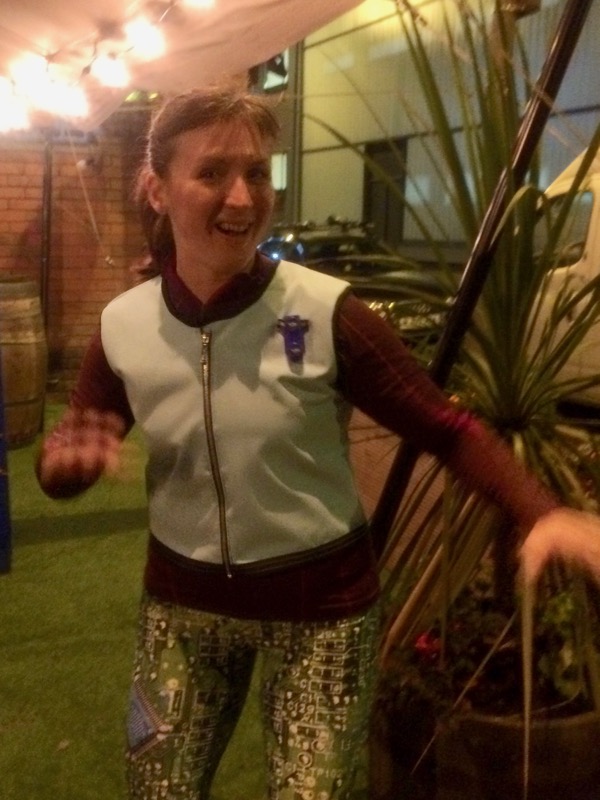
Thank you to my friend Claire who took these shots outside the brewery after our run!
I’m happy to say that the gilet performed well – nothing bounced or shifted around and my arms were free to move, and the contents of the pockets stayed in place, too. My only future modification might be to add a reflective tape “stay” above the back light holder as it’s pulling it down a little, but that’d also make it harder to get larger object in and out of that centre pocket so I haven’t quite decided on that yet.

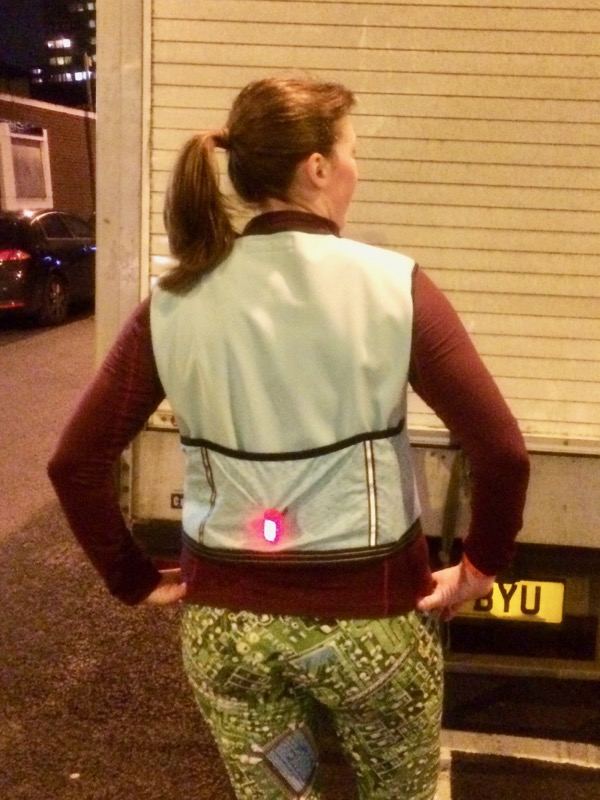
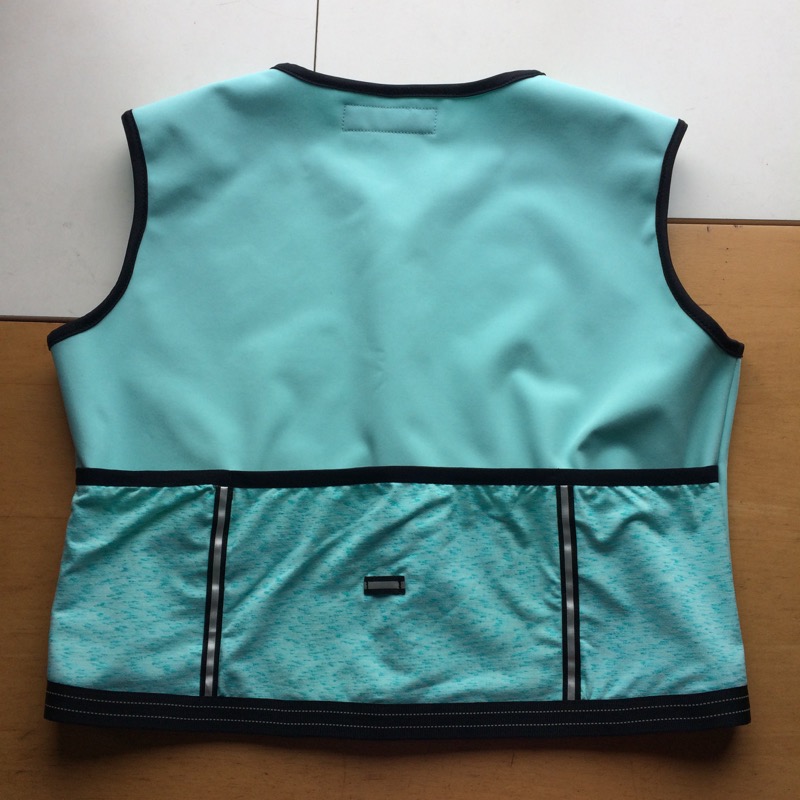
As you can see, I put cycling-style pockets in the back for big (but lightweight!) storage items like gloves, Buffs, gels, or headphones and edged the top with wide FOE from Pennine Outdoor to get a secure top to contain everything inside. Along each of the pocket dividers I added reflective tape from Measure Twice Cut Once (no longer stocked, though!) and a small horizontal portion in the centre to hold my little red Nathan light.
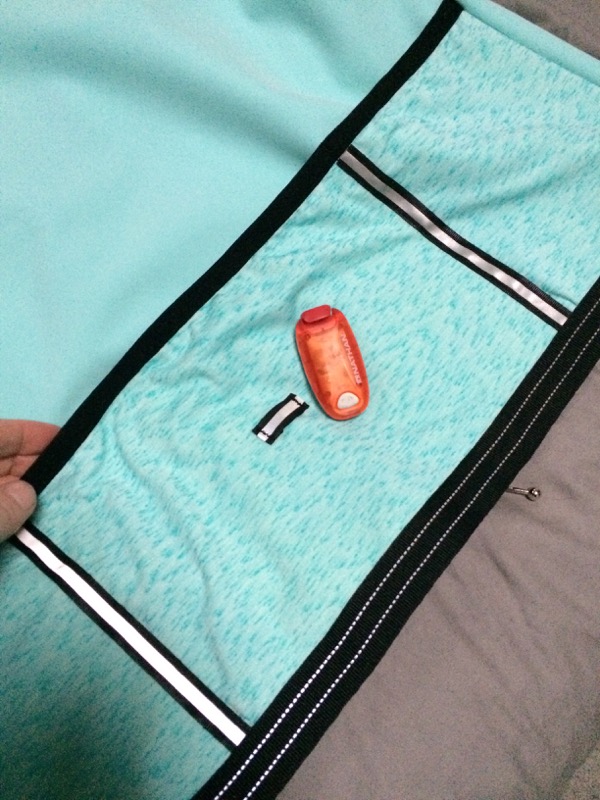
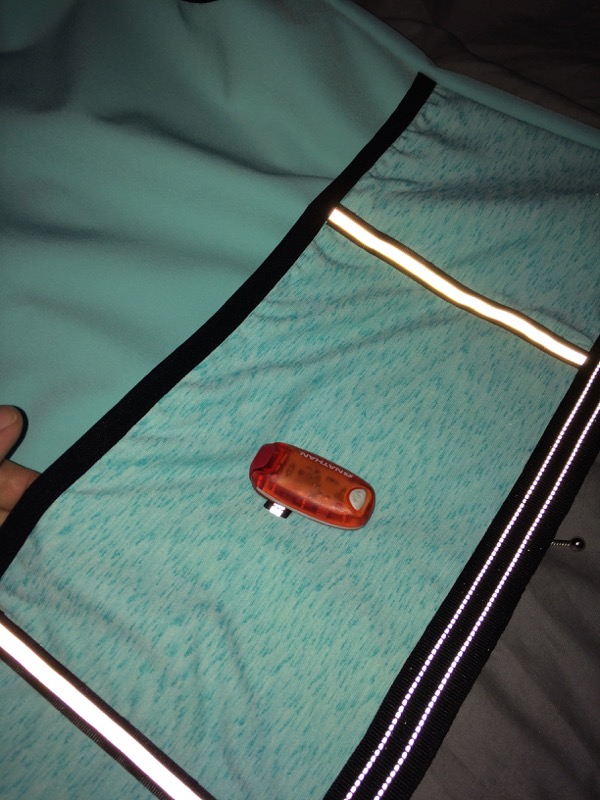
And of course the whole of that back pocket material is leftover turquoise cotton-touch tech jersey which I used in one of my favourite Tessellate Tees! It was just a happy accident that the colour match is so close to the soft shell here, and it works so well as a pockets since it stretches to allow me to cram bigger things inside. There’s also a narrow inside pocket by the front zipper for my phone (which you can see in one of the flat layout shots above), since I wanted that one to be a bit more secure and potentially “less bouncy” than the back pockets.
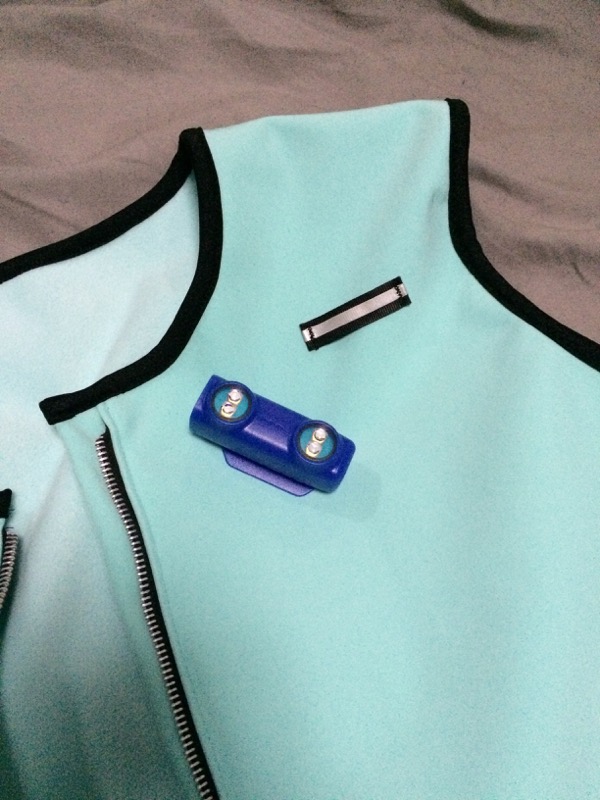
You may have also noticed I added a strip of reflective tape to the front left chest – this is to hold my bigger, “million mile light”, which has no batteries and lights up as you move. I absolutely LOVE running with this light (it’s a great conversation starter, too) and it’s the only thing I’ve ever backed on Kickstarter! But that strip can also do double duty as a place to thread my headphone cable when I go on long runs and don’t want to fuss about with my €£$R%^*% bluetooth headphones.
I think this project taught me a few lessons about sewing and rushing things – first, that when everything starts to go wrong, it’s ok to put it away and come back to it later. Second, I get a lot of my best ideas when I’m away from my normal environment. And third, you can get a better end result than you initially imagined if you’re flexible enough to adapt to new problems and accept solutions as they present themselves.
This isn’t the gilet I initially imagined last weekend – it’s better.