I will readily admit that I don’t pre-order many books. But I absolutely pre-ordered the Named Patterns new “Building the Pattern” book as soon as I could! I mean, why wouldn’t I after making so many patterns from their first book (and a few more planned, too!)?! The focus on this book is fitting alterations so there are TONS of diagrams and instructions and advice on getting a great fit even before you get to the patterns in the book (which can either be traced from the sheets in the book, or downloaded in A4/AO formats from their website).
The Luova pattern comes in three styles: a blouse, tunic, or dress, with two different collars and three different sleeves to choose from. The tunic (a short dress, really) stood out to me and I thought that perhaps I’d be able to make it from a 1.5m remnant of stonewashed denim from Fabrics Galore I’d recently bought. I got it thinking I’d use it to make another pair of jeans but it’s in no way what I’d consider a “denim”, btw – it’s far lighter than jeans and what I’d call a chambray, suitable for shirts or dresses. So it seemed perfect for this tunic!
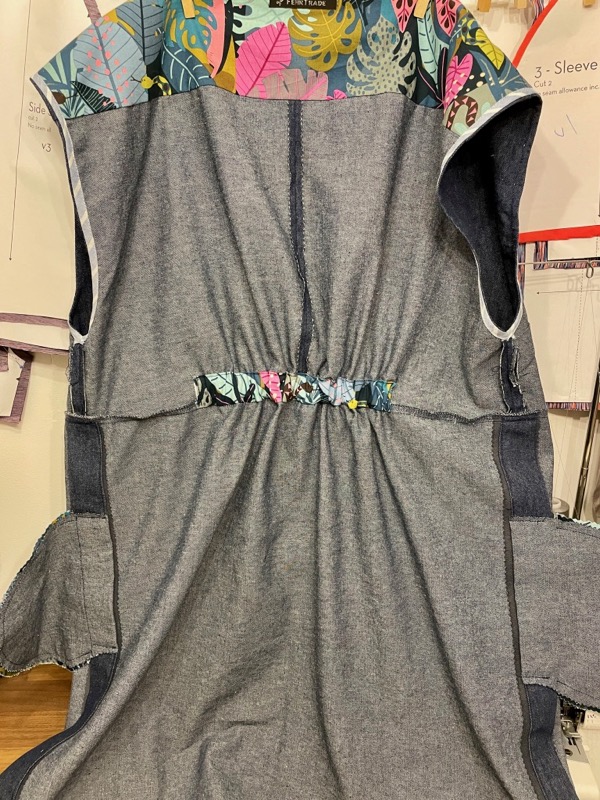
The fabric requirements for the Luova tunic are a little over 2m though, so I knew I’d have to do some fancy fabric Tetris to squeeze it out of 1.5m, but I was determined to make it work. After all, I didn’t really need the inner back yoke to be in my exterior fabric, right? Well, it turned out that even with cutting one yoke in a fun jungle print cotton (also from Fabrics Galore!) and introducing a CB seam into the back bodice, I still couldn’t make it work so I dropped the idea of sleeves, living with just the dropped shoulder on its own.
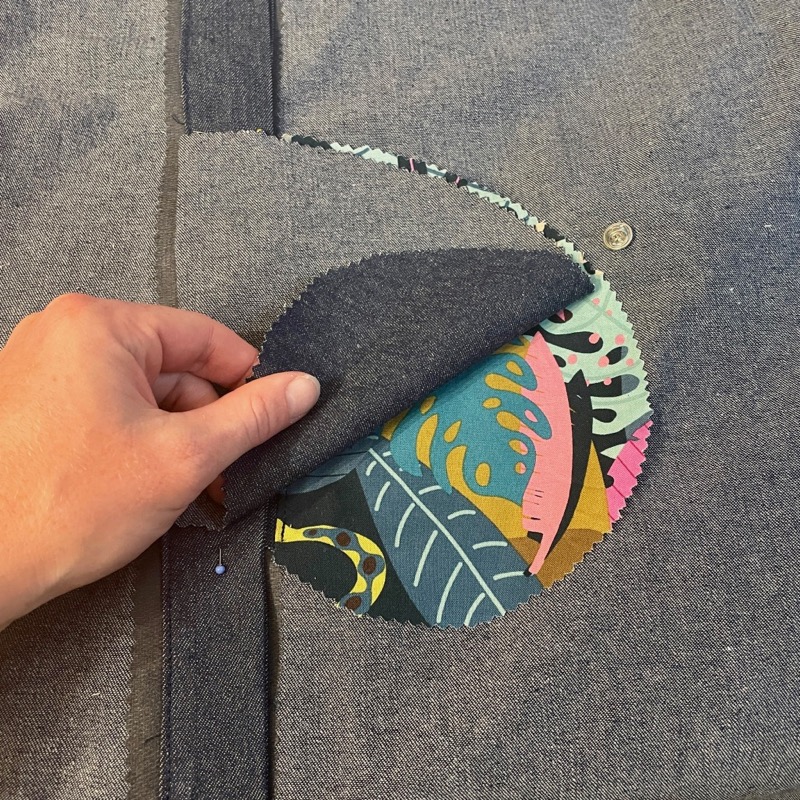
Also, I’m not a fan of patch pockets for the most part, preferring inseam pockets for storing my phone, keys, and tissues, so I used the pocket pattern from the first Named book (conveniently already printed out from my Saraste shirtdress) instead of the one provided with this book just out of convenience. I could fit one pocket pair from the chambray (for the back), plus a facing for the second to combine with the jungle print cotton (for the front pocket).
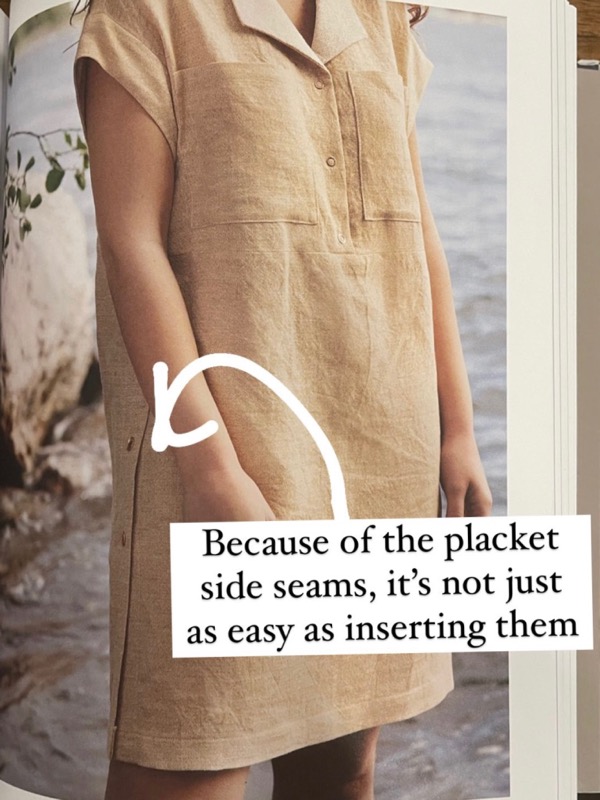
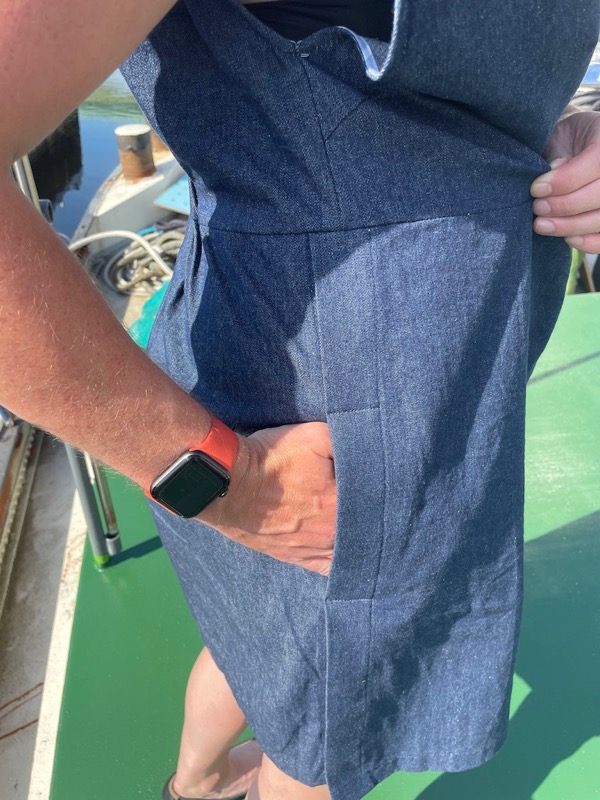
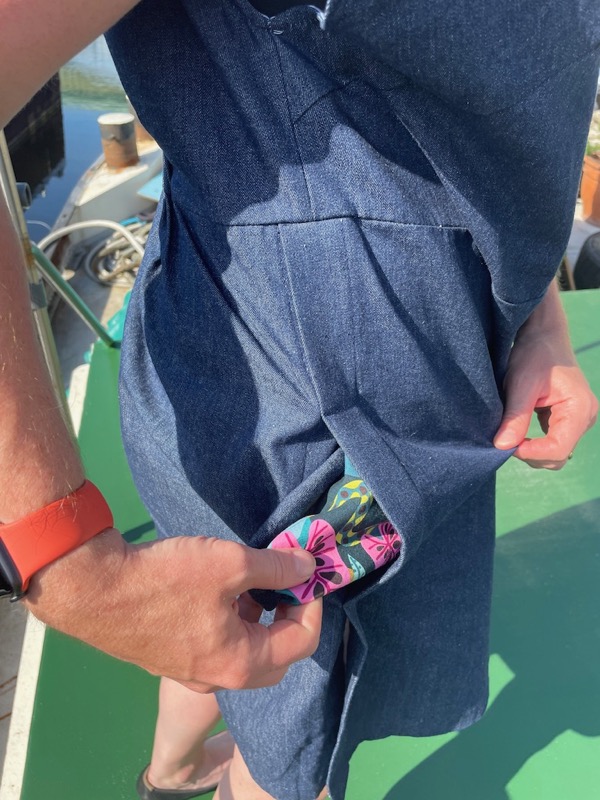
However, fitting inseam pockets into this tunic dress was not as straightforward as you might think due to the unique overlapping skirt sides! First, I changed the overlap to be the front skirt over the back so the pockets would face towards the front. I pressed the skirt side hems and bottom hem as indicated in the instructions, then, before stitching the hems, I inserted the faced pockets under that side hem on the front skirt, and the chambray under the side hem on the back skirt piece. I placed these 11cm down from the top edge, and had to pin and fold them a bit to work out how far under the pockets should sit to line up nicely when going the right way. The front (faced pocket) went the whole way under (4cm in), which pretty much negated the need for the facing at all (oh well!), but the back pocket I only inserted under the side hem by about 1cm. This meant that when it was stitched and folded back over itself, it lined up with the front pocket piece.
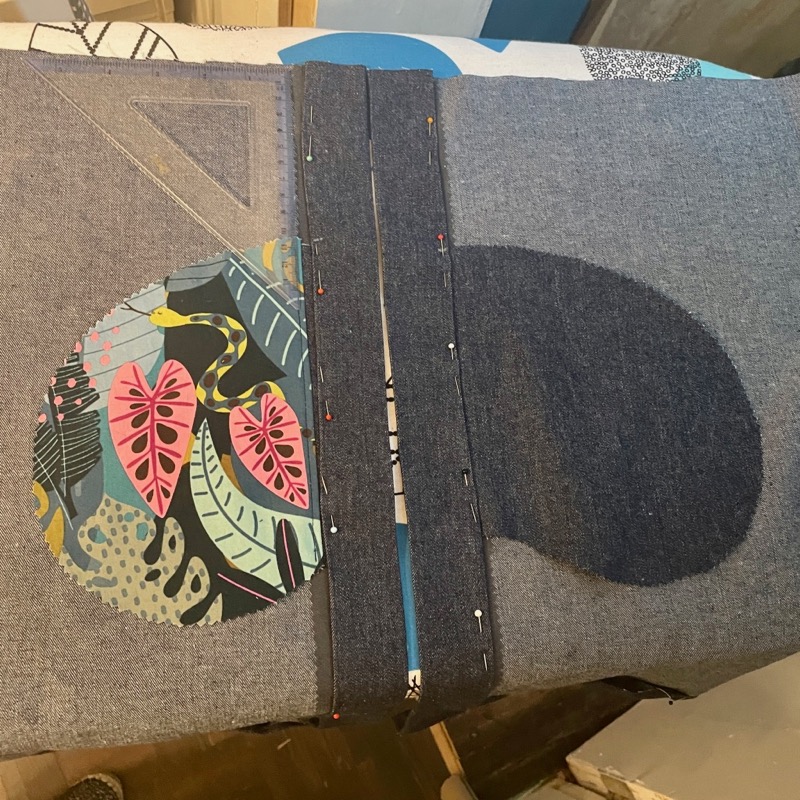
I basted the skirt pieces together with the Front overlapping the Back, then sewed the pocket bags together around the edges, and finally, stitched through all layers at the top and bottoms of the pocket openings to get a nice finish. It means the sides are stitched down rather than just being held in place by snaps or buttons, but I was never likely to want to show quite that much leg anyway! And in the end, I decided that I didn’t even need snaps or buttons on the skirt sides, as the pocket stitching was enough to keep it from being overly revealing.
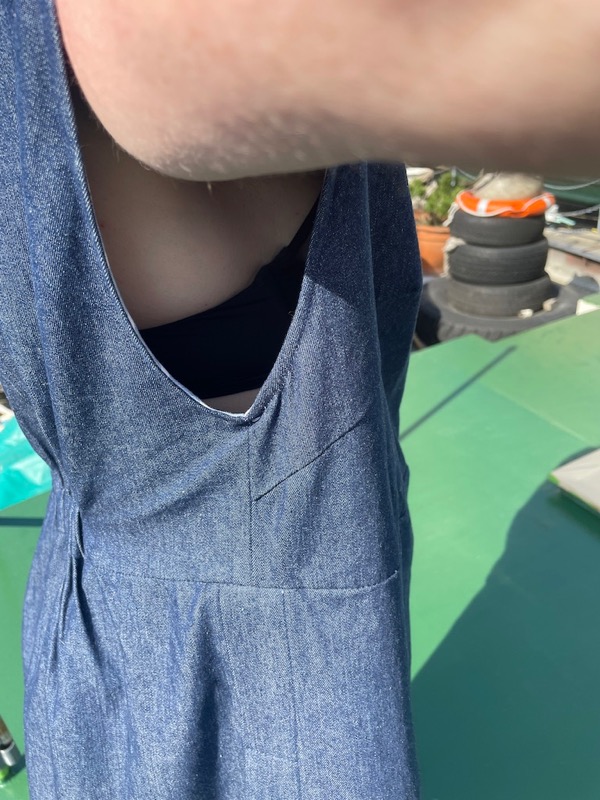
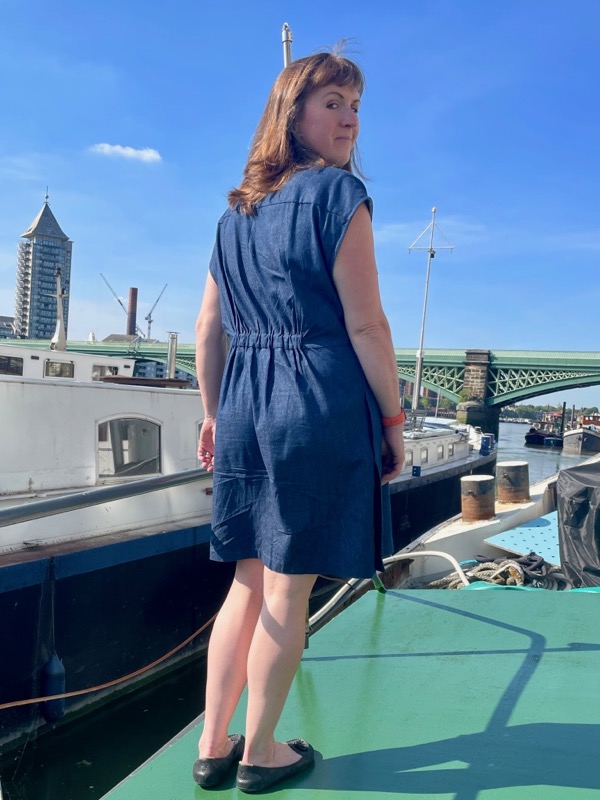
The rest of the construction I actually followed the instructions for, until we got to the sleeve attaching step, where I diverted again and used some cotton shirting bias strips leftover from finishing the seams on this recycled coffee sack jacket to finish the armholes. Since there was only the 1cm seam allowance to work with, I pressed the bias strips down the middle, stitched them to the right side, then trimmed, pressed, and stitched them to the inside as a narrow faced edge. I would’ve made it from the jungle print cotton but a) I was too lazy to cut bias strips when I already had some and b) I really like the jungle cotton and didn’t want to cut swathes into it for bias strips! The only issue here is that the armholes minus the sleeves are a bit low so you can see a bit of bra when I raise my arm, but I also consider that to be an extra cooling measure.
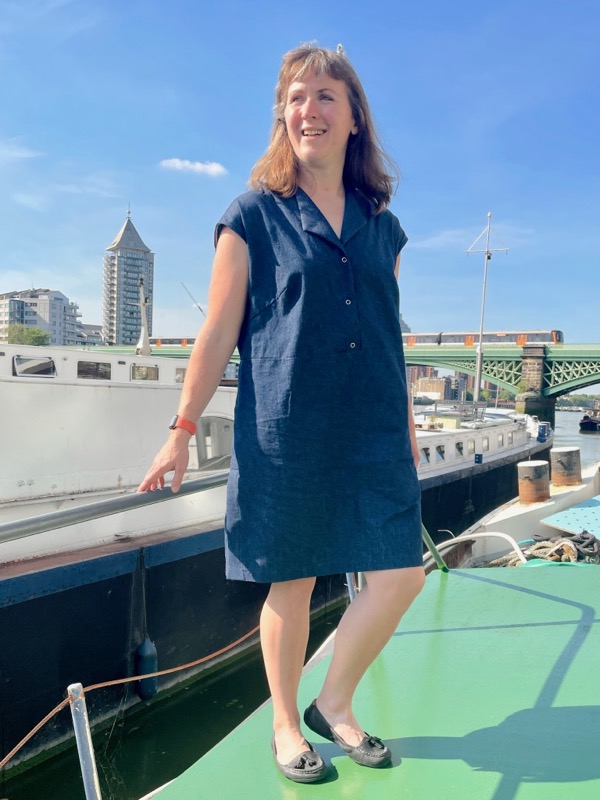
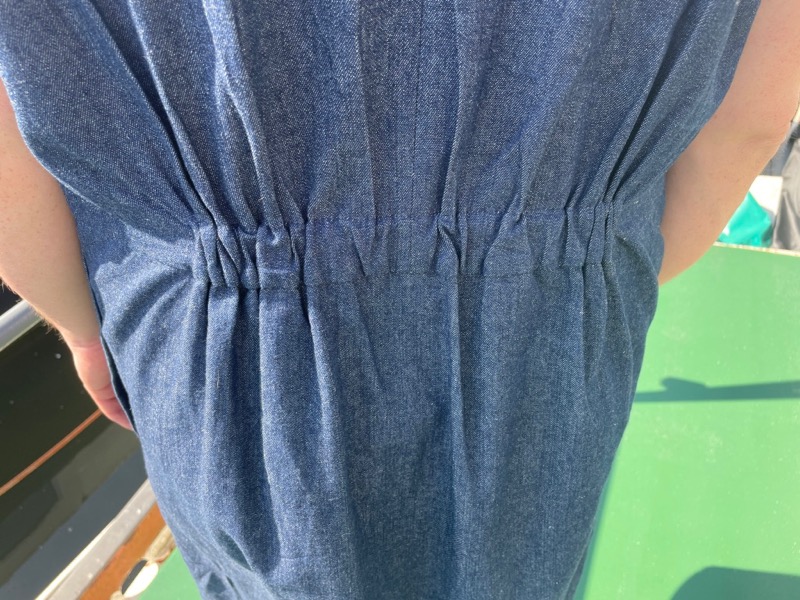
I wanted to try on the dress before I decided on any snaps or buttons, but even though it’s a boxy, oversized design, it felt a little too much for me (and J agreed it needed some shaping). So I borrowed an element from the dress version – an elastic casing for the back waist that pulls it in just a smidge, enough to give it a little bit more definition. This was really easy to add after the dress was pretty much done, and I could use a small piece of the jungle cotton fabric to coordinate things further while keeping the 2cm (3/4in) elastic off my skin.
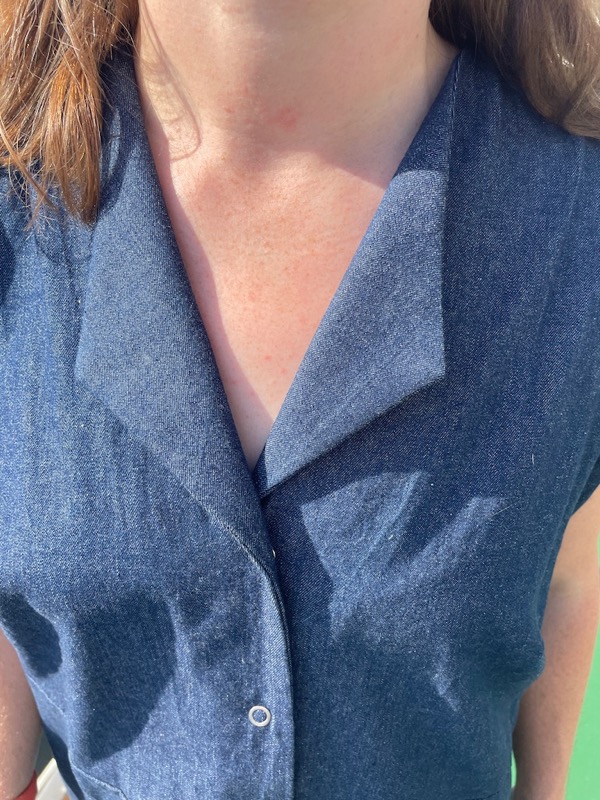
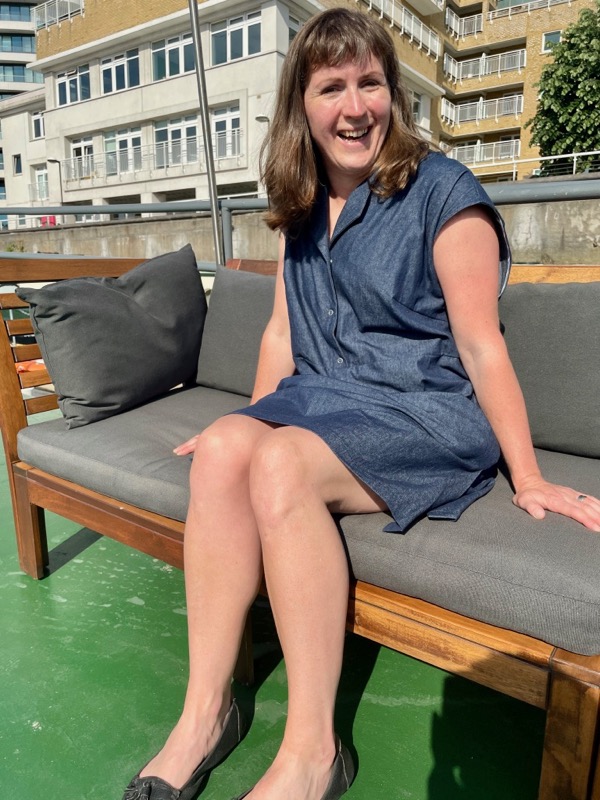
The final touch was the snaps and buttons for the skirt sides and the bodice front, and I dug through my fairly extensive snap stash without finding anything I was in love with. So I opted to just go simple and use some basic ring snaps on the bodice.
But when it came to finding something for the skirt sides, it was either that I didn’t have enough (if I was going to put a snap over the pocket it would’ve had to be centred over the pocket opening, or at the top and bottom), or they were too big or looked a bit too nautical. So I just… left them off! The stitching for the pocket openings keeps it from being scandalous, so if you’re not adding those you will absolutely need something on the sides to keep it closed, just fyi.
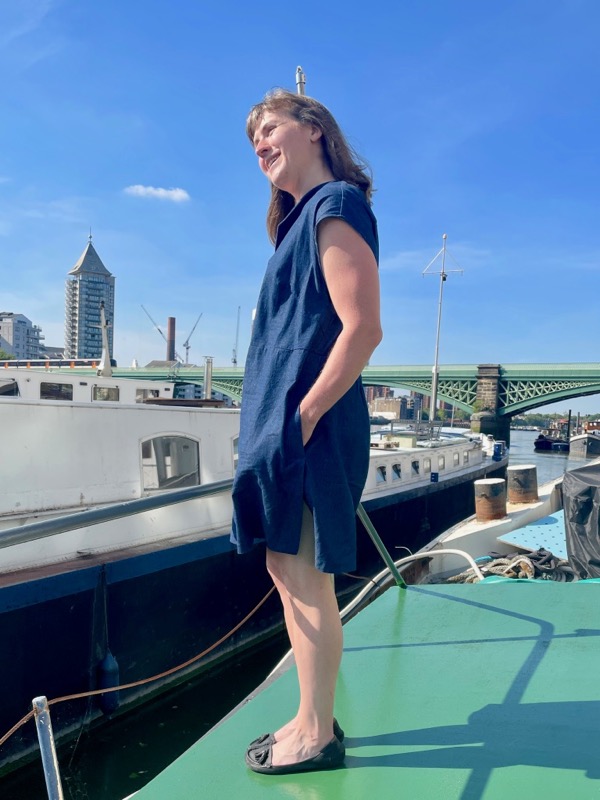
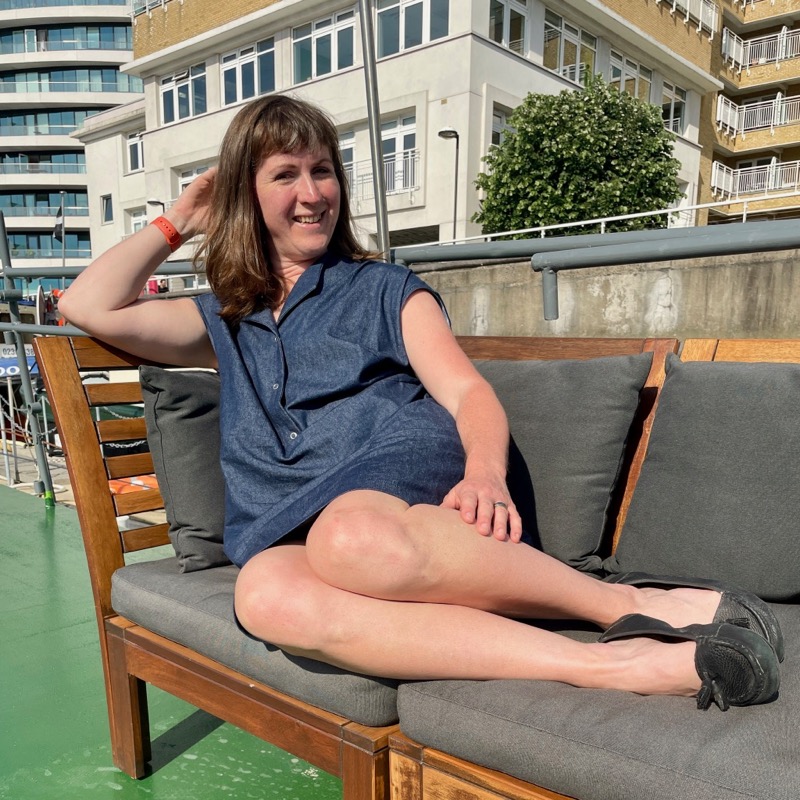
It’s also a pleasant surprise that the length of this “tunic” is actually much longer than it appears on the model in the book. I’m 5’8″ (172cm) and it comes right above my knees, which is my favourite length.

I was hoping to do the photoshoot for this dress at the Big Cat Sanctuary‘s open day that we attended last Friday, but it was absolutely chucking it down so you’ll have to forgive the wrinkles from being worn in a car for 3 hours and walked around looking at all the big kitties!

But I guess it goes to show that this dress really does work for rain or shine, right?