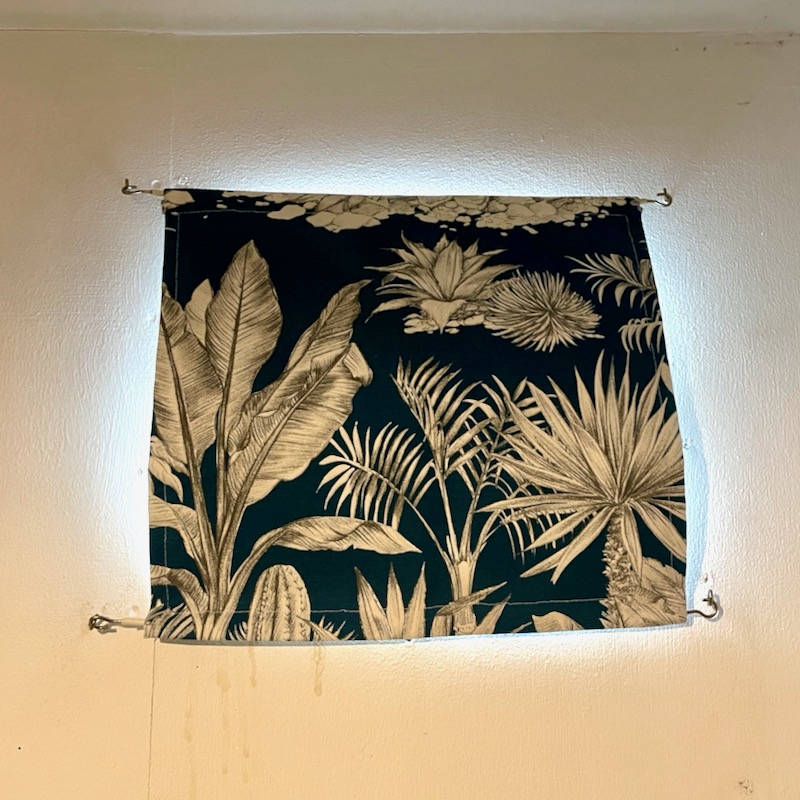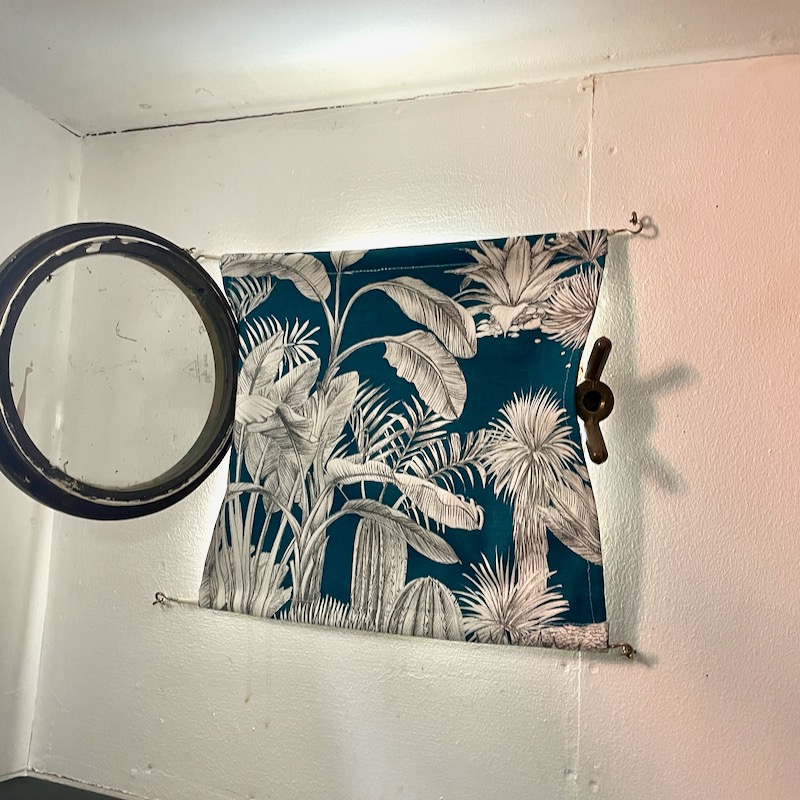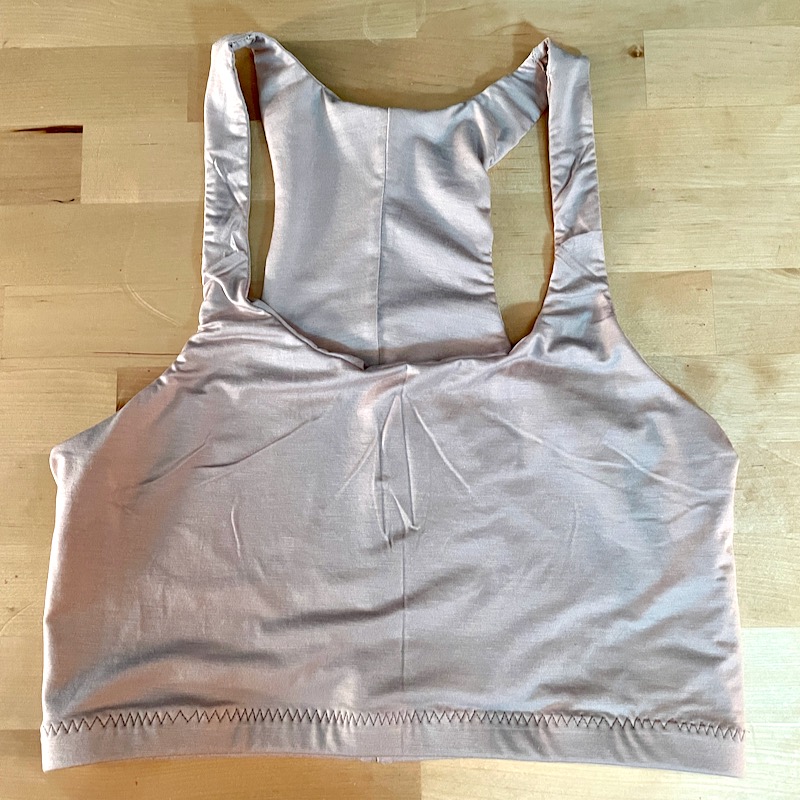
These two sewing makes don’t really “go together” except in the sense that they were both on my Summer Sewing list and they don’t seem terribly exciting to most people! The porthole curtains were on the list because the ones I’d made for the bedroom in 2014 were really looking ropey and mouldy, and the Axis Tank was in my plans because I really wanted a more comfortable, invisible option to wear underneath a few semi-sheer summer tops in my wardrobe now that I no longer wear “foam dome” bras.
You’d think that, like the Pietras, I’d have nothing more to say about the fantastic Sophie Hines Axis Tank pattern after the 5? 6? times I’ve already made it, but I surprised even myself here. I had some very thin biege silk-mix jersey in my stash for over a decade(!) that I thought would be perfect for creating a tank/softbra that matches my skin tone. One of the reasons I hadn’t used it much so far is because the fabric is so thin that it really needs a lining so couldn’t be used for a teeshirt, for example. But that wasn’t an issue here, as I could just double it up as its own lining!
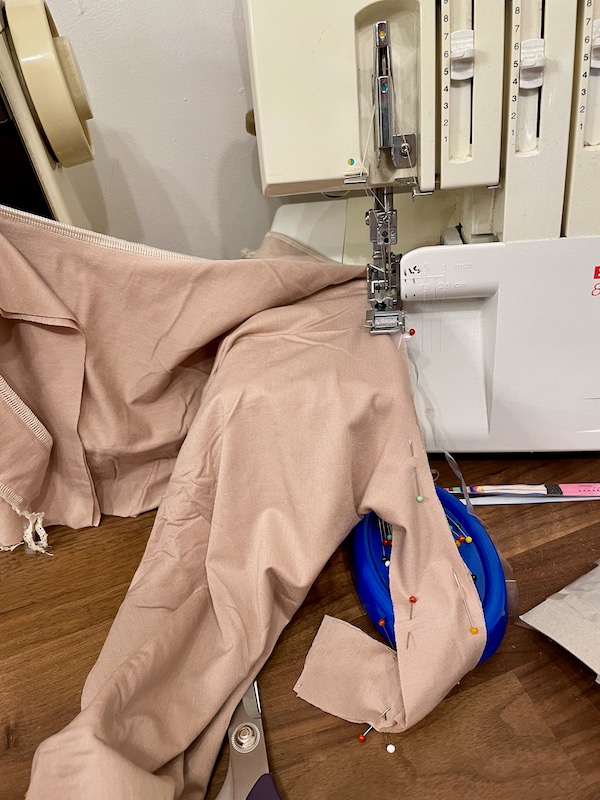
So then I thought about how I wanted to neatly finish the edges – since I was lining it, I didn’t really want the hassle of separate bands if I didn’t have to so I decided to take a tip from the Jalie Coco and sew the two layers together with some clear elastic (again, my overlocker’s elasticator foot is my MVP!) and then flip them right side out. Unlike the Coco, because all the edges on the Axis are “C-shaped”, I knew they’d flip out fine without having to do the burrito method.
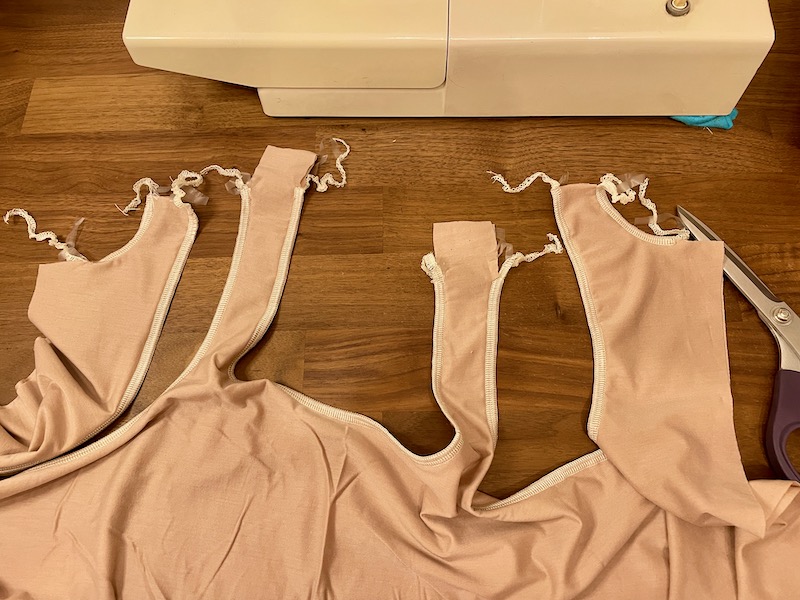
However, I did overthink it somewhat for the straps, and it got a bit fiddly for not much gain, so if I do the construction this way again (which is highly likely) I would overlock right up to the edge on all the straps, and only stop a few inches before on the edges by the back seam. If you stop a few inches before, it means you have room to sew the back seams on the exterior and lining, and then finish off the last few inches of the back neck with the sewing machine for a clean finish. But on the straps, doing something similar was a PITA so I’d just serge the shoulder seams right sides together and just tuck the overlocker tails in the stitching – neat enough!

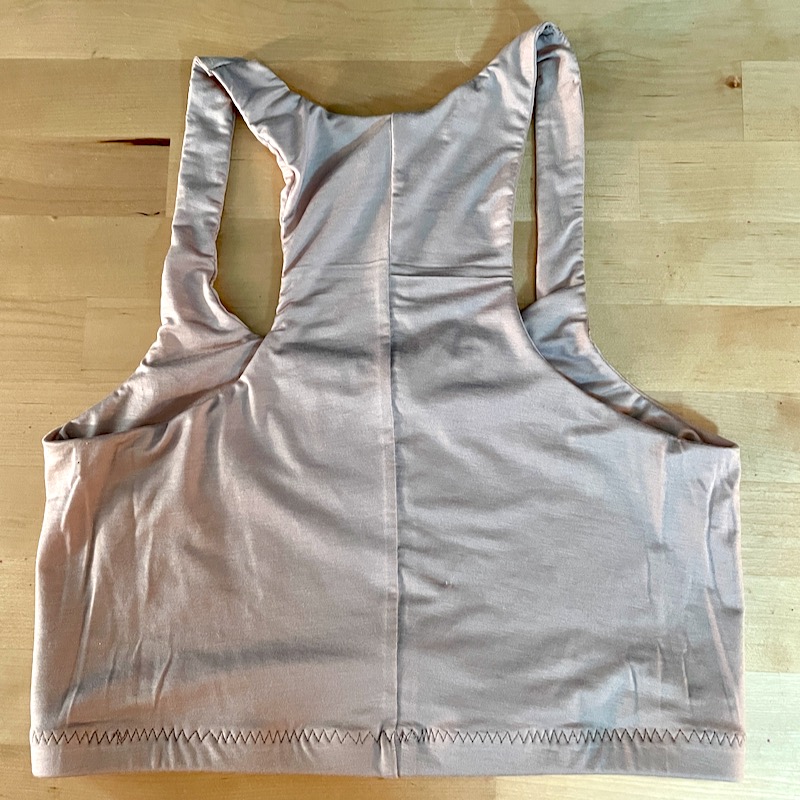
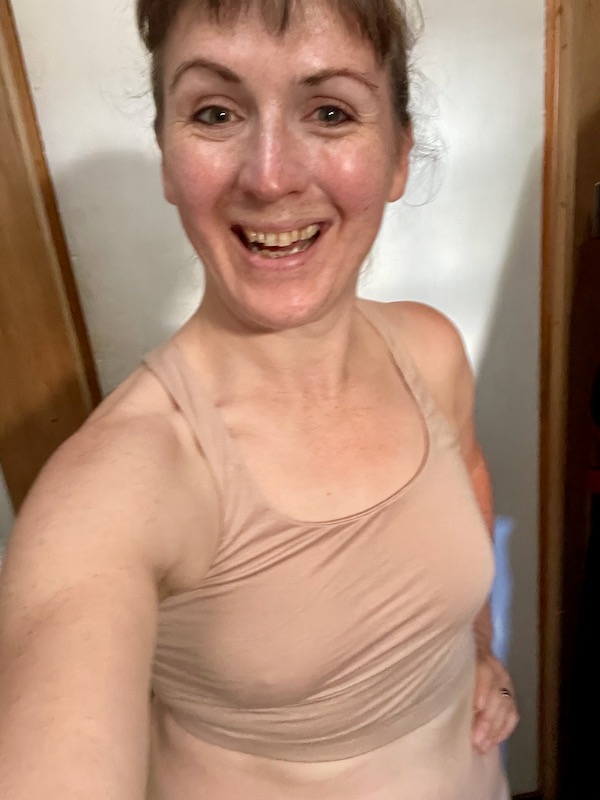
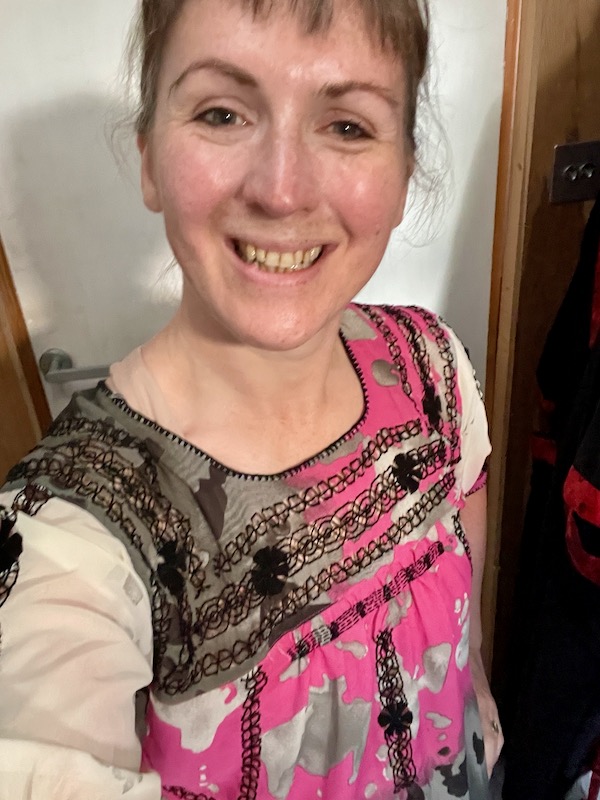
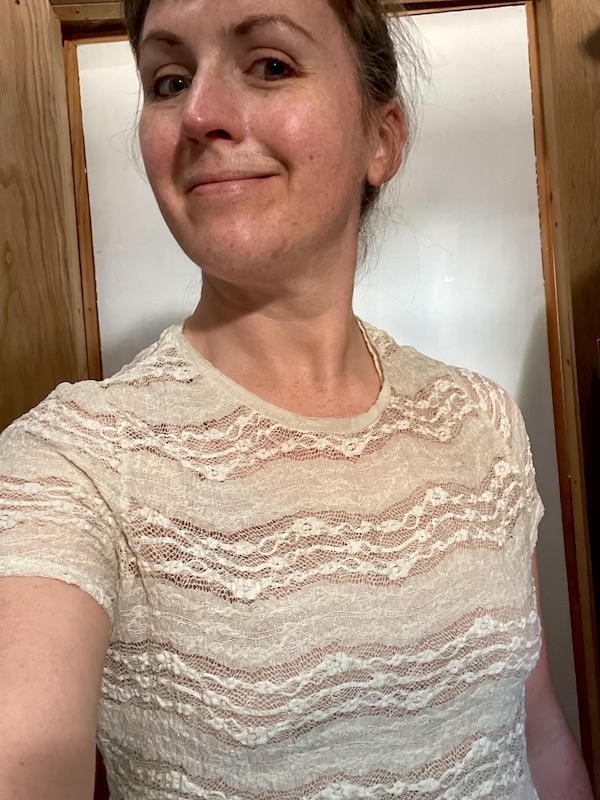
Then I added an underbust band to the bottom (having added the elastic width to the bottom of the pattern), treating both layers as one, and I used a triple zigzag to topstitch. The end result is a nearly-invisible, yet comfortable soft bra that I can wear under my semi-sheer tops (one bought in Oaxaca and the other being a stretch lace tee I sewed years ago!), just in time for our heatwave!
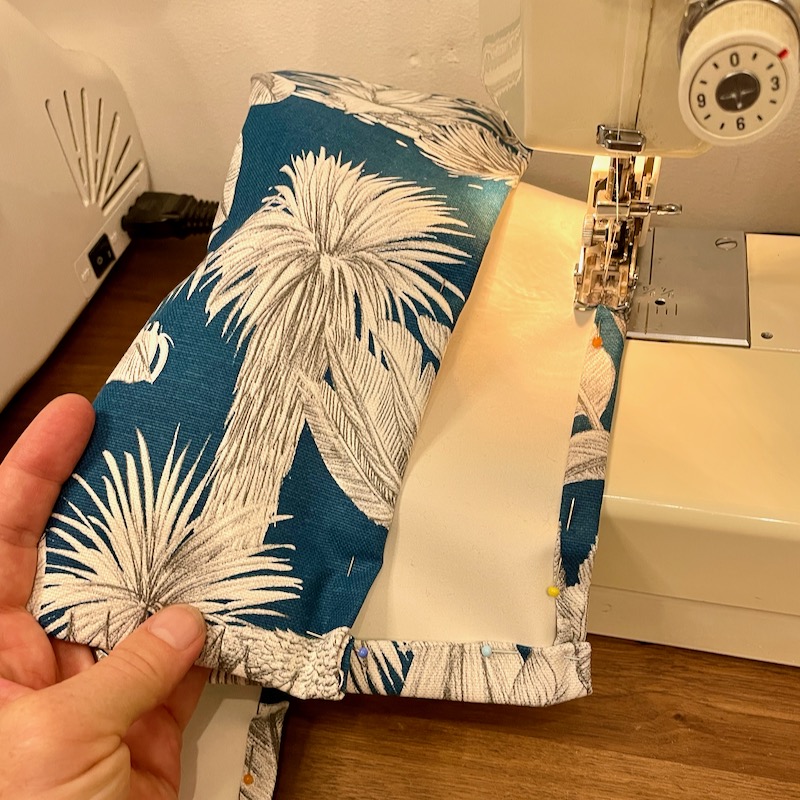
And the porthole curtains? Not nearly as much to say about these – they’re rectangles of home dec fabric leftover from the corridor bench cushion with a layer of blackout lining fabric on the reverse. We already have the hooks and curtain wires in place from the old curtains, so it was just a matter or copying those and threading the wires through the channel in the top and bottom of the curtains.
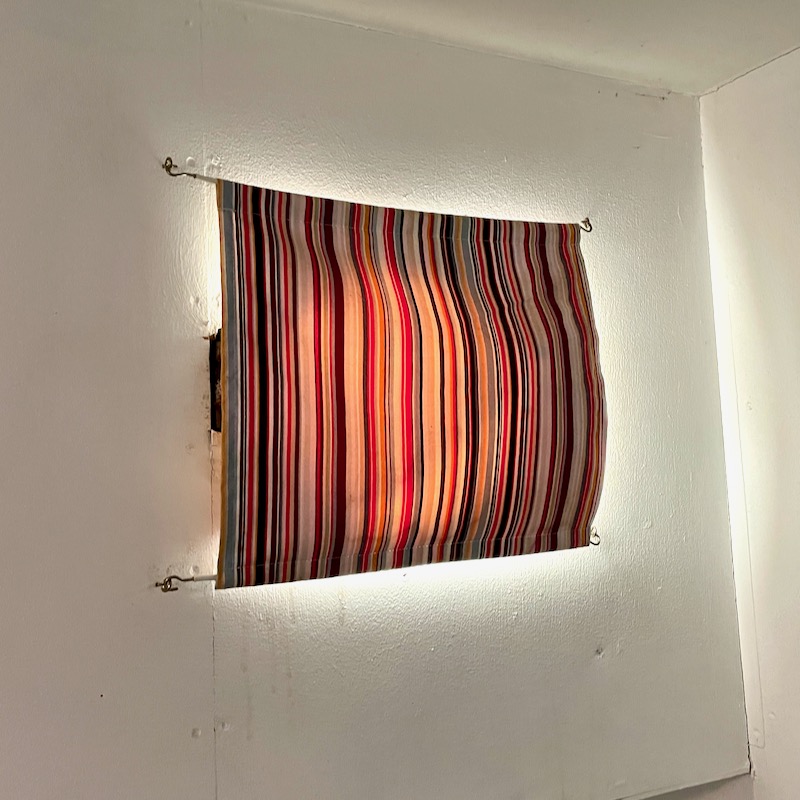
The Before!
This design works well for the bedroom since they cover them when open or closed, and if we want the light or airflow during the day, we just tend to unhook the top wire and double it up on the bottom one which looks fine, too.
