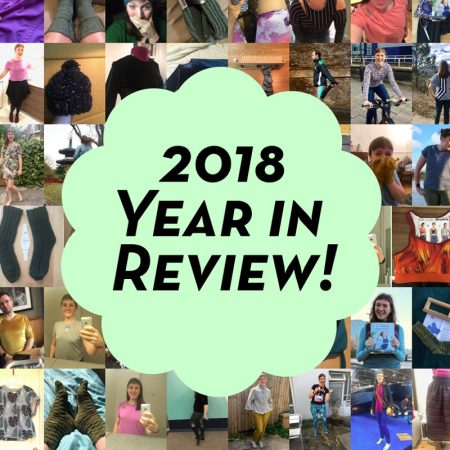
Happy new year! It’s traditional for me to reflect on the year that’s just finished on the first of a new year, and this year’s a weird one because I’d love to just say “this year sucked”, but there were some fantastic things that happened this year amoungst all the sickness, disappointment, frustration, and hard work. So let’s try and focus on those.
Happy 2019! (My year in review)
Kinetic Tee – meet our athlete model!
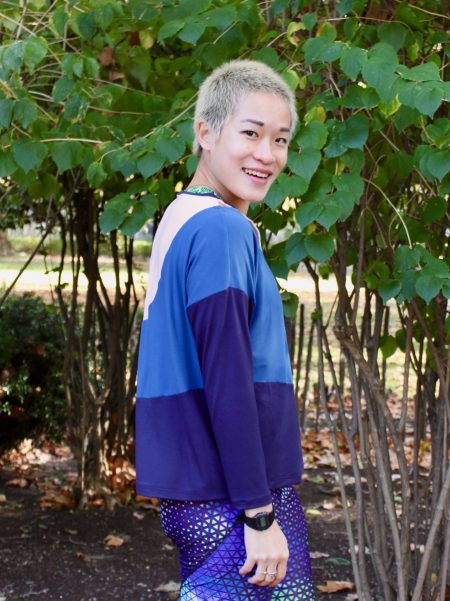
One of my favourite parts of the pattern development process is deciding who our athlete model will be. I absolutely loving selecting people who not only show off my designs in the best way possible, but also hopefully inspire you all, too. I’ve always used real athletes instead of professional models, and these are folks with day jobs, dreams, dramas, and goals just like you and me. I always get a little nervous asking if they’ll model for me, but I’ve yet to have anyone refuse, so I’m not sure why I feel that way!!
The Kinetic Tee pattern – out now!
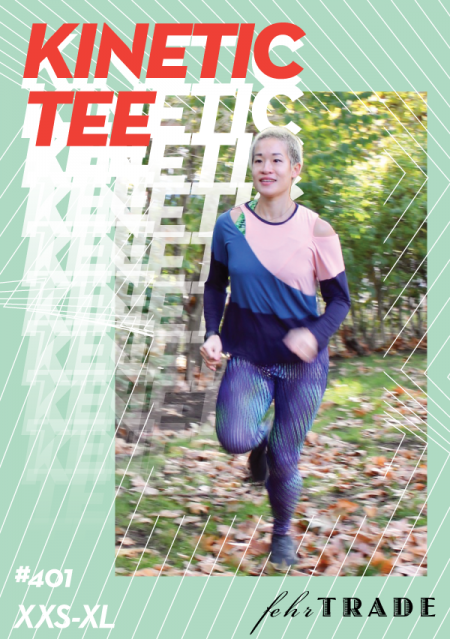
Please welcome our newest sewing pattern – the Kinetic Tee! This one has been so much fun to develop and draft – it’s an asymmetric tee but due to some (ahem) clever drafting, it’s quick to cut out AND to sew up, and feels really great and comfortable to move in, too.
Move in a workout tee that really sets you apart from the team! This loose fitting asymmetric tee has plenty of interesting seaming in the front and back with slash openings at the left shoulder and right front clavicle. Choose from either a cut-on short sleeve, or dropped shoulder long sleeve in twisted or straight options.
Black soy Longshaw Skirt
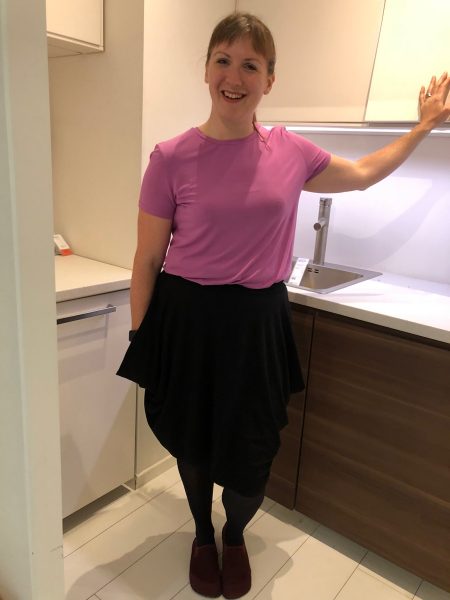
I have got such a backlog of finished makes to show you! The problem with working an office job in amoungst spending every weekend at the boatyard AND trying to push out a new pattern (which is 95% done now, I swear!), is that what precious little time I’ve got left goes into sewing instead of actually taking photos of said makes. So I hope you’ll forgive the quality of these photos and instead applaud our creativity in taking them at all!
If you recall, one of the four makes in my Fall/Winter plans was a Longshaw Skirt from Wendy Ward’s book “A Beginner’s Guide to Sewing with Knitted Fabrics”.
Burda magazine October 2018
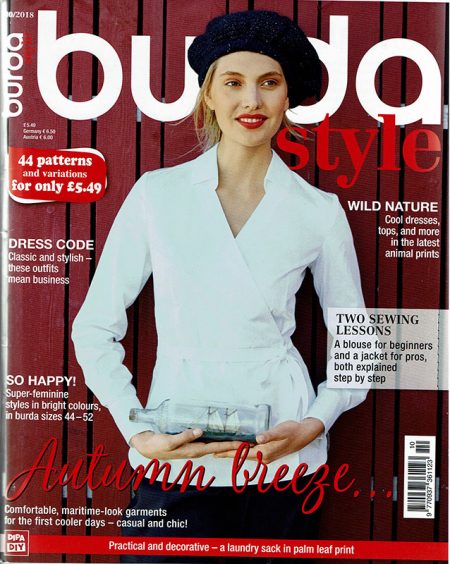
This is turning into quite the magazine review week! Between getting my next sewing pattern ready for release (it’s with my testers now!) and working on the boat renovations every single weekend, I’ve had precious little time to devote to sewing recently, and when I do, I end of sewing easy TNT garments instead of spending time photoshooting or blogging about them! But I have been keeping a list so I can eventually blog about them, and the advantage there is that I might be able to wear a few as sets for the photos!
Dutch sewing pattern magazine roundup
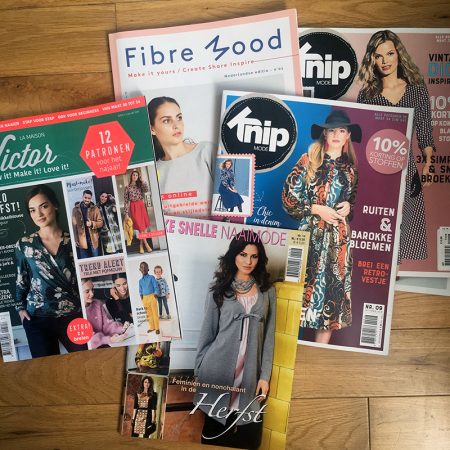
A few weeks ago J and I took a long weekend away in Amsterdam, but the majority of these patterns actually came from a different trip he’d made for work a few weeks earlier. It turns out that the newsagent inside Rotterdam station is a haven of sewing pattern magazines, who knew?? So rather than do a post on each of these, I thought I’d pull out my highlights, and take the chance again to explain how accessible the pattern sheets and instructions are for non-Dutch speakers…
Activewear Sewing Myths
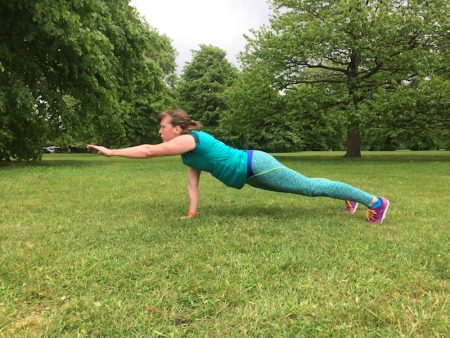
After years of sewing my own activewear, producing 13 patterns, teaching multiple classes, and even writing my “Sew […]
The Sewing Weekender Number 3
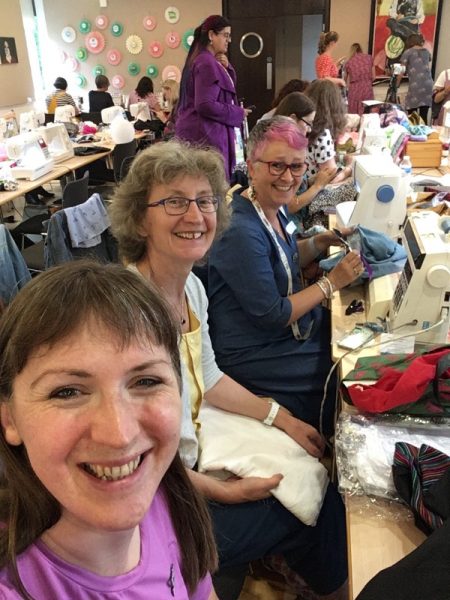
No sooner were we back home from Iceland than I was on my way up to Cambridge for my third Sewing Weekender! The first year I was lucky enough to buy a ticket, then last year I gave my “Sewing for Movement” talk as a speaker, but this year I was determined to attend again and set my alarm in order to buy my ticket as soon as they went on sale.
No joke, these tickets were hotter than Glastonbury – we crashed The Fold Line’s site and tickets sold out in like ten minutes despite having doubled capacity this year to 100 places!
Running and Knitting in Iceland
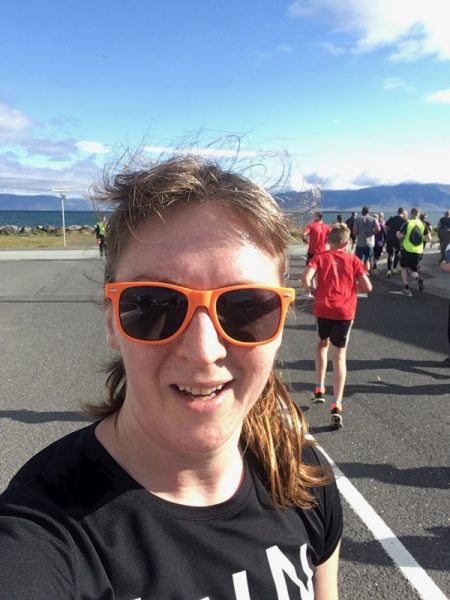
The perils of running a one-woman business alongside an office job and attempting to also have a bit of a social life is that, at times, I have to make some tough decisions regarding my time. So since I’ve been away the past two weekends (prime-time for me to work on FehrTrade), I’ve not had any time to blog since I prioritised my Friday/lunchtimes/evenings to working on the new pattern in development, albeit slowly. But I definitely want to capture the last two weekends away before they fade into memory!
For those of you who have been following my loom knitting journey over the last 18ish months, I’ve actually made something other than socks!
Burda magazine September 2018
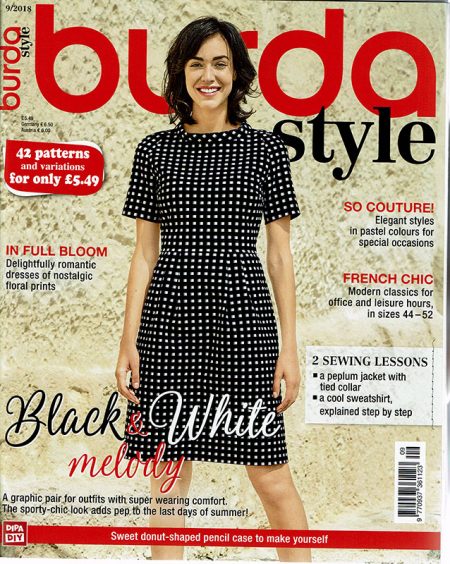
I’ve been away the past two weekends (in Iceland and at the Sewing Weekender, respectively) so I’ve not had much of a chance before now to sit down and really sink my teeth into the latest Burda edition. I know much of the USA is in a heat wave at the moment but in England it’s cooled off considerably so an issue full of Fall fashions is very welcome!