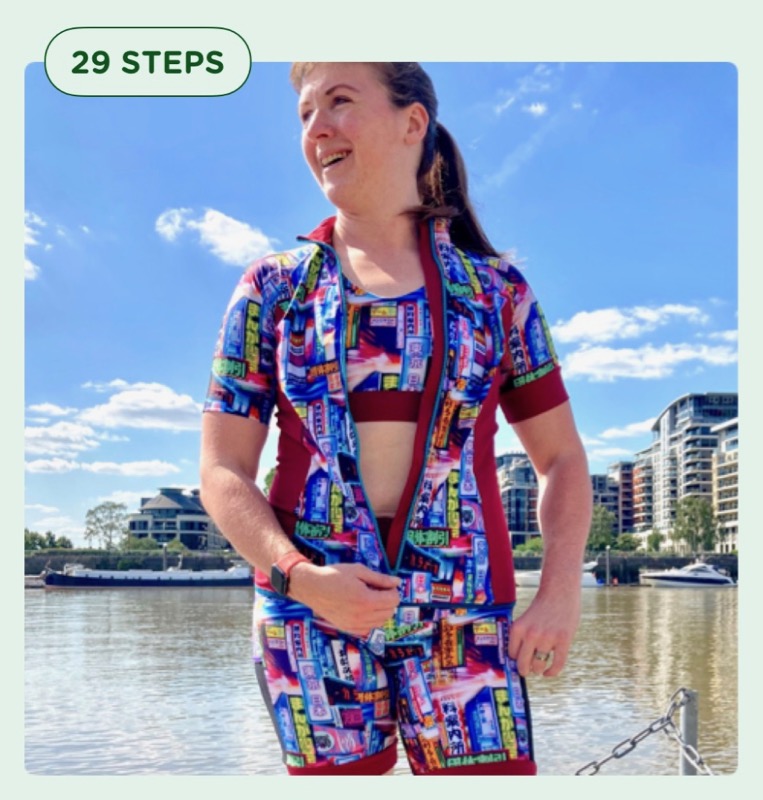
Tutorial: Add a full-length zip to your Surf to Summit Top
//
As promised, and after many requests, I’ve created a tutorial for changing the half zip in your Surf to Summit Top pattern to be a fully-opening zipper! This is a pretty straightforward change but I like to be very thorough in my explanations so don’t be scared by the amount of steps – half of them are me just adding clarification.
Additionally, you could also use this tutorial for the Cycling Top design in our “Sew Your Own Activewear” book. In that case you’ll need to add the seam allowance to the CF edge of the Lower Front instead of the Front, and join the two fronts together before applying the zipper.
You can either choose to watch a 2 minute video version of this tutorial, or scroll down if you prefer your tutorials in static picture-with-text format! A few of the photos got cropped in the video so you may wish to refer to the full images below anyway.
This concludes the week-long celebration of my Tokyo-inspired cycling set! If you missed any of the posts, you can go back and read them here:
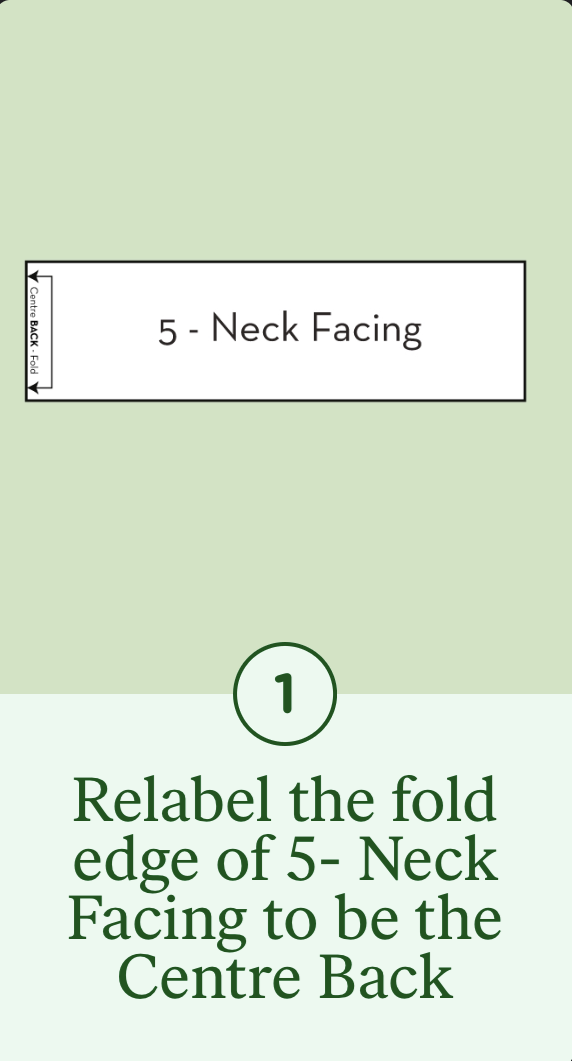
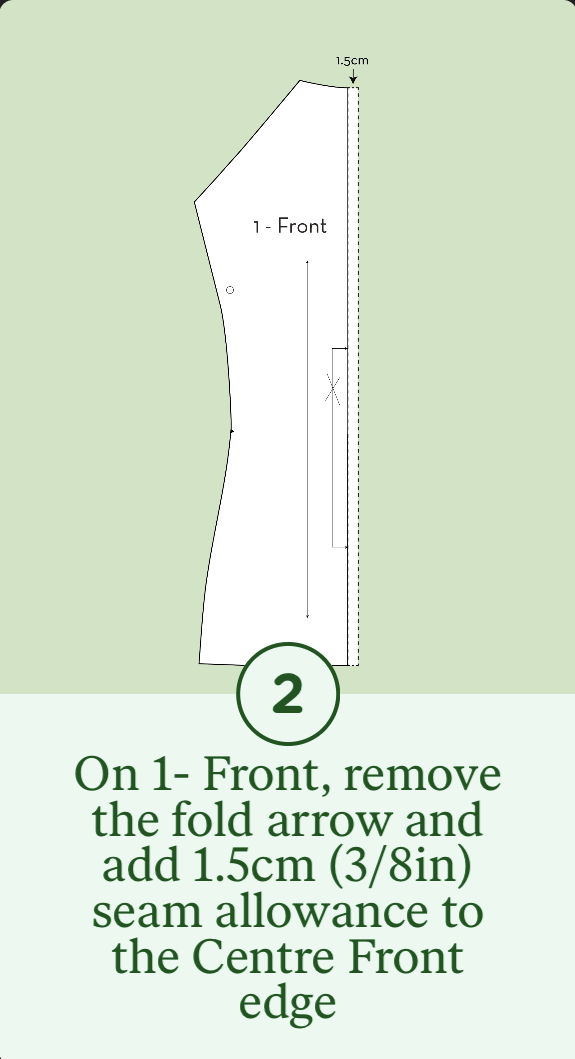
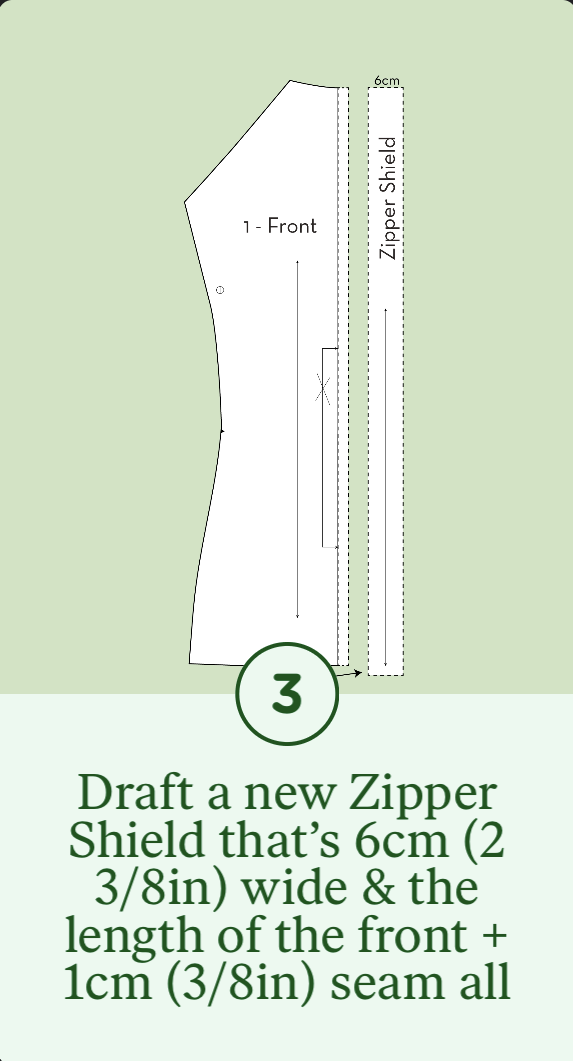
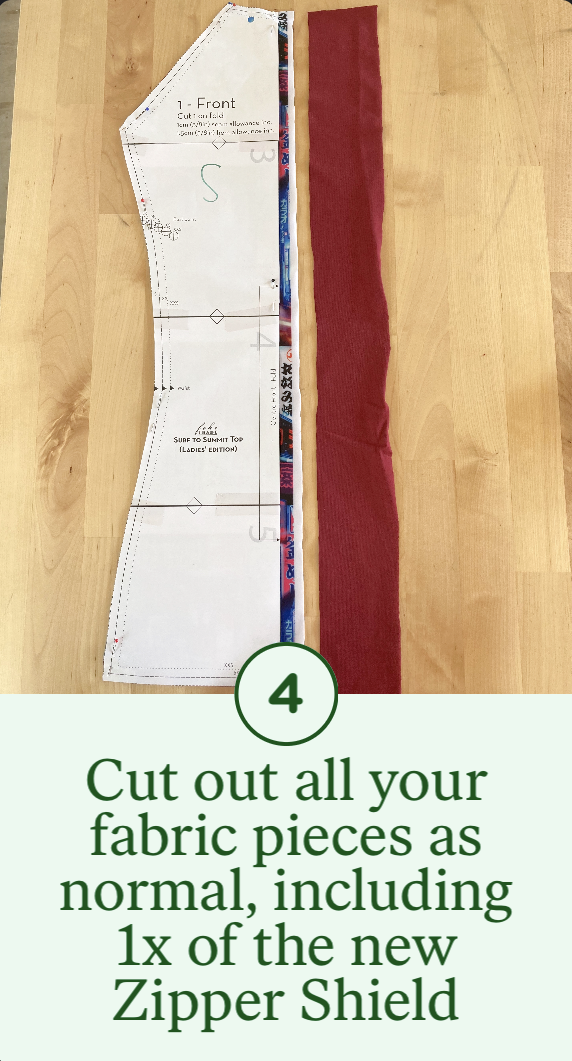
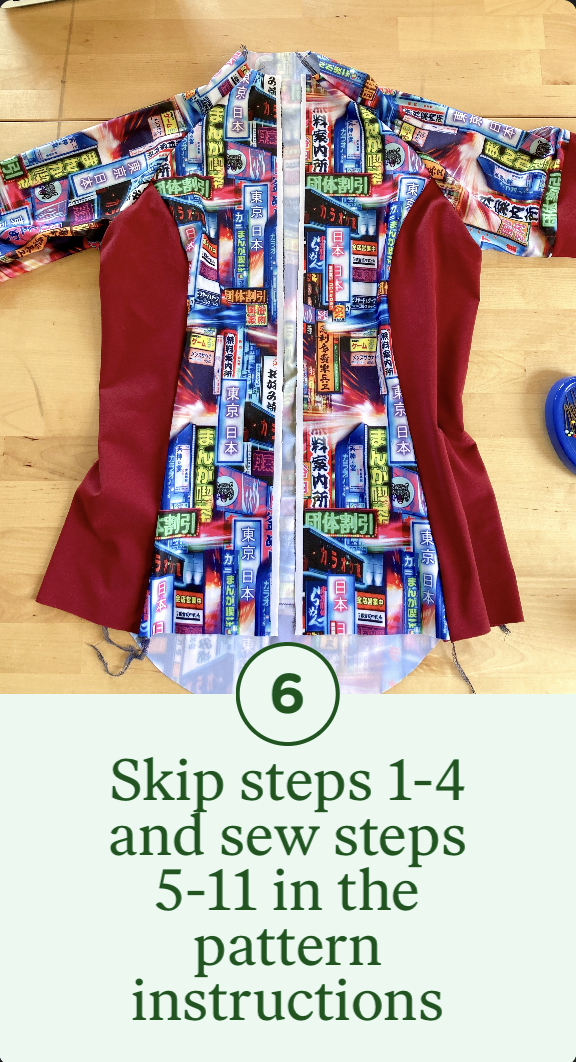
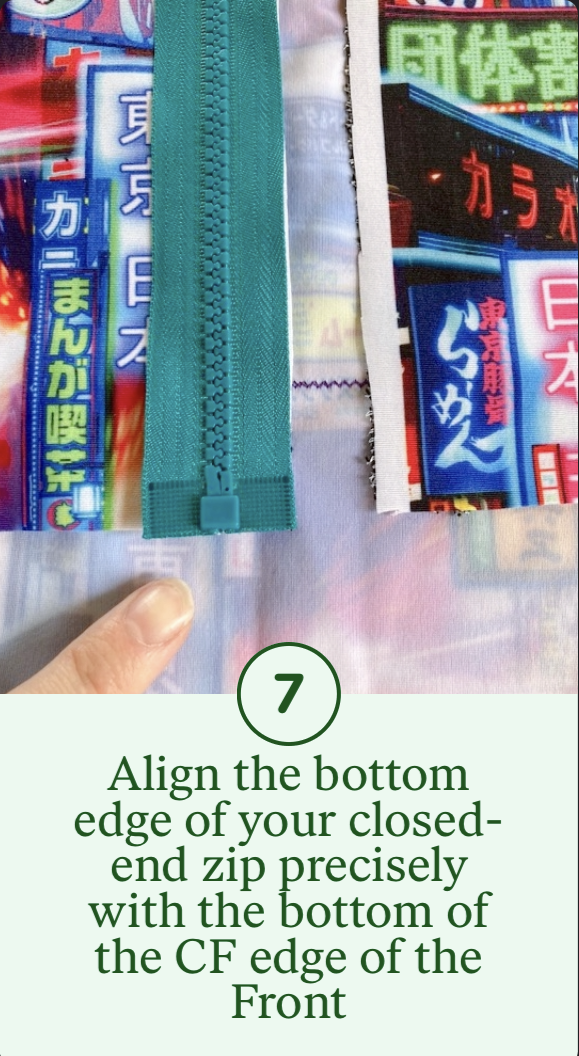
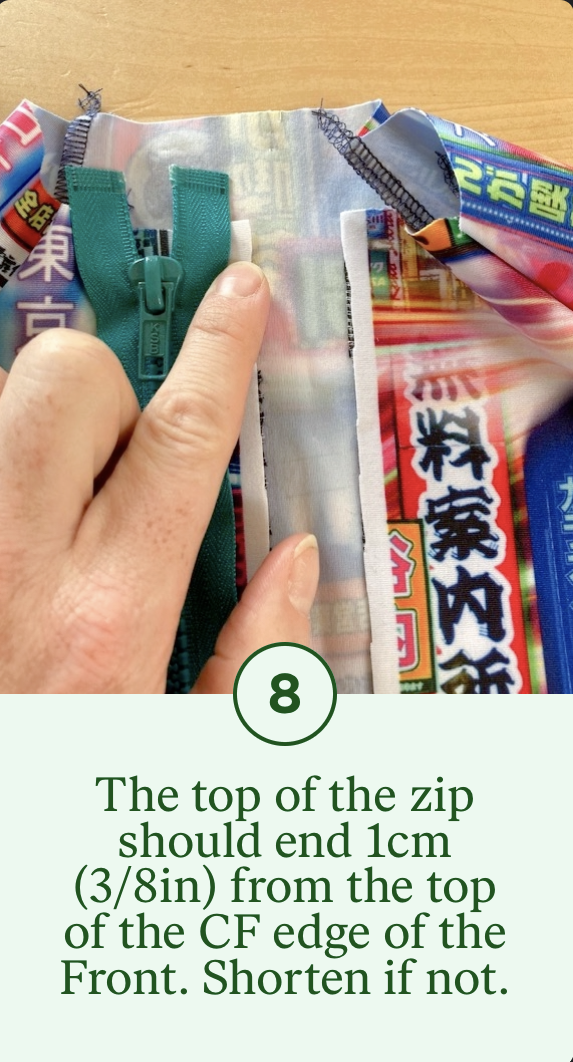
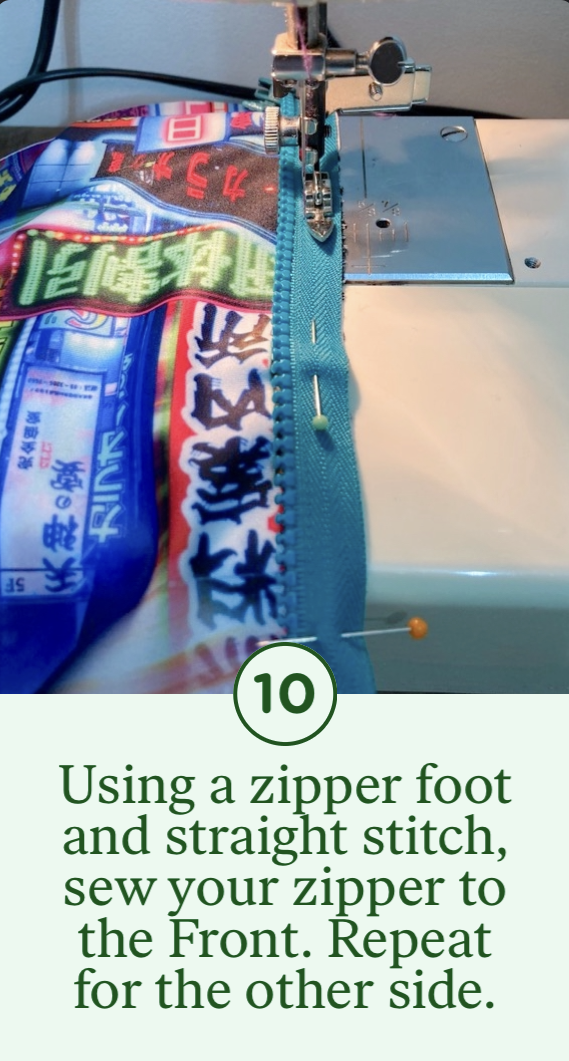
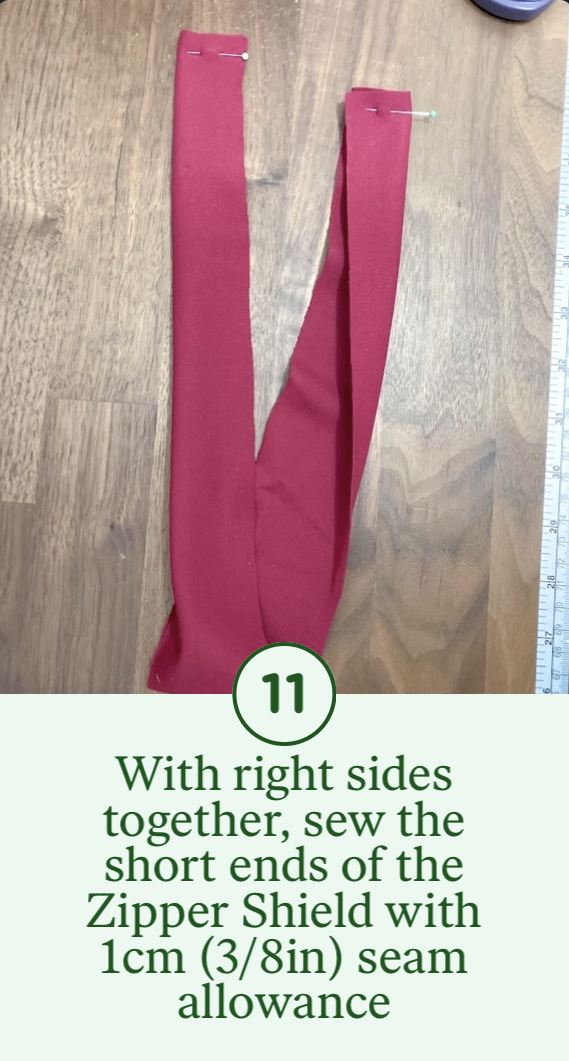
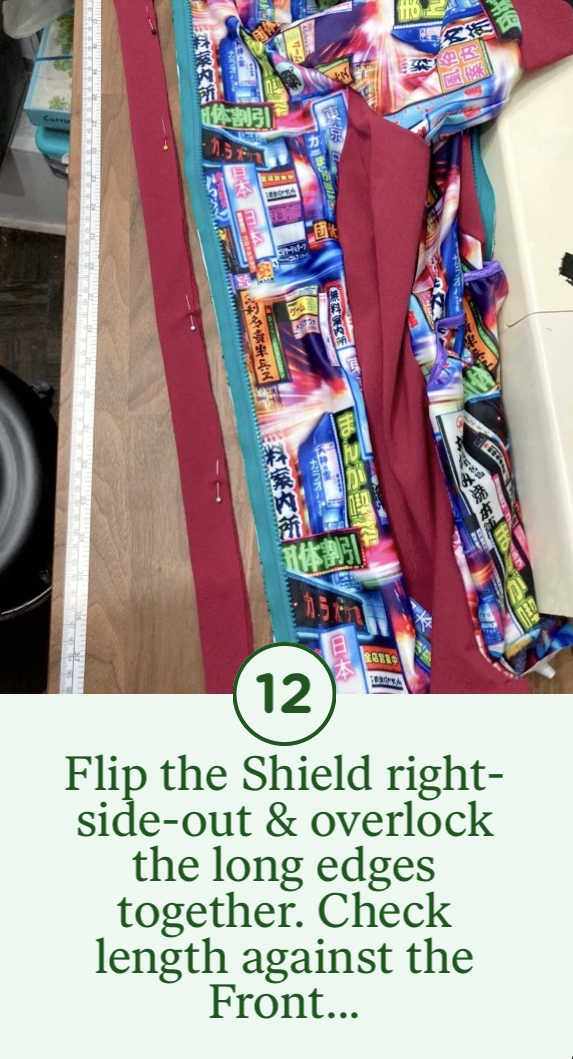
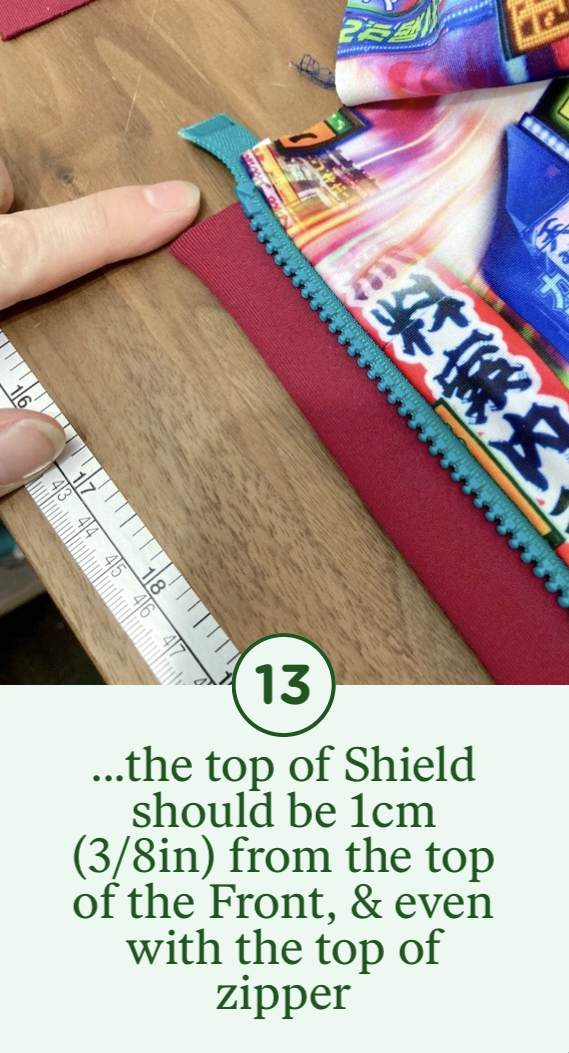
1 – Relabel the fold edge of 5- Neck Facing to be the Centre Back2- On 1-Front, remove the fold arrow and add 1.5cm seam allowance to the CF edge3- Draft a new Zipper Shield that’s 6cm wide & the length of the Front + 1cm seam allowance4- Cut out all your fabric pieces as normal, including 1x of the new Zipper Shield5- Interface the wrong side of the CF edge of the Front piece (approx 1.5cm wide)6- Skip steps 1-4 and sew steps 5-11 in the pattern instructions7- Align the bottom edge of your closed end zip precisely with the bottom of the CF edge of the Front8- The top of the zip should end 1cm from the top of the CF edge of the Front. Shorten if not.9- Pin the zipper face-down along the CF edge of the Fronts with teeth pointing away from the edge10- Using a zipper foot and straight stitch, sew your zipper to the Front. Repeat for the other side.11- With right sides together, sew the short ends of the Zipper Shield with 1cm seam allowance12- Flip the Shield right-side-out & overlock the long edges together. Check the length against the Front…13- …the top of the Shield should be 1cm from the top of the Front & even with the top of the zipper14- We’ll be using Wonder Tape (2-sided sticky washaway tape) next but you can hand-baste instead15- Fold the zipper to the inside & hold in place with Wonder Tape (or basting)16- Place the Zipper Shield on top of the wrong side of the zipper aligning edges & Wonder Tape in place17- Again, ensure the top of the Shield aligns with the top of the zip (not the Front) & bottom aligns exactly18- From the right side, sew the zipper and Shield in place using a straight stitch19- Repeat steps 15 & 18 for the other side of the zipper. The zipper is now done!20- Place the Neck Facing right side down along the neck edge, extending 1cm beyond zip teeth…21- …the CF notch should lie exactly on the teeth on both sides. Sew along the top edge of Neck Facing22- Fold the Facing away & understitch the Facing to the seam allowance with a narrow zigzag stitch23- Trim theh top of the zipper tape close to the stitching & use FrayCheck (optional). Repeat for other side24- Fold the Facing over to inside & fold 1cm short edge under. Repeat for other side.26- From the right side & over previous stitching, sew the Facing in place with straight stitch. Repeat.26- The inside edge of the Facing should be secured but not interfering with zipper teeth27- The neck edge is now done!28- Apply FOE to the bottom edge (Step 22) folding short edges over at the zip edges, encasing the tape29- Your Surf to Summit Top is now done!