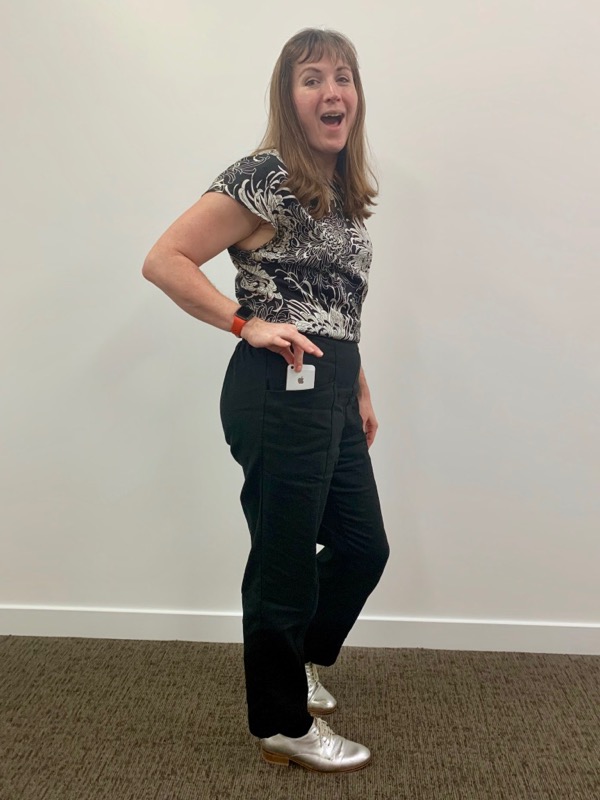
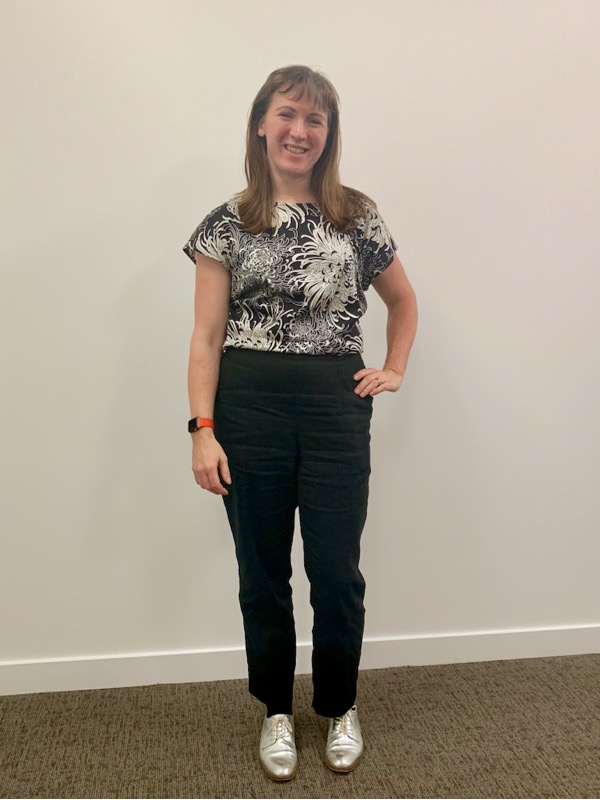
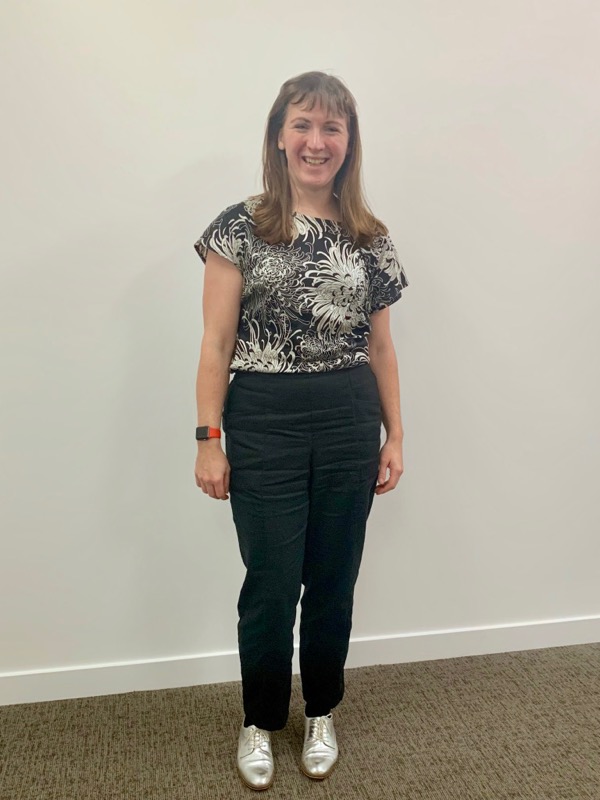
I bought the Closet Case Patterns Pietra Pants pattern when it came out last summer, and even had it printed up in A0 shortly after, but only just not got around to sewing it up for myself, and I have no idea how I managed without them this long!
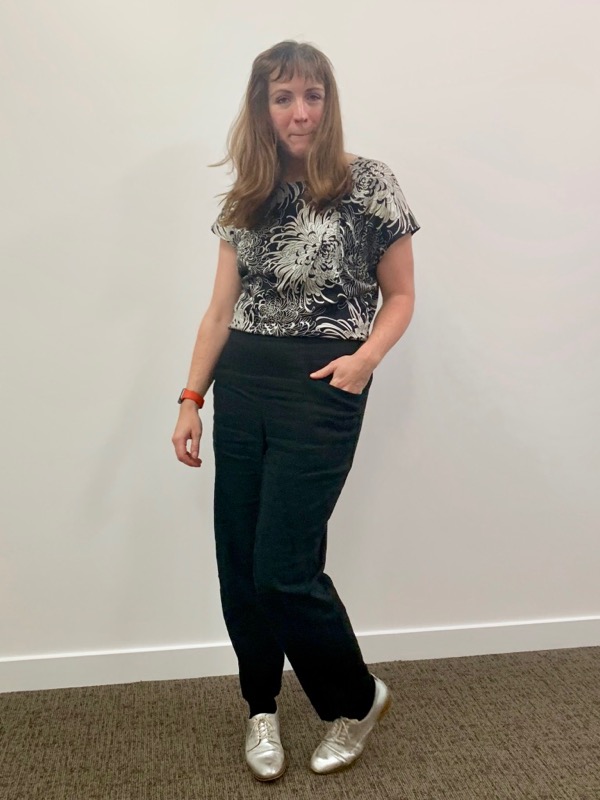
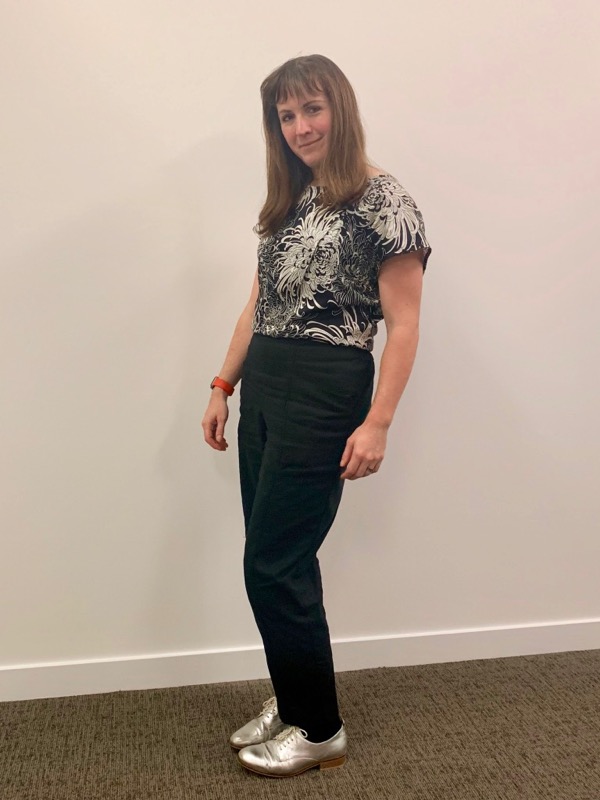
I decided to make them up in a black washed 100% linen from Textile Express (bought at the same time as the yellow ramie for my Cielo Top). My friend was like “linen trousers – in winter??” but this linen is a really nice, hefty weight that is perfectly warm enough for English winters. Absolutely not the thin drapey stuff you’d wear on a tropical holiday!! I’ve been trying to buy more sustainable and/or recycled fabrics and linen is one of the best sustainable fabrics out there. The downside, of course, is that linen = wrinkles! So please forgive that these are wrinkly in the photos purely because I’d been sat at my desk in the office for half a day before we took these!
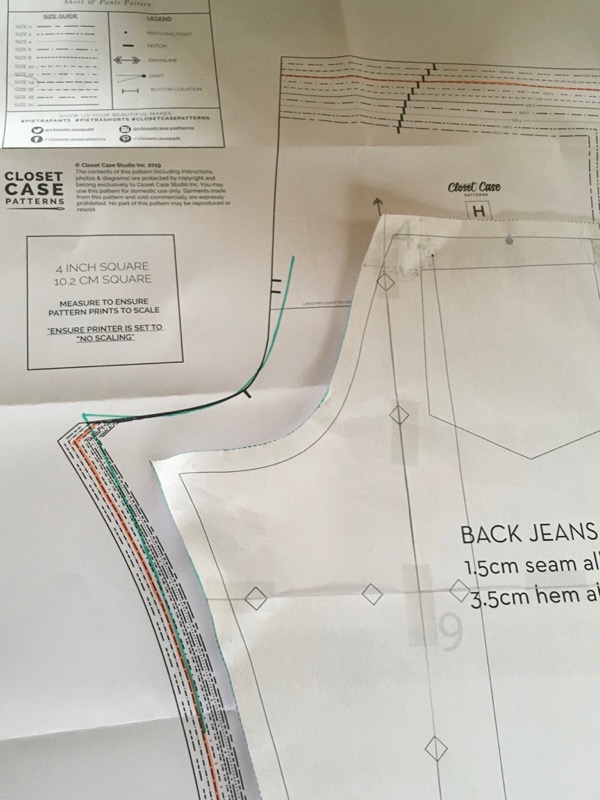
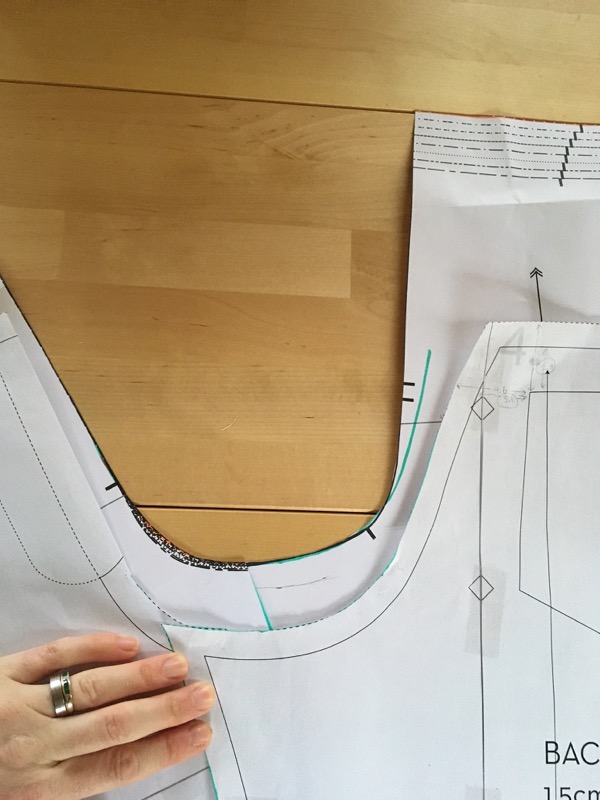
Crotch adjustments – I opted to clone the crotch curve from my TNT cycling jeans onto these as a shortcut to getting a better crotch fit without having to sew a muslin (I hate sewing muslins). In the above photo the orange line is the original size 14 curve and the green is my TNT curve – both patterns have 1.5cm seam allowance, which made it easier to compare.
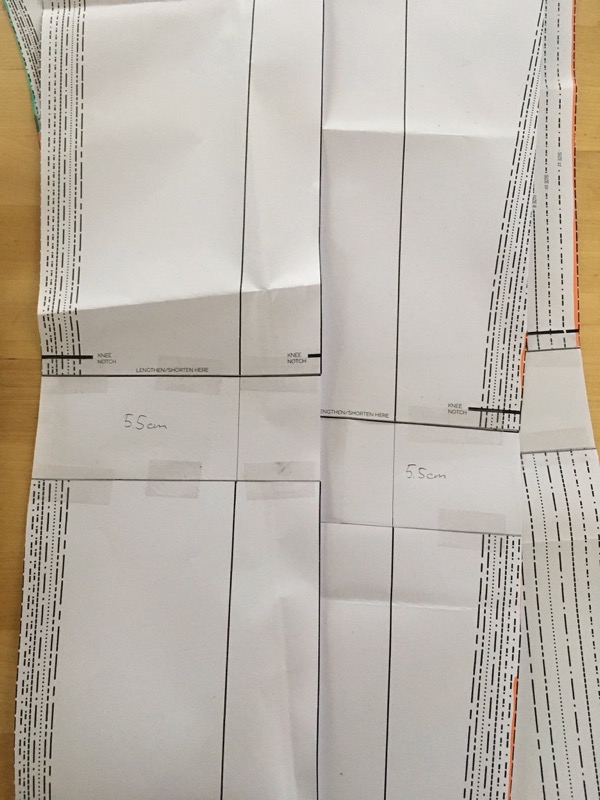
I also added 5.5cm in length to the legs but even this isn’t really long enough. View B (tapered leg) is meant to be a full-length style but without this adjustment they would’ve been mid-calf for me! I usually add about 2-3cm in length to Burda trousers but these are drafted for really short legs as far as I can tell. Even with the 5.5cm I think on my next pair I’ll add another 2cm as these still feel a tad short to me.
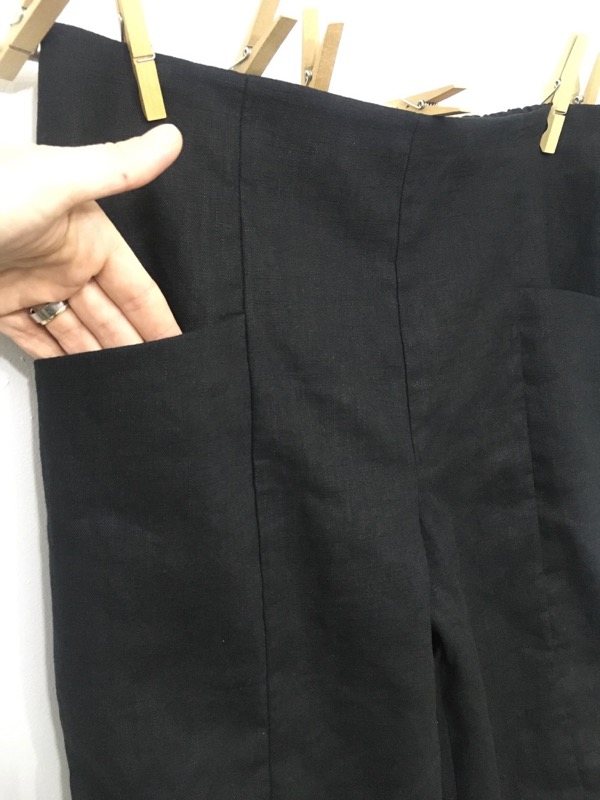
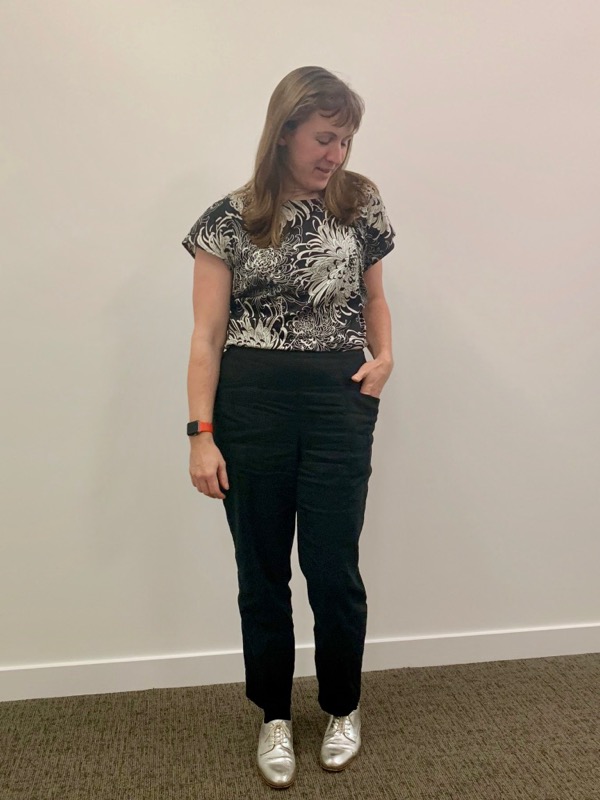
The best thing about these trousers are the amazing pockets! My colleague who took these photos has two little kittens and we decided that we could totally fit a kitten in each of these pockets! (I need to test this theory!!)
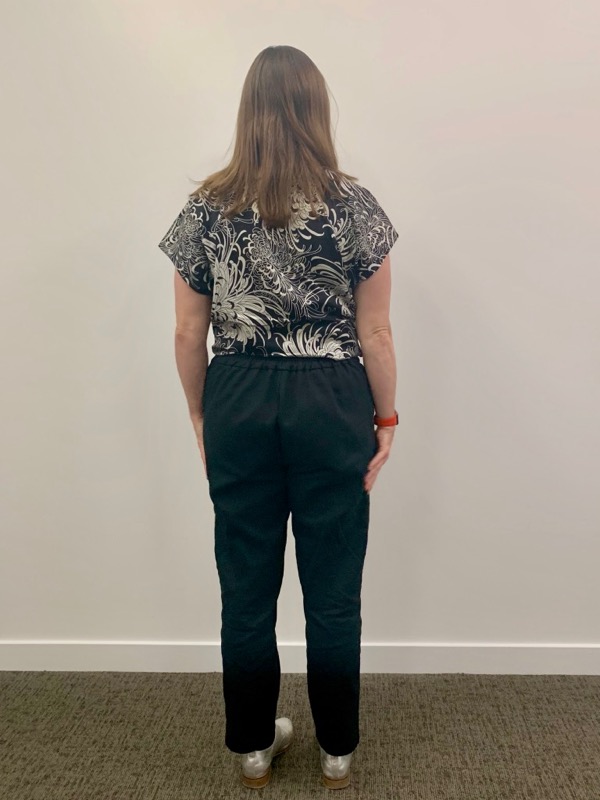
I also love the flat, faced front and the half-elasticated back with the sewn channels to keep it in place – it makes for a really sleek looking front with a comfortable fit in the back and without too much back ease like I’ve found in other patterns.
Though there were a lot of nice little tips in the constructions for getting a clean finish (always good!), overall the construction order was w-e-i-r-d. Sew the inseams absolutely last?? That means that you can’t try them on or make any fit adjustments until you’ve already finished the waistband and side seams. I changed the order so I could give them a sneaky try-on before doing the back waistband elastic and I’d totally stand by that decision.
These are really nicely finished, even though they were a quick make. Because linen frays so badly, I constructed these with a mix of the sewing machine and overlocker, making sure the edges were all overlocked to prevent any excess fraying during wear.
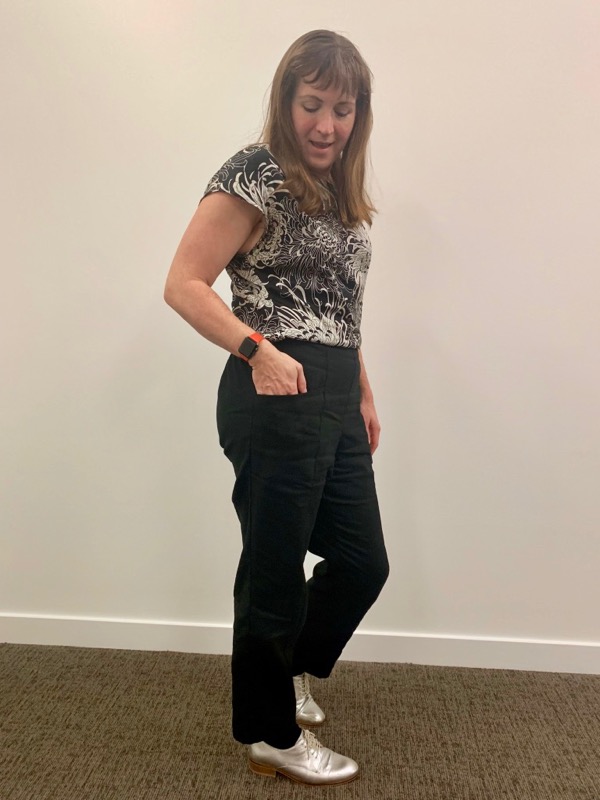
When I tried these on initially I thought the crotch was either really low or the waist edge was super high, but they somehow settled themselves after the back elastic was finished. The finished trousers sit high, at my natural waist, but the crotch doesn’t feel overly low. Phew!
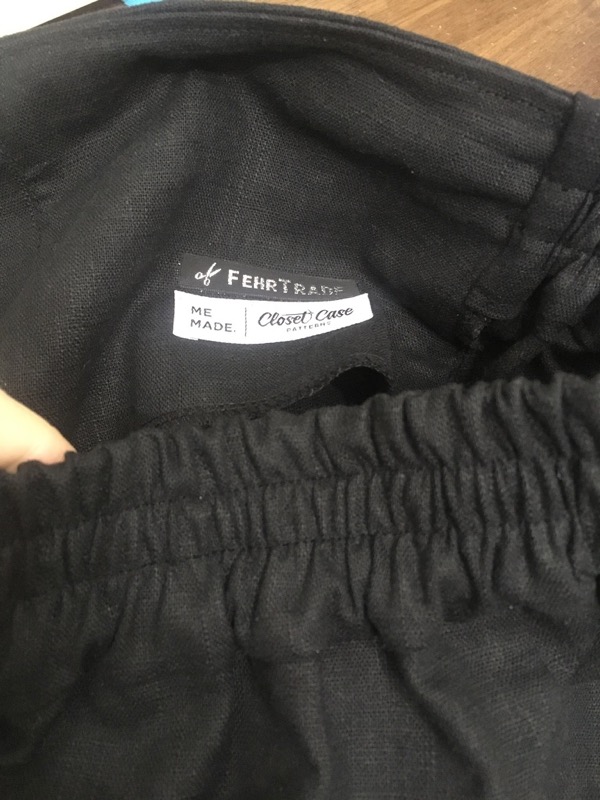
I was lucky enough to find a Closet Case Patterns label that was in our Sewing Weekender goodie bags so I added that to the facing of these alongside my usual FehrTrade label. Because the back is elasticated and topstitched, I sewed the labels onto the front facing instead so they wouldn’t irritate me.
There’s a reason why these trousers have been so popular, and I would definitely make these again! They definitely fill a hole in my working wardrobe, for starters. They feel more professional and give me less of a “bubble butt” than the StyleArc Brooklyn trousers (which I’d stopped wearing to work and relegated to “lounge wear”) and I totally think I could make these in a few more colours of linen (or denim!) for the office too.
Anyone remember the silk blouse I’m wearing here? I made it back in 2011 and still wear it frequently!